Monthly Archives: March 2017

Photographing a Kingfisher in Flight – Controlling Overall Sharpness

Photographing A Kingfisher in Flight

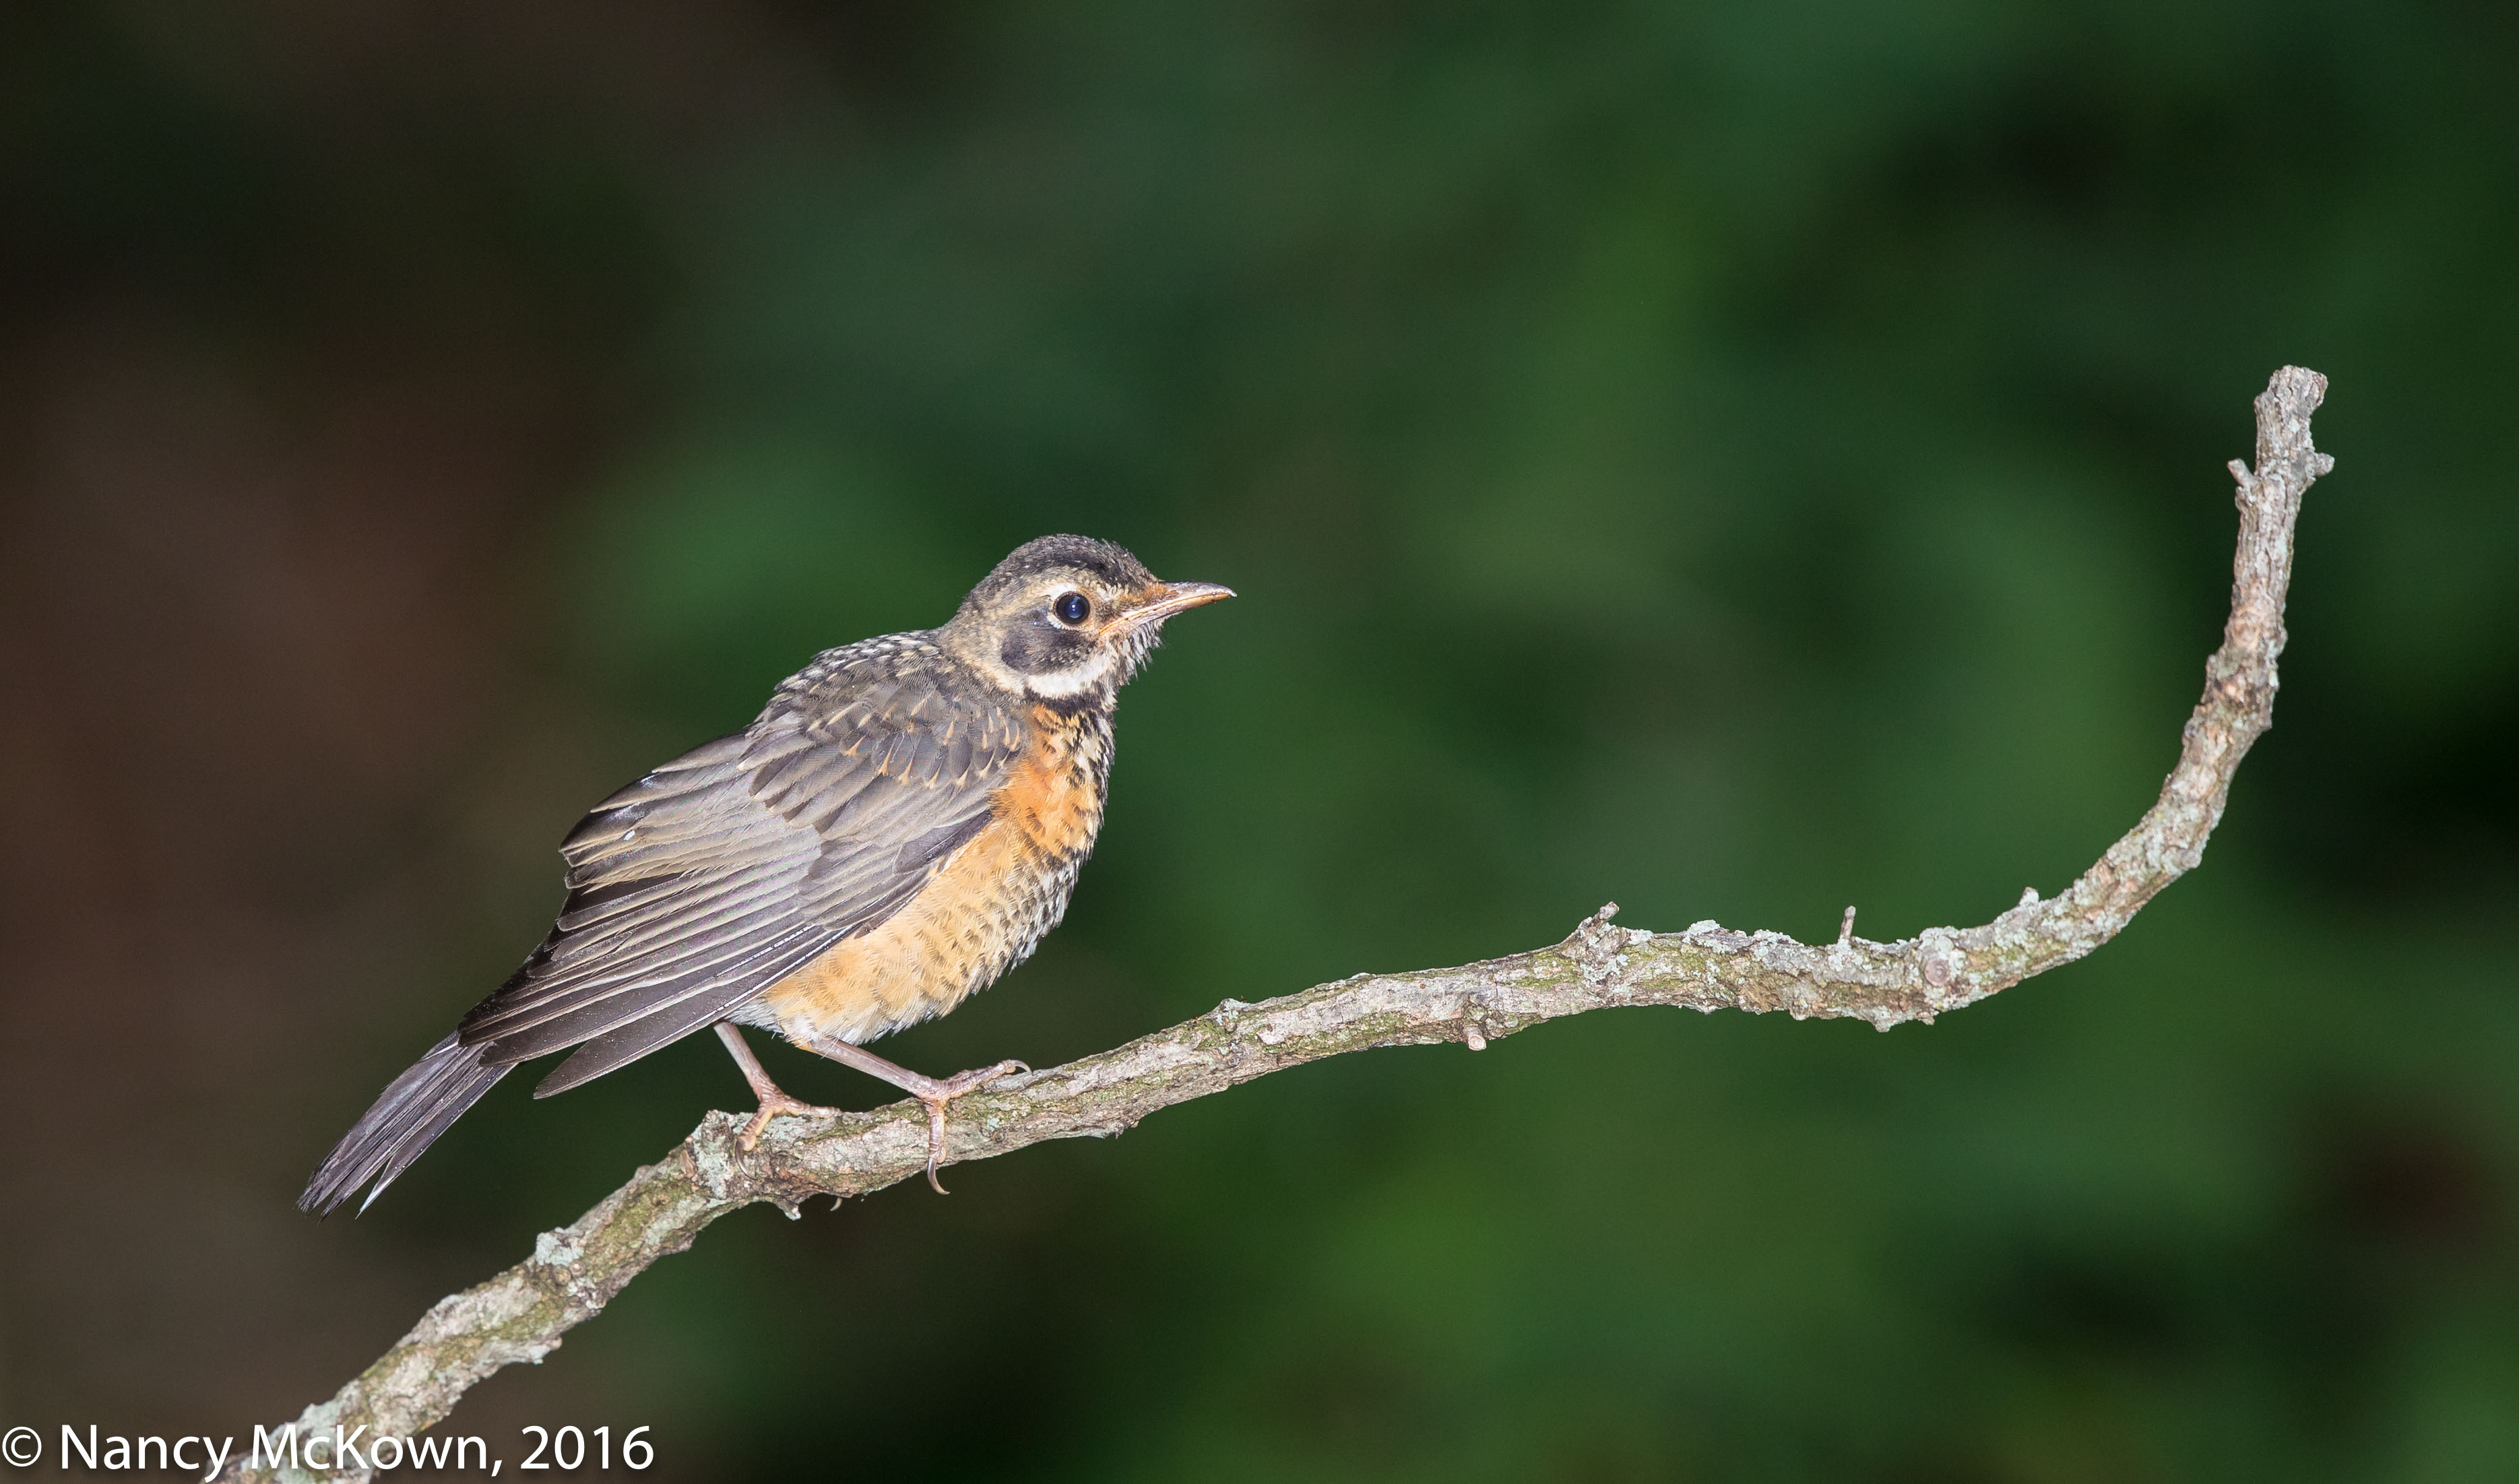
Kingfishers hunt from above, intently watching the water in search of a wide assortment of aquatic creatures. Avian predators with oversized heads, they hover above their unaware prey seconds before commencing a beak-first precisely controlled dive. These images of a Kingfisher were taken as she transitioned from water to air and rose up (with prey) to her waterside perch. Traveling much slower than when she made her missile-like descent, it was easier to anticipate and capture her flight with the camera.

On this shoot, the autofocus system was set to the predictive Al Servo. Because the bird was not close, I restricted the auto focus to a cluster of 6 central points, hoping that I could effectively track and frame her.

Photo of Kingfisher
Kingfisher
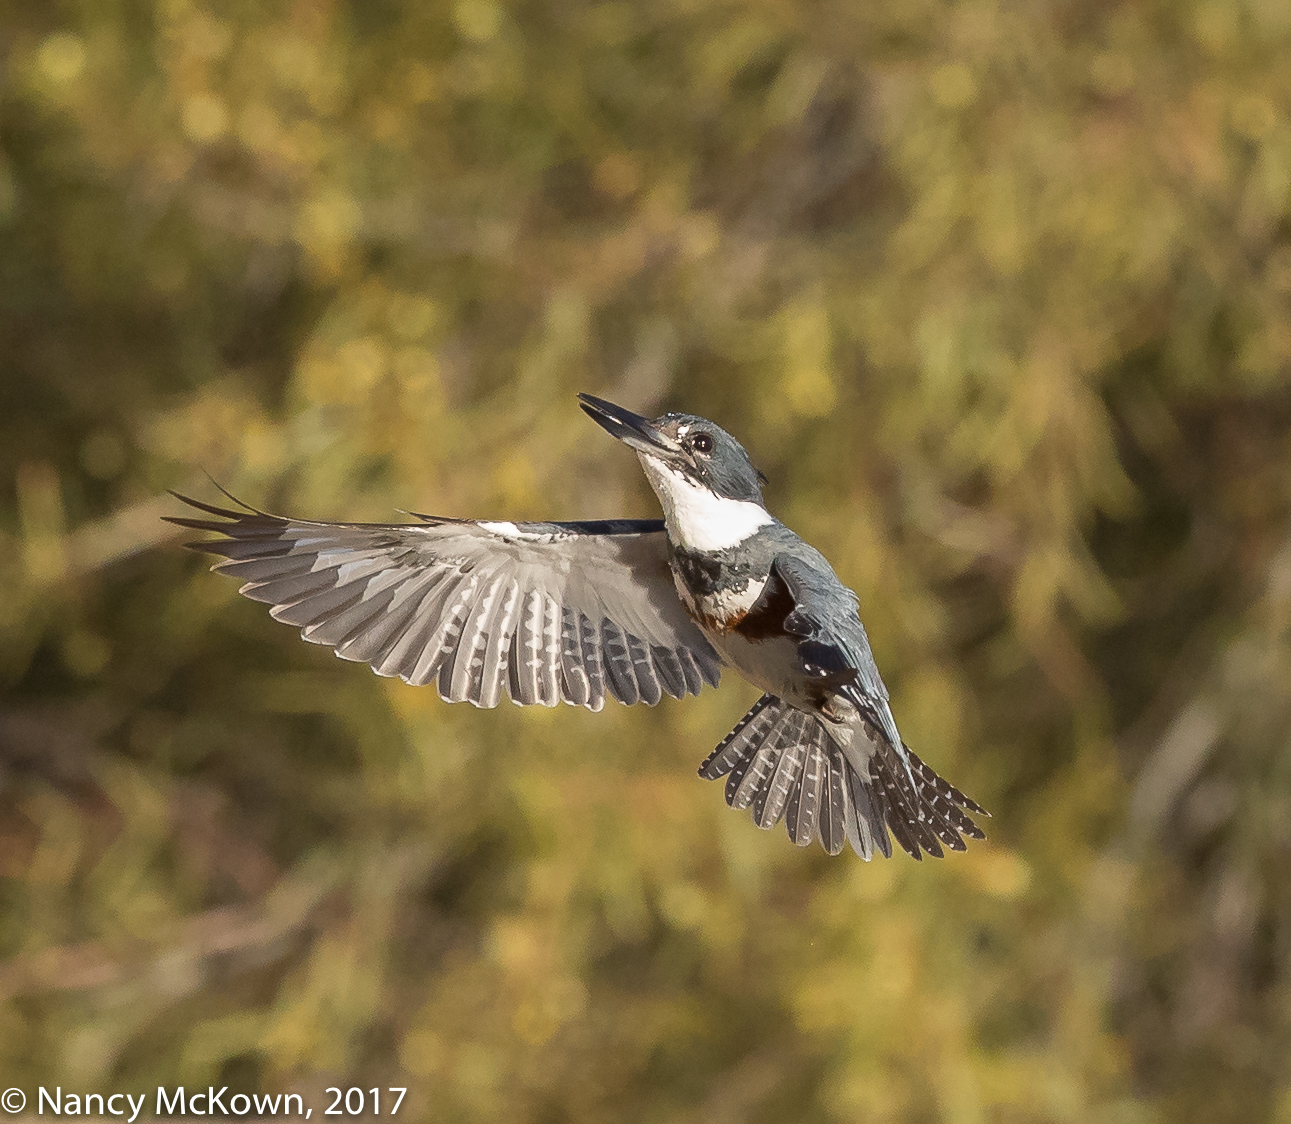
Heading Up After Her Successful Dive.
ISO2500; f/8; 1/3200 Second

Optimal Sharpness

Flying birds are a challenge to photograph. To achieve optimal sharpness, the photographer has to take into consideration:

The list goes on and on.

Angle of Flight

Photographing birds in flight also requires consideration of a host of complex interacting circumstances, some of which will be beyond the photographer’s control. One such uncontrollable is the bird’s flight path and how it aligns with the camera’s focal plane.

When focus is soft on one or more parts of the image, I check and recheck my settings. If these settings appear to be optimal for the shoot, I try to figure out if the bird’s flight trajectory is aligned with the camera’s focal plane.

All long telephoto lenses inherently deliver a very shallow depth of field. If your subject is not flying on a path with the camera’s focal plane, parts of the bird (depending on your aperture setting) will be captured while they are outside the optimal depth of field range. The larger this discrepancy, the more softly focused your subject will be.  (NOTE: To get an idea of how thin your depth of field can be on long lenses and wide open apertures, see this DOF calculator. If you want this information readily available in the field, there are DOF calculator apps available for iPhones and Droids. )

Photo of Kingfisher
Kingfisher ISO1000;
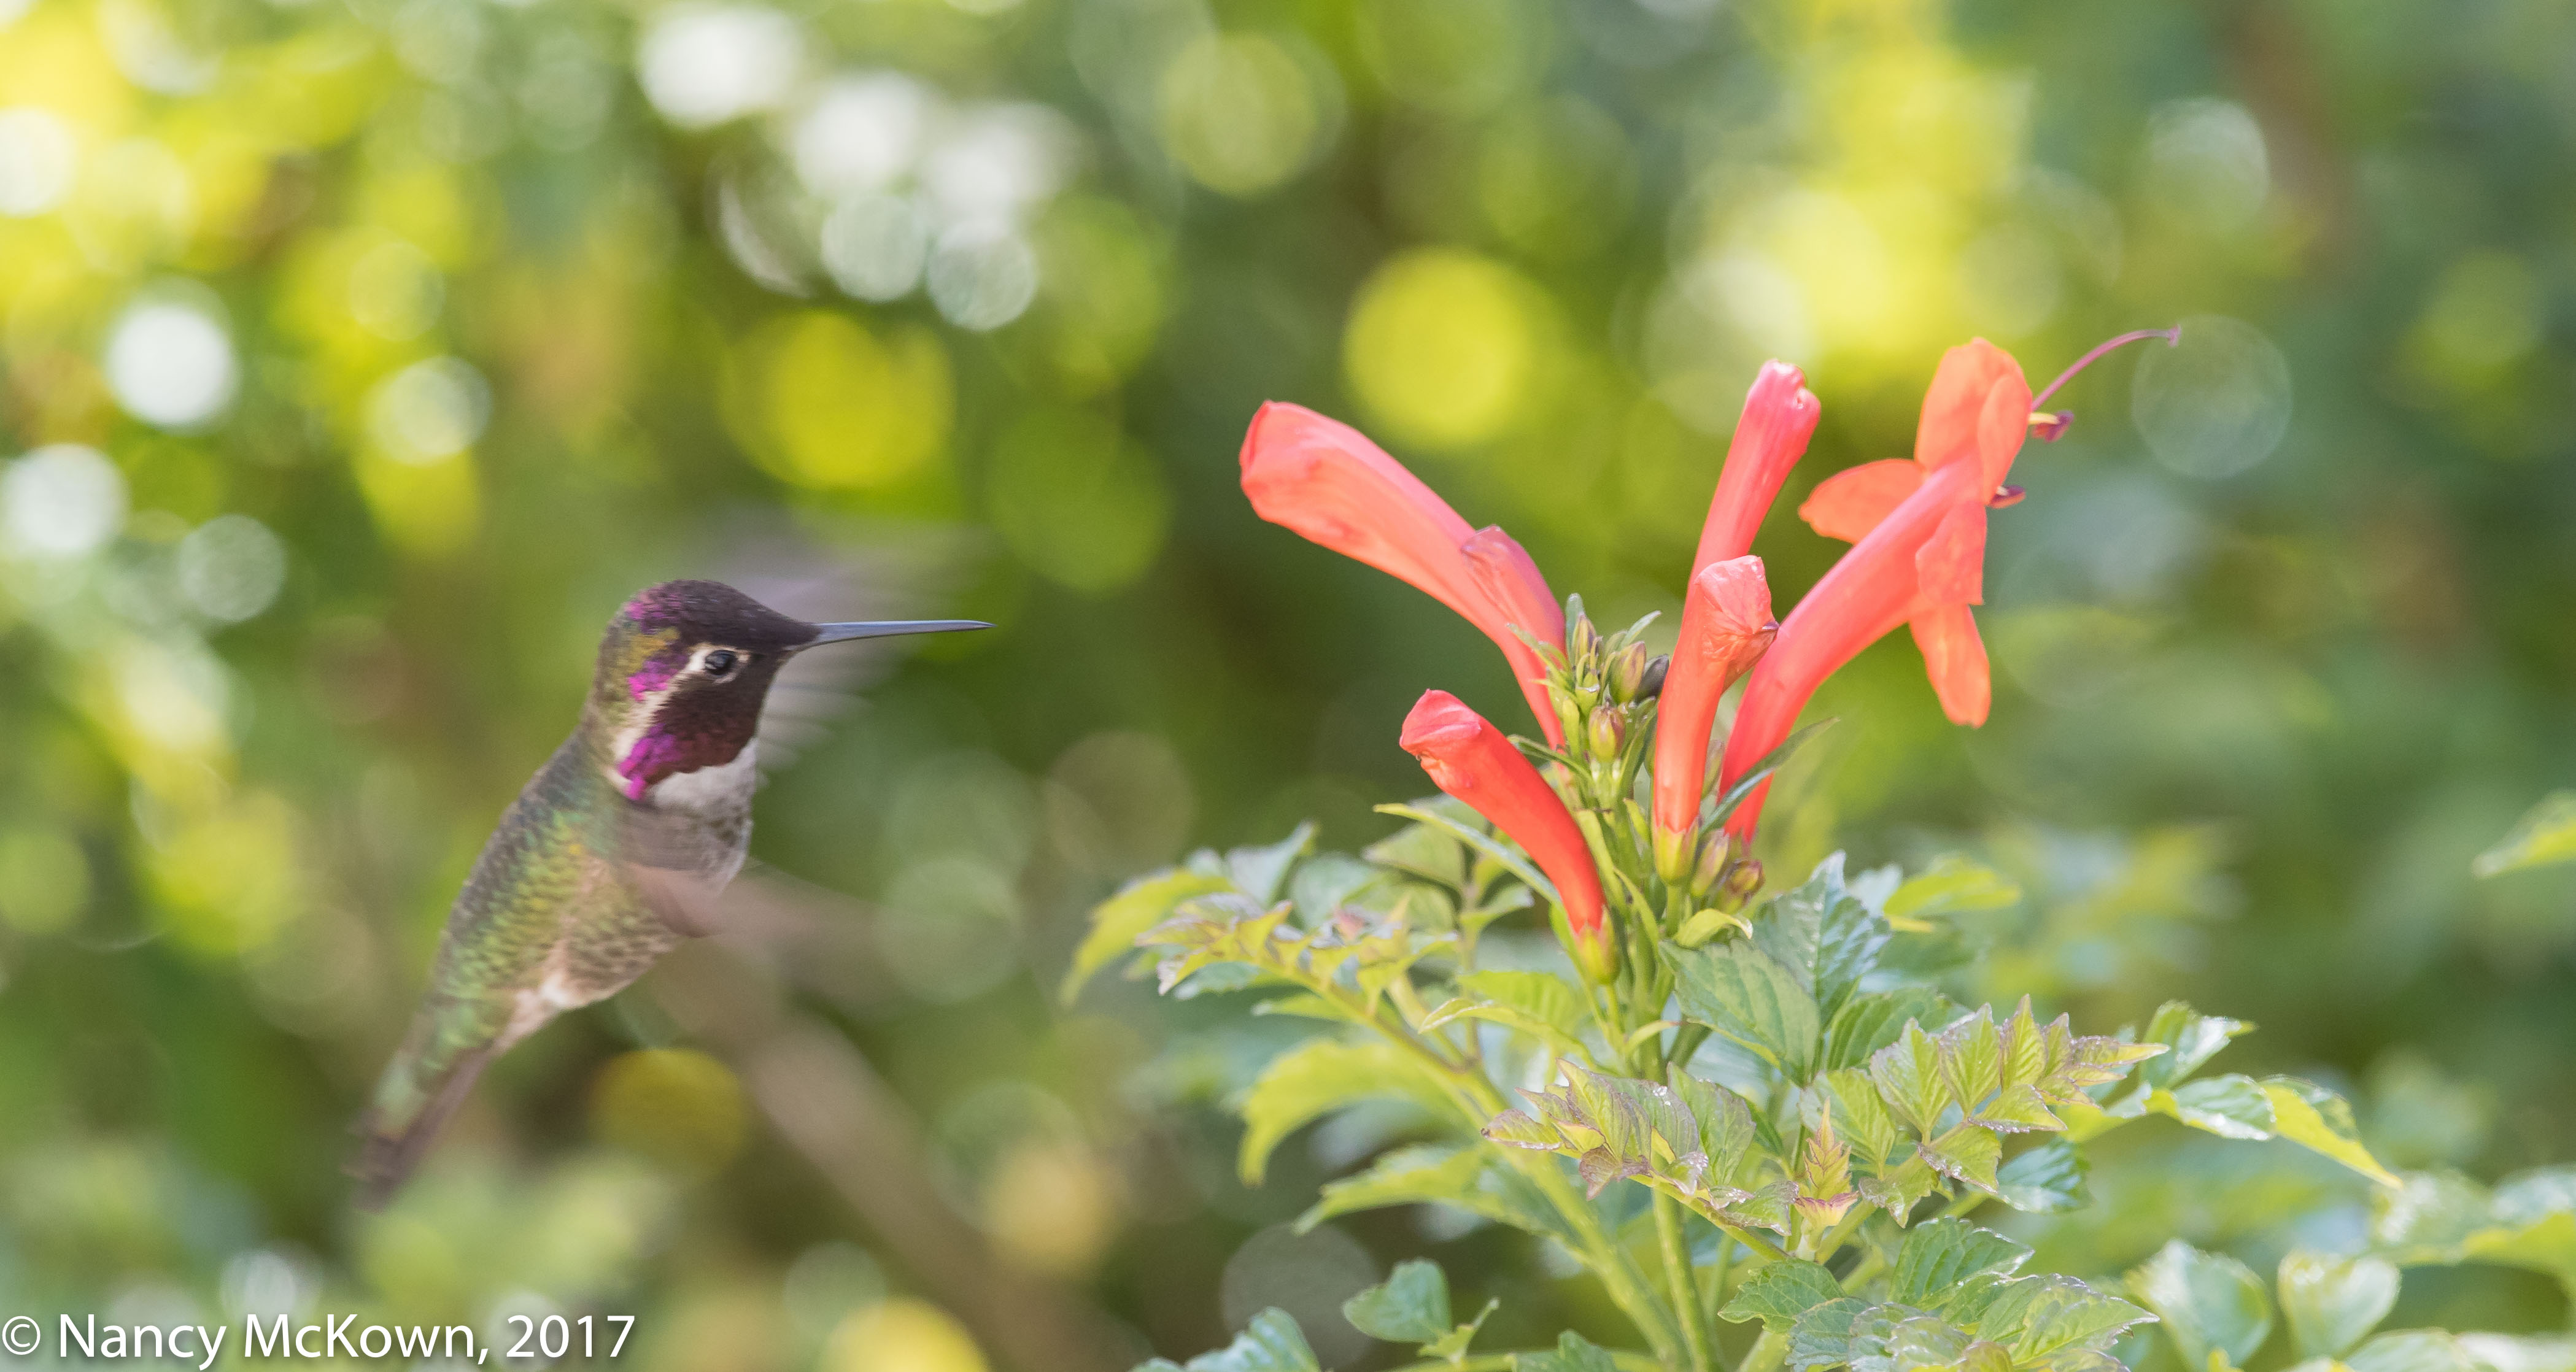
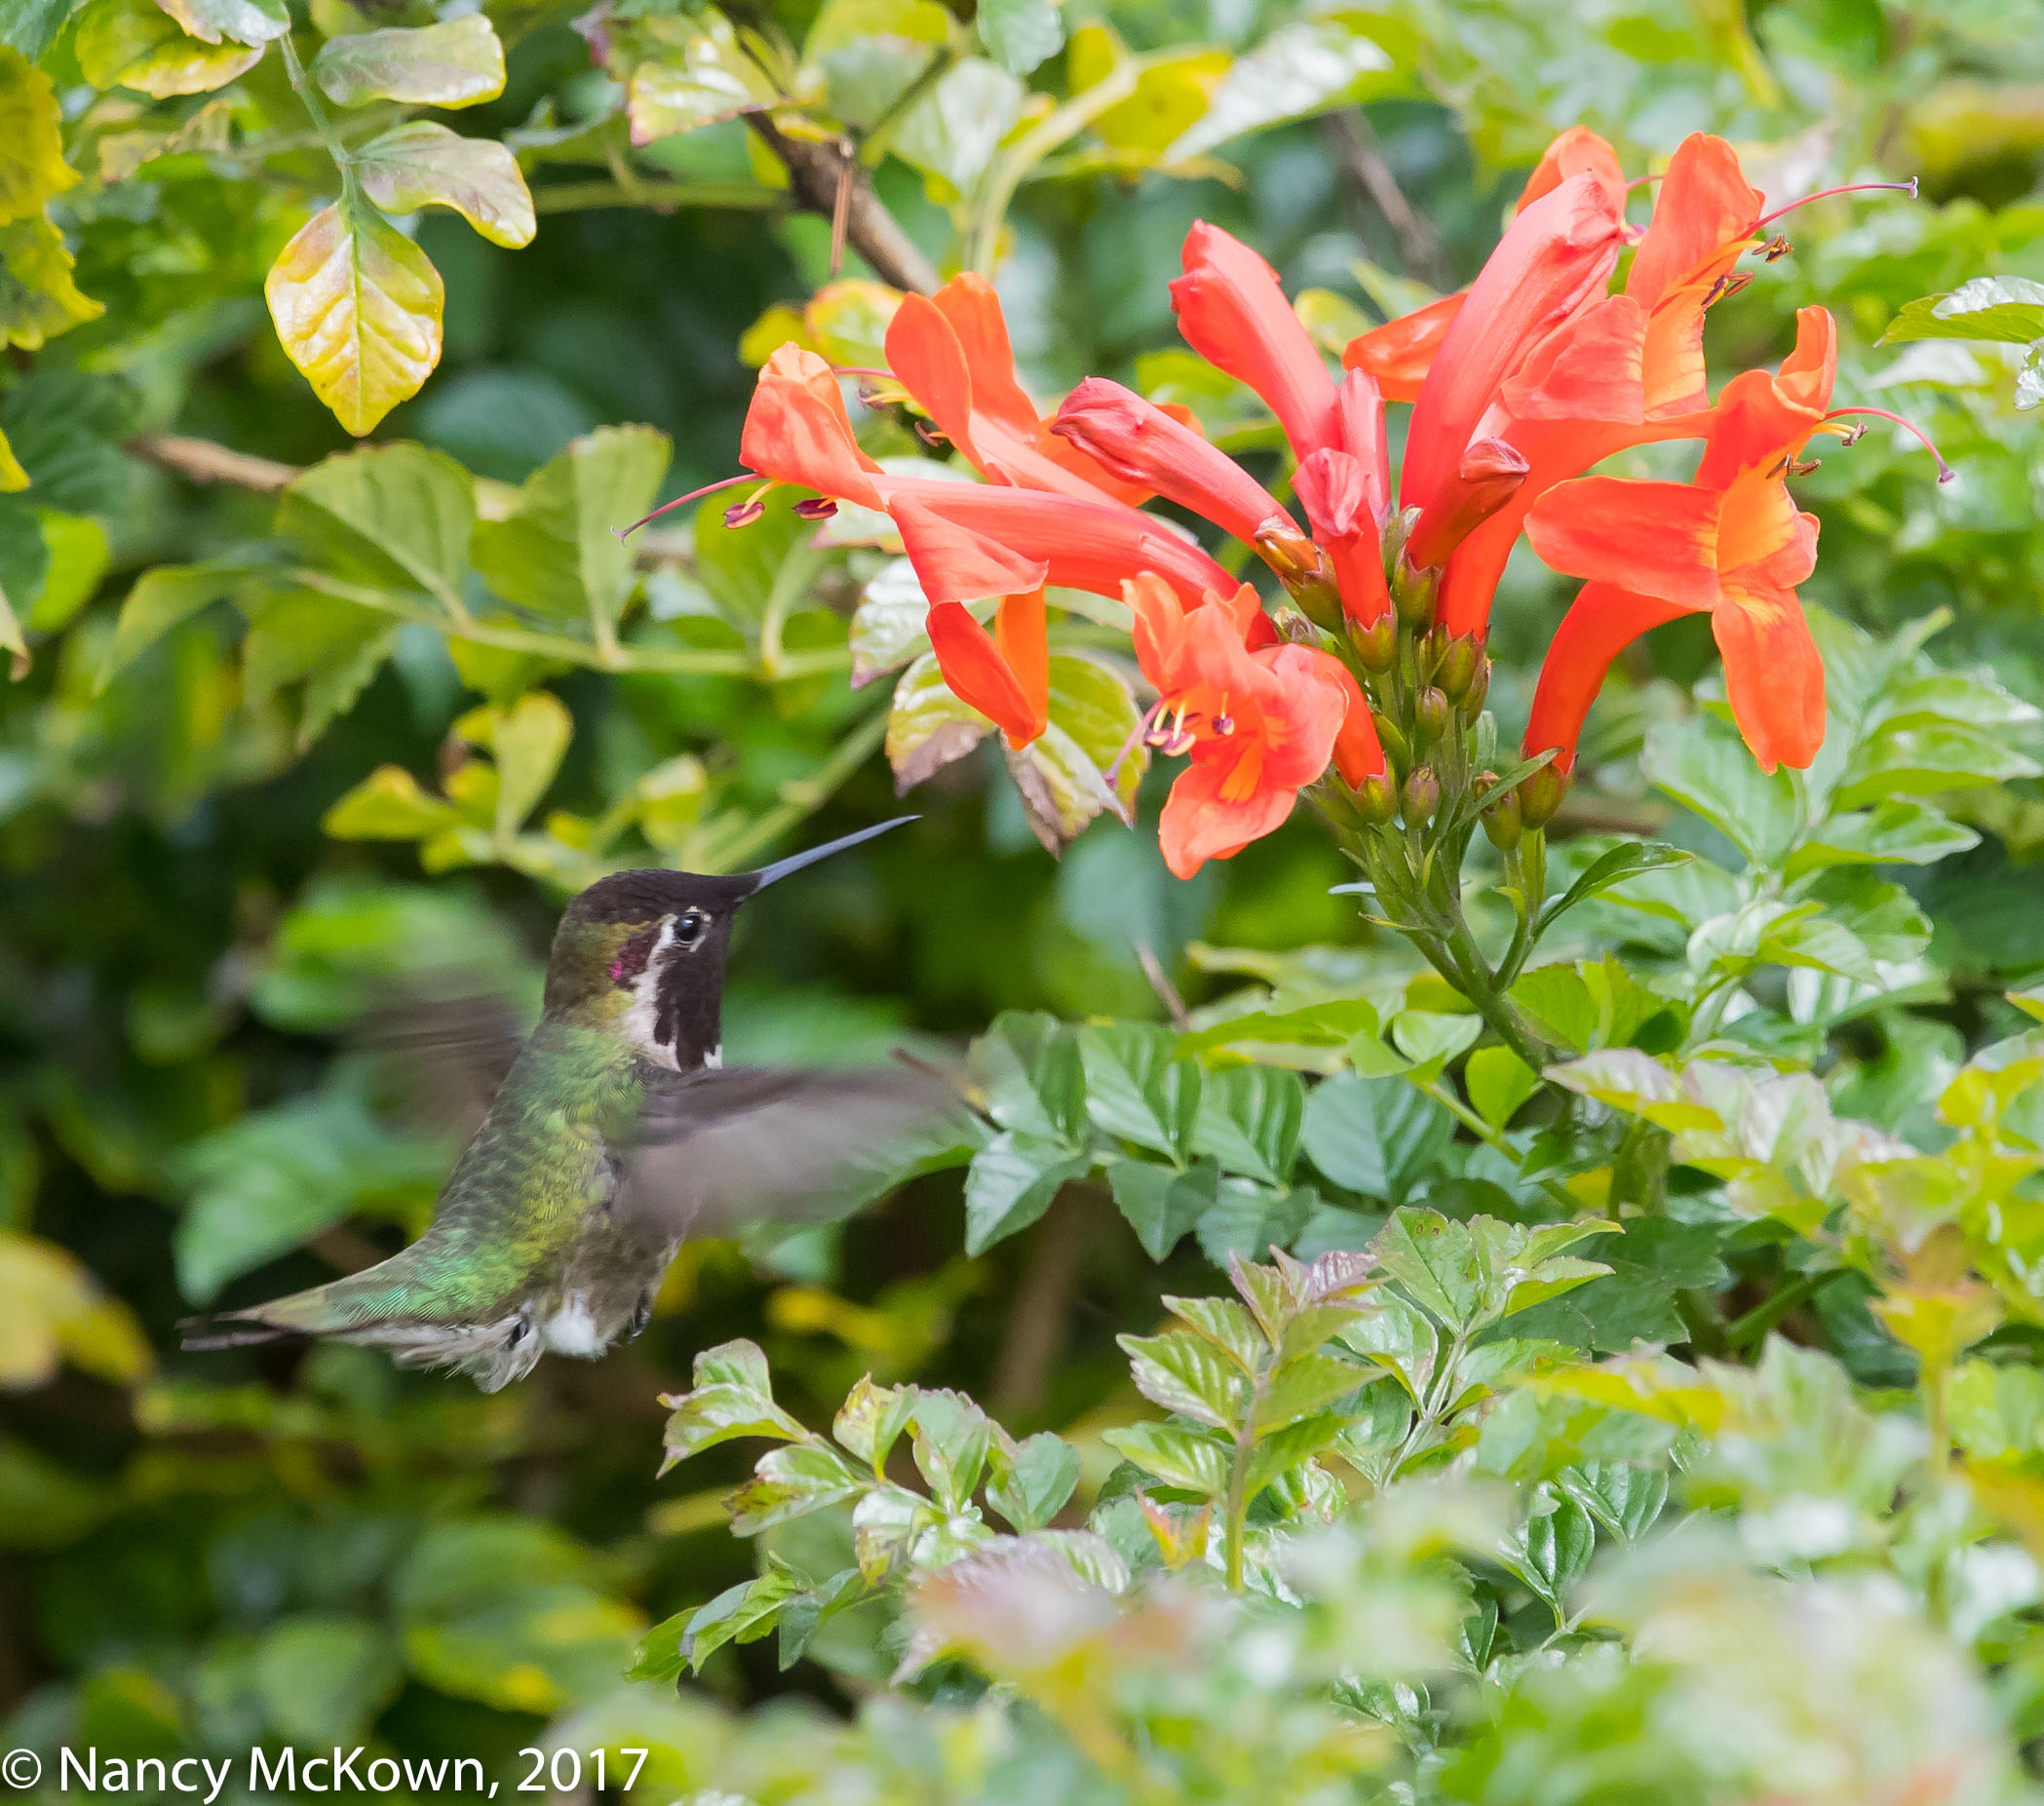
ISO1000; f/8; 1/3200 Second

Lightroom Plugin

In your search to discover why an image is not tack sharp, you might investigate a Lightroom add-on tool that can pinpoint exactly which focus points the camera selected when you captured the image. It’s a free and easy to use plugin available at lightroomfocuspointsplugin.com. It works best with RAW data. In addition, if you have a Canon system, the software included with the camera (Digital Photo Professional) will also indicate which focus points were active.

Photo of Kingfisher
Kingfisher
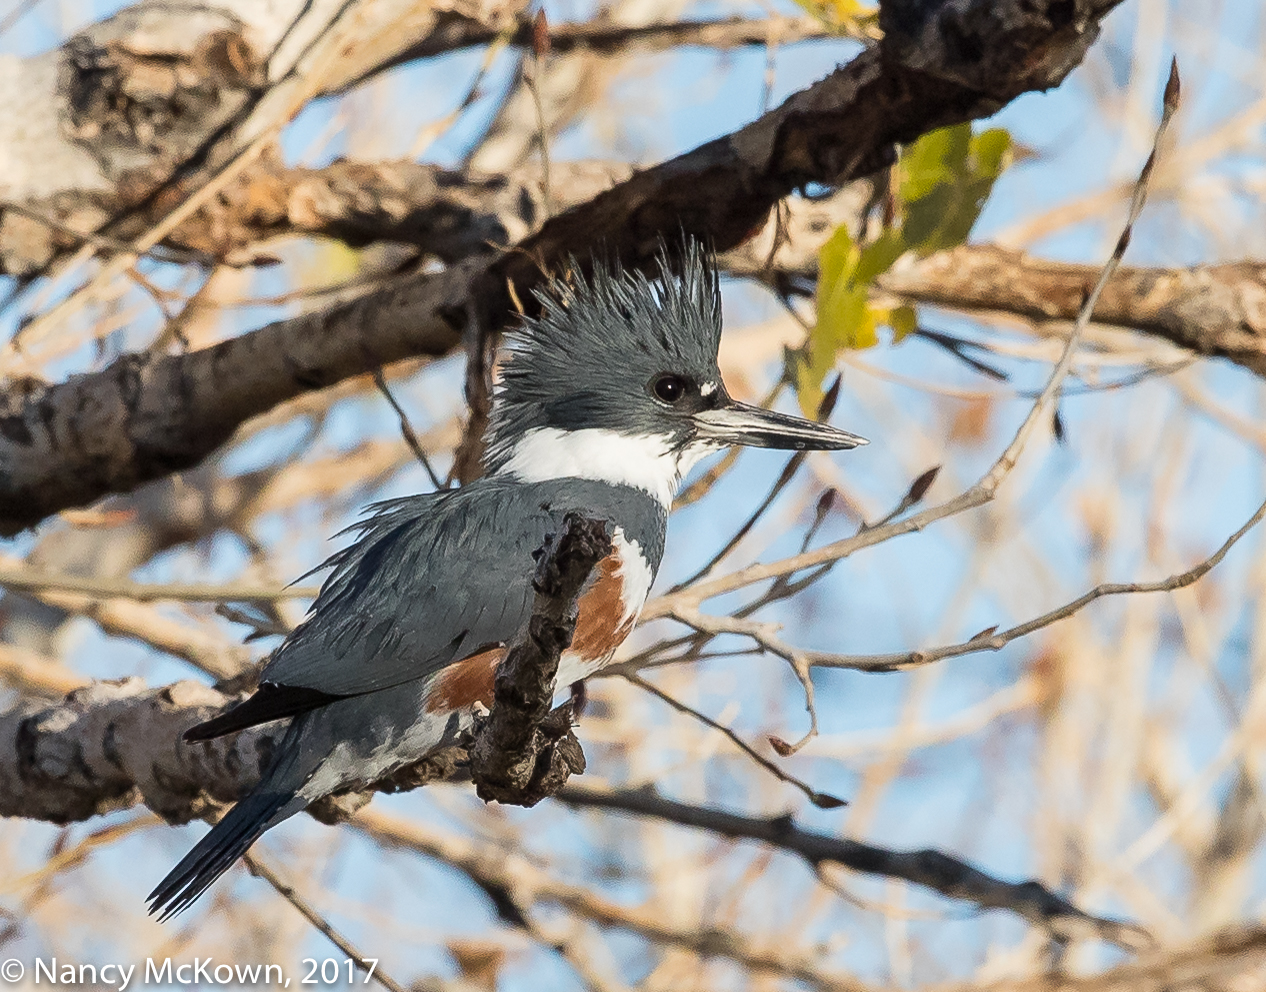
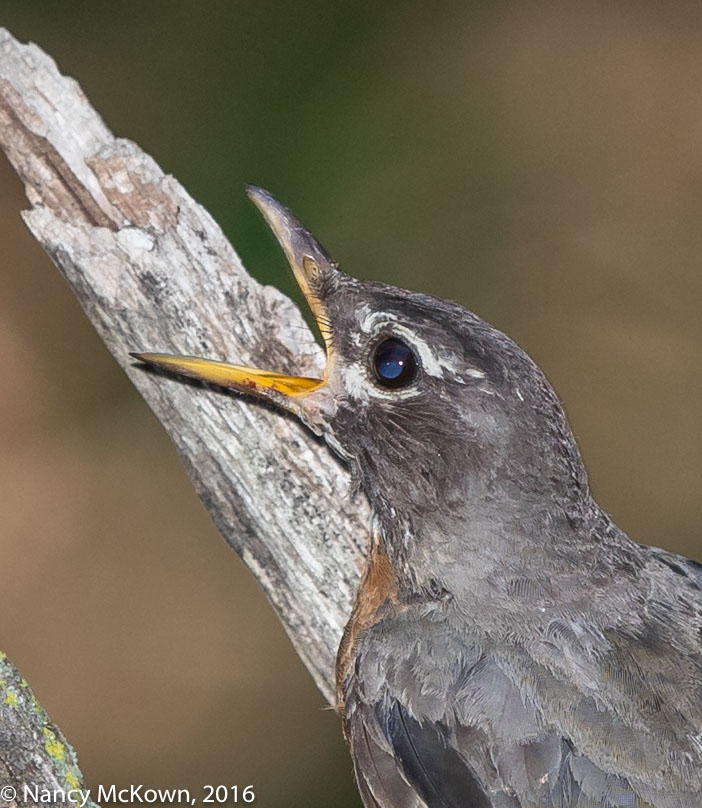
Dripping Wet and Readying for her Next Strike
Ragged Crest Held High
ISO1000; f/8; 1/2500 Second

Photographing An American Robin – Red Eye/Blue Eye Effect

Photographing a Young Robin

Autumn leaves were falling when I took these shots. Many species of fledglings were bravely taking to flight to test their new wings. This immature American Robin clumsily touched down on a perch near the fountain, no parent or other means of support in sight. While I photographed him, he scooted down to the end of the branch, testing his balance. He felt secure enough to direct a warning call at a smaller female Scarlet Tanager on the same branch.

Photo of American Robin
American Robin – Immature
ISO400; f/5.6; 1/250 Second

Red Eye/Blue Eye Effect

We live on a densely wooded lot in SW Michigan onto which summer’s light filters down rather sparsely. When I photograph birds in this environment, it’s best to amplify the ambient light with fill light from a flash. One of the most frustrating things about using a flash for bird photography is the annoying red eye/blue eye effect.

That red or blue glow smack dab in the center of the subject’s eyes only happens when a flashgun is used. The lightning-fast burst floods the eyes with intense light and gives the subject’s unprepared dilated pupils no time to constrict. The light ricochets off some of the blood vessels at the back of the eyeball(s) and is recorded by the camera’s sensor. (NOTE: Birds sometime show a blue glow instead of red because the camera is picking up other reflective surfaces in their retinas.)

Photo of American Robin
Extreme Zoom of American Robin –
Slight but Noticable Blue Eye Caused by Flash

Preventing Red Eye/Blue Eye

  • Some cameras – especially those with built-in flashes, have a two flash system. First a pre-flash is emitted forcing the subject’s eyes to contract immediately before the burst of the main flash. This gives the pupils time to react before the photograph is taken. (NOTE: DSLR built-in flashes do not have the range or intensity needed for bird photography.)
  • Photographing birds looking away from the camera does help to substantially reduced the effect of blue eye, but not completely. (NOTE: See above photo…even though the American Robin was not looking directly at the camera, blue-eye is still evident.)
  • I’ve done the obvious flash fix to avoid the blue eye problem by hoisting the flash off of the hot shoe and positioning it higher above the camera body and nearer to the front of the long lens. This strategy does help, but not consistently. (NOTE: Raising the flash above the camera requires a modest investment in flash accessories. 1) Camera flash bracket made for telephoto lenses that will raise the flash off of the camera; and 2) an TTL off-camera flash cord so you can sync the flash’s E-TTL II functions to the camera.)
  • Repositioning the flash completely off of the camera and to the side would eliminate red eye/blue eye. However, doing this would necessitate photographing birds in more of a studio setting. I much prefer the freedom of situating the flash so it can follow the lens as I track birds.
  • The angle formed by the flash head, the bird’s retina and the camera lens has to be just right to produce red eye/blue eye. If you expand the angle at which the light enters the eye, there is less of a chance that the light will ricochet straight back through the lens. This angle adjustment can be made by repositioning the direction of the movable flash head or by changing the height of the tripod (up or down) so that the camera’s lens is not at eye level with your subject.
  • Bouncing the flash blast off of a wall or other surface widens and diffuses the impact of the light and eliminates red eye/blue eye. This strategy does not work for bird photography unless the subject is very close. Instead of diffusing brightness, a fresnel extender acts as a spot light in order to illuminate distant birds. Bird photographers who use flash need that spotlight effect to sharply capture distant images.
Photo of American Robin
American Robin Extreme Close up 
As He Squawks at a Nearby Tanager.
Blue Eye very evident.
ISO400; f/5.6; 1/250 Second

Post Processing Image Correction

Avoidance is preferable, but sometimes it just doesn’t work out that way. Imaging software like Lightroom or Photoshop have tools that will easily cover up the effects of both red eye and blue eye effectively and efficiently in post and go so far as to provide an option to insert a little catchlight within the repair.  It is a correction I use often.

Photographing Ring Necked Pheasant- Active/Passive Autofocus Systems

Photographing a Ring Necked Pheasant

The last time I photographed a Ring Necked Pheasant it was early Spring. At that time of year, these flamboyant birds have reason to be out-and-about to conspicuously flaunt their stuff. In the Fall, they’re still highly adorned and colorful, but they seem a bit more cautious.

Photo of Ring Necked Pheasants
Ring Necked Pheasants.
ISO800; f/9; 1/1250

How do Modern Cameras Acquire Focus So Fast?

I came across this stunning male pheasant while driving in the Allegan State Game Area. He wasn’t especially close, but I knew that I would spook him if I got out of the car to get closer. I rested the camera and lens on the car door and prepared to shoot. The lens (500mm f/4 L II –always well behaved) rested comfortably with no obstacles in its trajectory. The camera was set to Al Servo focus mode and high speed continuous shooting.  When I half pressed the shutter button, the len’s quiet ultrasonic focusing motors immediately activated, shuffling just a touch to lock focus. I took a few shots to test the area of focus (DOF), then waited hopefully for the bird to move closer to the camera.

Passive Auto Focus Systems

The most common modern DSLR focusing system is referred to as “passive”.  A passive auto focus system waits until light information passes through the lens to the sensor and light meter – and then makes its calculations to determine focus. Precisions systems on modern cameras are capable of achieving a near instantaneous and accurate fix on focusing even in low light by using sensor based sharpness detecting/gauging tools, referred to in the literature as “phase detection” and “contrast measurement”. For more details on these systems, press this link.

Light is key. As the light dims, the camera’s sensors have more difficulty seeing edges and contrasting tones. Auto focus takes longer and becomes less accurate.

Active Auto Focus Systems

Active systems don’t wait for light to pass through the lens to determine focus. Instead these devices emit (infrared or visable) light or sound and then measure it when it bounces back. This DSLR camera auto focus technology is considered old school. (NOTE: Auto focus assist lamps that throw light to help cameras focus are not considered to be Active systems, but instead serve as a “second opinion” for a Passive focusing system.)

Photo of Ring Necked Pheasant
Ring Necked Pheasant
Alert and Tail High
ISO 800; f/9; 1/1250 Second

Circumstances That Impact Passive AutoFocus

  • Some cameras include a “focus beam emitter” which facilitates focusing. Canon cameras do NOT, so I either carry around a flashlight to help the lens see, or heaven forbid, switch to manual focusing and rely on my eyes to accurately focus.
  • A focus assist beam on an external flash device can shed more light and thus assist the autofocusing system. This assumes that the subject is stationary and close enough to the camera to be affected by the beam. (NOTE: Canon cameras utilize flash based focus assist beams only when the camera is set to one-shot autofocus mode.)
  • High quality, expensive lenses are designed for speed and precision and are more likely to deliver tack sharp results. I’ve purchased mediocre lenses (Canon and third party) and had to deal with tight max apertures, slow autofocus and subpar image quality, not to mention distortions and chromatic aberrations.
  • Lenses on which the aperture opens wide (greater than f/2.8) are referred to as “fast” lenses. The wider an aperture opens to allow maximum light on the focal plane, the “faster” and more accurately the lens can focus. The more light transmitting through the lens, the more flexibility the photographer has with exposure parameters. (NOTE: A DSLR camera always auto focuses with the lens set on its widest aperture. It immediately switches to the aperture set for proper exposure when the shutter is depressed.)

Auto Focus Magic

It is nothing short of remarkable how fast and precise high end DSLR lenses acquire focus, no matter what auto focusing mode is set. It’s easy to forget how much bird photographers depend on this technology to get their shots. If you need a reminder, just try switching it off and depending on manual focus for a while.

Photographing An Anna’s Hummer — Long Lens Polarizers

Photographing An Anna’s Hummingbird

Bird photography opportunities rarely come at times when the light is optimal.

These images of an Anna’s Hummingbird were captured in sunny San Diego at mid-day. The camera and 300mm lens with 1.4 extender were pointing downward toward a row of flowering bushes. I took a few shots using only the drop-in gelatin filter that came with the lens. (See image directly below.) I then removed the gelatin filter and dropped in Canon Circular Polarizing Filter (PL-C52). It took a while for my hands to get used to positioning the filter with the external control rotation wheel. Eventually I got the hang of it.

What a difference! (See second image below.)

Anna's Hummingbird
Anna’s Hummingbird
Mid day Sun Overhead. No Polarizer on Lens.
Colors are Muted. Image Looks Washed Out.
Lots of Flare and Glare on the leaves
ISO1000; f/6.3; 1/500 Second

(NOTE: This drop-in circular polarizing filter will fit in both of my telephoto lenses – the EF300 f/2.8 L IS II and the EF500mm f/4L IS II.)

Long Lens Circular Polarizers

A polarizer manages reflections and cuts glare in much the same way as polarizing sunglasses do.

  • A polarizer will reduce the amount of light reaching the sensor and impact your exposure settings (from 1-3 stops).
  • Circular polarizers have dials which must be rotated to optimally cut glare. As you rotate the polarizer, your goal is to dial-in the best color saturation and contrast and dial out reflection and glare. The end result should be more balanced light on the scene. (NOTE: You simply can’t do this much glare reduction in post processing).
  • If a bird flies to a shady spot– a no glare zone– the polarizer does not negatively impact the image, except for light loss.
  • Wearing polarized sunglasses while using a circular polarizer on your lens will prevent you from seeing all the leafy glare and rotating the filter optimally. In addition, polarized sunglasses on top of polarized drop-in filter make for dark and difficult viewing.
  • Polarizers are most effective when the lens is pointed at a right angle to the sun. Depending on the location of the bird and the angle of your lens, the polarizing impact may not be uniform across the whole image.
  • Because you must dial in the best position for optimal glare control, composing may take longer. (NOTE: Repositioning the polarizer was a constant battle as this hummer flitted up and down forcing me to change the len’s trajectory and re-rotate the polarizer’s dial.)
  • Linear polarizers are cheaper, but won’t work with auto exposure and auto focusing functions– making them pretty useless for bird photography.
Anna's Hummingbird
Anna’s Hummer
300 mm lens with 1.4 extender
and Circular Polarizer Inserted.
Did Not Remove All Reflections
But the Image Looks Much Better.
ISO1600; f/7.1; 1/1000 Second

Lens Flare and Lens Glare

Lens flare is no more than stray light (usually unintentional and undesirable) sneaking in and bouncing around the inside of a camera lens and leaving on your images an assortment of light specters, streaks, fogging and ghost images shaped like the diaphragm of the lens. Lens Flare is almost always a consequence of backlighting coming into the lens. To control or otherwise reduce flare, you either move the lens or attempt to shield it, using a hood on the lens barrel, your hand, your hat, or a polarizing filter.

Glare is reflected and scattered light on the surface of water, leaves, flowers, glass, bald heads, etc that does not necessarily originate from the lens.

Filters On A Long Lens

In all my long years as a photographer, I never purchased a polarizer or any kind of filter for my lenses, until now. I assumed that these tools were better suited for landscape photographers even though I often found unbalanced light and shimmery glare on my bird images. I should have known better.

Soft, diffused natural light is elusive….even when you show up at the right time and follow all the rules. Too much mid-day unshielded sunlight... contrasty and harsh, is impossible to avoid and hard to control without proper equipment to make shade or reduce shadows.

You can’t purchase filters large enough to put on the end of Canon’s big telephoto lenses. Most of Canon’s longer telephoto lenses come equipped (close to the base of the lens) with a drop-in gel filter holder (with a clear glass filter installed). Quality drop-in circular polarizers are expensive, and only useful on longer lenses.

Bottom line, the best quality of light for bird photography is still sun rise or sun set. However, opportunities abound for bird photography at mid day.  A polarizing filter is a good light weight solution to tame the sun.

Photographing a Green Heron – Such Clever Birds

Heading for the Sun

We spent some time in sunny Arizona recently. (NOTE: This excursion took place before it became so unseasonably sunny and warm in SW Michigan.) I don’t mind the cold Michigan winters so much, but this year’s dreary cloud packed skies were just too much. Just had to get away, so we packed our bags and camera equipment (Traveling light with the 300mm lens and 1.4 extender. No flash unit) and took off.

We rented a condo for a week in Scottsdale, AZ with the 71 acre Vista Del Camino Park as our back yard. The park includes 3 small lakes and attracts a wide variety of waterbirds.

Green Heron
Green Heron,
Sedate and Watchful.
ISO1250; f/9 1/2500 Second

Photographing A Rather Sedate Green Heron

Green Herons are usually solitary and secretive birds. This stocky specimen, obviously acclimated to humans, let us get closer with the camera than I expected he would. He stood motionless, alert and hunched, not bothering to watch me. As I slowly moved the camera closer, he descended the steep bank and eventually rested on a partially submerged rocky perch. I moved my rig down the bank as well, trying to get the camera closer and at eye level.

It was early morning and the bird’s glossy plumage blended appealingly with his dappled surroundings. His back shimmered with rich multi-layered contoured feathers in tones of green, teal, gray, black, and olive. Yellow streaks above his beak pointed to his striking gold eyes and black crest. The large rock in the back ground had burnt umber earth pigment tones, (possibly iron and magenese contained within the rock), with some light colored organic deposit on the sides closest to the water. Illuminated by soft, warm, dimensional light, the umber tones perfectly matched the feathers on the heron’s face, neck and breast.  (NOTE: I was hoping he would extend his bushy crest, but no luck.)

Green Heron
Green Heron Just Before Lift Off.
ISO1250; f/9 1/2500 Second

I had to reposition the rig multiple times, trying to level the tripod on the steep incline of the bank. Eventually one leg of the tripod dropped into the goopy mud- so there I stood, sinking with my tripod and taking lopsided photos of this beautiful bird. (NOTE: The lopsided images were easily remedied in post processing by using the Crop and Straighten image rotation tool in Lightroom.)

Clever Water Birds

A quick read of the literature about Green Herons reveals that these are very clever tool wielding birds. Multiple videos on the web show that these herons will drop a bait-like object onto the water’s surface and wait for an unsuspecting creature to nibble at it. The heron will continually reposition his lure to keep it within his grabbing reach. He is quick to snatch anything that takes the bait. This heron did not exhibit this behavior, but it was exciting none-the-less to observe and photograph such an engaging bird.

Photo of Green Heron
Ultra Zoom-Green Heron -Extending his Body
Slowly to Reach Something in the Water.
ISO1250; f/9; 1/2500 Second