Photographing a Young Robin
Autumn leaves were falling when I took these shots. Many species of fledglings were bravely taking to flight to test their new wings. This immature American Robin clumsily touched down on a perch near the fountain, no parent or other means of support in sight. While I photographed him, he scooted down to the end of the branch, testing his balance. He felt secure enough to direct a warning call at a smaller female Scarlet Tanager on the same branch.
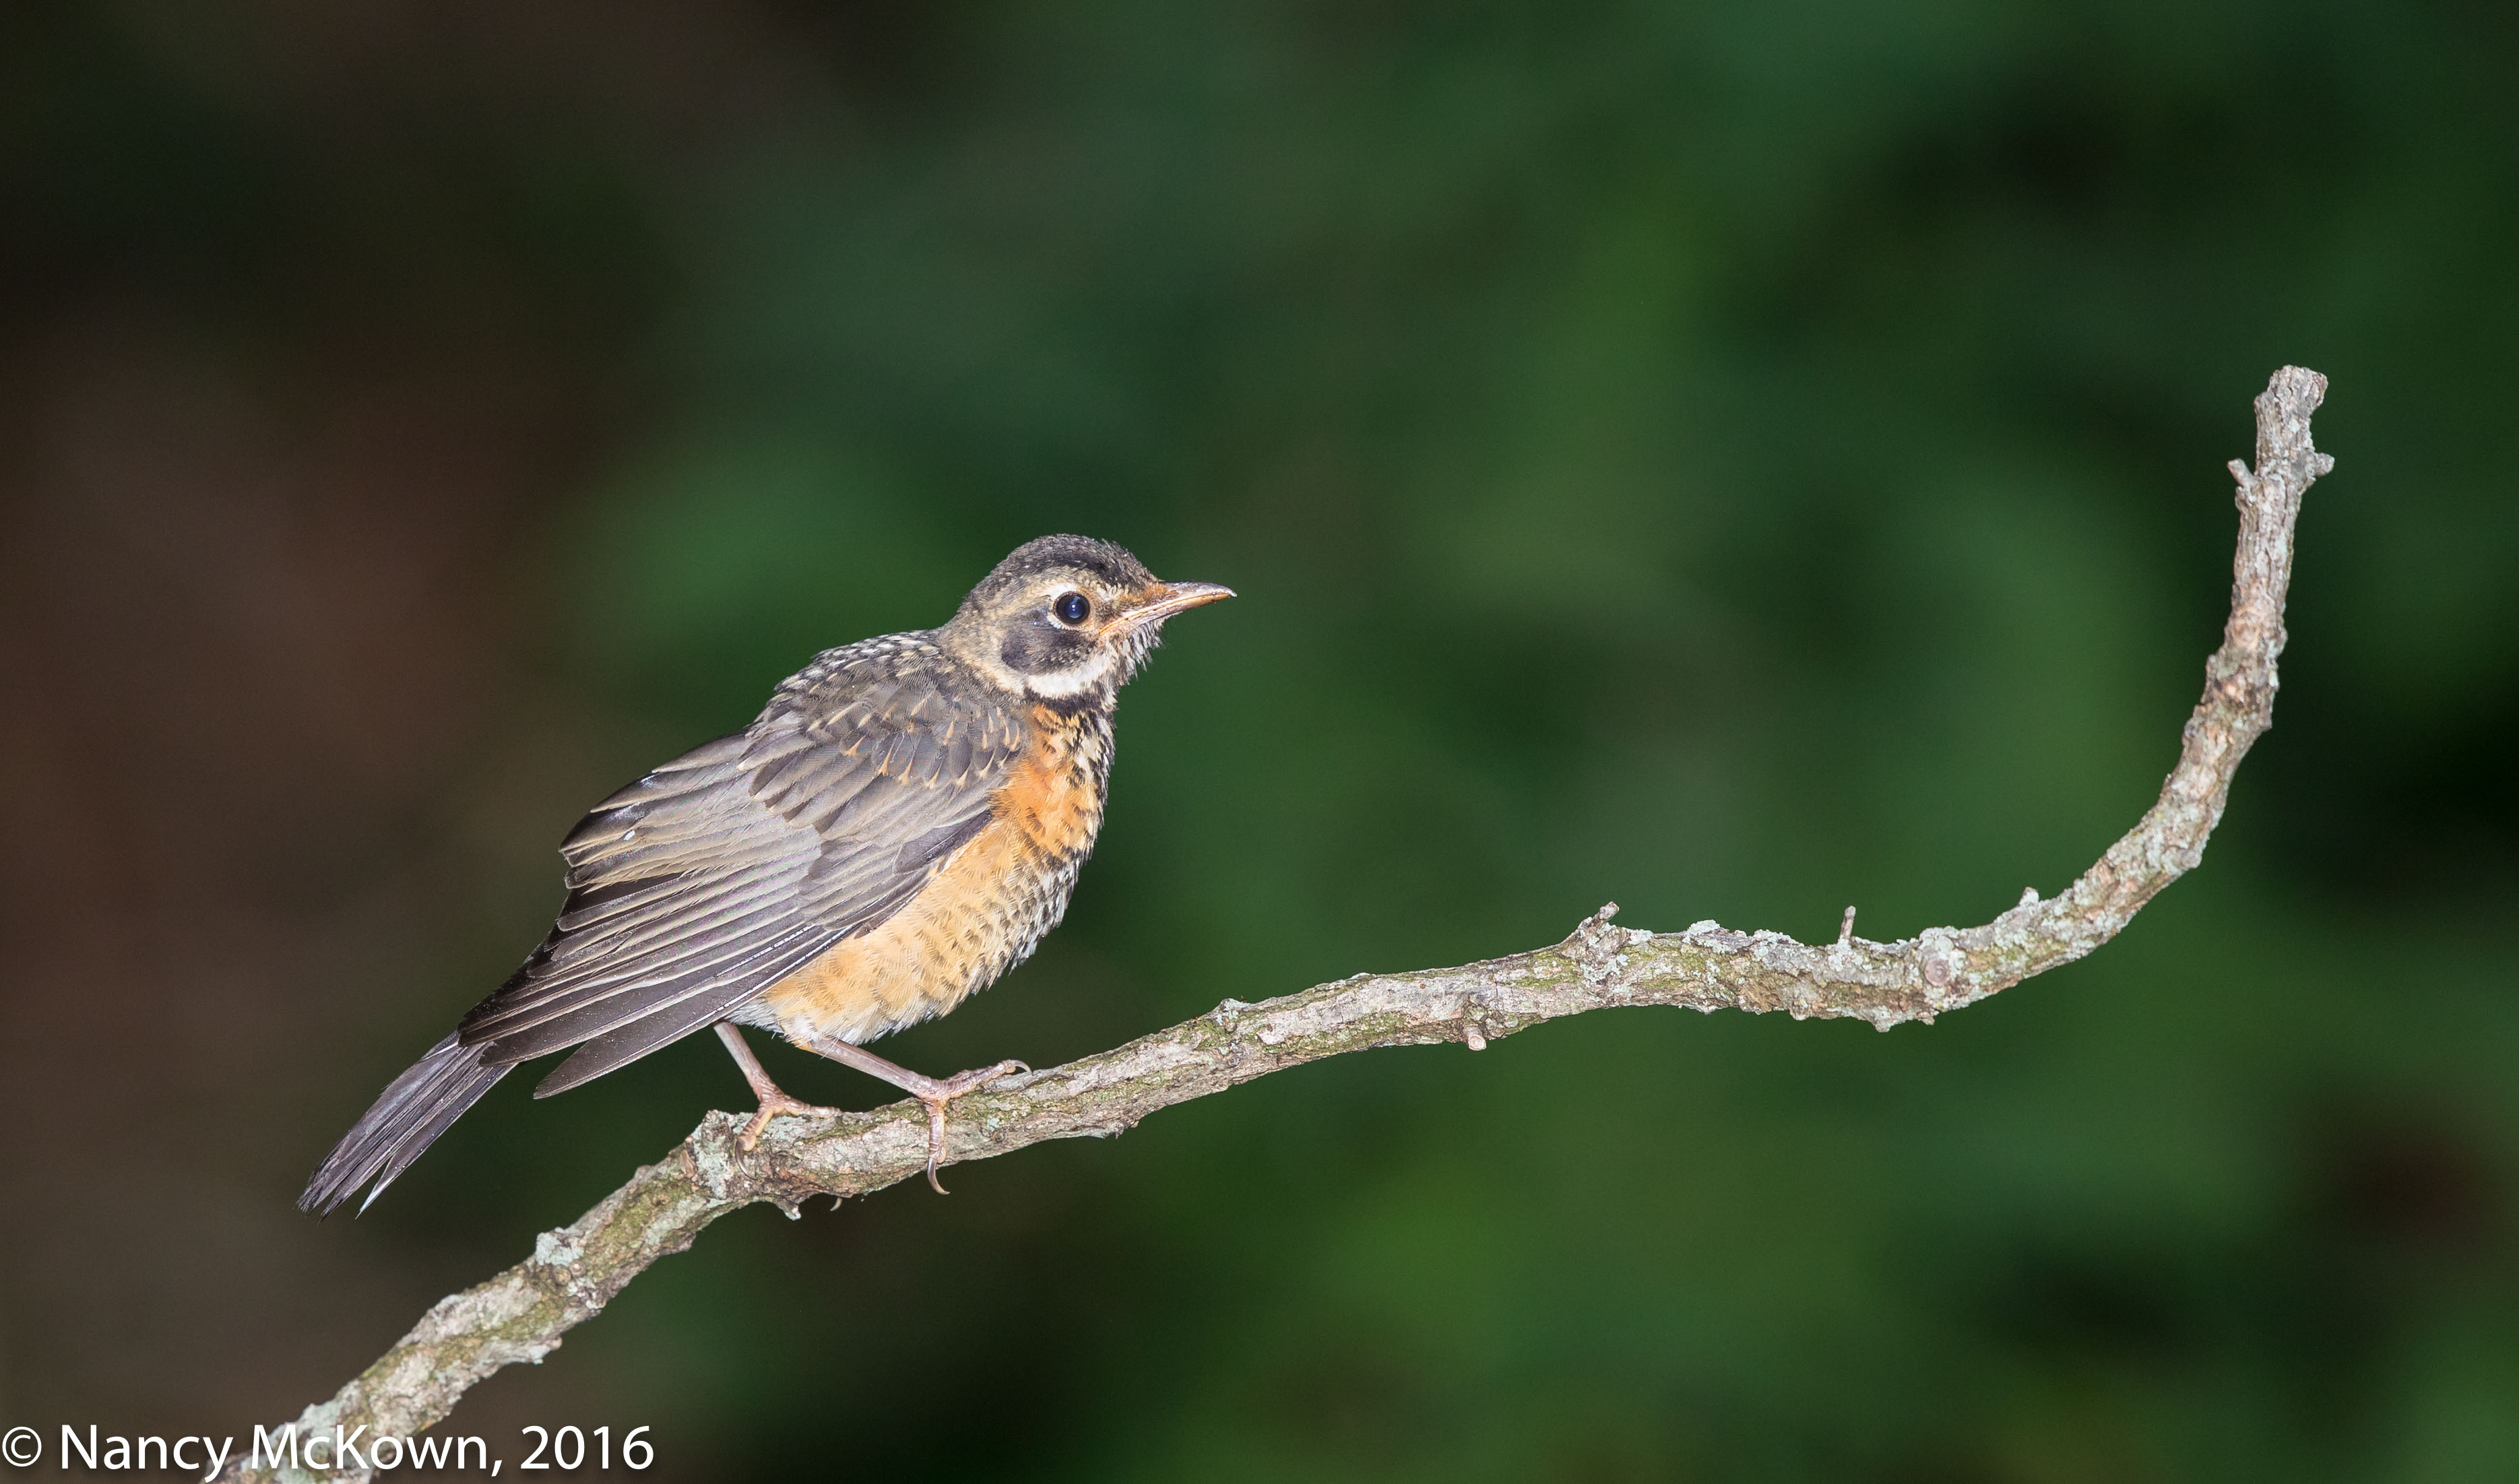
ISO400; f/5.6; 1/250 Second
Red Eye/Blue Eye Effect
We live on a densely wooded lot in SW Michigan onto which summer’s light filters down rather sparsely. When I photograph birds in this environment, it’s best to amplify the ambient light with fill light from a flash. One of the most frustrating things about using a flash for bird photography is the annoying red eye/blue eye effect.
That red or blue glow smack dab in the center of the subject’s eyes only happens when a flashgun is used. The lightning-fast burst floods the eyes with intense light and gives the subject’s unprepared dilated pupils no time to constrict. The light ricochets off some of the blood vessels at the back of the eyeball(s) and is recorded by the camera’s sensor. (NOTE: Birds sometime show a blue glow instead of red because the camera is picking up other reflective surfaces in their retinas.)

Slight but Noticable Blue Eye Caused by Flash
Preventing Red Eye/Blue Eye
- Some cameras – especially those with built-in flashes, have a two flash system. First a pre-flash is emitted forcing the subject’s eyes to contract immediately before the burst of the main flash. This gives the pupils time to react before the photograph is taken. (NOTE: DSLR built-in flashes do not have the range or intensity needed for bird photography.)
- Photographing birds looking away from the camera does help to substantially reduced the effect of blue eye, but not completely. (NOTE: See above photo…even though the American Robin was not looking directly at the camera, blue-eye is still evident.)
- I’ve done the obvious flash fix to avoid the blue eye problem by hoisting the flash off of the hot shoe and positioning it higher above the camera body and nearer to the front of the long lens. This strategy does help, but not consistently. (NOTE: Raising the flash above the camera requires a modest investment in flash accessories. 1) Camera flash bracket made for telephoto lenses that will raise the flash off of the camera; and 2) an TTL off-camera flash cord so you can sync the flash’s E-TTL II functions to the camera.)
- Repositioning the flash completely off of the camera and to the side would eliminate red eye/blue eye. However, doing this would necessitate photographing birds in more of a studio setting. I much prefer the freedom of situating the flash so it can follow the lens as I track birds.
- The angle formed by the flash head, the bird’s retina and the camera lens has to be just right to produce red eye/blue eye. If you expand the angle at which the light enters the eye, there is less of a chance that the light will ricochet straight back through the lens. This angle adjustment can be made by repositioning the direction of the movable flash head or by changing the height of the tripod (up or down) so that the camera’s lens is not at eye level with your subject.
- Bouncing the flash blast off of a wall or other surface widens and diffuses the impact of the light and eliminates red eye/blue eye. This strategy does not work for bird photography unless the subject is very close. Instead of diffusing brightness, a fresnel extender acts as a spot light in order to illuminate distant birds. Bird photographers who use flash need that spotlight effect to sharply capture distant images.
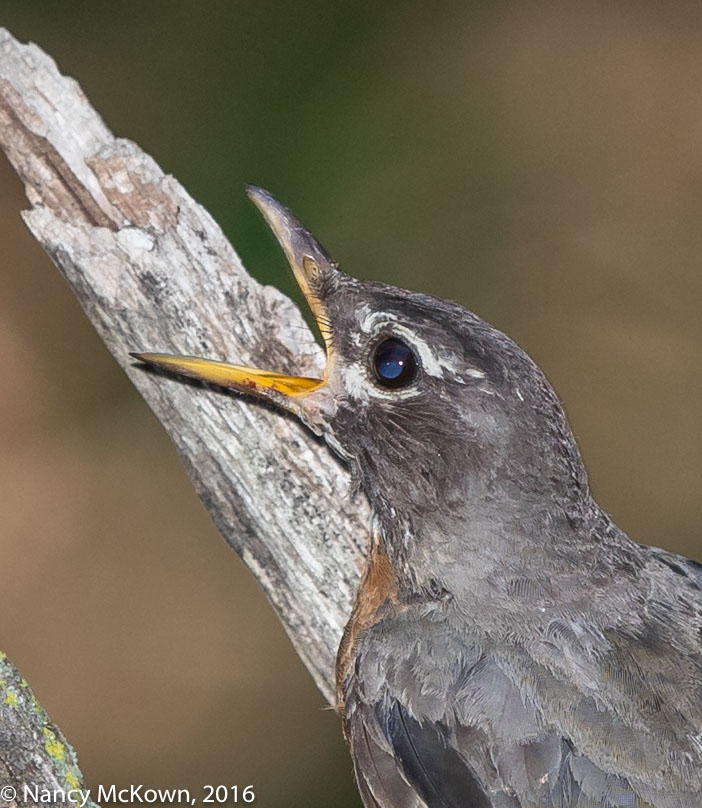
As He Squawks at a Nearby Tanager.
Blue Eye very evident.
ISO400; f/5.6; 1/250 Second
Post Processing Image Correction
Avoidance is preferable, but sometimes it just doesn’t work out that way. Imaging software like Lightroom or Photoshop have tools that will easily cover up the effects of both red eye and blue eye effectively and efficiently in post and go so far as to provide an option to insert a little catchlight within the repair. It is a correction I use often.