As much as I would like to have bright, even light when I photograph migrating birds, I rarely do. The migrators take advantage of the best weather conditions and keep going. The more fierce the rain, wind and cold, the more likely they will descend to avoid the possibility of getting lost, conserve their energy and wait out the inclement weather in the understory trees. Once down, they can take cover, get a little food and rest and keep an eye out for predators. (NOTE: Small birds are not as efficient in flight as large birds, especially when conditions are poor.)
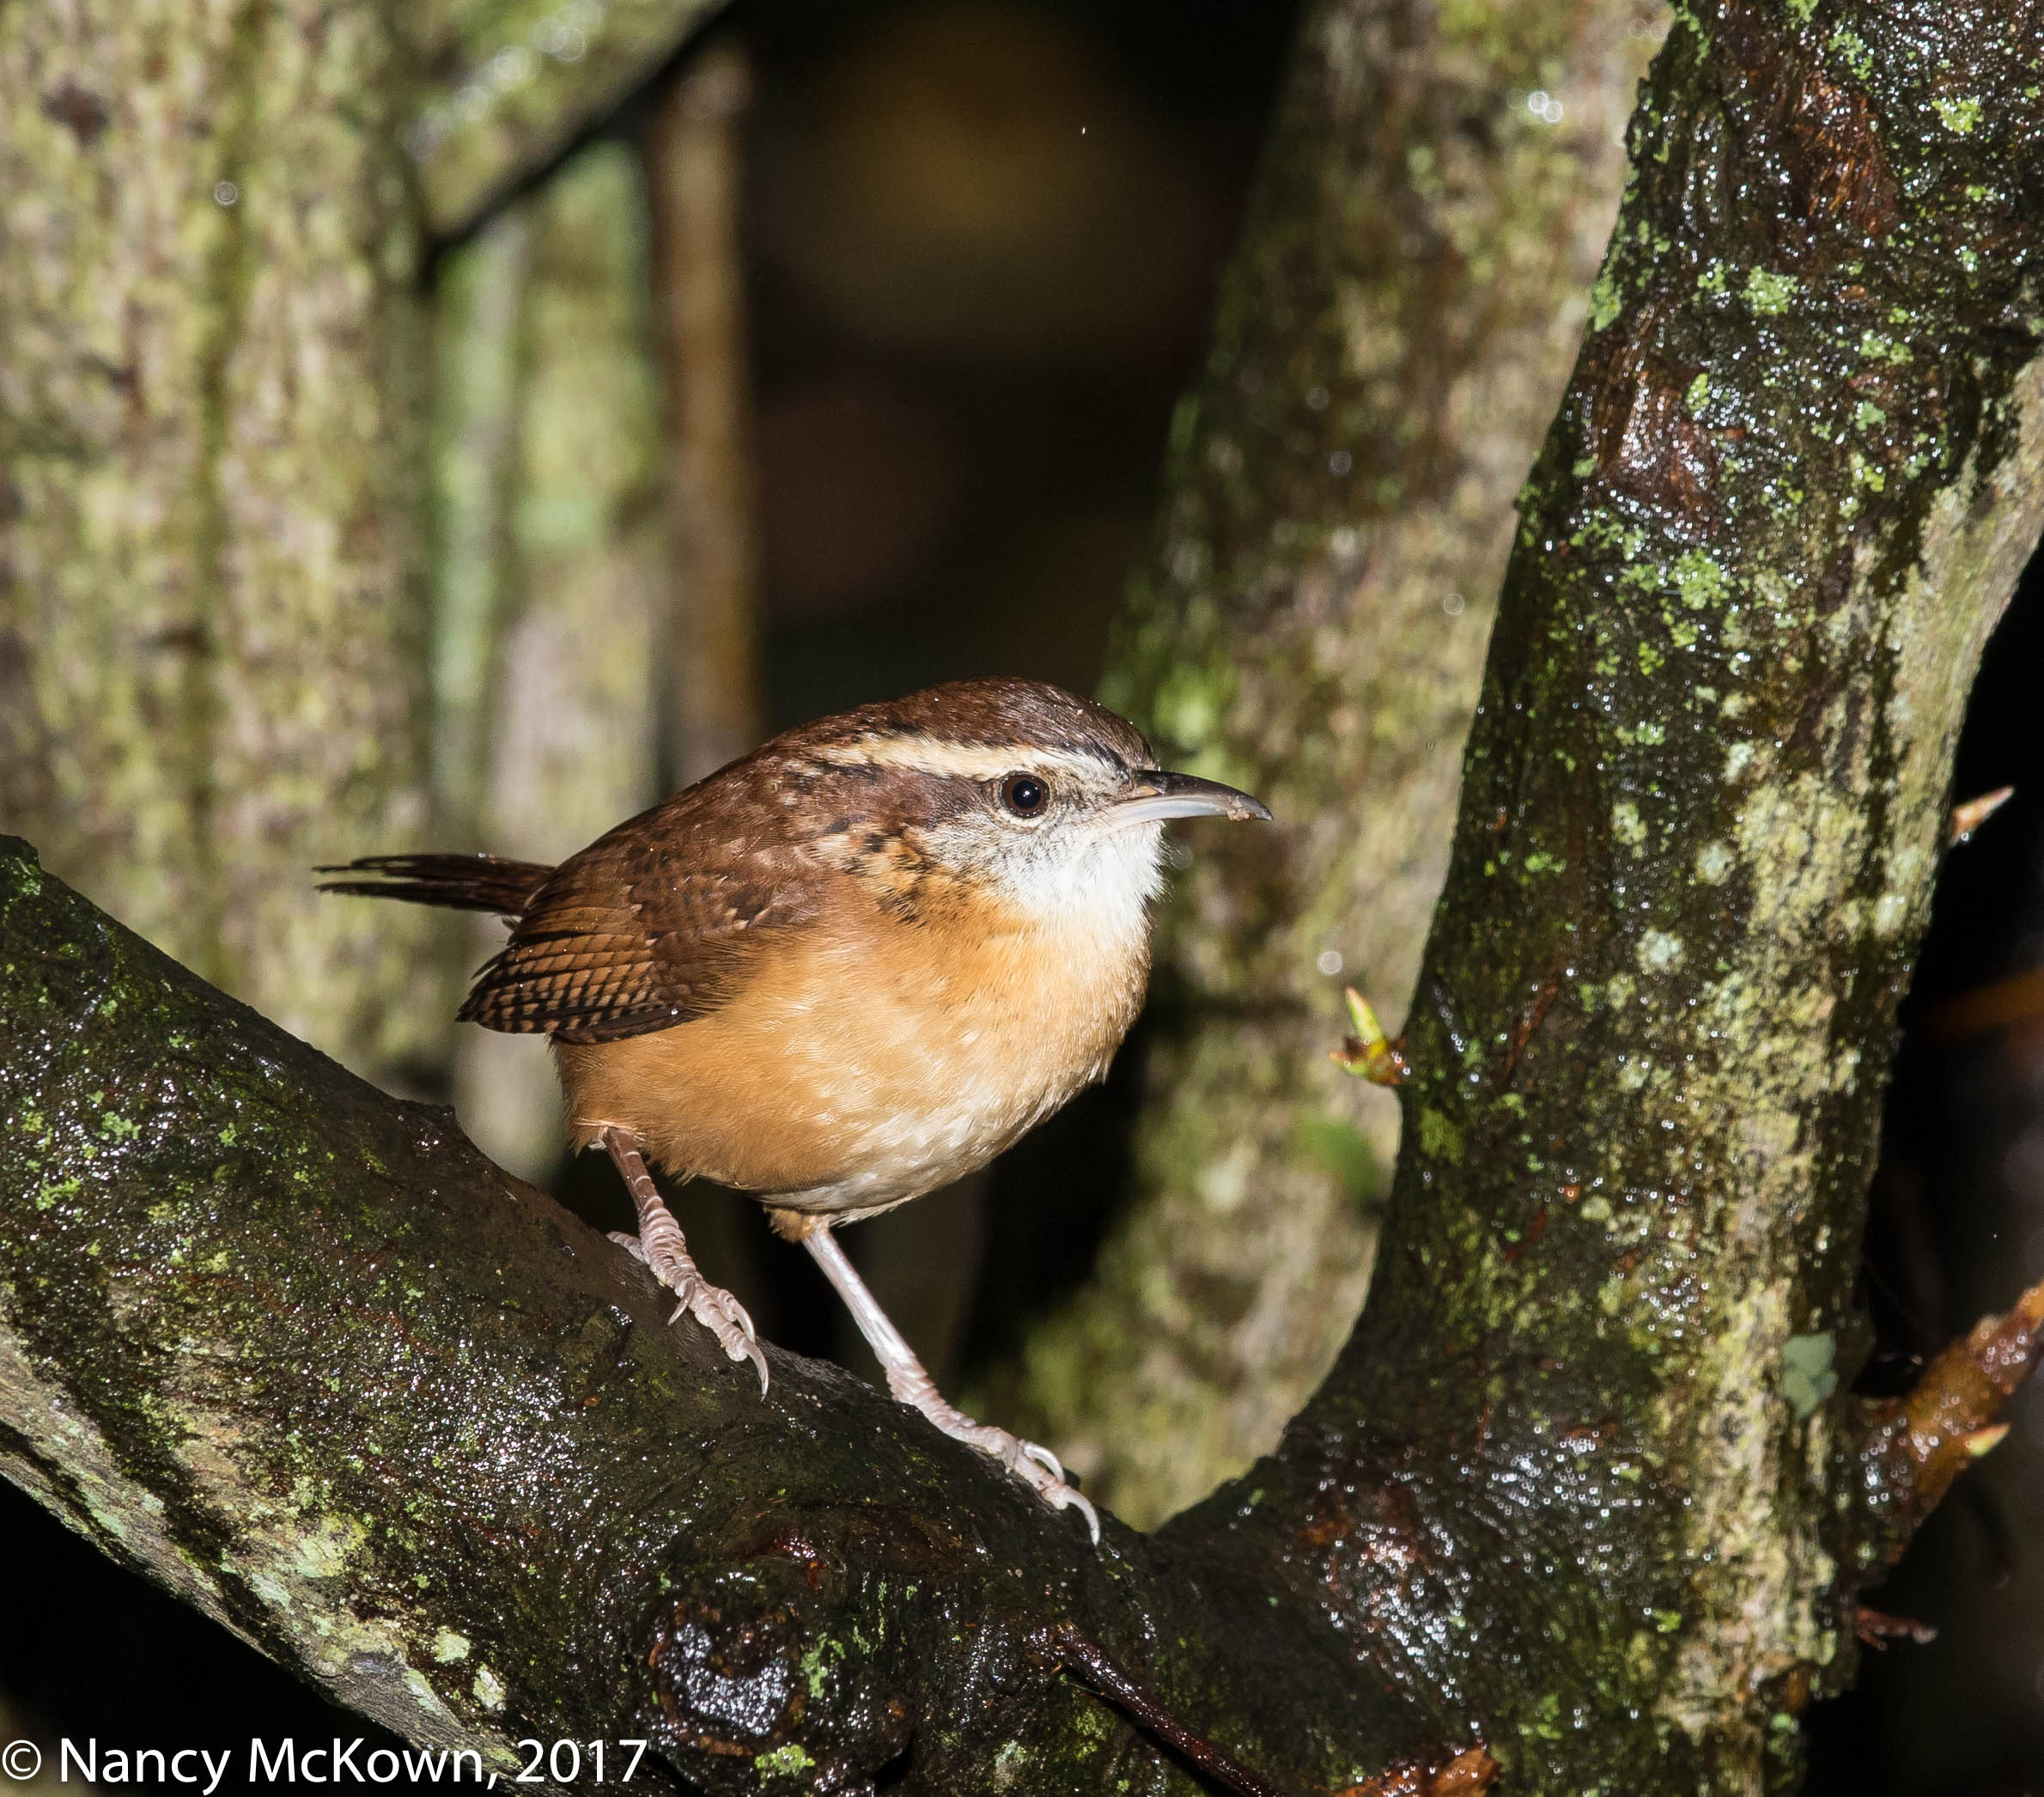
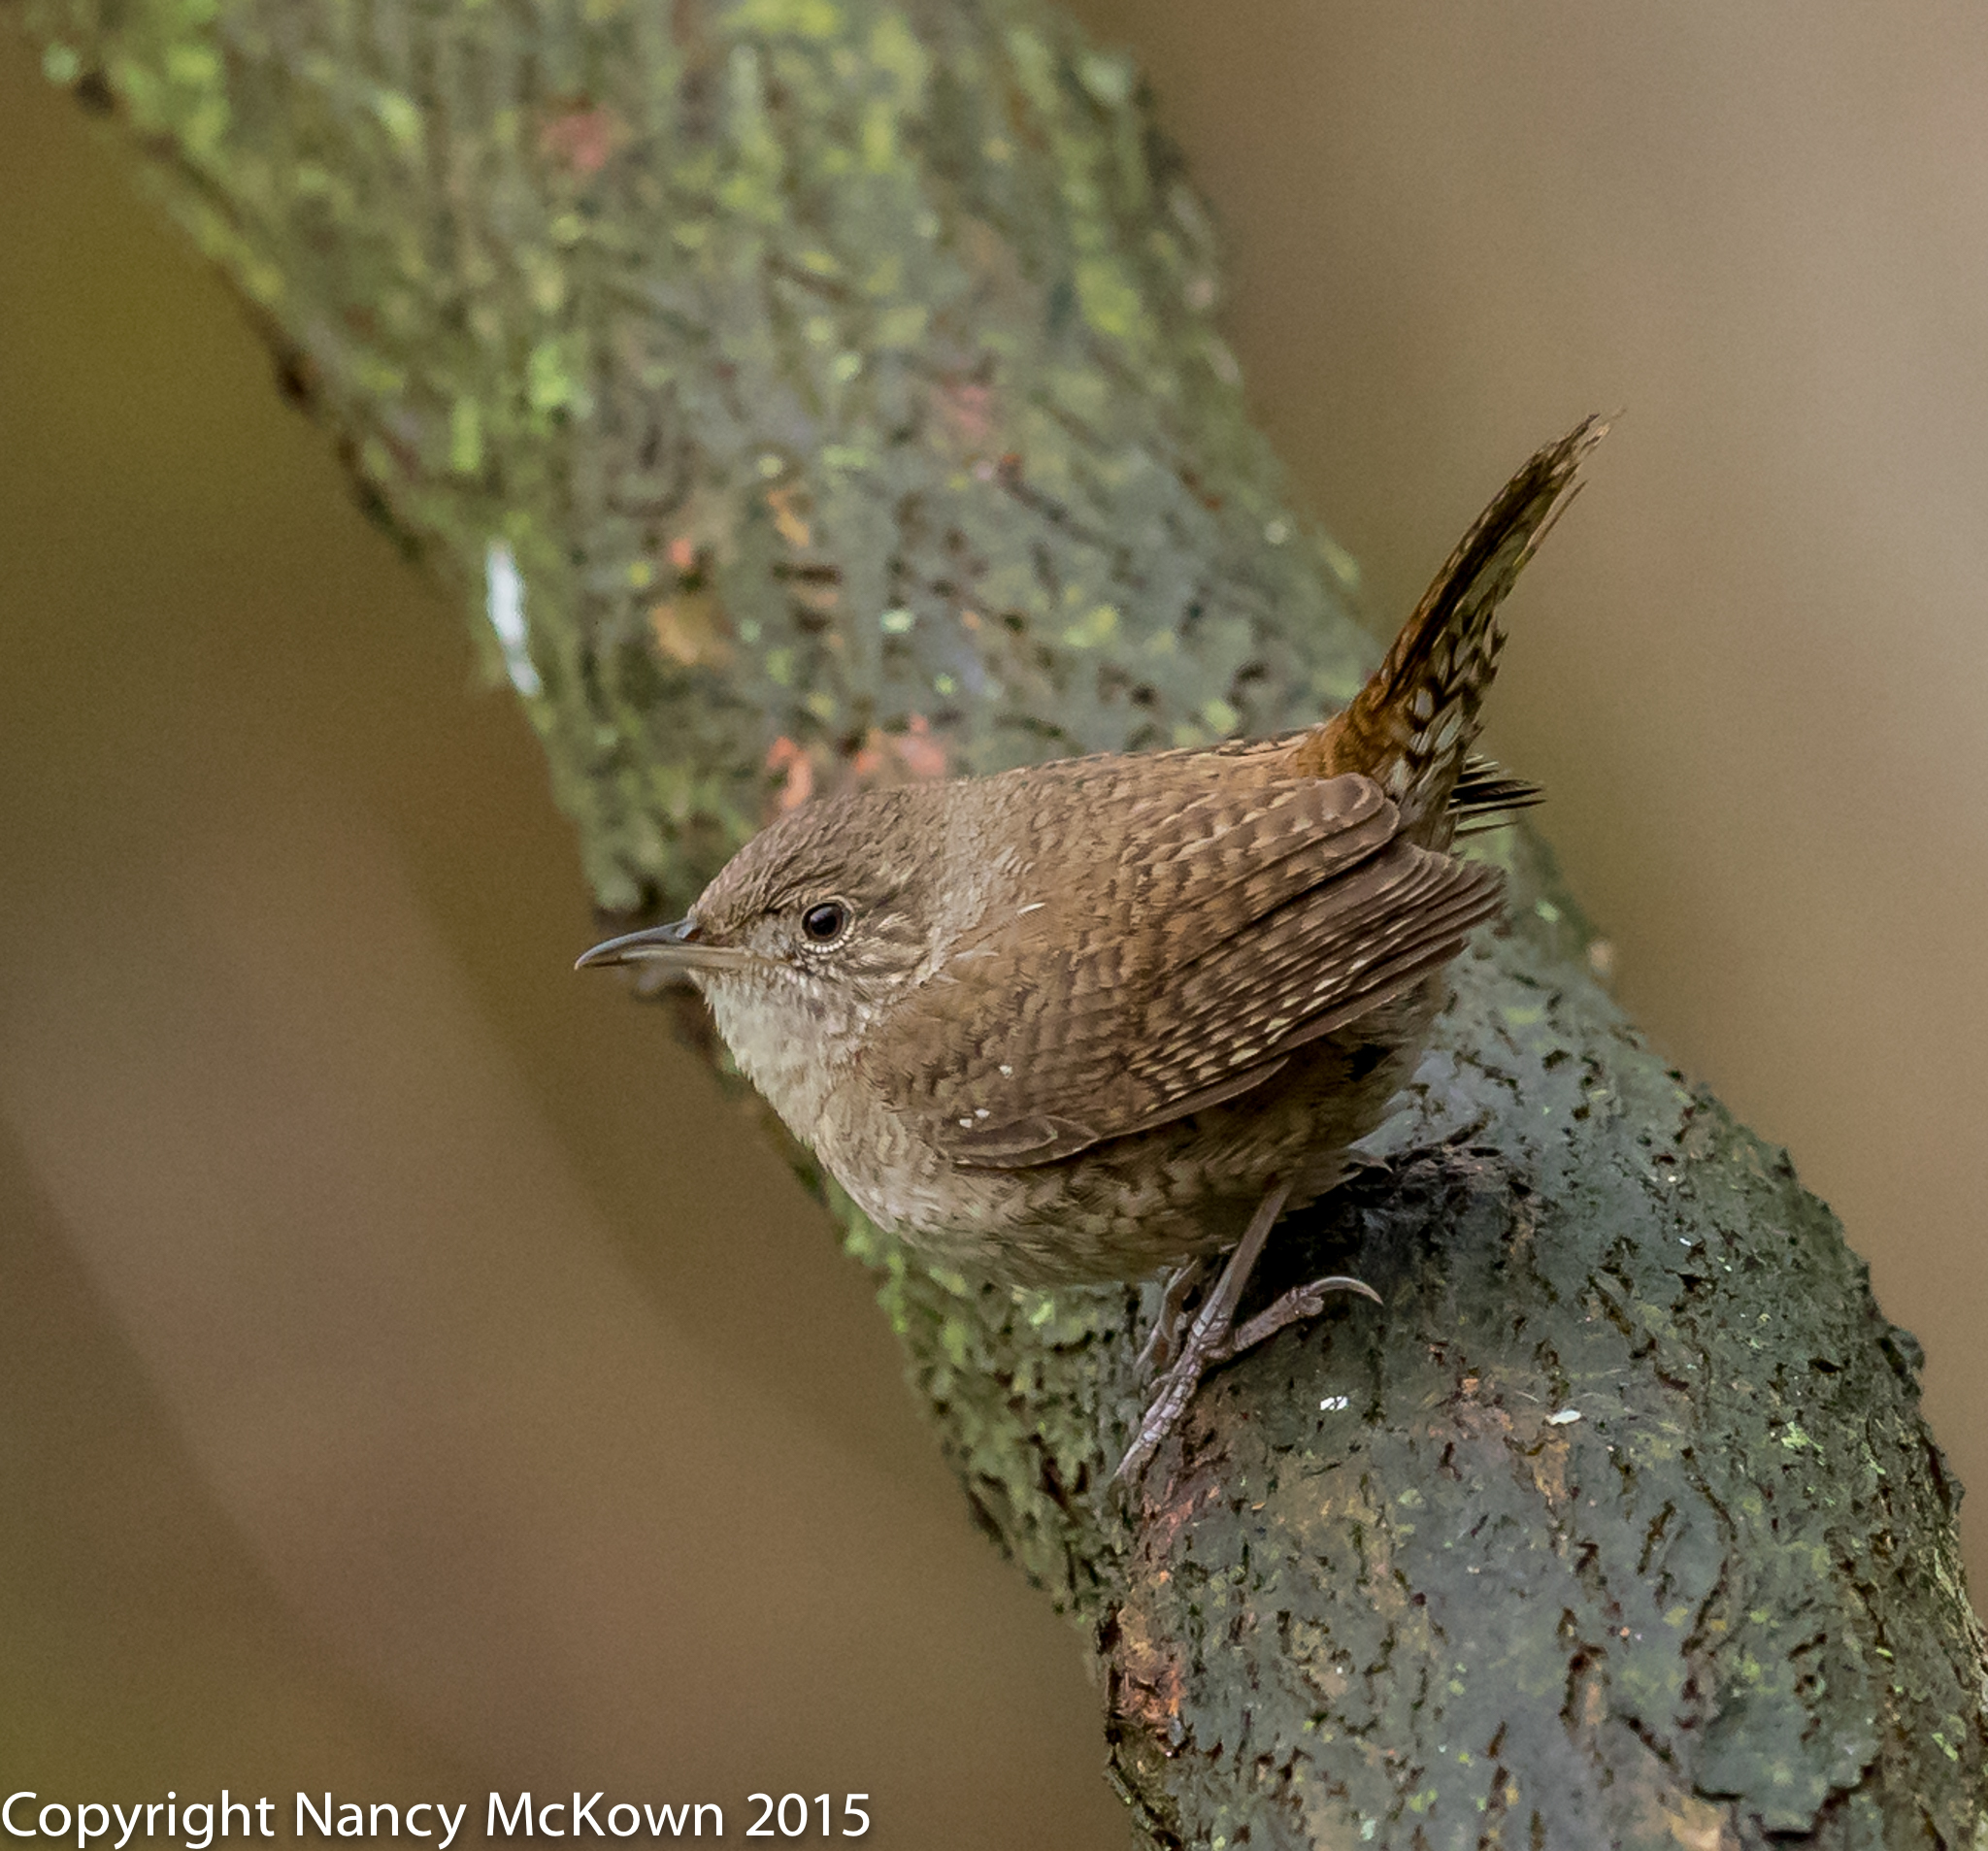
There is little reason to set up the camera rig by the fountain when it’s raining. Instead, I position the camera near low lying trees and bushes and hope a new bird will venture close by. This little, soaking wet Carolina Wren made my day. Despite the rain, he started to sing….an intricate and lovely set of bird vocalizations. (Visit this link to hear them.) These wrens are large and hardy, as wrens go, and not particularly shy. They are not easily shoved aside by the bigger birds at the feeder or the fountain. The last time I photographed a Carolina Wren in our yard was a feeder shot in January, 2014.
Carolina Wren Resting on Oversized Perch. ISO400; f/7.1; 1/250 Second
Algae, Lichen and Moss
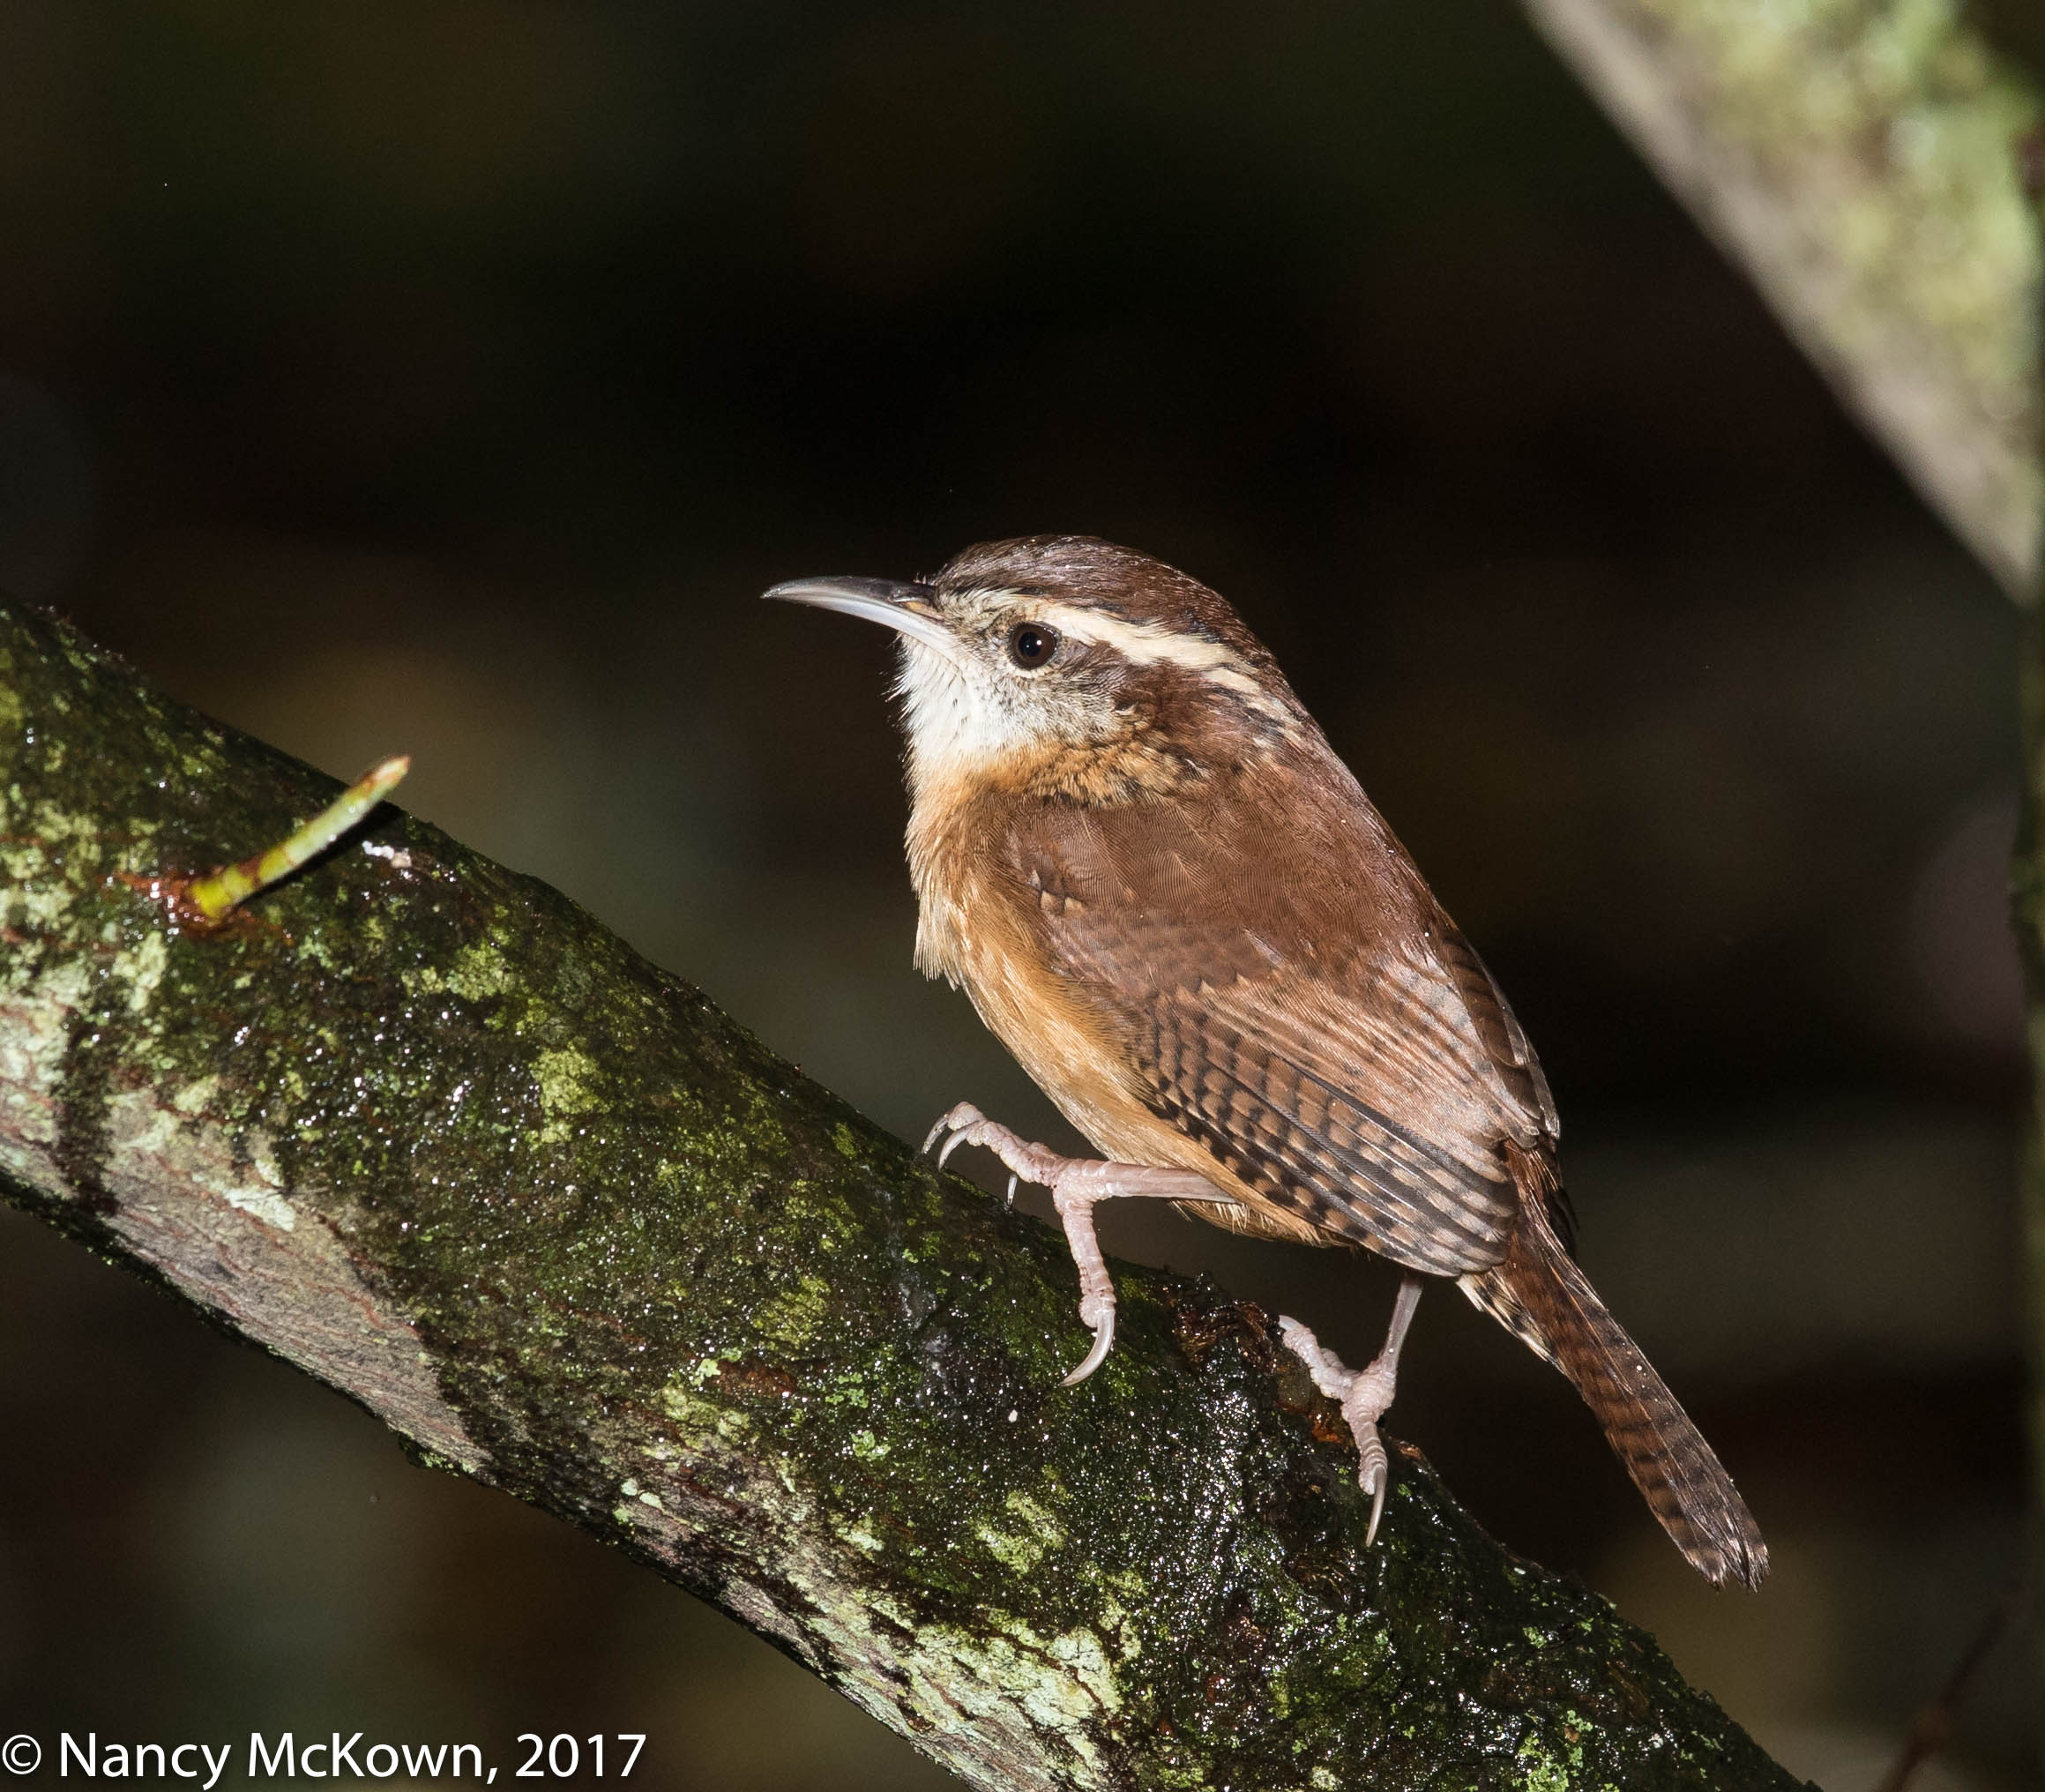
I like the look of the flourishing algae, lichens, and moss that embed themselves in tree trunks and branches in our yard. These living organisms thrive everywhere in our damp woods and are ubiquitous on the perches of many of my bird images. If the light is right during or shortly after a rain shower, they reflect little explosions of rugged patterns, textures, lines, and lush colors.
Oversized Perches
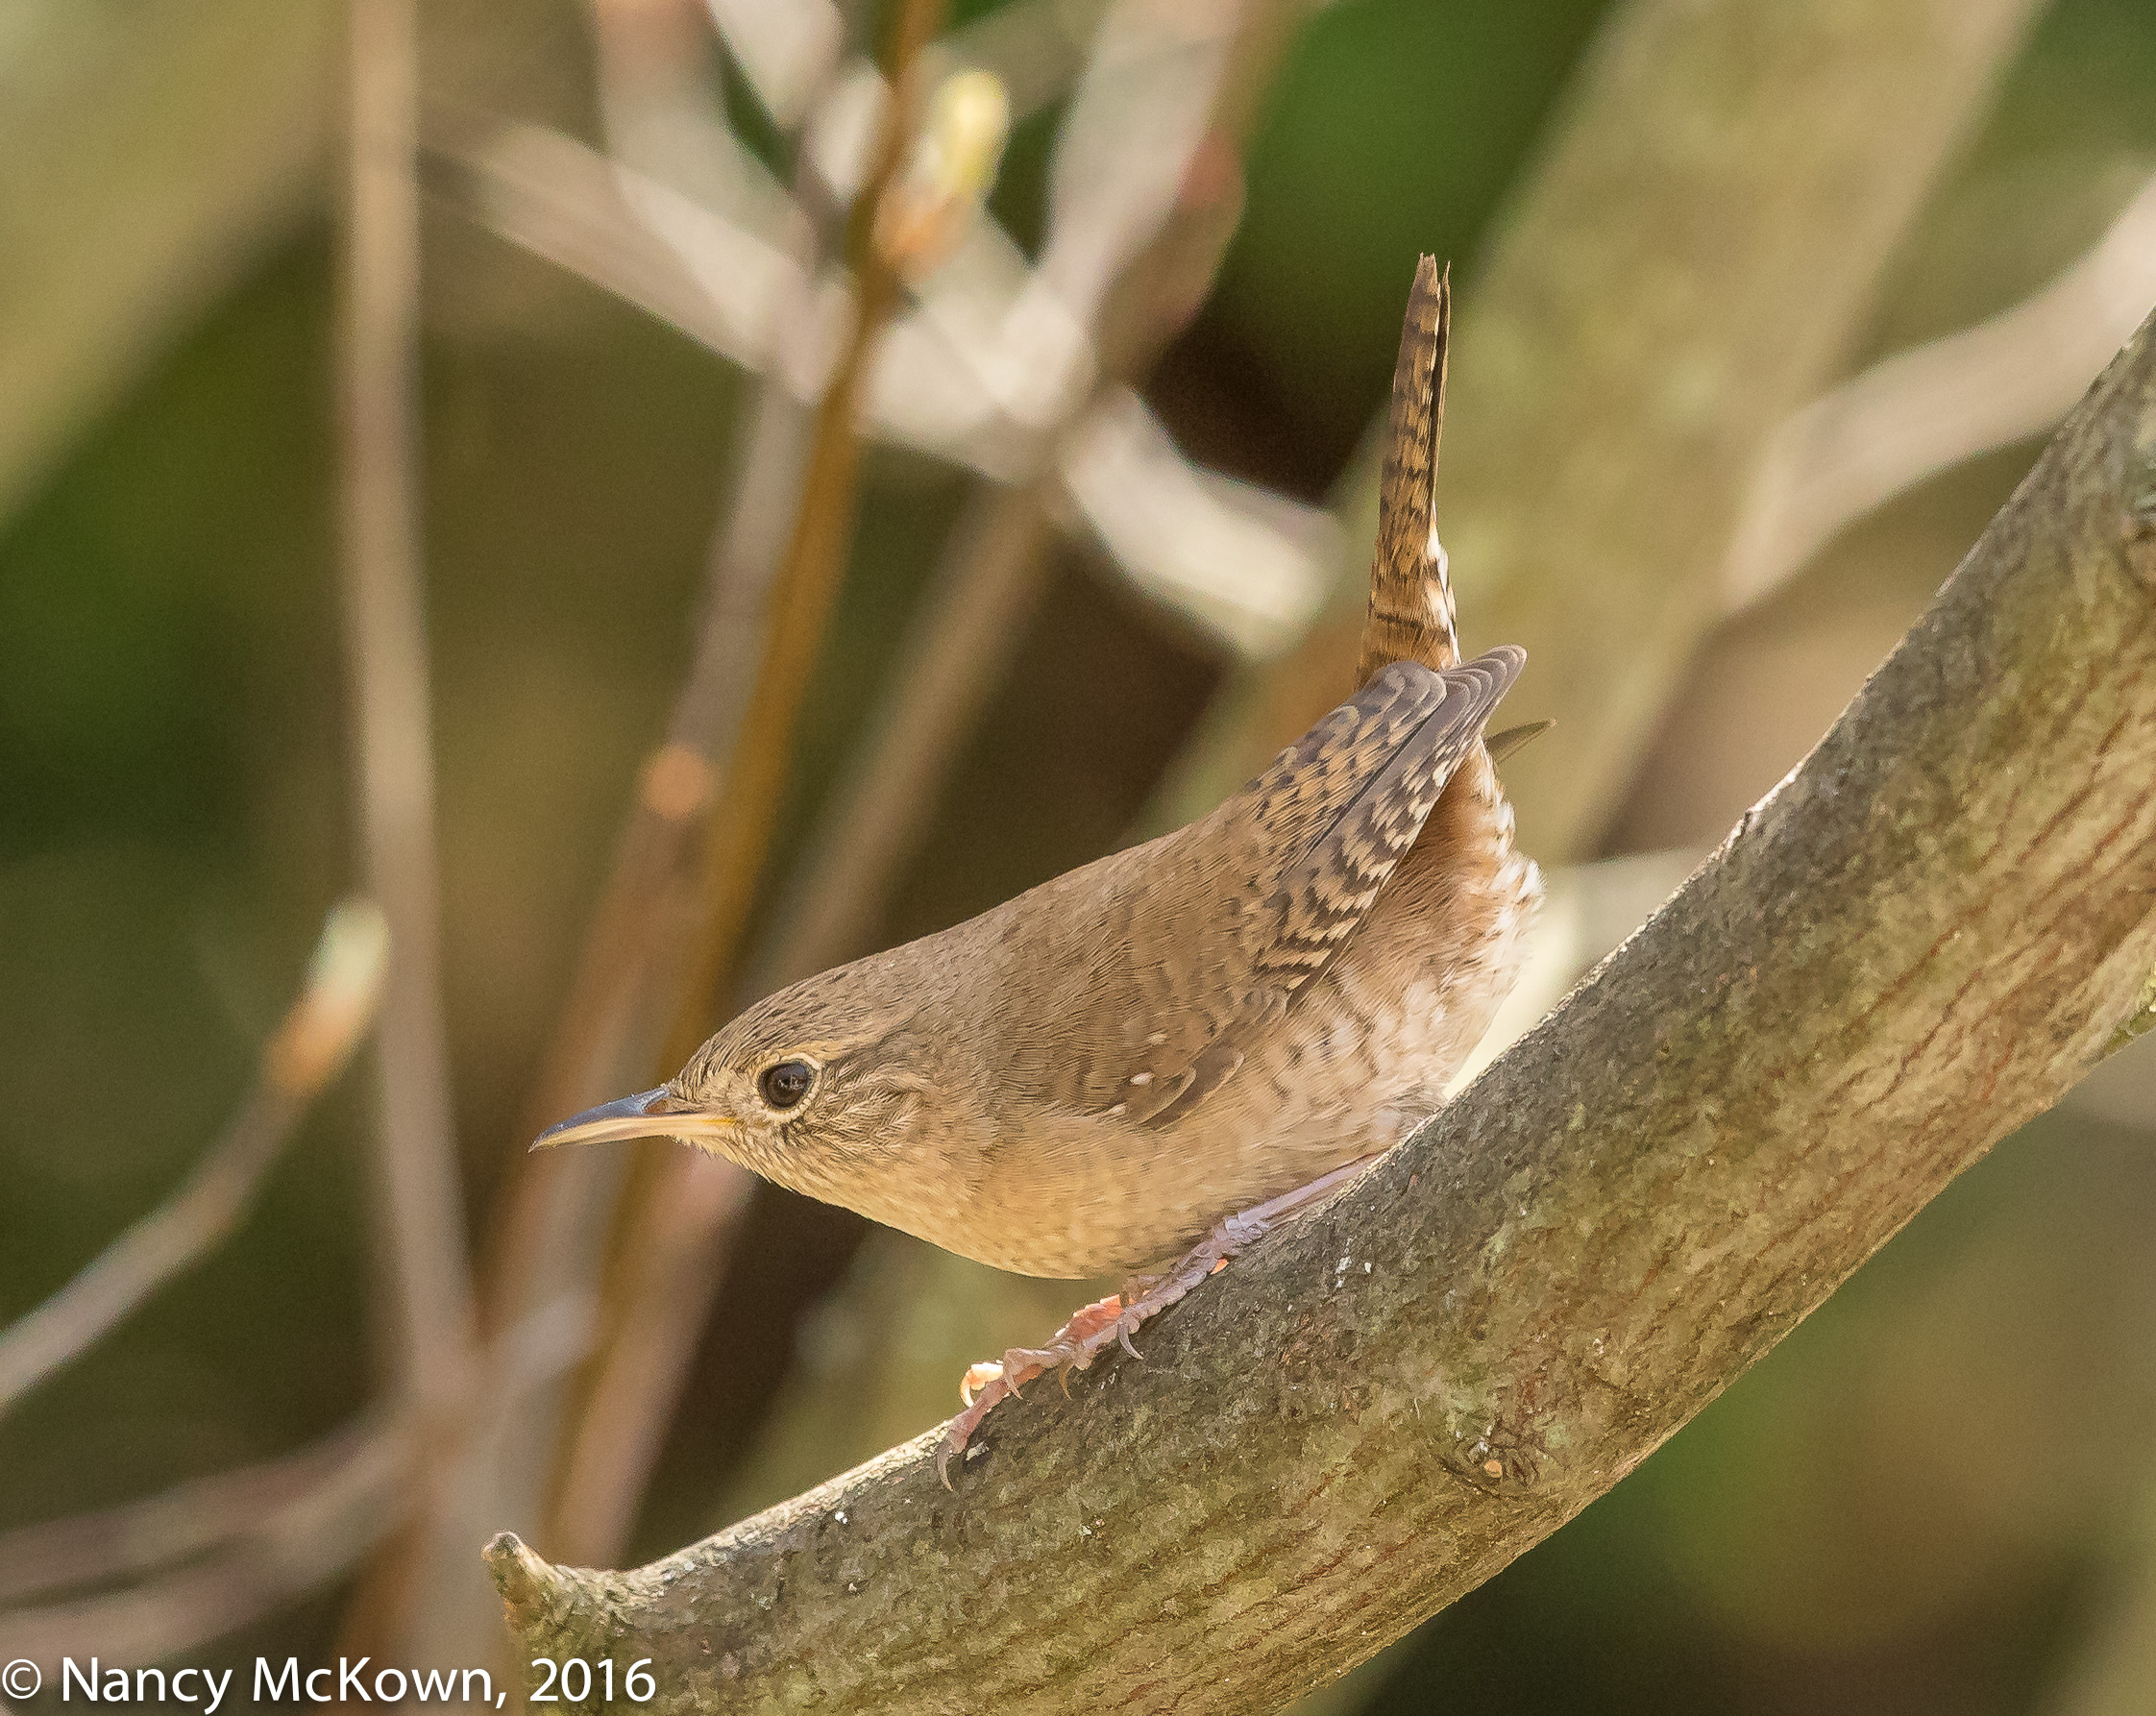
Does the perch overpower the bird in these images? Ideally a more delicate natural perch ¼” to ½” in diameter would have looked better- more proportional to the size of the bird. The Serviceberry nearest to the house is a multiple stemmed tree situated approximately 15 feet from the camera. The forked branch upon which this Carolina Wren perches is close to the base of the tree and a little over an inch in diameter. (NOTE: It looks like a bigger branch, but it’s the small size of the bird (4.9 – 5.5 in.) that makes his perch look oversized.)
The bird looks comfortable perching here…and safe…despite the perch’s diameter. Maybe that should be the determining criteria.
Every morning in the spring and summer, the bubbly songs of little House Wrens greet me in our front yard. Hard at work, they zip about in the understory trees and bushes to snatch small arthropods and take them back to feed their nestlings. Their almost constant, somewhat scolding songs help me find and track them with the lens.
House Wren With Flash Taken Earlier in the Morning. ISO1000; f/9; 1/250 Second
Automatic Exposure Bracketing
It was coming upon mid-morning and way past the time when the summer sunlight was low and complementary. The light in our yard was contrasty, uneven, and patchy…the perfect formula to misdirect the camera’s light meter. Instead of packing up, I removed the flash gear and started playing with the Automatic Exposure Bracketing (AEB) menu.
NOTE: There’s a big difference in the quality of light between the top photo (even, early morning light, with flash) and the bottom two photos (late morning, harsh light, no flash). I have to admit that it felt good to take the flash assembly off (flash bracket, telephoto flash modifier, off shoe flash cord and lithium battery pack). The camera foot and tripod head are better able to balance and maneuver the lens without the extra top heavy weight.
House Wren Without Flash- AEB -1 Unattractive Contrasty Light. ISO1600; f/14; 1/800 Second
Thoughts on AEB
If you wish to improve the exposure balance in difficult lighting situations, then automatic exposure bracketing (AEB) can help. The camera’s automatic bracket functionality quickly and efficiently changes exposure parameters within a sequence of shots. Essentially it varies the degrees of brightness for each shot based on the designation you set in the menu. Your specifications can be programmed to use either broad or narrow image sequence sets. The camera will maintain the exact same metering while changing the exposure parameters.
House Wren Such Different Color Tones! Light is Still Unappealing, ISO1600; f/8; 1/800 Second +1 Exposure Compensation
For instance, if you think the light meter is incorrectly gauging the scene to be brighter than it is, set the AEB to take 3 or more shots in negative exposure range. Conversely, if you think that the light meter is incorrectly gauging the scene to be darker than it is, set the AEB to take 3 or more shots in the positive exposure range.
AEB Procedures and Settings
On some dSLR cameras, including mine, the photographer can use AEB with the camera set to Manual (M) mode and precisely control all exposure parameters independently. Since I most often vary only the shutter speed parameter during the AEB sequence, I use the shutter preferred semi-auto mode (TV) instead of Manual mode and choose a low and unchanging ISO setting. (NOTE: Not AutoISO). Lastly, I engage continuous shooting mode, otherwise the shutter will stop after the first shot and wait for me to continually press the button before it fulfills its AEB mission.
In the semi auto modes… the camera will operate outside of optimal exposure limits to achieve the auto bracketing exposure parameters set. If minimum and maximum hard limits have been set up in the menu (ie…shutter should never be slower than 1/30 second), the camera might be forced to alter more than one exposure parameter (ISO and shutter) to achieve the bracketing sequence.
On this shoot, I changed the AEB parameters quite a lot without thinking it through. At times, camera would not execute the AEB sequence (shutter speed as the variable), and take only one shot instead of the whole sequence of shots. I finally figured out that the number and variation in exposure parameters that I set up were just not possible to execute in AEB given limitations on the shutter preferred auto mode, the ambient light and the len’s max aperture settings.
You can set the camera to discontinue AEB after each sequence….but re-engaging it every time is a hassle….. especially with a highly active bird like the House Wren. I left AEB set to “On” until I was done with the shoot.
Manual Bracketing
Bracketing can be done manually if you wish to be more precise in your exposure manipulation deliberations. This means that instead of setting up an automatic 2-3-5 or 7 AEB shot sequence in the camera’s menu, you dial in whatever exposure compensation you wish using the camera’s Manual mode and then take each differently exposed shot one at a time. (NOTE 1: Exposure Compensation Dial on the LCD panel will not work in complete Manual mode. NOTE 2: Birds are highly uncooperative during exposure manipulation.)
AEB Rarely Does the Trick in Bird Photography
Sometimes the balancing act that makes up AEB does not work because the exposure on one portion of the image causes problems in another part of the image. AEB sequencing will only produce many poorly exposed images.
When photographing birds there is no substitute for well balanced light. AEB can not fix poor lighting conditions, but it may help you balance exposure parameters to create a more usable photo. Overall, judging by the results, I would rather wait for good light.
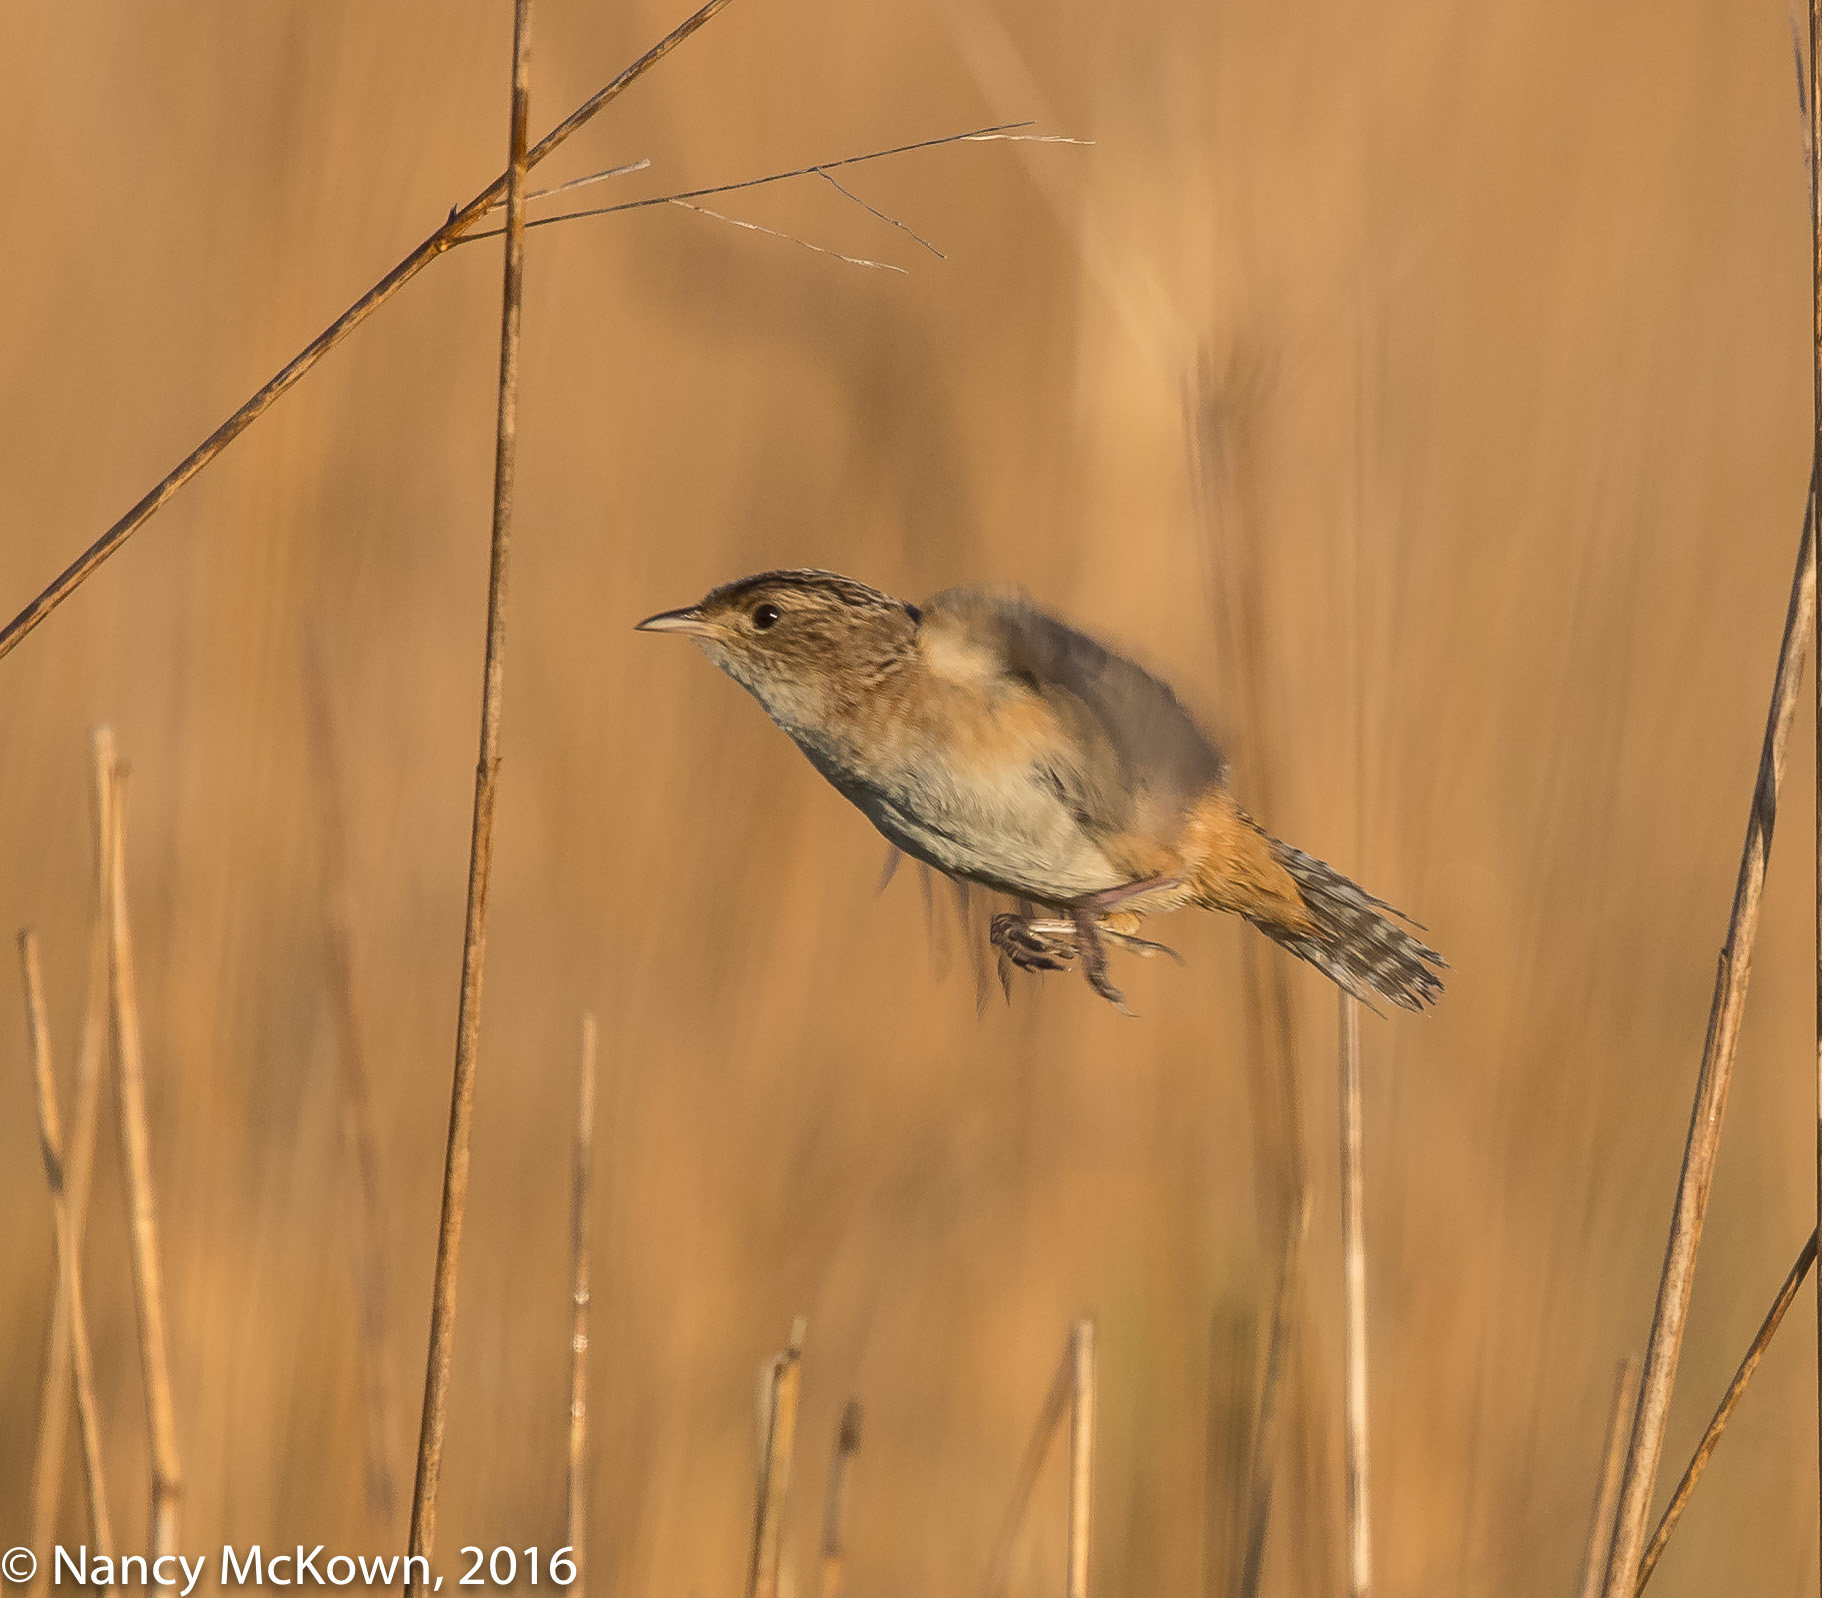
We first saw these Sedge Wrens foraging in a grassy field on one of those secluded service roads where parking is not permitted by the DNR. All visitors must park in a designated and wildly overgrown lot that is neither convenient nor close. This is because some of the public land in the Allegan State Game Area is leased out and cultivated by farmers who do not want to be bothered by photographers in the road while driving their wide monster combines. Once the planting is done, you don’t see the farmers again until harvest time, but you do see the DNR officers making their rounds and enforcing the parking rules.
Despite the “no stopping to photograph birds from the car” rule, I could not help but be mutinous. I saw a curious Sedge Wren tucked in the tall grasses very close to the road and lifted my camera.
Sedge Wren in Early Morning Golden Light. ISO800; f/8; 1/1000 Second
The first two photos included in this post came from the initial car window shoot. The Sedge Wren came in so close to the edge of the grasses that the 500mm lens was able to isolate his little body from his surroundings and lock focus almost immediately.
Camera Setup in the Sedges
We returned to this location three more times to try to photograph these little birds. Dutifully parking in the lot each time, we hauled the equipment down the road and forged a path through the grasses as close to the road as possible. The gear was stabilized on a matted-down oval shaped impression – most likely deer bedding.
These photo shoots turned out to be unproductive and exasperating. Instead of landing on the taller stalks like they did when we were photographing from the car, the wrens stayed camouflaged within the grasses. Once in a while, they peeked their little heads up or flew to a new location, but for the most part they would not rise above the dense low growth of the sedges. With any camera movement, they dove deeper into their lush domain. We could hear them calling and see the wispy grass bend as they maneuvered around us, but they rarely rose into the golden light.
Sedge Wren in the Early Morning Light. ISO800; f/8; 1/1000 Second
Trouble Locking Focus
My 500mm lens motor and stabilizer patiently whined softly back and forth…desperately trying to lock focus on a bird tucked in dense grass. The only clear photo I have from the later shoots (showing the Sedge Wren adeptly couched into his element) is posted below.
Sedge Wren, Hiding in the Sedge. No Golden Light Here. This photo was typical of the wren’s hiding maneuvers. It was taken in the third shoot. ISO1600; f/8; 1/640 Second
Nomadic yet Territorial
Sedge Wrens are pugnacious little birds that are known to puncture the eggs of other bird species’ who venture into their territories. Considered to have erratic and transitory breeding behaviors, it is not always predictable as to where they will nest from one year to the next. This nomadic (yet territorial) behavior makes them hard to find.
I plan to go back…. and try my luck again photographing them from the car.
The skies were overcast when the first male House Wren arrived to our yard. He has been dashing from tree to bush, in full view, heartily singing his bubbly rhapsody. Apparently no female has arrived yet because he has not commenced his nesting ritual of building multiple starter homes from which the female will choose.
House Wren ISO2000; f/7.1; 1/640 Second
A Quick Primer on Viewing Light
Since it is often counterproductive to try to enhance and manage natural light with extra light equipment, bird photographers have to be more observant about how light plays on their subjects, and act accordingly. Knowing how to observe light involves understanding the following terminology:
“Highlights” are the brightest part of the photo. They indicate where the light source is the closest and most unobstructed.
“Shadows” are those blocked areas that receive little or no direct light. If shadows are lit, it is from scattered, diffused light reflecting off the highlights.
“Mid tones” often make up the majority of the light and are those tonal areas between the highlights and shadows.
Bright sun creates much more contrast between the lighter and darker parts of your image, and thus makes it much easier to identify the highlights, shadows and mid tones. Diffused light softens the contrasts across the whole image, making for a more even and balanced look.
NOTE: This tonal information is mapped on the camera’s histogram. The shadow areas are on the left side; highlights are on the right, and mid tones are represented in the middle. The histograms for both of these photos show a rich range of mid tones heavily weighted in the center of the graph, with very little activity on the right or left side.
House Wren with the signature Perky Tail. ISO1600; f/71; 1/640 Second
Pay Attention to the Light
Shadows help bring out dimensionality, texture and perspective. Highlights (from the dominant light source) throw excess, diffused light into recessed shadow areas, uncovering detail. If the light is overly bright on the subject, the edges of the highlights and shadows become sharply defined, creating harsh, unattractive contrast.
Light creates mood, purpose, drama – and thus draws visual interest. Bird photographers pay attention to the intensity and directionality of light, and evaluate how the sun scatters light and cast the highlights, shadows and mid tones. They watch how the light interacts with the shape and size of the subject to determine where to position the camera.
NOTE: On a cloudless day, the sun’s position (orientation and distance) in the sky determines the location, size, shape and length of the shadows.
Softening the Effects of Harsh Light
It’s almost impossible to adequately soften harsh shadows after the image is shot. That said, there are tools you can use to mitigate the effects of glaring, contrasty light.
The Shadow/Highlight Sliders in Post Processing
You can balance the light on your images by using the highlights and shadows sliders in Lightroom. NOTE: It is common to use a heavy hand and overuse the shadow slider; over brightening the shadows and reducing tonal richness. In addition, the more you push that shadow slider, the more likelihood of noise in the shadow areas.
Canon’s Camera-Auto Lighting Optimization – ALO
Auto Lighting Optimization (ALO) is in-camera processing that automatically softens contrasts and restores highlight and shadow detail immediately after the shot is taken. You can choose from 4 settings…”Standard”, “Low”, “Strong” and “Off”.
Ultimately, I prefer to handle the shadow recovery myself in post processing. I leave ALO “Off” for the following reasons:
Camera processing time slows as the camera writes the ALO optimization data to the memory card.
ALO will have an impact on other camera exposure adjustment functions that are engaged, like exposure compensation, flash compensation, automatic exposure bracketing, and others.
ALO will be automatically disabled if Highlight Tone Priority or High Dynamic Range functions are turned On.
ALO settings are reflected in the shape and position of the histogram as well as the highlight alert warnings (Blinkies) in the camera’s preview LCD screen. I like to review this data unencumbered with ALO effects.
The Photographer’s Greatest Challenge
In bird photography, rarely are there assistants available to manage heavy spotlights intended to project light onto your subjects, or scrims to block harsh sunlight, or reflectors to throw back light and fill the shadows. These light enhancing strategies (and the assistants) would most likely backfire and scare away the birds.
Placement of the different types of light affects every feature of your image and is the photographer’s greatest challenge. It pays to be watchful of the light.
To read more about House Wrens and Bird Personalities, press this link.
To read more about histograms and dynamic range, press this link.
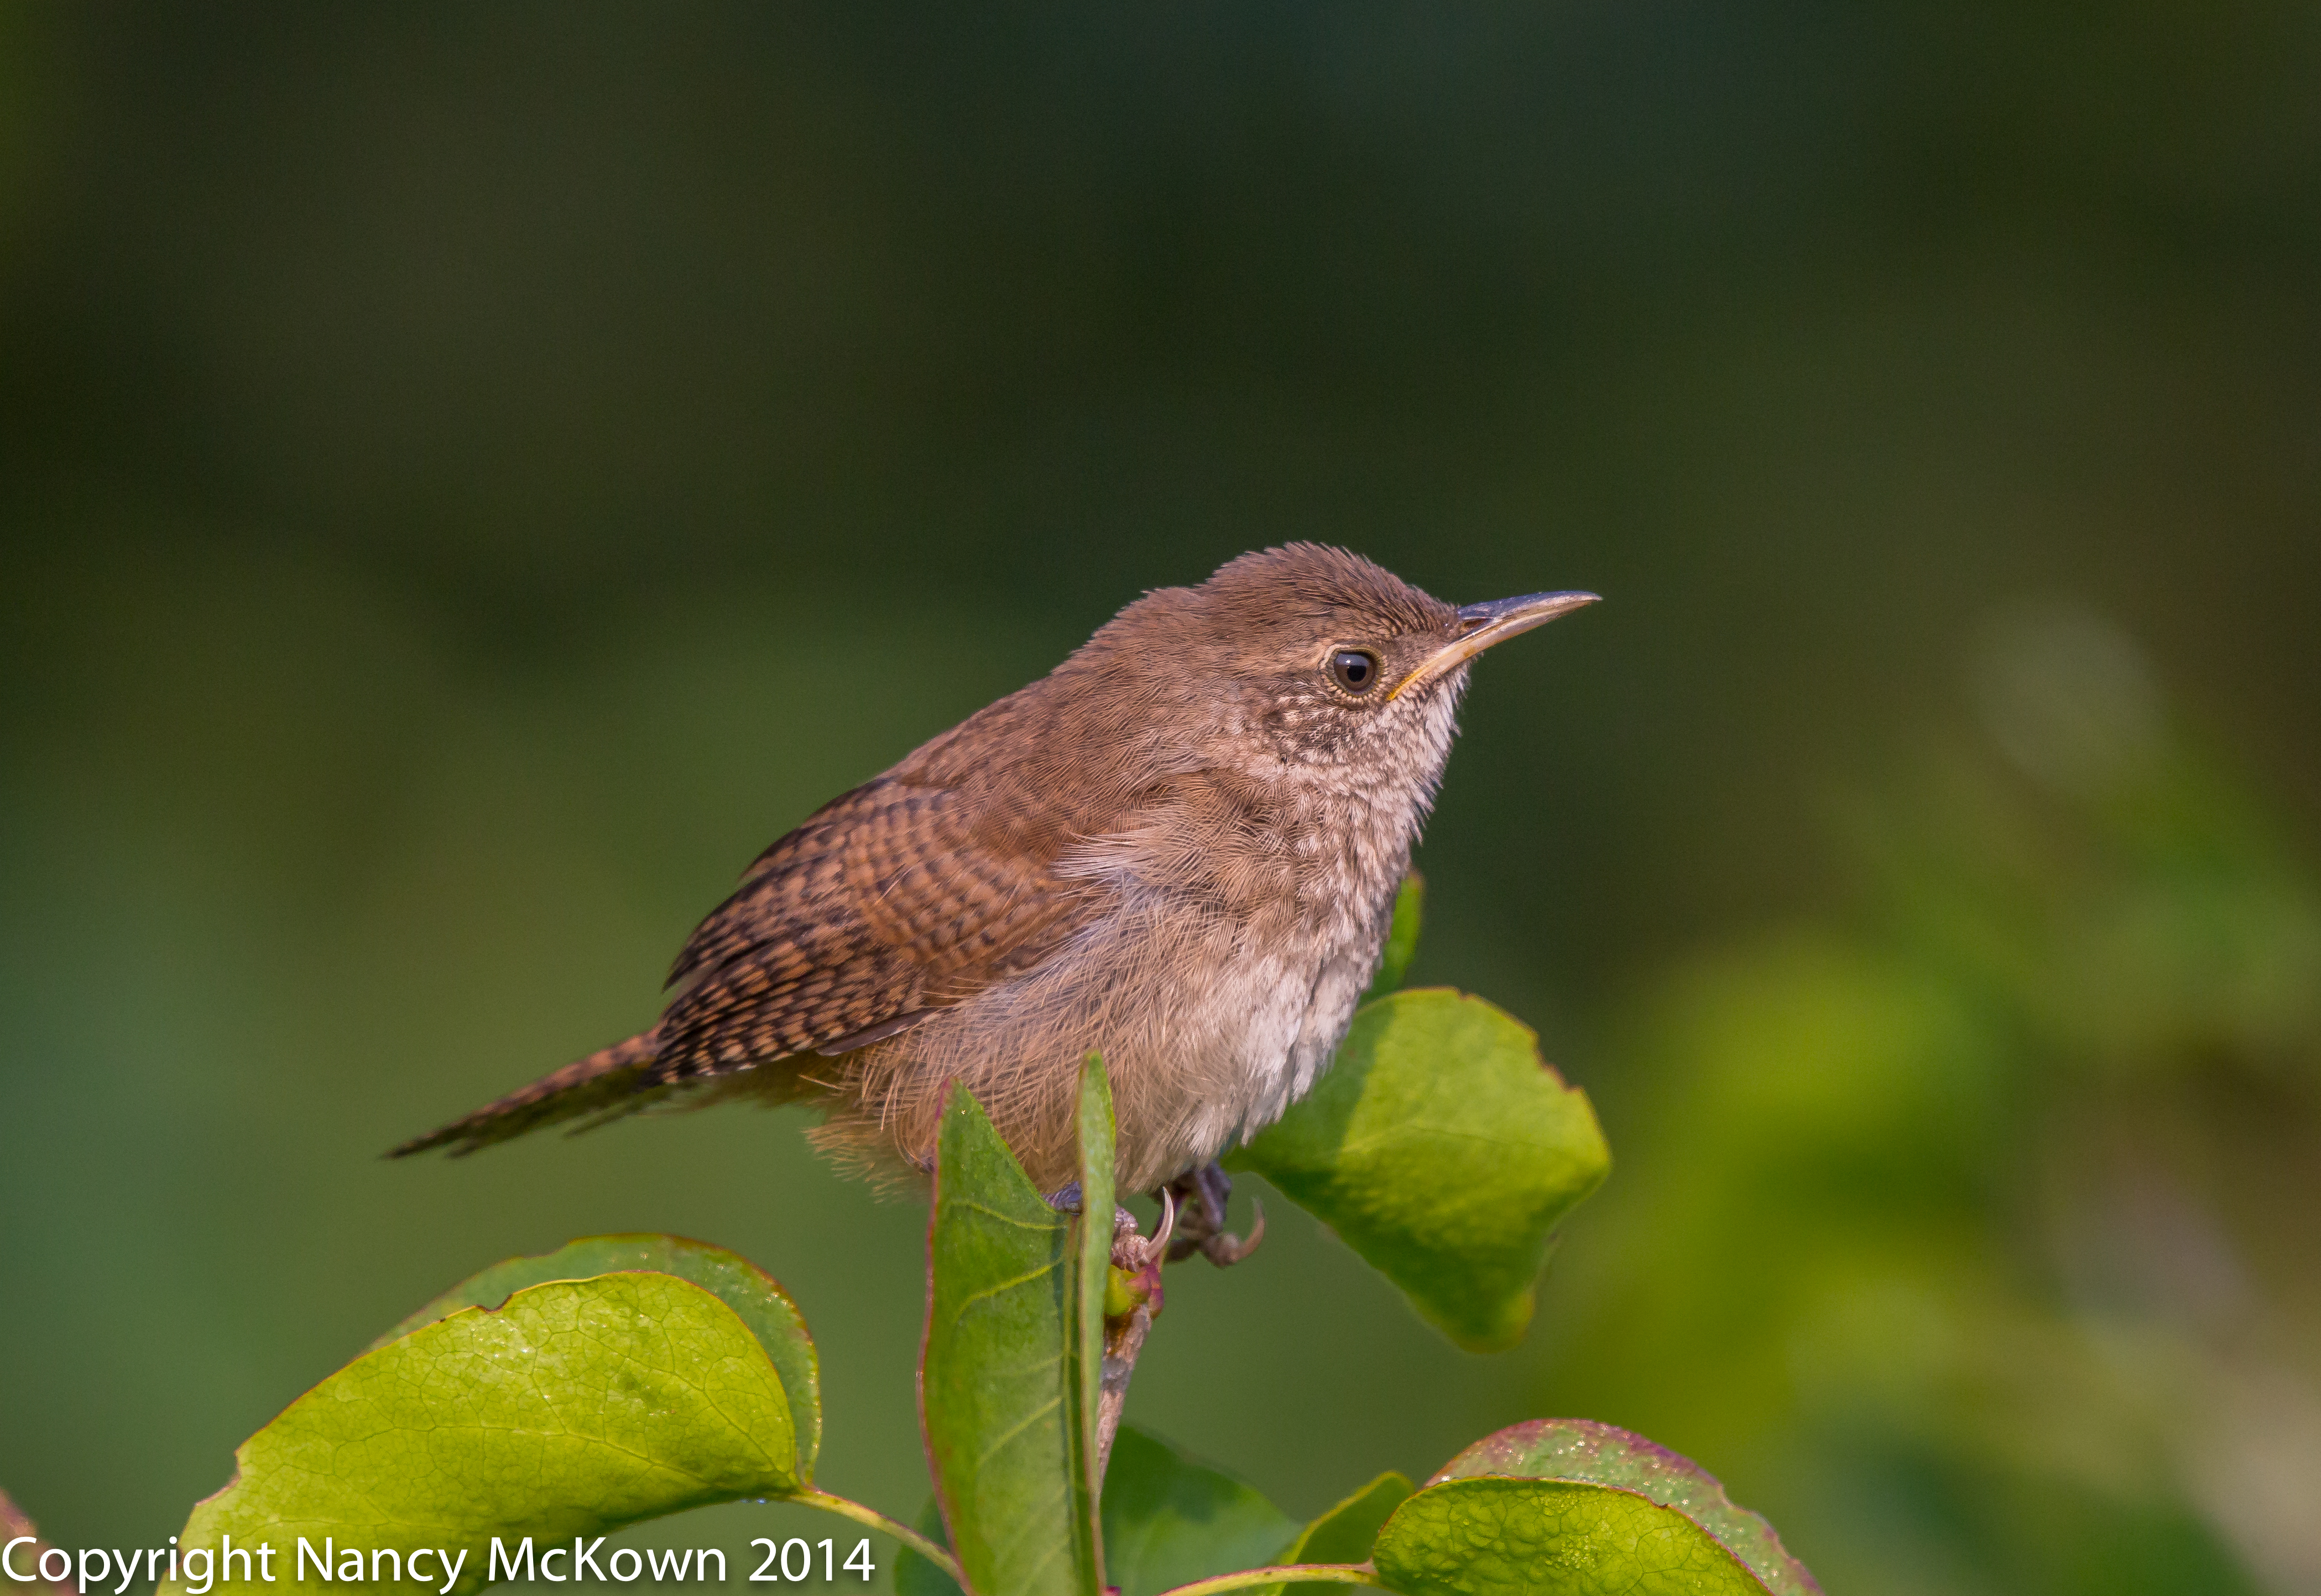
Early Spring brings with it joyful bird song in the air. One of the first vocalizations I hear are the cheerful, jaunty tunes of the male and female House Wrens. It’s such a joy to listen to their effervescent voices. (NOTE: To hear songs of the House Wren, press this link.)
Each April, I observe and photograph the House Wrens busy with their spring preparations, and I try to determine if this year’s residents are the same individuals as last year. Since these birds (male and female) are so similar physically, I try to match behaviors and personalities that I remember from the previous year. It’s not as hard as you think.
House Wren, an Aggressive and Hard Working Tiny Bird. ISO 150; f/9; 1/640 Second
Personality of Birds
Most species of birds are categorized by an assortment of characteristics. These include not only physical characteristics, but a description of the behaviors attributed to the male and/or female. House Wrens have these commonly known attributes:
Physical description – (small brown songbird, long curved bill, long tail often cocked skyward, male and female similar)
Nest Habits – (cavity nesters)
Migration information – (winters in southern U.S. and Mexico)
Species songs and calls – (130 different and complex songs and calls; notable for loud and insistent singing)
Behavior/personality description – (cheerful and energetic, hard working, constantly chattering, highly competitive, angry, nervous, agitated when nest is threatened)
House Wren, Momentarily Pausing for the Camera. ISO2000; f/4.5; 1/800 Second
Distinct and Varied Personalities Within A Species
Personality norms for species of birds are highly observable. For instance, I know (from personal experience and documentation in my bird books), that when I approach the box nest of a pair of house wrens with my camera, I will be aggressively assaulted and scolded.
This particular wren behavior is highly predictable, but when I scratch the surface of the common behavioral attributes of the House Wren, can I find individual personality differences that exist within this species…individually distinct personality differences that, over time, defy prediction?
Questions Researchers Ponder
Since the word “personality” evokes all sorts of human thoughts, feelings and behaviors, Ornithologists (and other researchers) use the terms “behavior syndrome” or ” inter-individual variation” when studying and documenting bird behavior. These terms are less anthropomorphic and lend themselves to a more scientific way of observing and reporting different dispositions.
Questions to Ponder. Are different birds within a species….
Are some of these behavioral traits demonstrated consistently by a few, but not all, of the birds in a species?
Does natural selection play a role? Do some of these behaviors lead to more success in breeding and parenting?
Are these differences a consequence of nature or nurture; or both?
Do the songs of individual birds indicate personality?
Do some individual birds attempt to communicate with humans, and do those interactions indicate a distinct personality?
Do individual personalities cause birds to look for mates that are “compatible”?
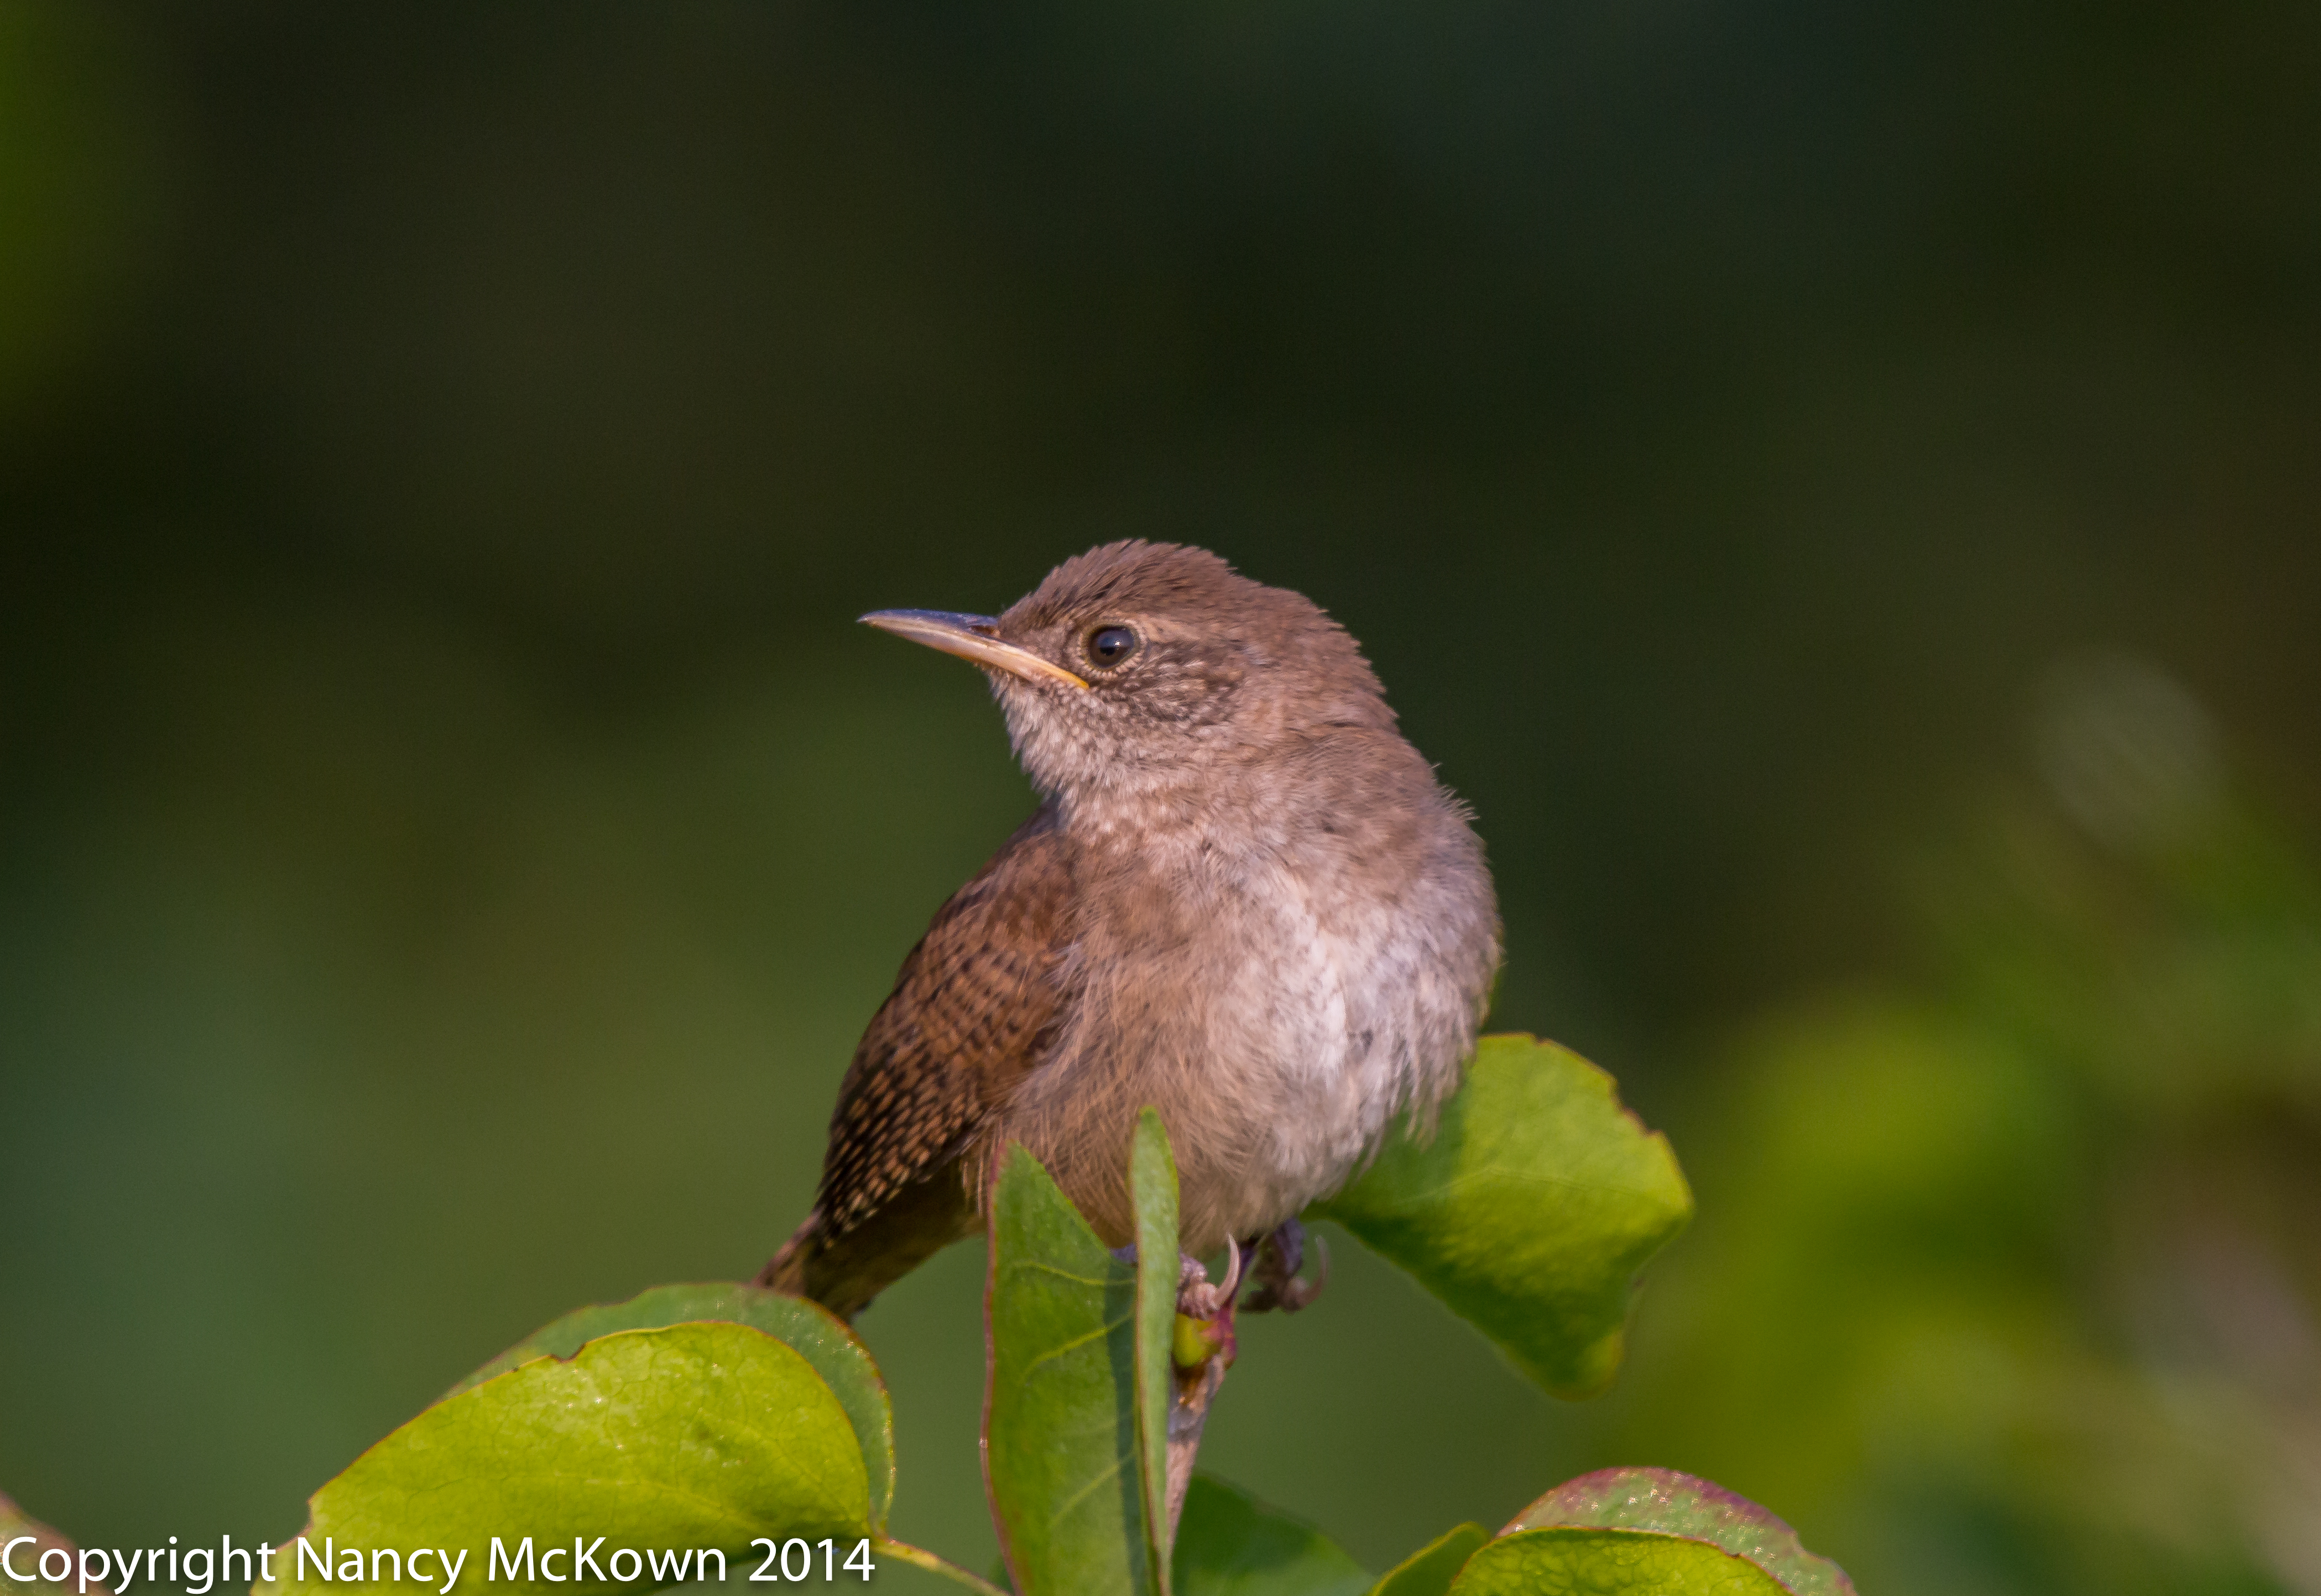
House Wren. Rarely Do These Little Birds Stay Put Long Enough to Photograph. ISO 320; f/9.0; 1/800 Second
Photographing Individuality
Learning more about the study of inter-individual variation in birds is fascinating. I think the most compelling photographs of birds somehow capture the mystery of individuality. Searching out individuality helps us make connections, and that makes bird photography all the more compelling and challenging.
To read more about the research on distinct personalities within a bird species, visit this National Wildlife link.
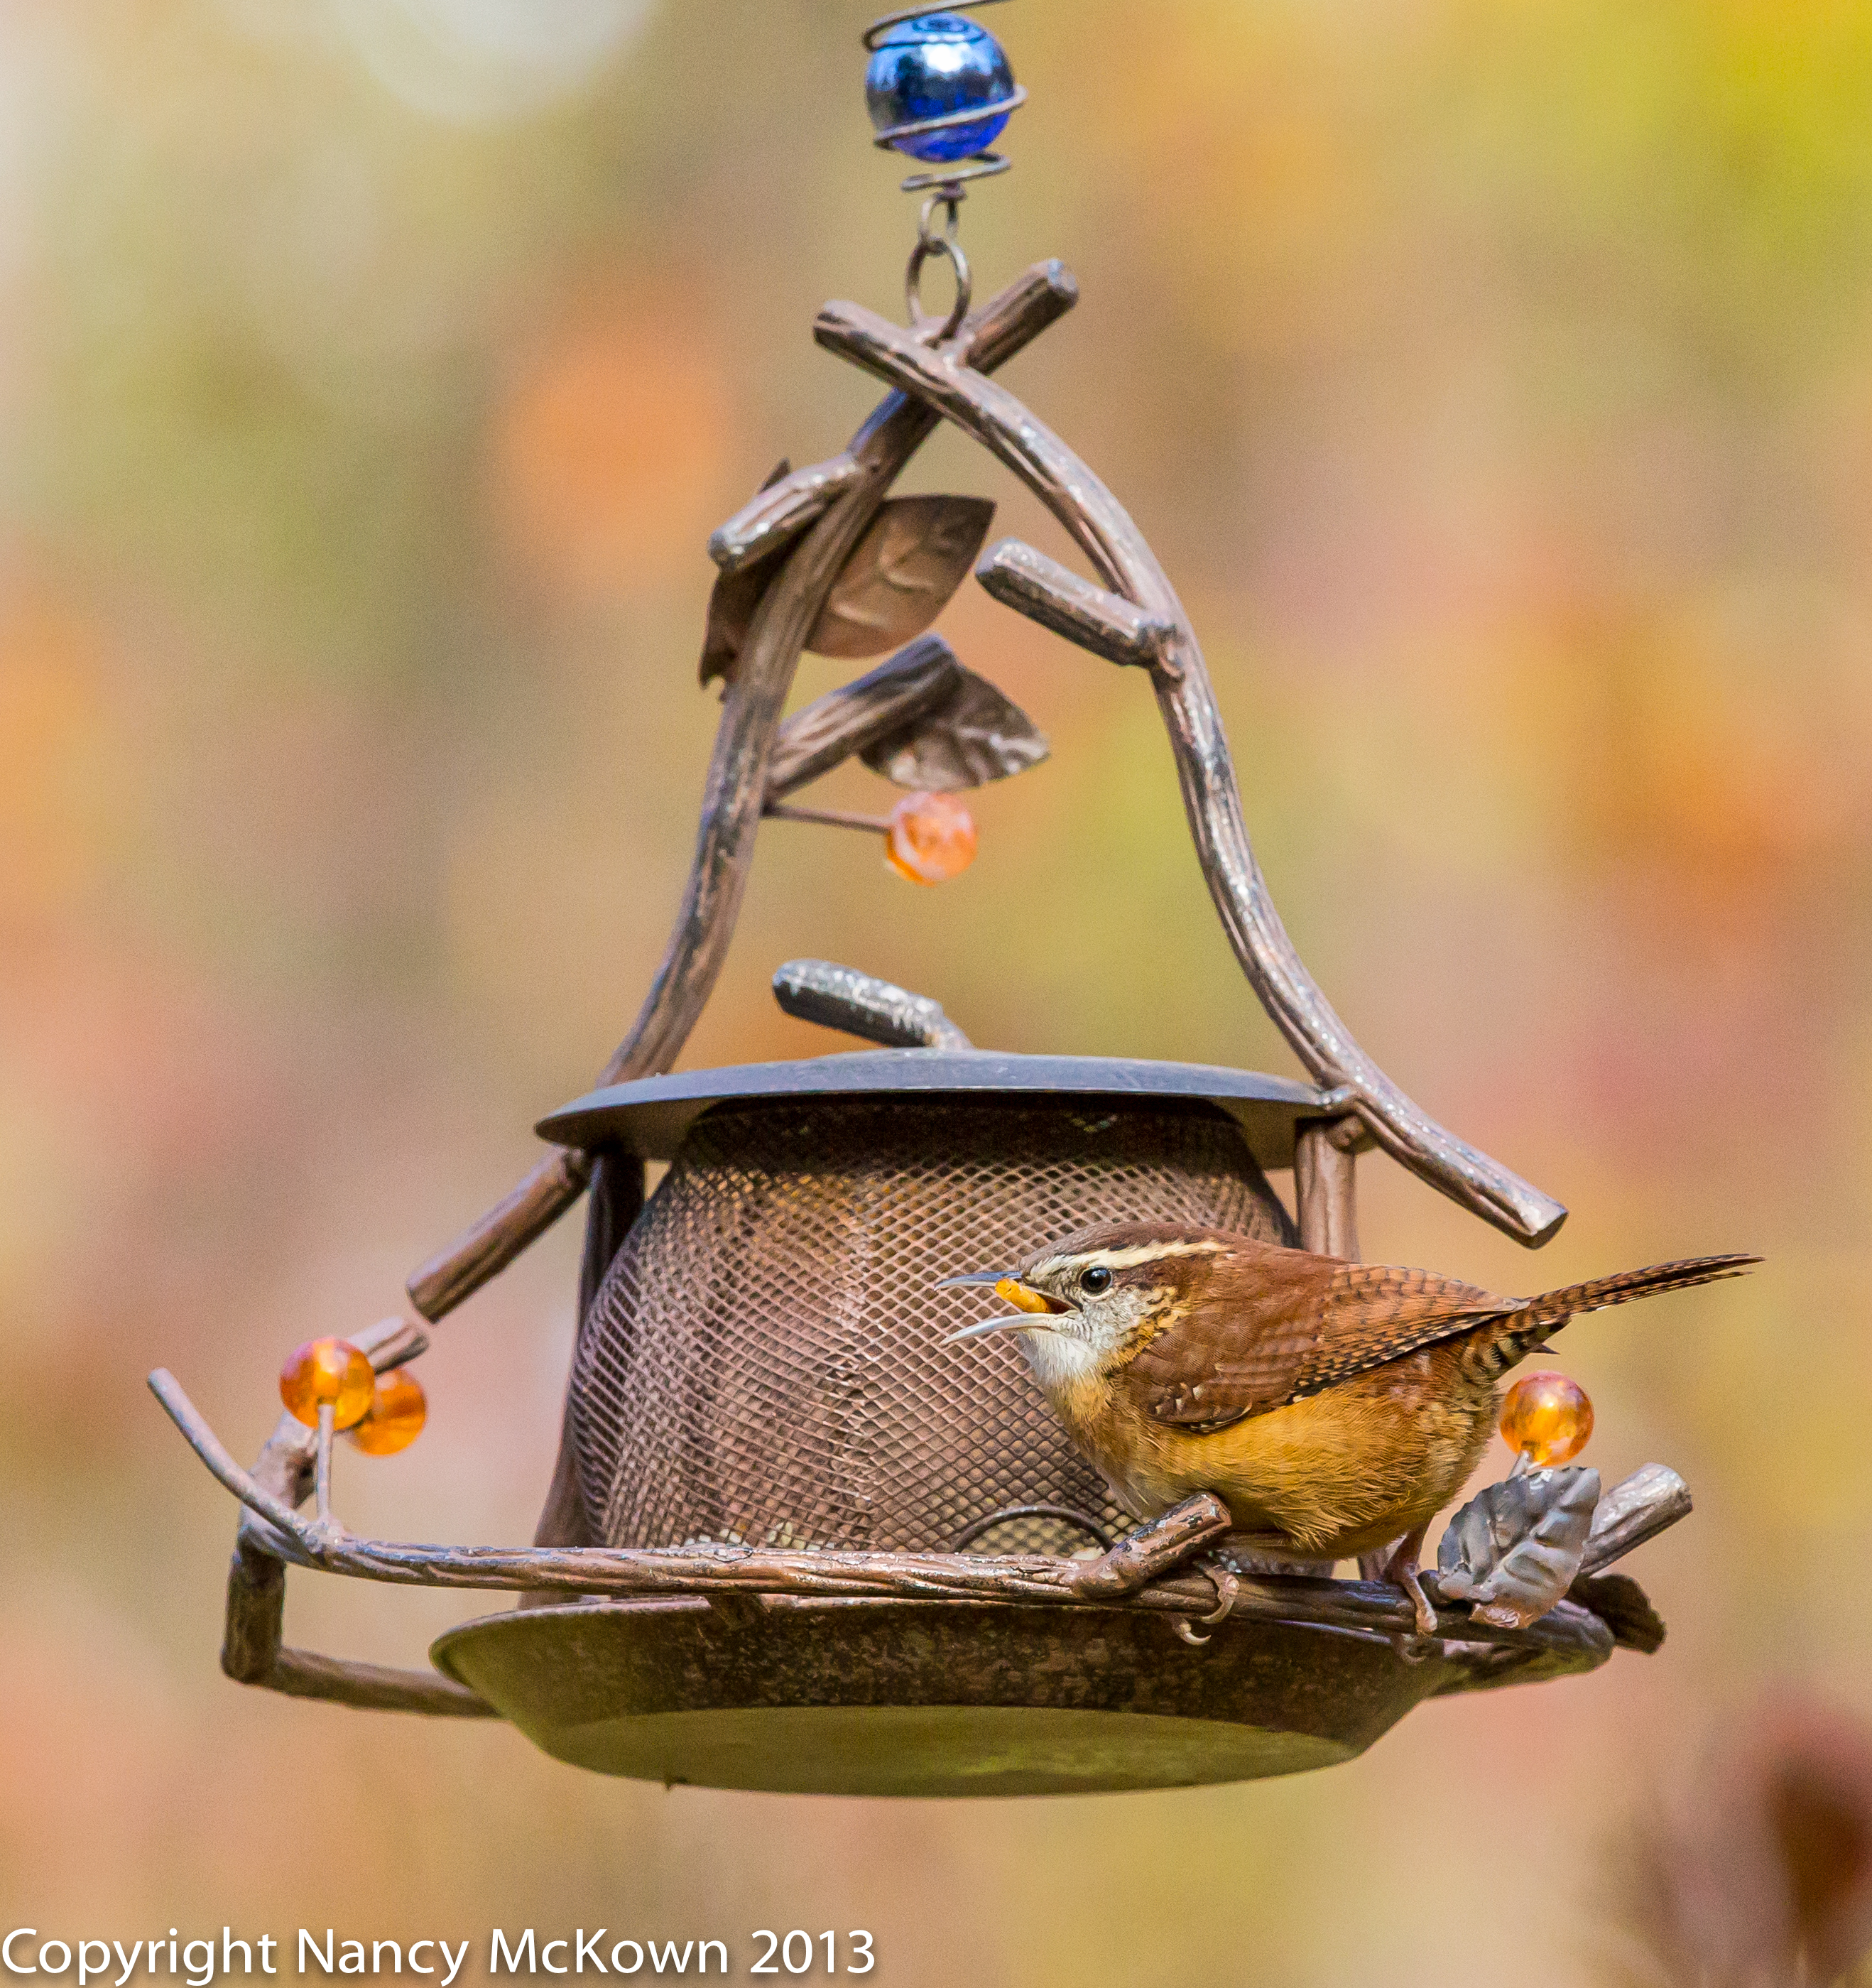
An Uncommon Bird At the Feeder – The Carolina Wren
I’ve spent a lot of time close to home lately, photographing birds at my beautiful, new feeder. After several days, I was rewarded with a glimpse of a rather uncommon feeder bird….. the Carolina Wren.
Carolina Wrens have the most intricate and lovely set of bird vocalizations that I’ve ever heard. (Sadly, there’s not much to sing about in the winter, so you will have to wait until Spring to hear them, or visit this link.)
These wrens are large and hardy, as wrens go, and not particularly shy. They are not easily shoved aside by the bigger birds at the feeder. On the coldest Michigan winter nights, we see them nestling under our front porch.
These photographs show a rather small bird photographed at a rather high ISO, with late fall foliage and then winter white in the background. Since noise takes a toll on clarity, and autumn colors fade with the approach of winter, I decided to punch these photos up a little using a couple tools in my upgraded post processing software, Lightroom 5.
Lightroom’s Non Destructive Post Processing
Shooting in RAW gives the photographer an impressive range of resources to make photo improvements during post processing. First of all, Lightroom 5 post processing software keeps your original raw photo data intact. So while you’re editing, you always have the option of going back to the last change or all the way back to square one. It’s also possible to make virtual copies to save all the different changes and enhancements you made while experimenting with Lightroom 5.
Shooting in RAW digital image format is best because it’s the only format where you have non destructive options during post processing. That means you can experiment without a care. My camera is set to RAW format all the time.
Improving the Clarity and Vibrancy of Your Photographs
I regularly use the “clarity” slider and the “vibrancy” slider in Lightroom 5. The “clarity” slider’s purpose is to enhance and brighten the details. so the image appears clearer. The “vibrancy” slider’s purpose is to bring out the dull colors….not all colors, just the dull colors. The results are subtle, but still impressive. Just remember that more is NOT better when using these two sliders, unless you are going for a surreal look.
Carolina Wren – Stretching to See if Other Birds Are Feeding ISO 1250; f/7.1; 1/1250 Second
Close up of Carolina Wren, Sitting Pretty on a Decorative Feeder ISO 1600; f/7.1; 1/1250 Second
Why I Like these Photos
In an effort to improve my skills, I’ve been trying to evaluate my photographs more for artistic merit. Here are my observations:
Catchlight in the birds’ eyes is appealing and draws the attention of the viewer. I’ve rejected many wild bird photos because of the subject’s lifeless eyes. It’s not a little thing, especially with regard to dark eyed birds. (If you are photographing a bird with shiny red or yellow eyes, catchlights in the eyes are not as critical.)
Curved lines make the image look more graceful and help organize and balance it.
The texture comes through in the foreground… all in focus. There’s very little texture visible in the background- just melt away color. I think this keeps the attention of the viewer on the areas in focus.
After using Lightroom 5 for a while, I’ve discovered that I like the unearthly and dreamlike qualities that I get by pushing the clarity and vibrancy sliders a little farther. I plan to spend more time playing with these tools.
Winter Bird Feeders
The other feeders in my yard may be devoid of charm, but they stand up better to the harsh Michigan winters. The carolina wrens don’t seem to care that I had to take down and store my newest feeder. Below are more photos of the carolina wren, taken during a brutally cold day in January, 2014.
Carolina Wren Waiting a Turn at the Feeder. ISO 640, f/7.1, 1/1250 secondCarolina Wren Looking Quite Unsatisfied with the Selection of Seeds and Dried Mealworms at the Platform Feeder. ISO 320; f7.1; 1250 Second