Who Else is Up There?
I can identify most of the birdsongs of the regular avian visitors in our yard. Not infrequently, I hear an unfamiliar tune belonging to a bird who must be residing high in the trees or in the shadows.
New birdsong is compelling because:
- It’s nice to know they’re up there—probably many more bird families than I think- either discretely passing through or nesting undercover;
- I have to identify the species and figure out how to coax them to come down near the camera. NOTE: If a particular birdsong is completely mysterious, I try to isolate it and record it on my phone. I then upload it to the Whatbird.com for the bird auditory experts to ID.
- It’s always a challenge to figure out the best placement for my camera – taking into consideration stealth, quality of light, and proximity to my subjects.

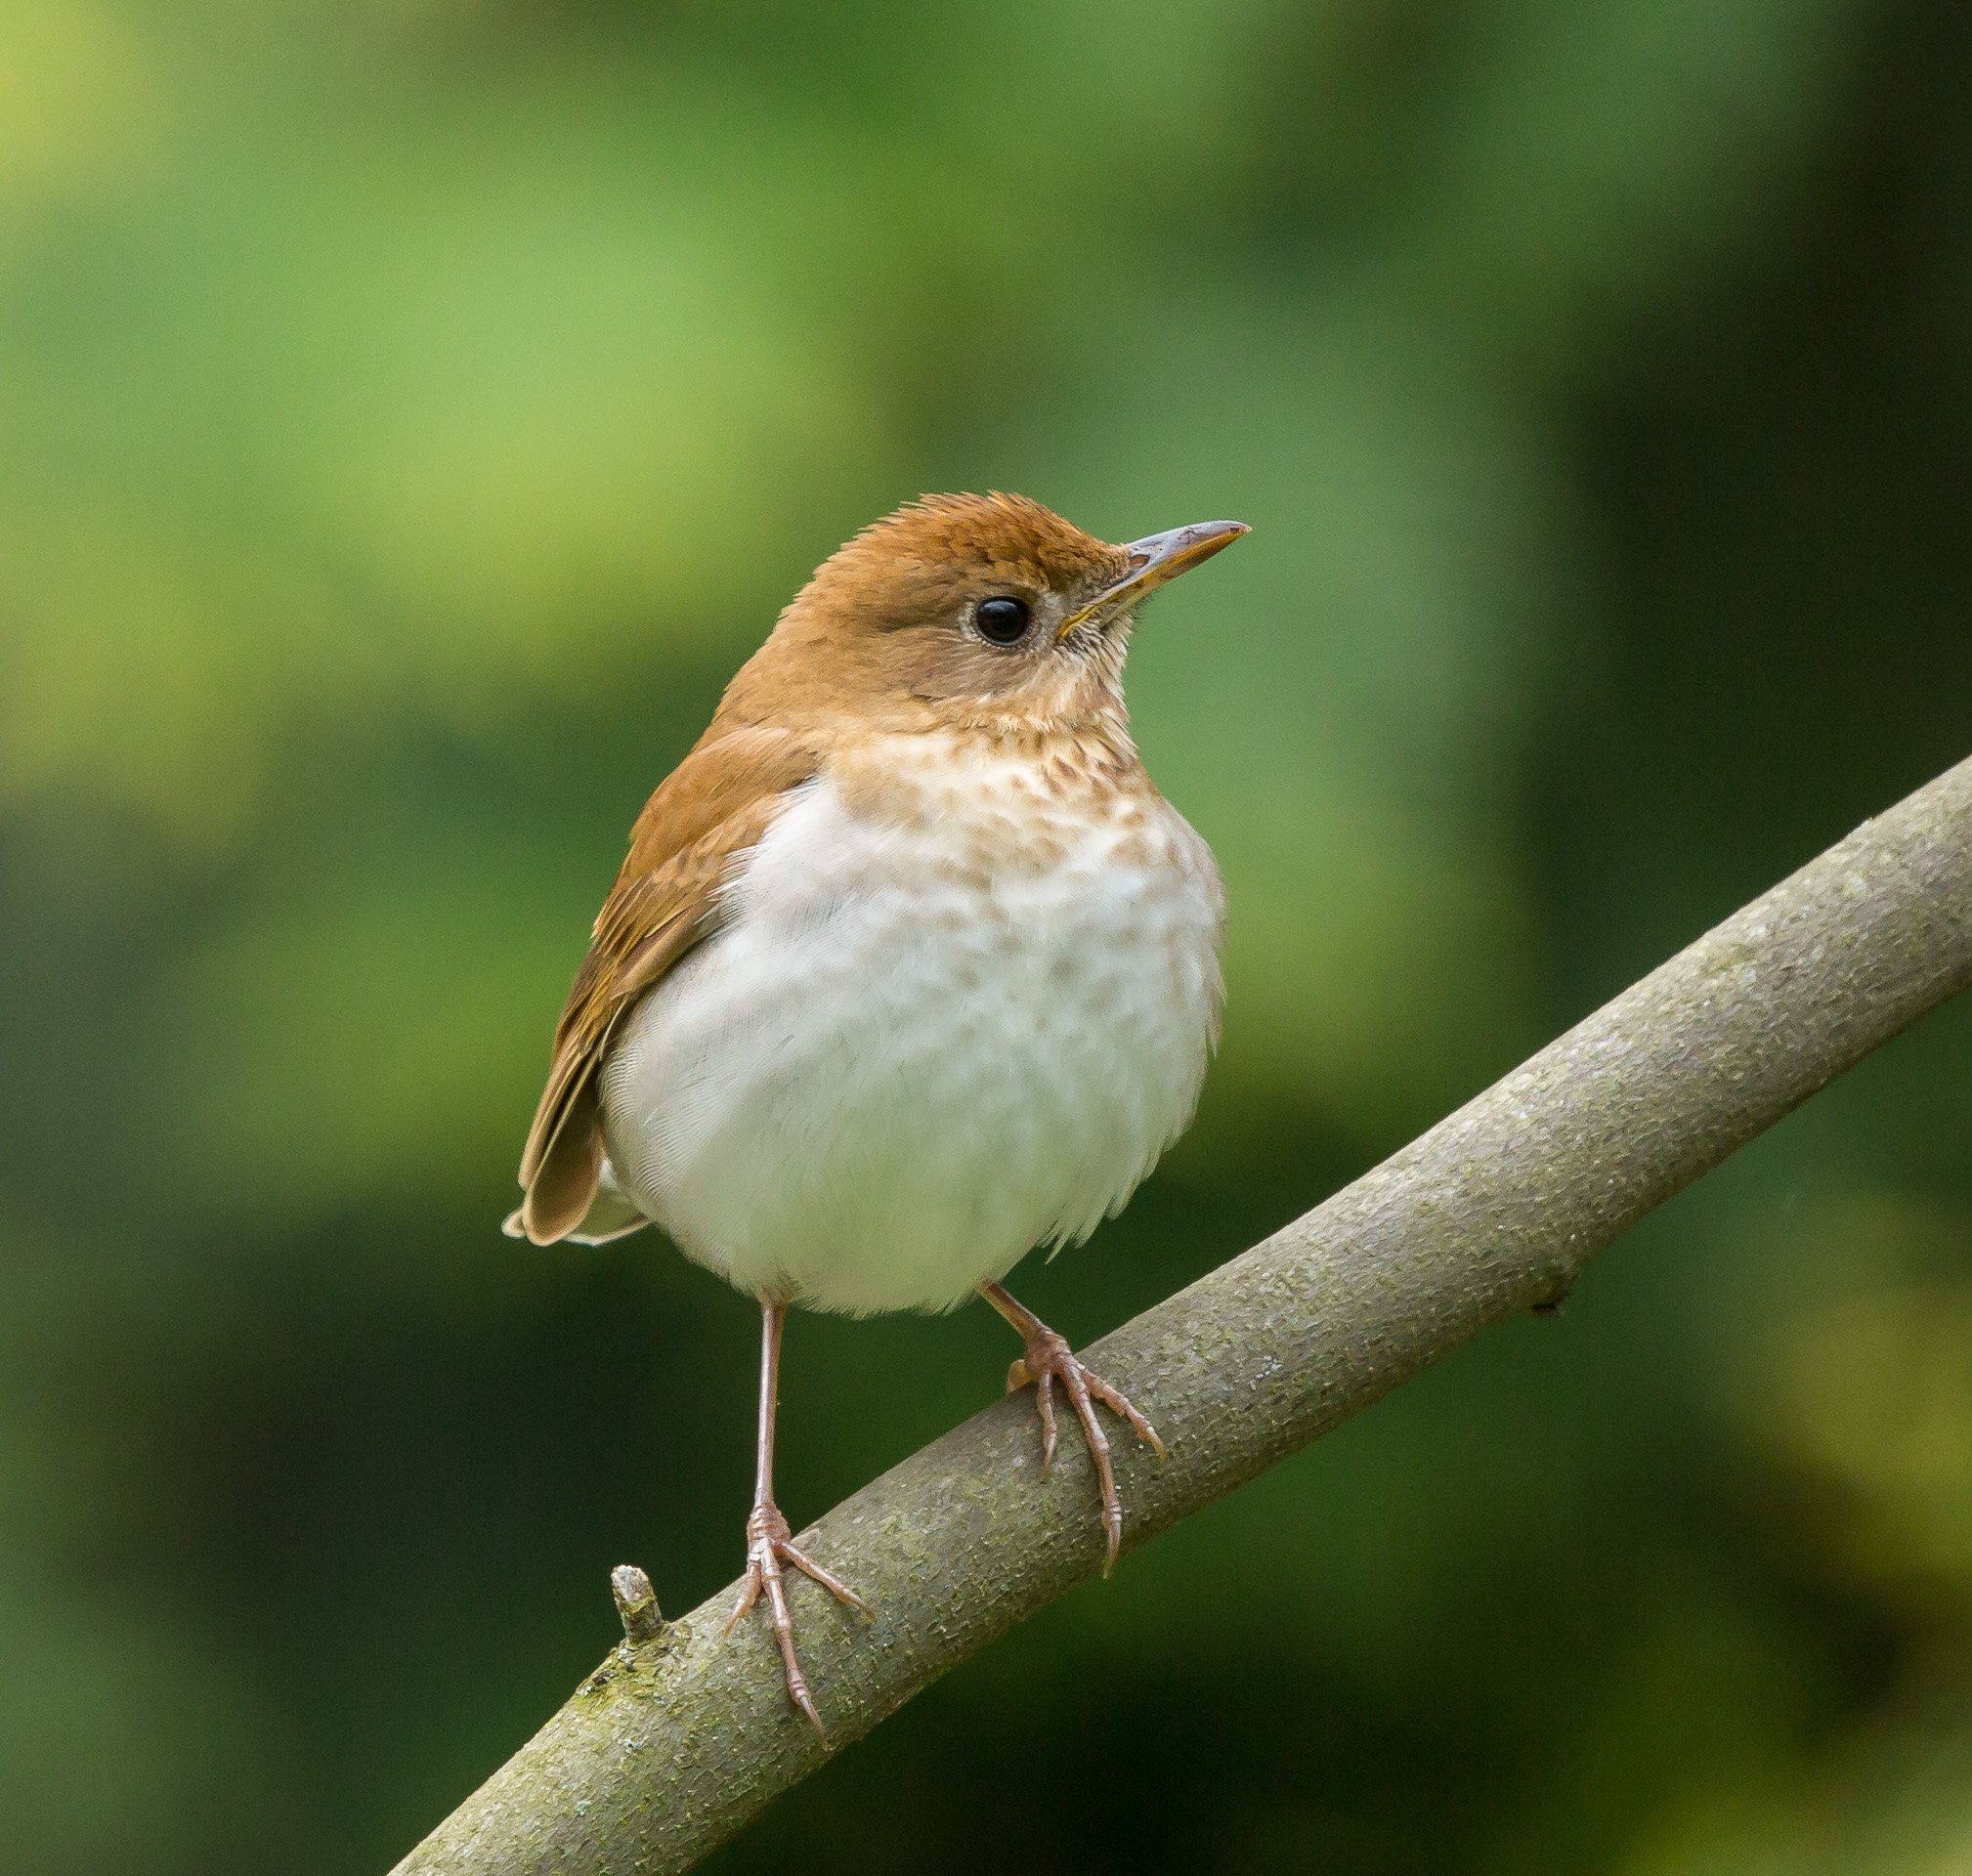
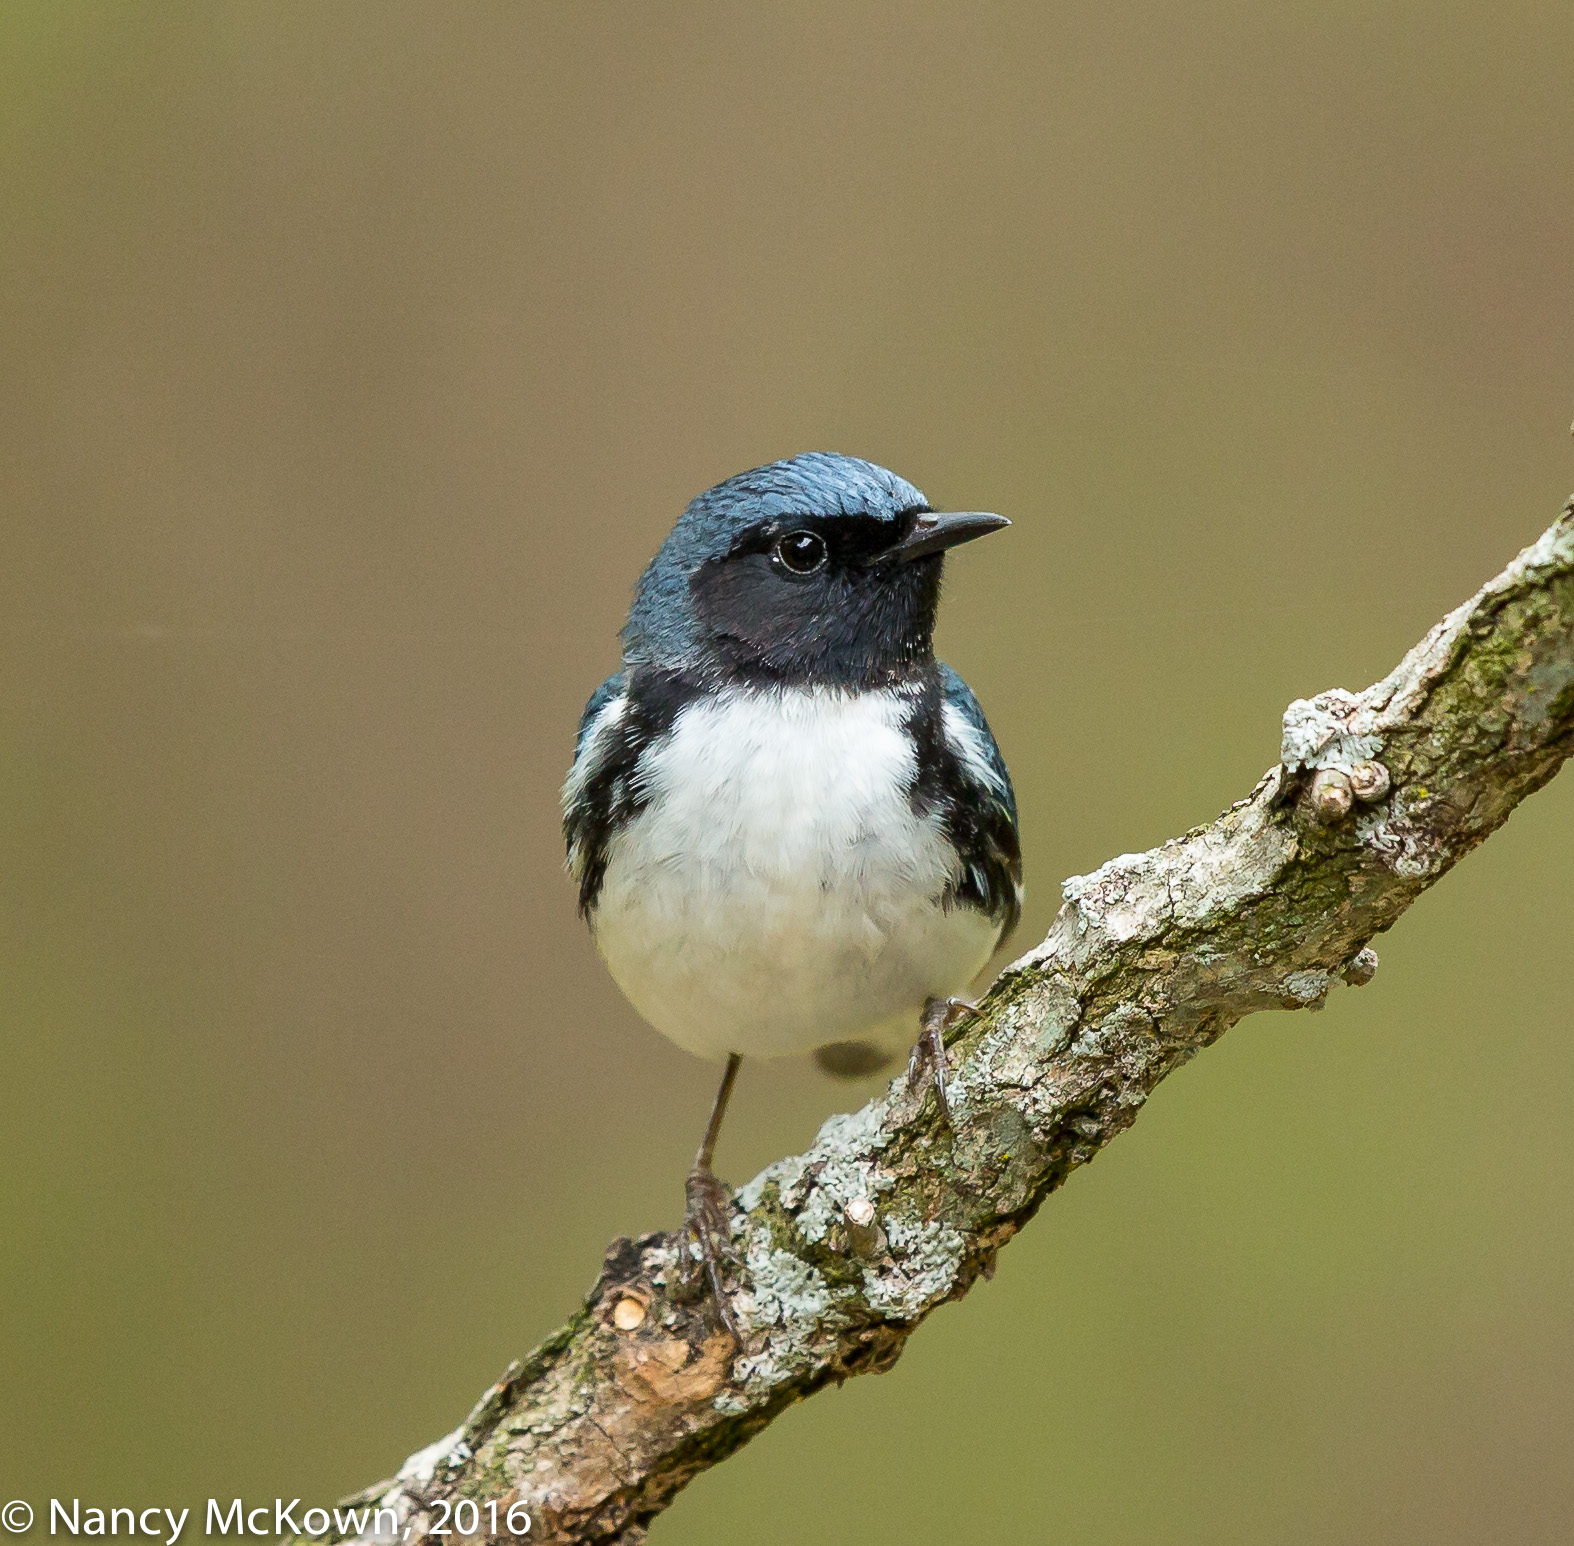
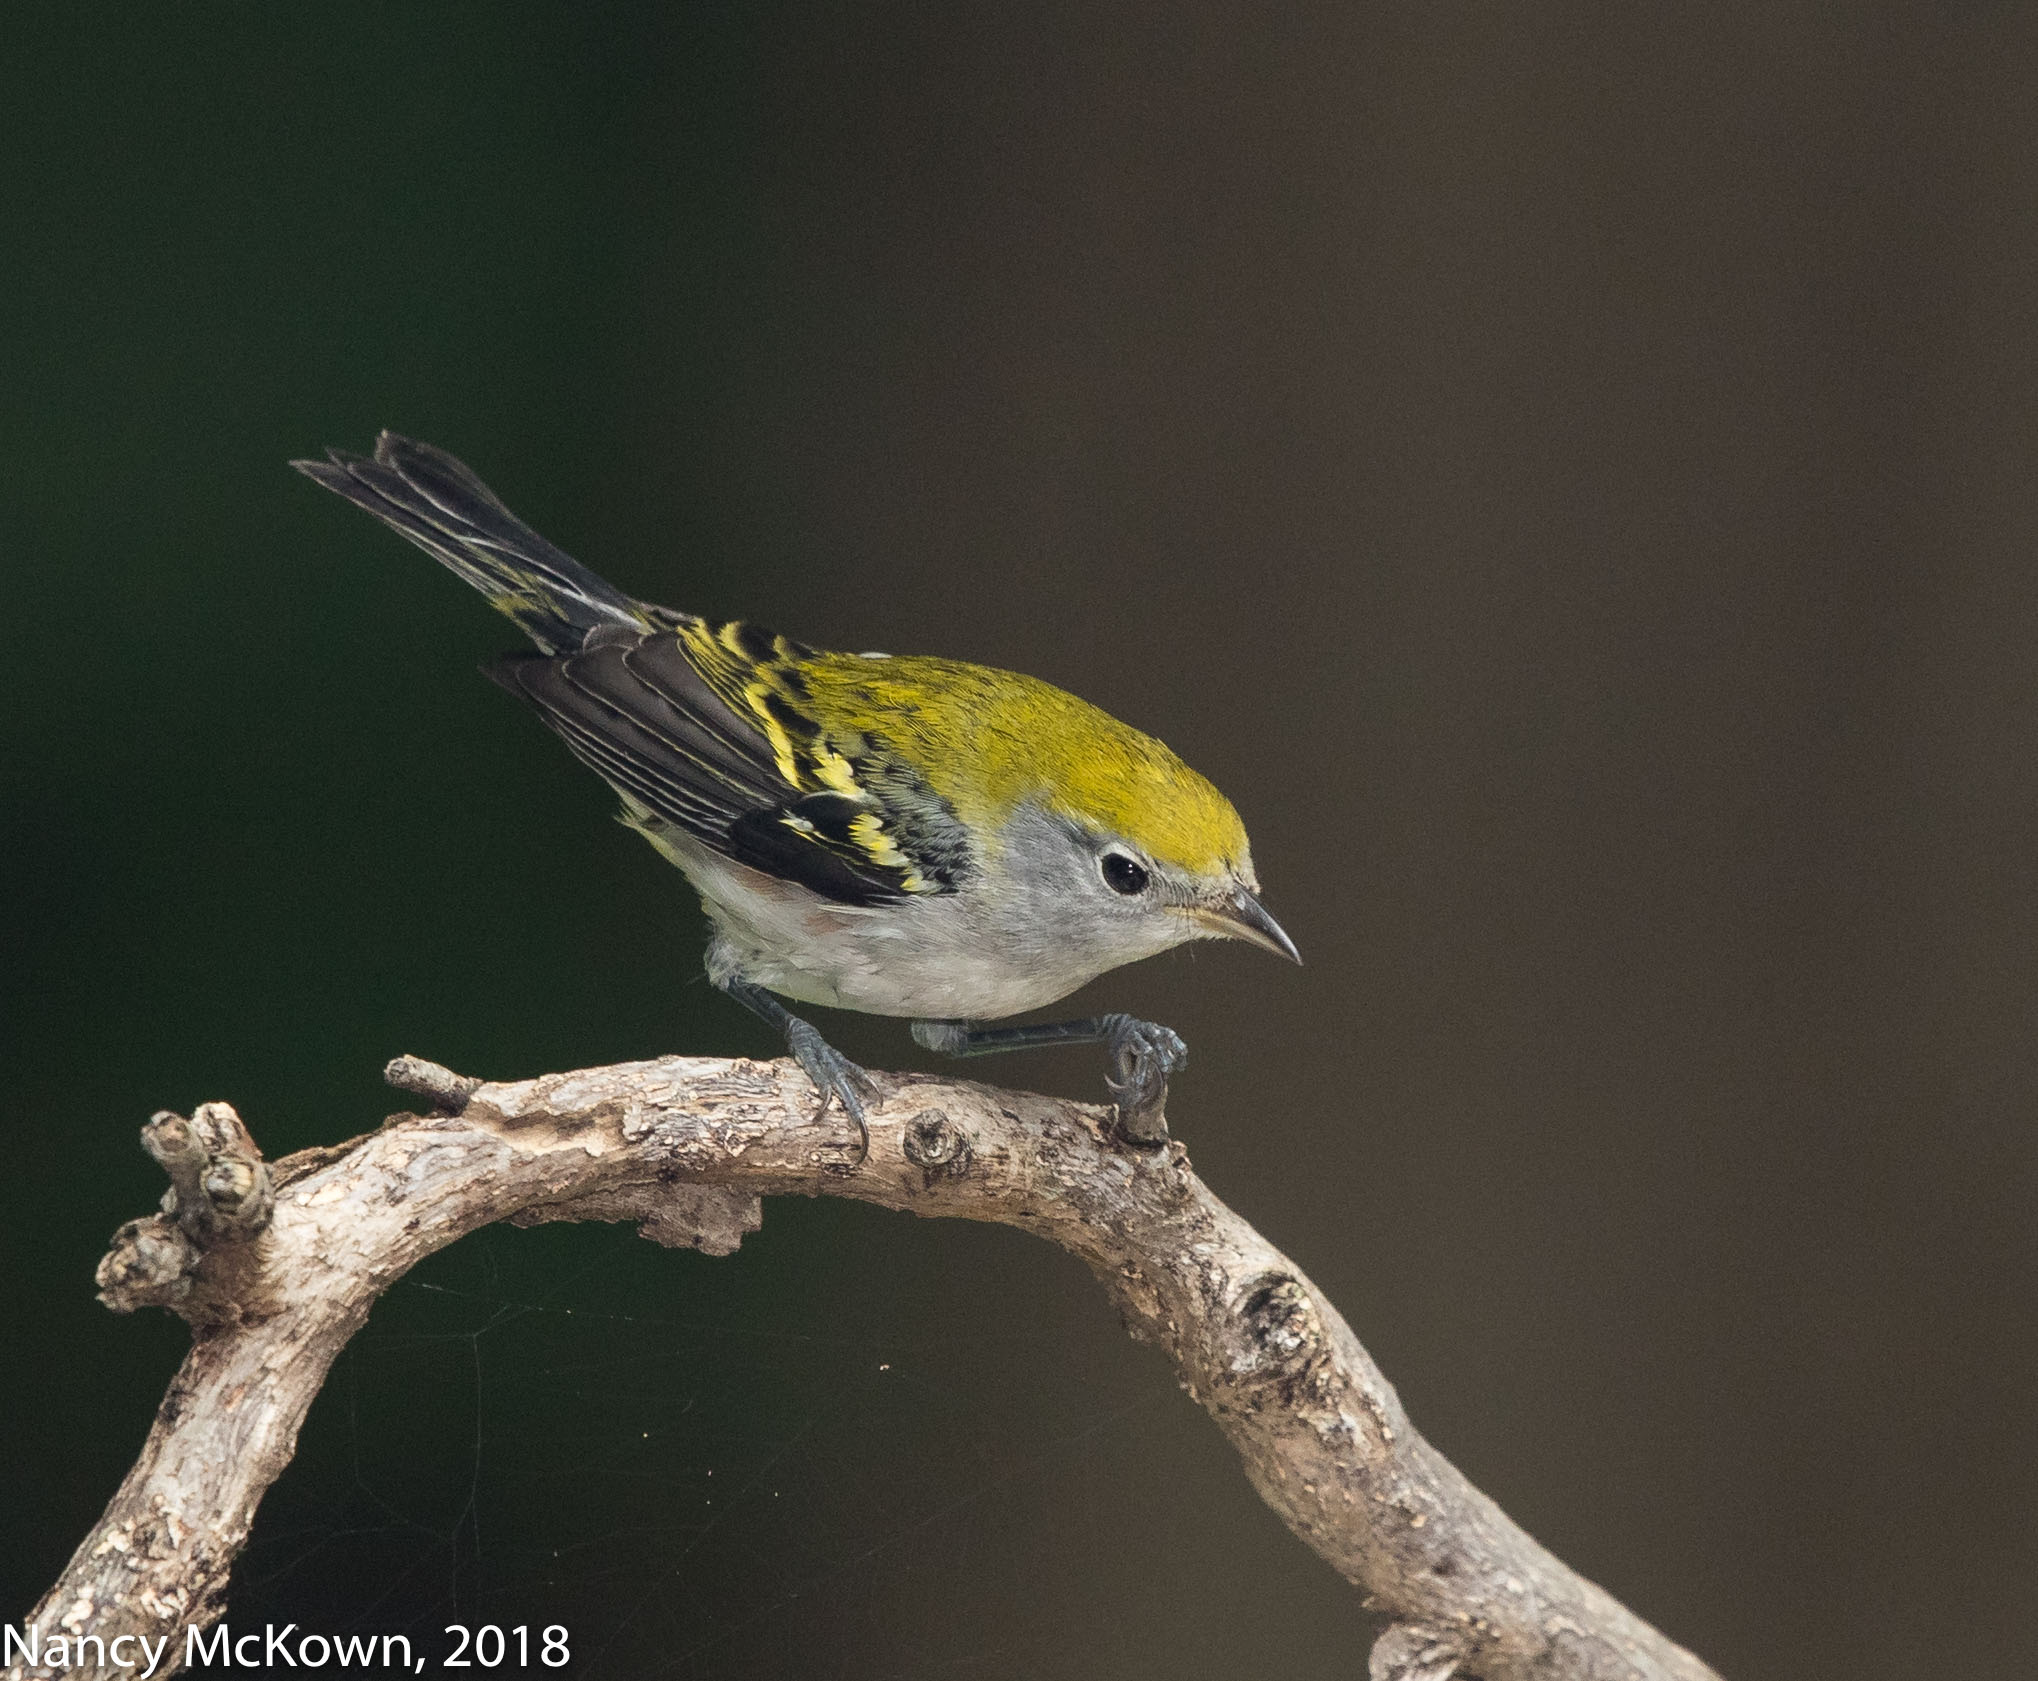
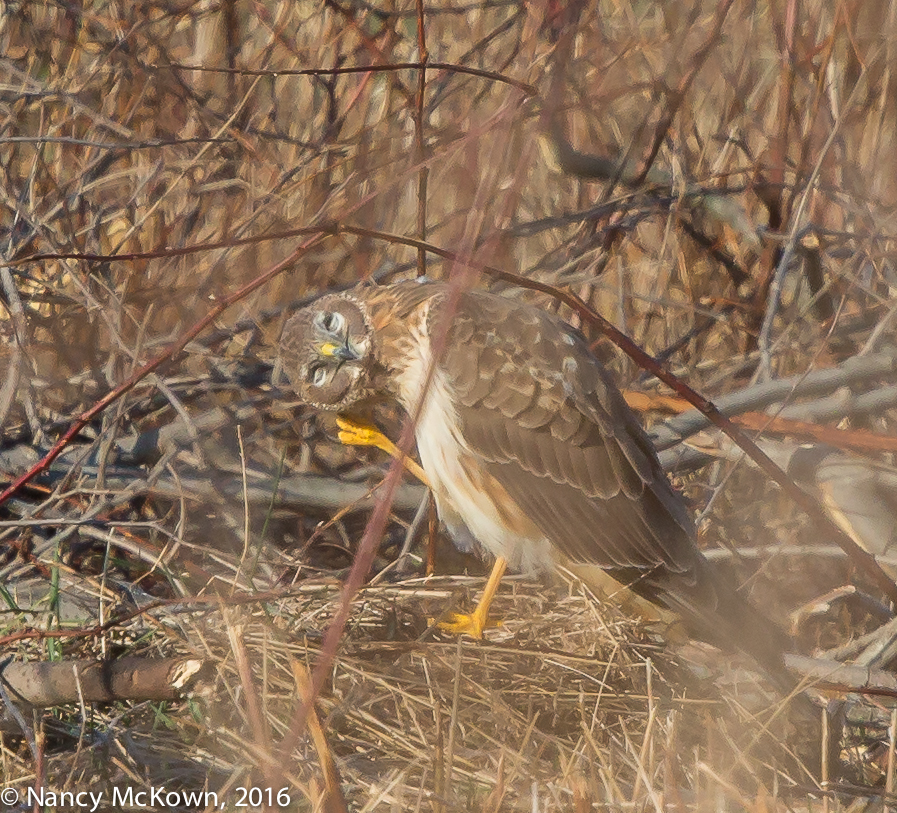
Backlit from the Morning Sun.
ISO1600; f/6.3; 1/400 Second
Creating An Tempting Setting For New Birds
To attract some of the birds we know are up there but never see, we cleared a few low-lying straggly trees near the back end of the house, installed a deck and planted a variety of endemic plants to attract pollinators, beneficial insects and birds.
Off on the eastern edge of this structure, we installed a natural stone basalt recirculating fountain. It is the key to enticing the birds to venture down from on high. Burbling and in harmony with its surroundings, the three stones darken and glow as water circulates down. Little maintenance (except for a few drops of bird safe, environmentally friendly algicide) is required because the water flow design makes it basically self cleaning. The soft gurgling sound of the water attracts bathing birds… birds that we normally don’t see at the feeders.
We set up a couple perches just above and to the side of the fountains so the birds could settle and check out their surroundings before they hopped into the water streams. The lush, green and woodsy background was situated 10-12 feet behind the perches so as to create the perfect Bokeh.
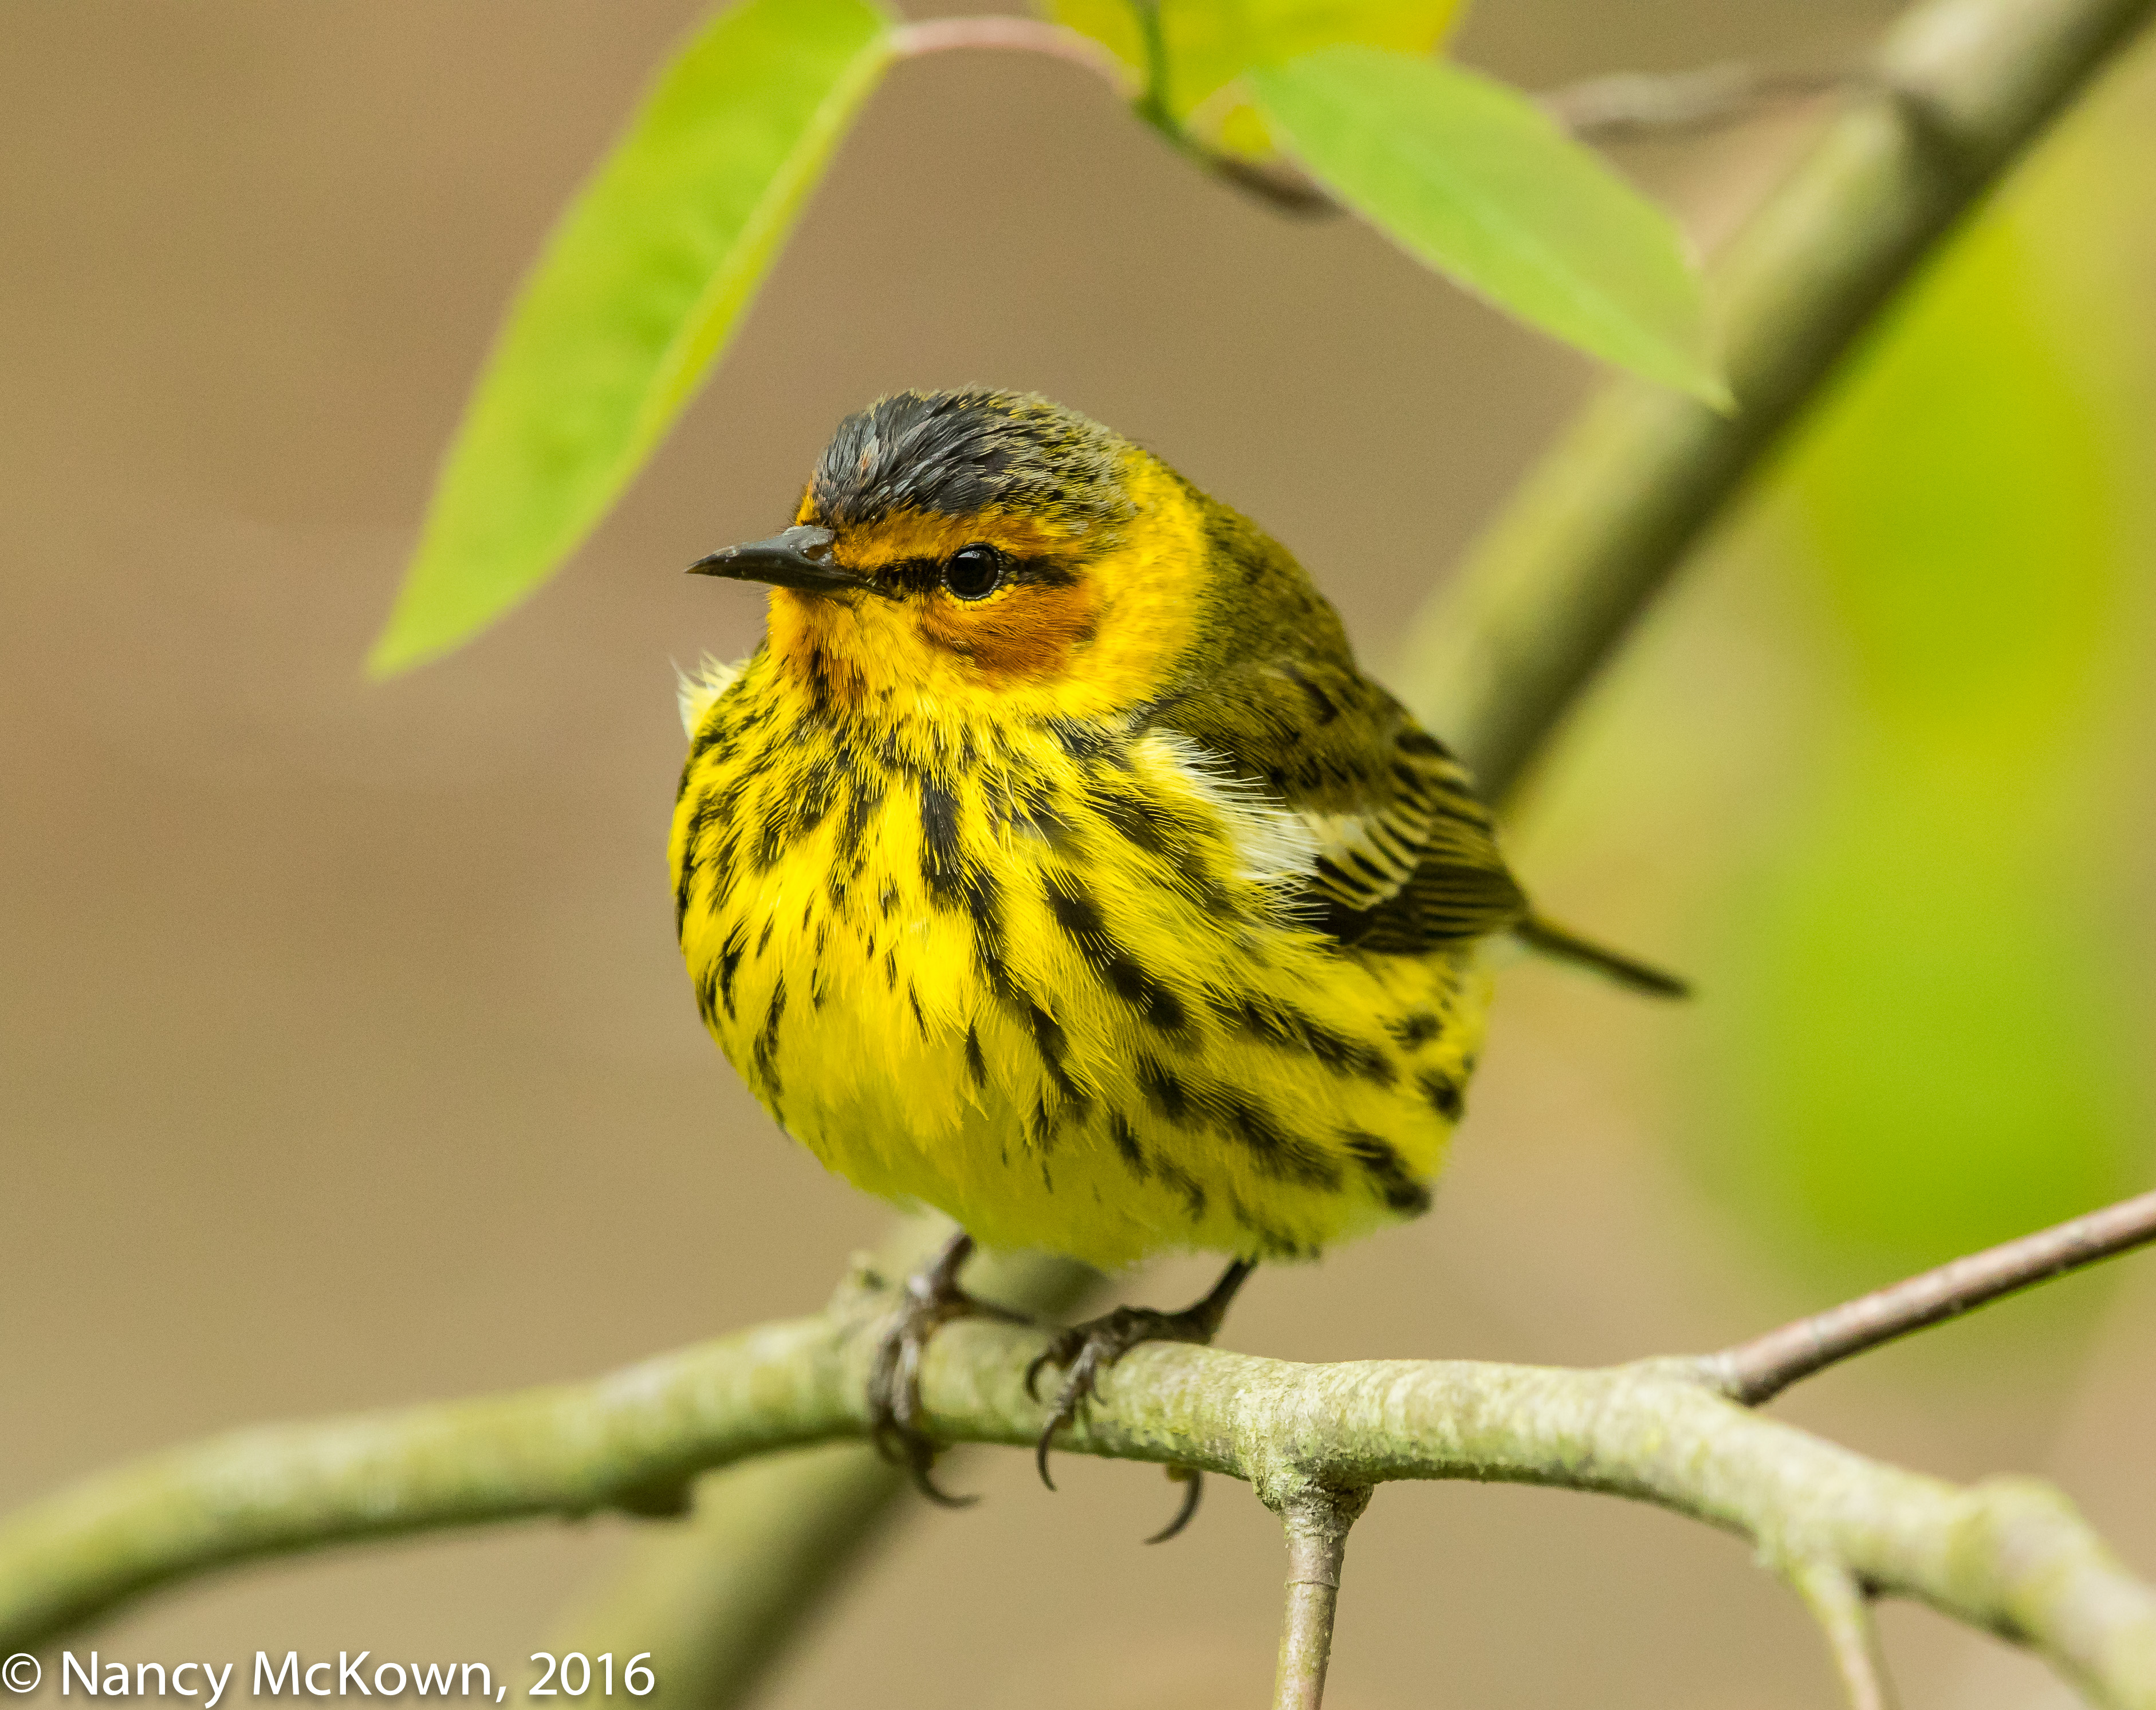
NOTE: A pleasant Bokeh amounts to nothing if there is no enticing subject.
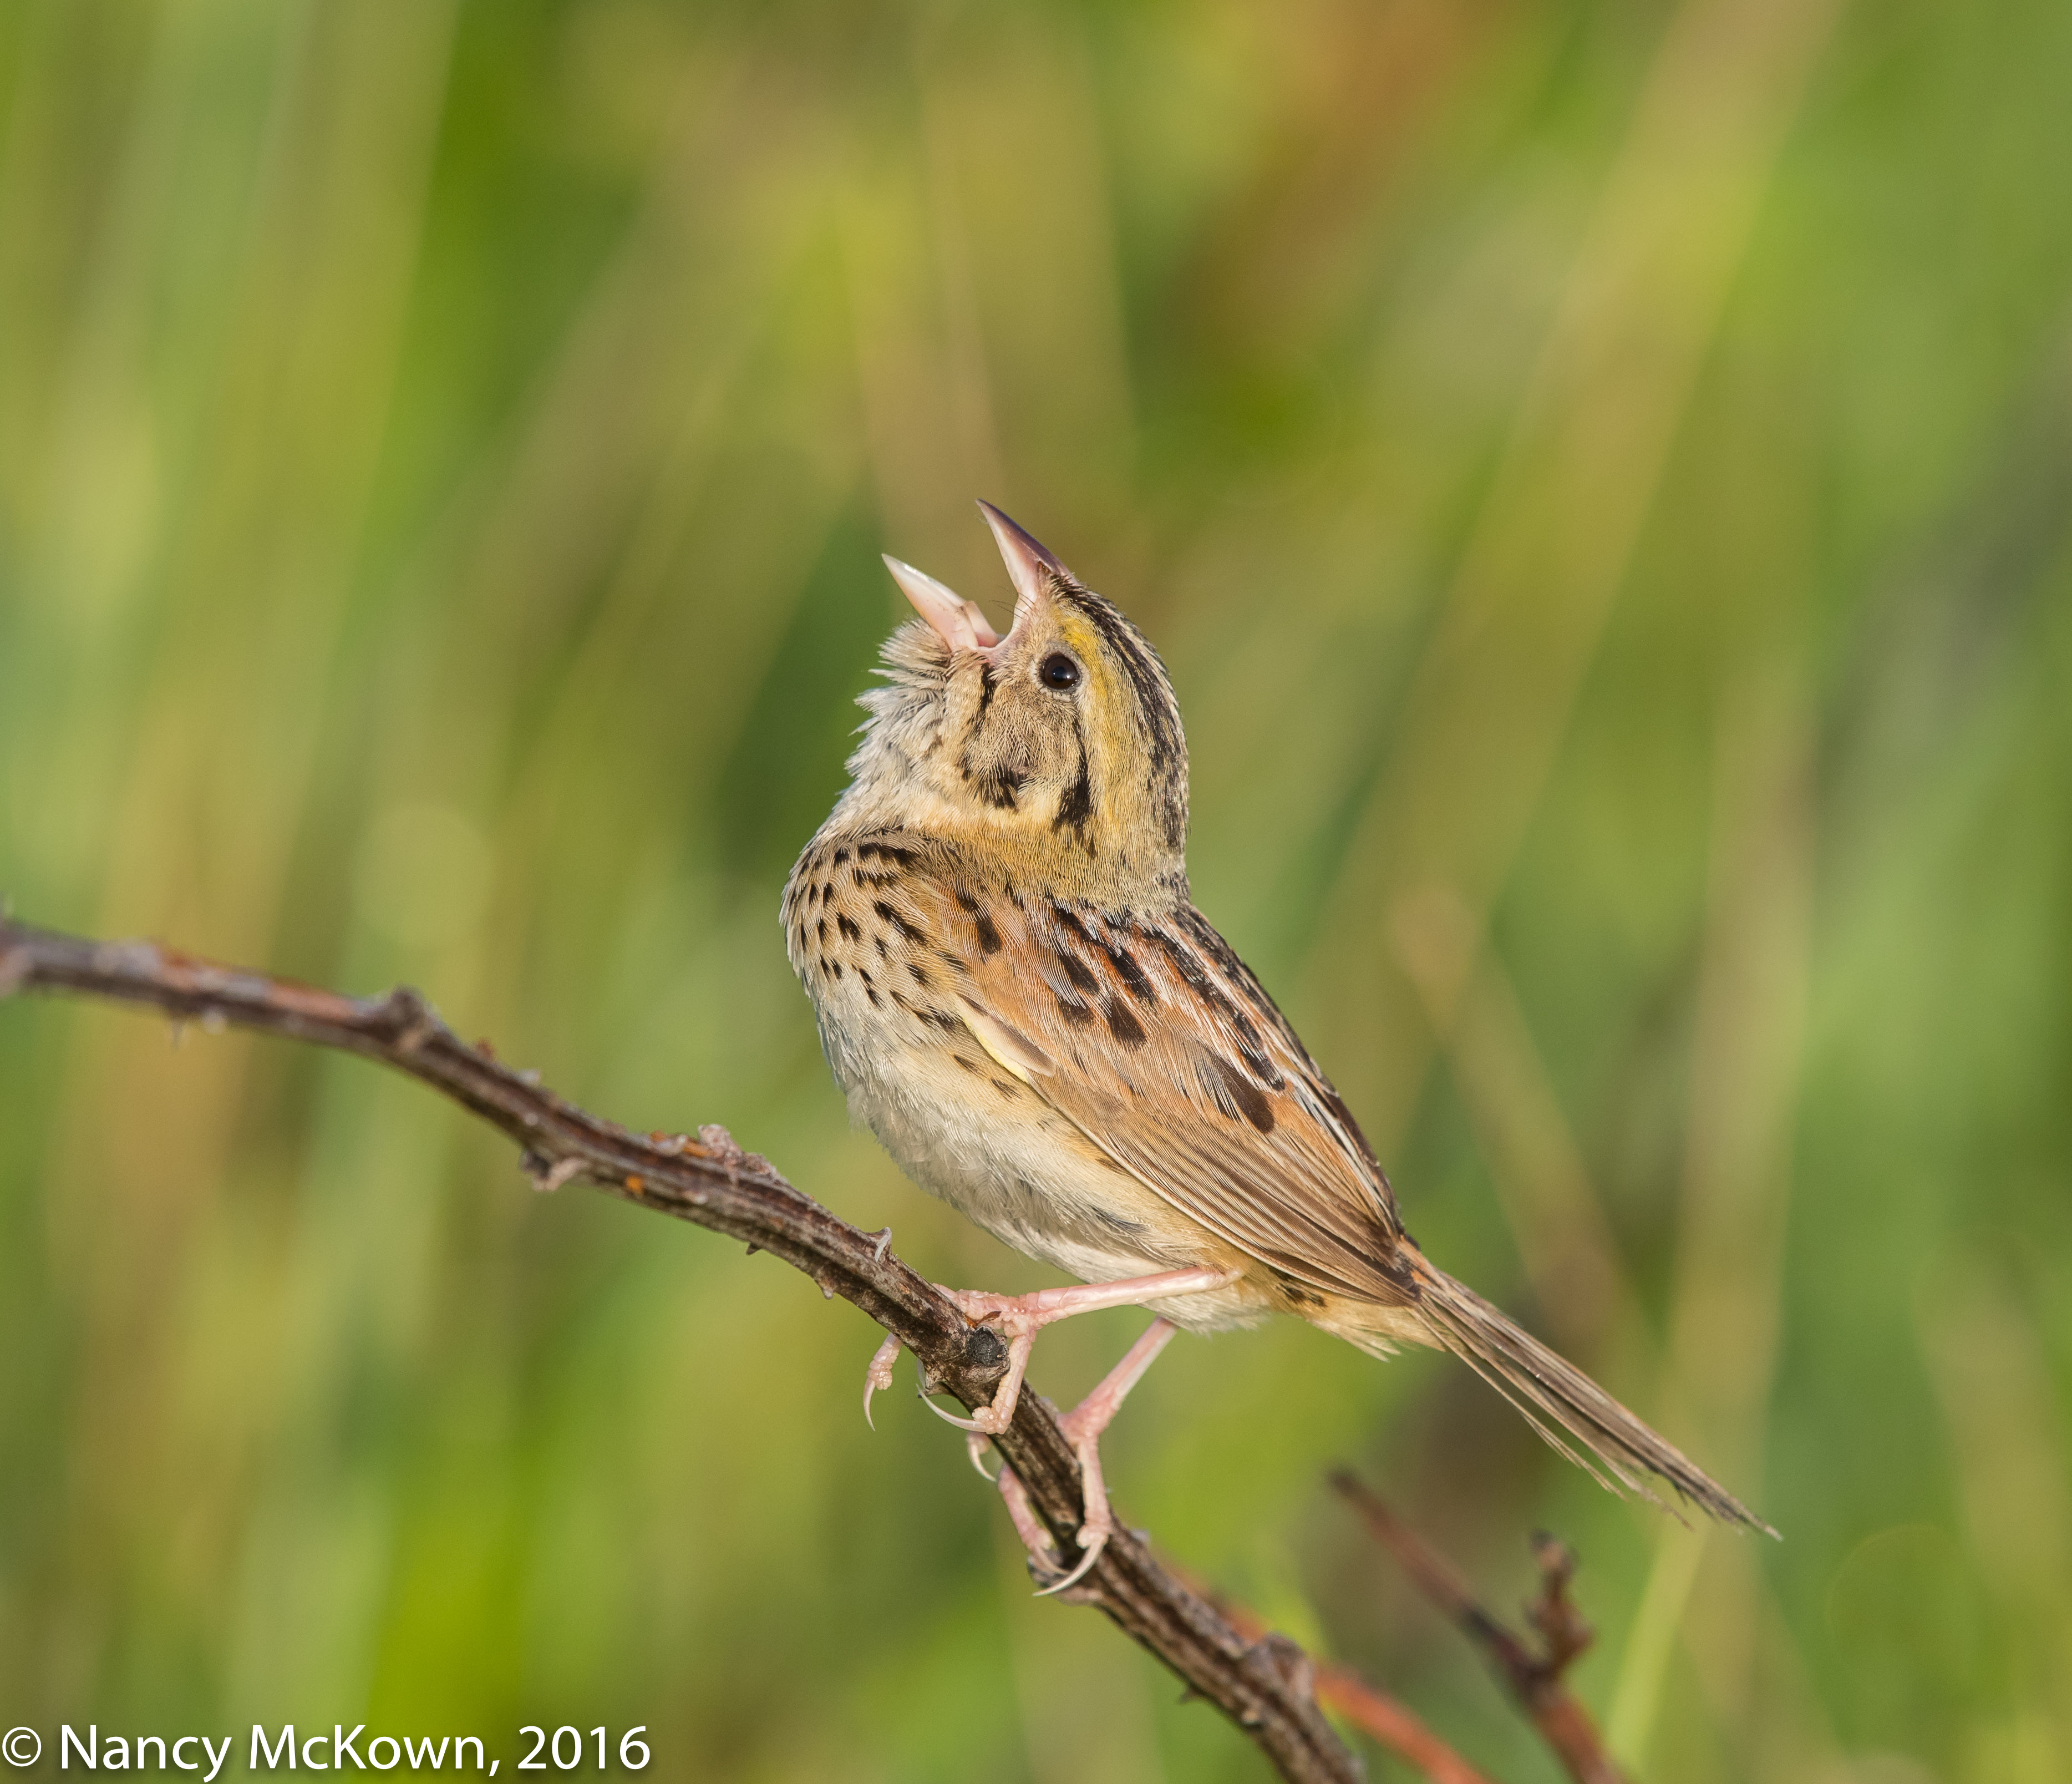
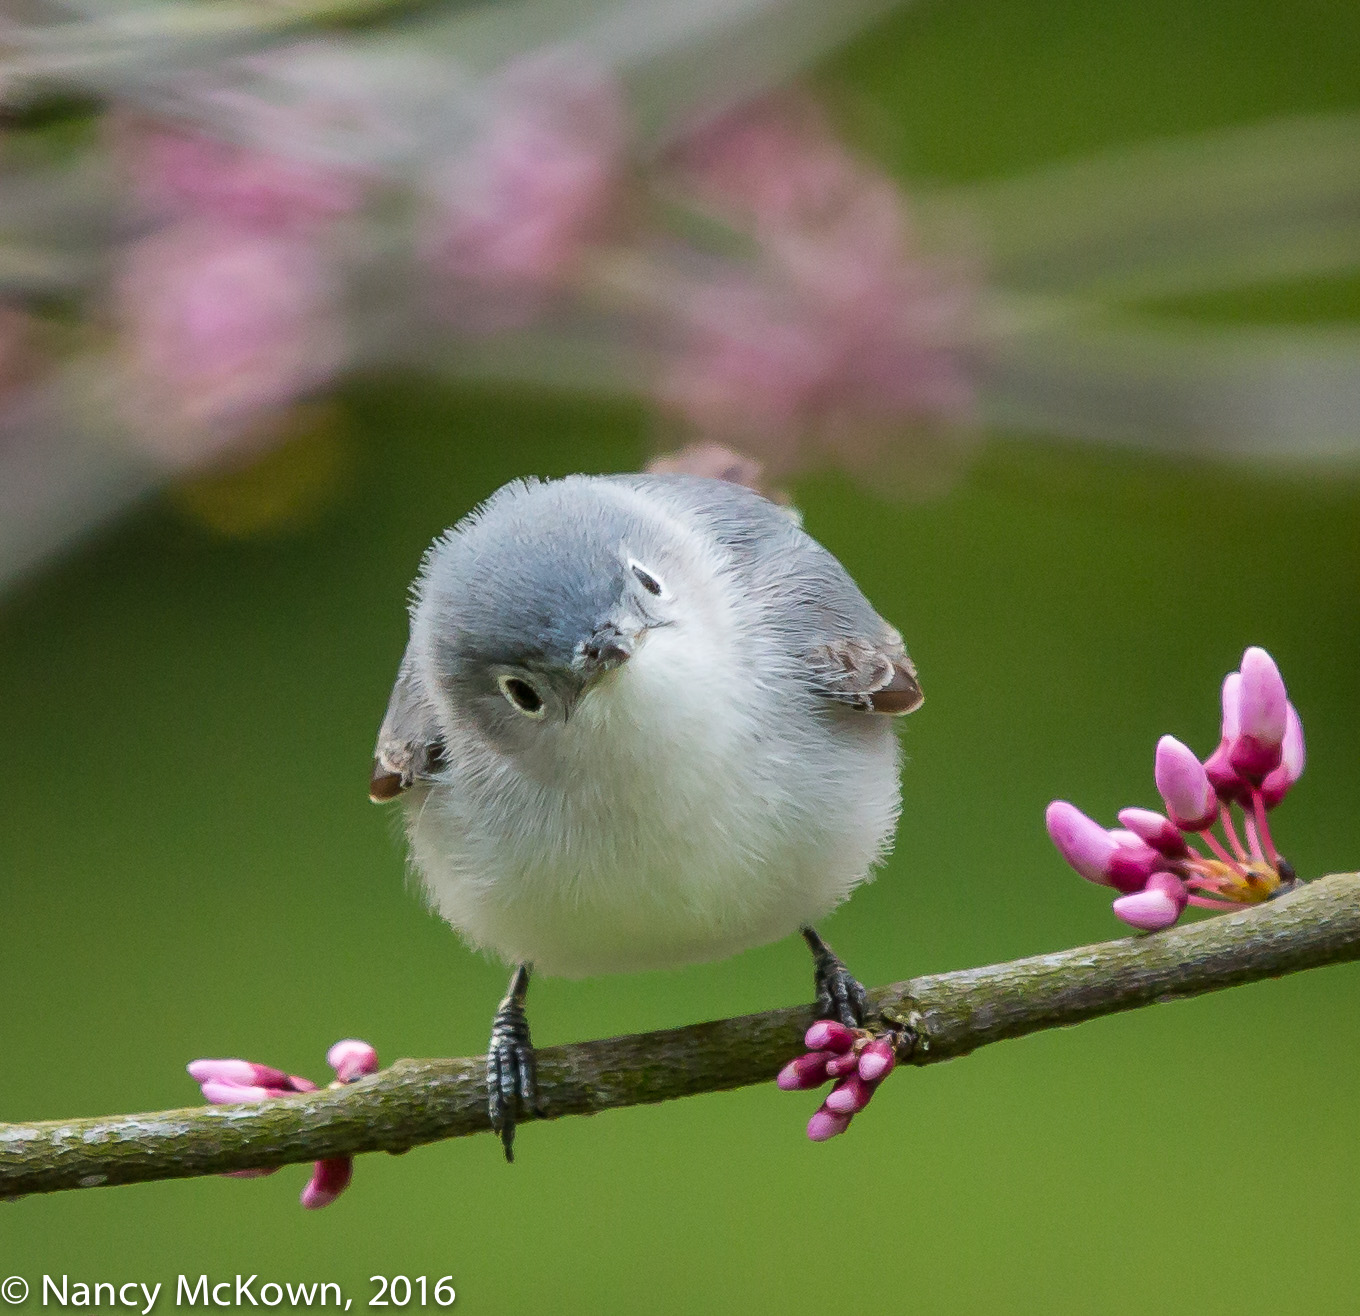
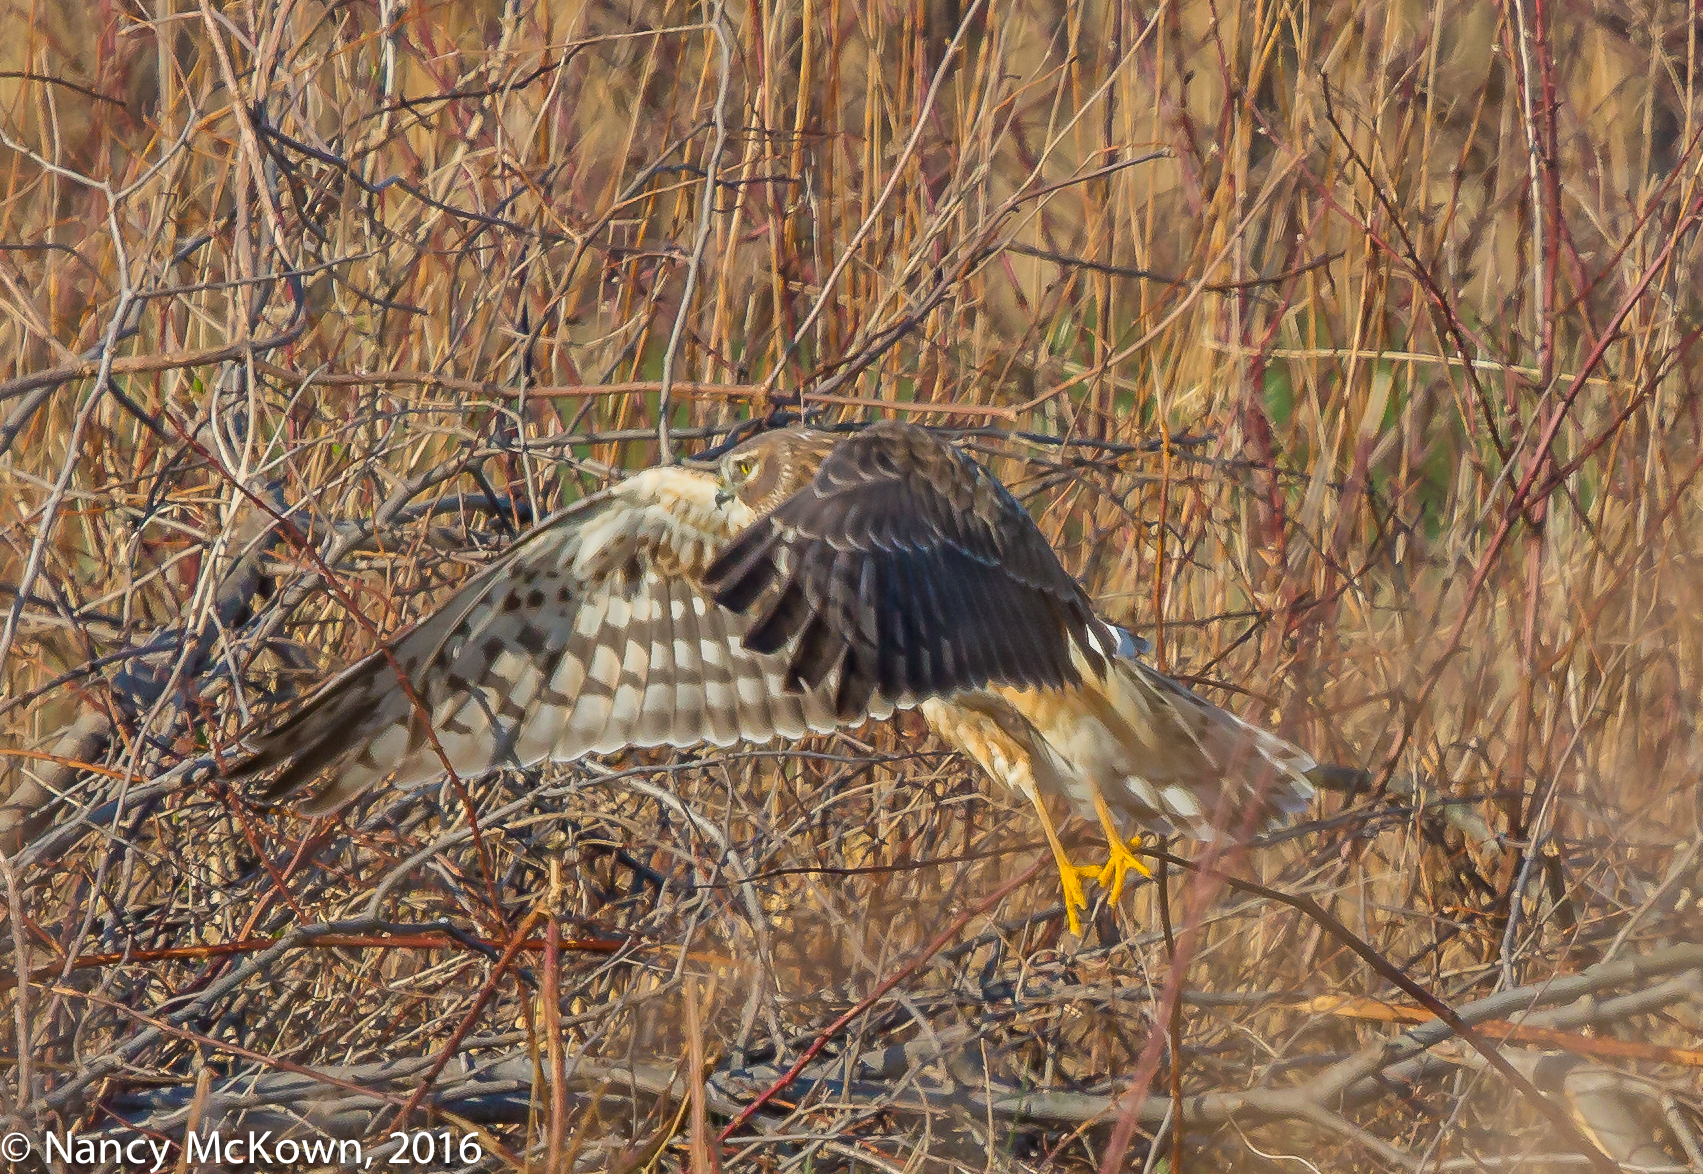
ISO1600; f/6.3; 1/400 Second
Comfort Levels
Visually, this deck looked like the perfect place to set up the tripod and camera and make myself comfortable in a deck chair. But those rarely seen birds up high are the more cautious ones. They clearly prefer to have a wide personal space between themselves and humans, so a camera setup and photographer fairly close and in full view on the deck just may cancel out the allure of the bubbly fountain.
Proximity Problems
The birds did not come- at least not while I sat on the deck. Birds were coming when I wasn’t on the deck. I could see them indulging in the cool waters when I was inside the house. Apparently I was too close for their comfort. So, I hauled up my blind from the basement, left it assembled on the deck for a couple days so the birds could get use to it, then climbed in with my gear to wait. Still nothing!
My proximity seemed to be the issue. We have a glass door in the bedroom which opens on to the deck. The distance between this door and the perches near the fountain is little far, but if I have my 1.4 extender attached to the 500mm lens, I can make it work.
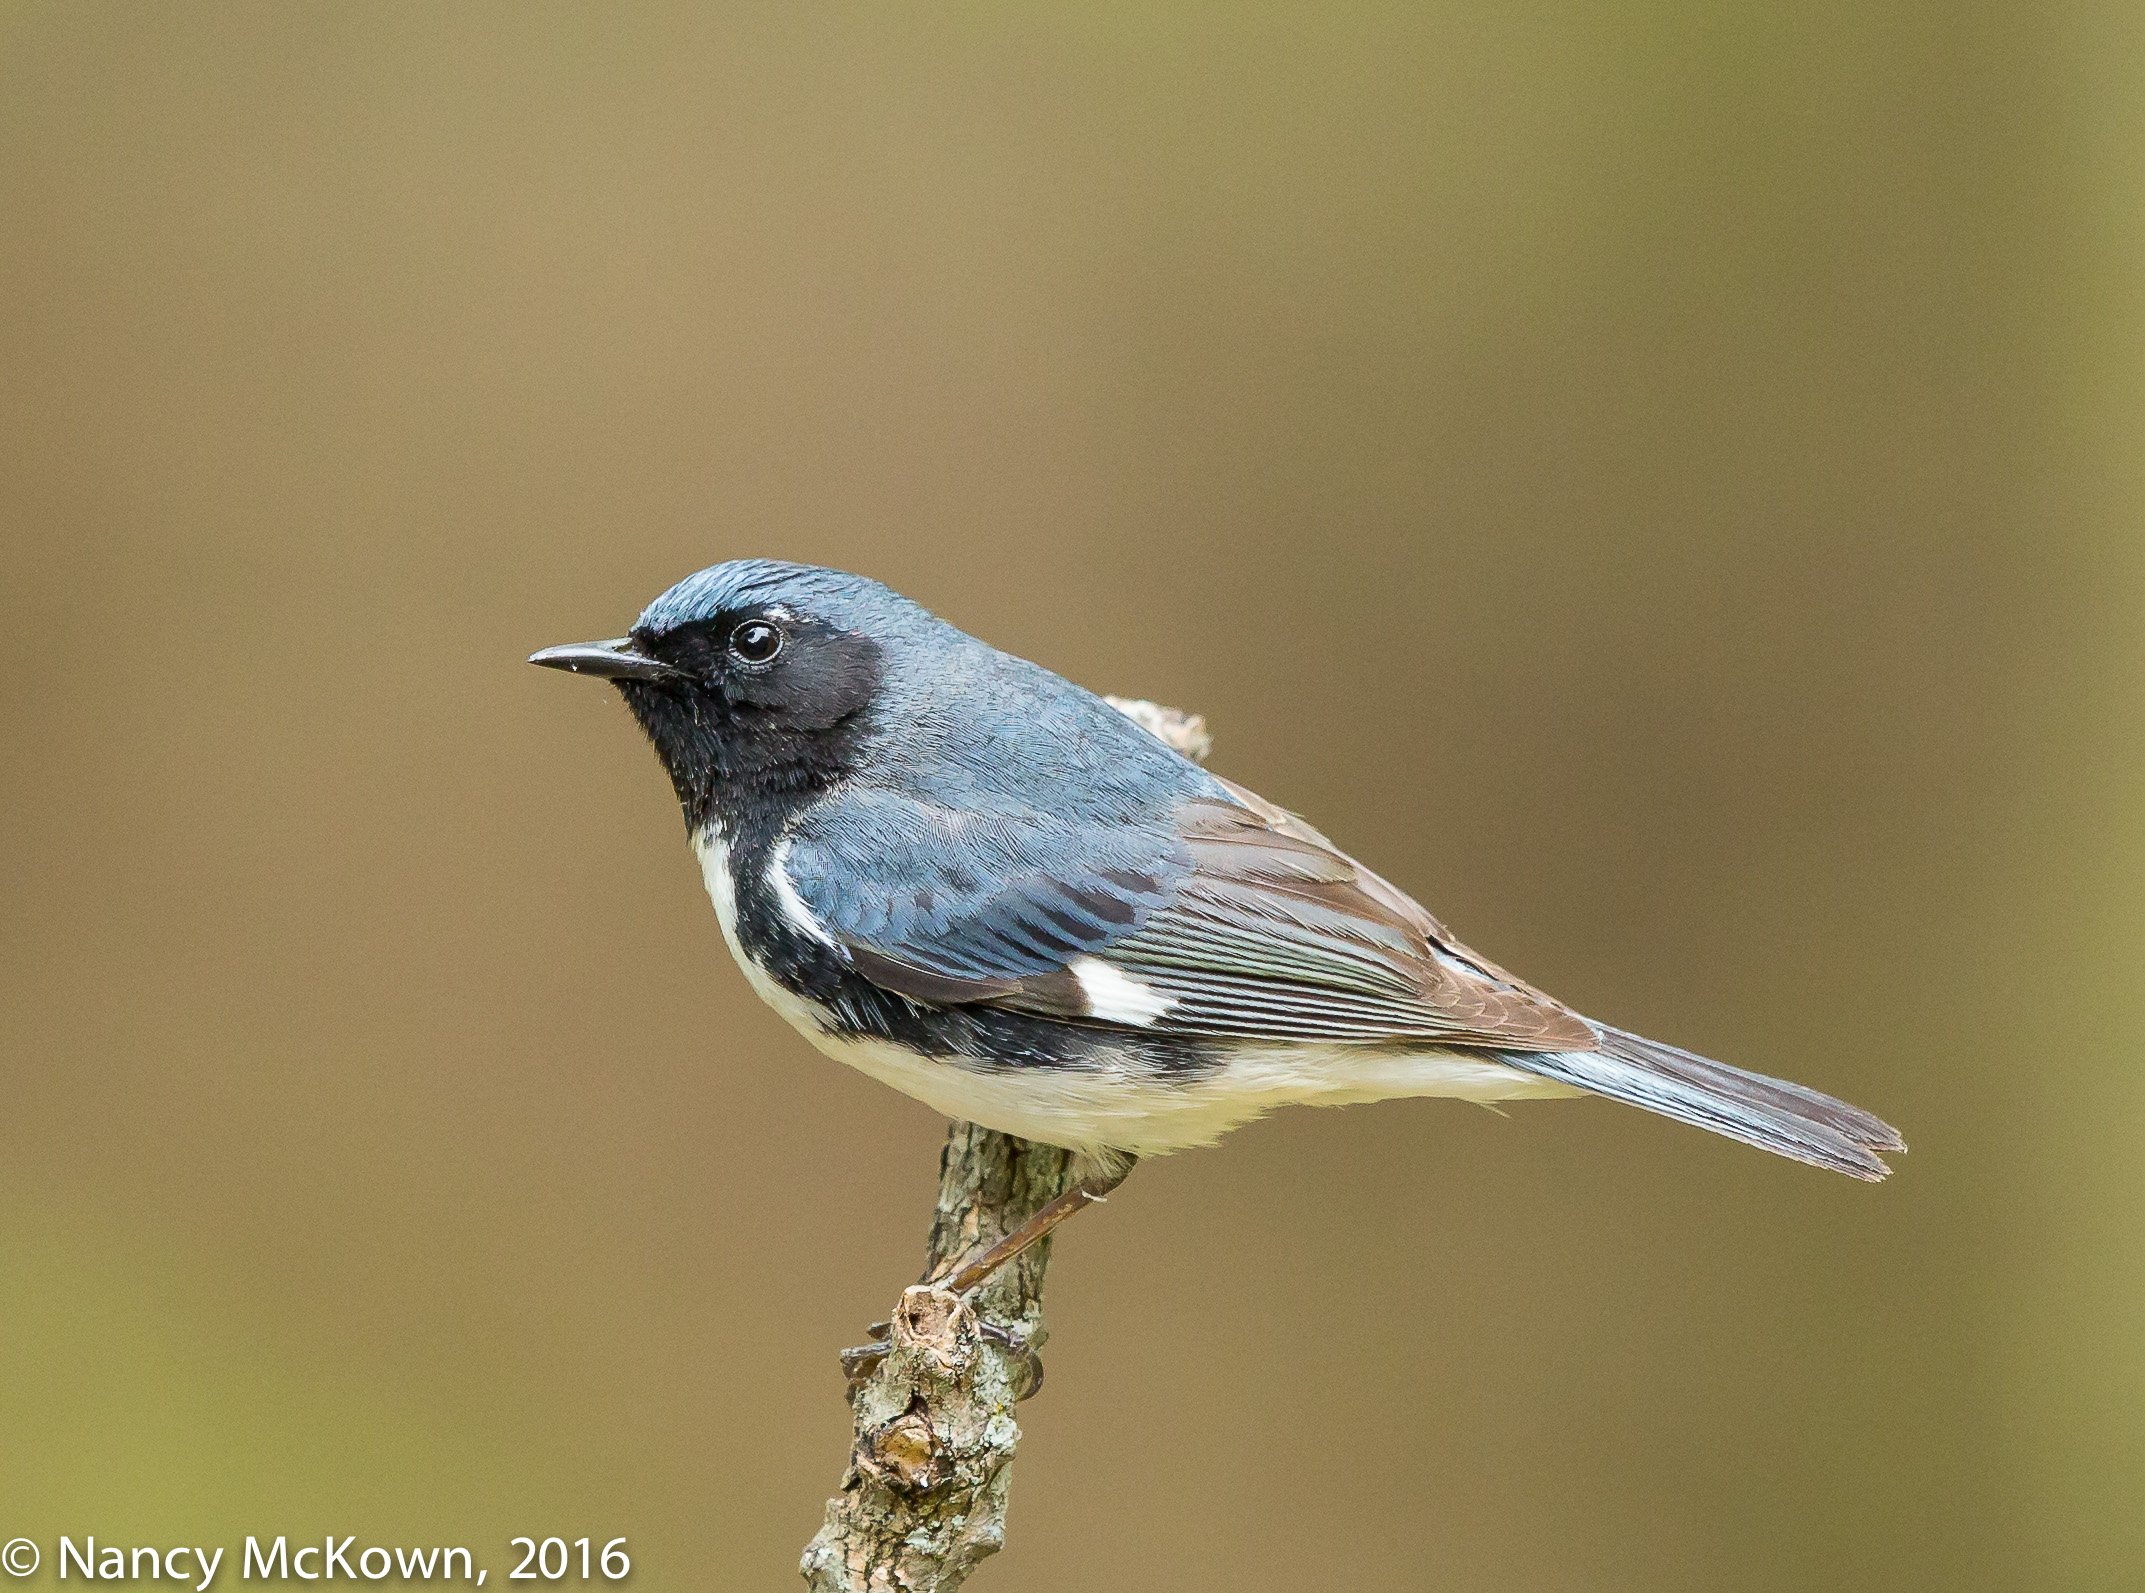
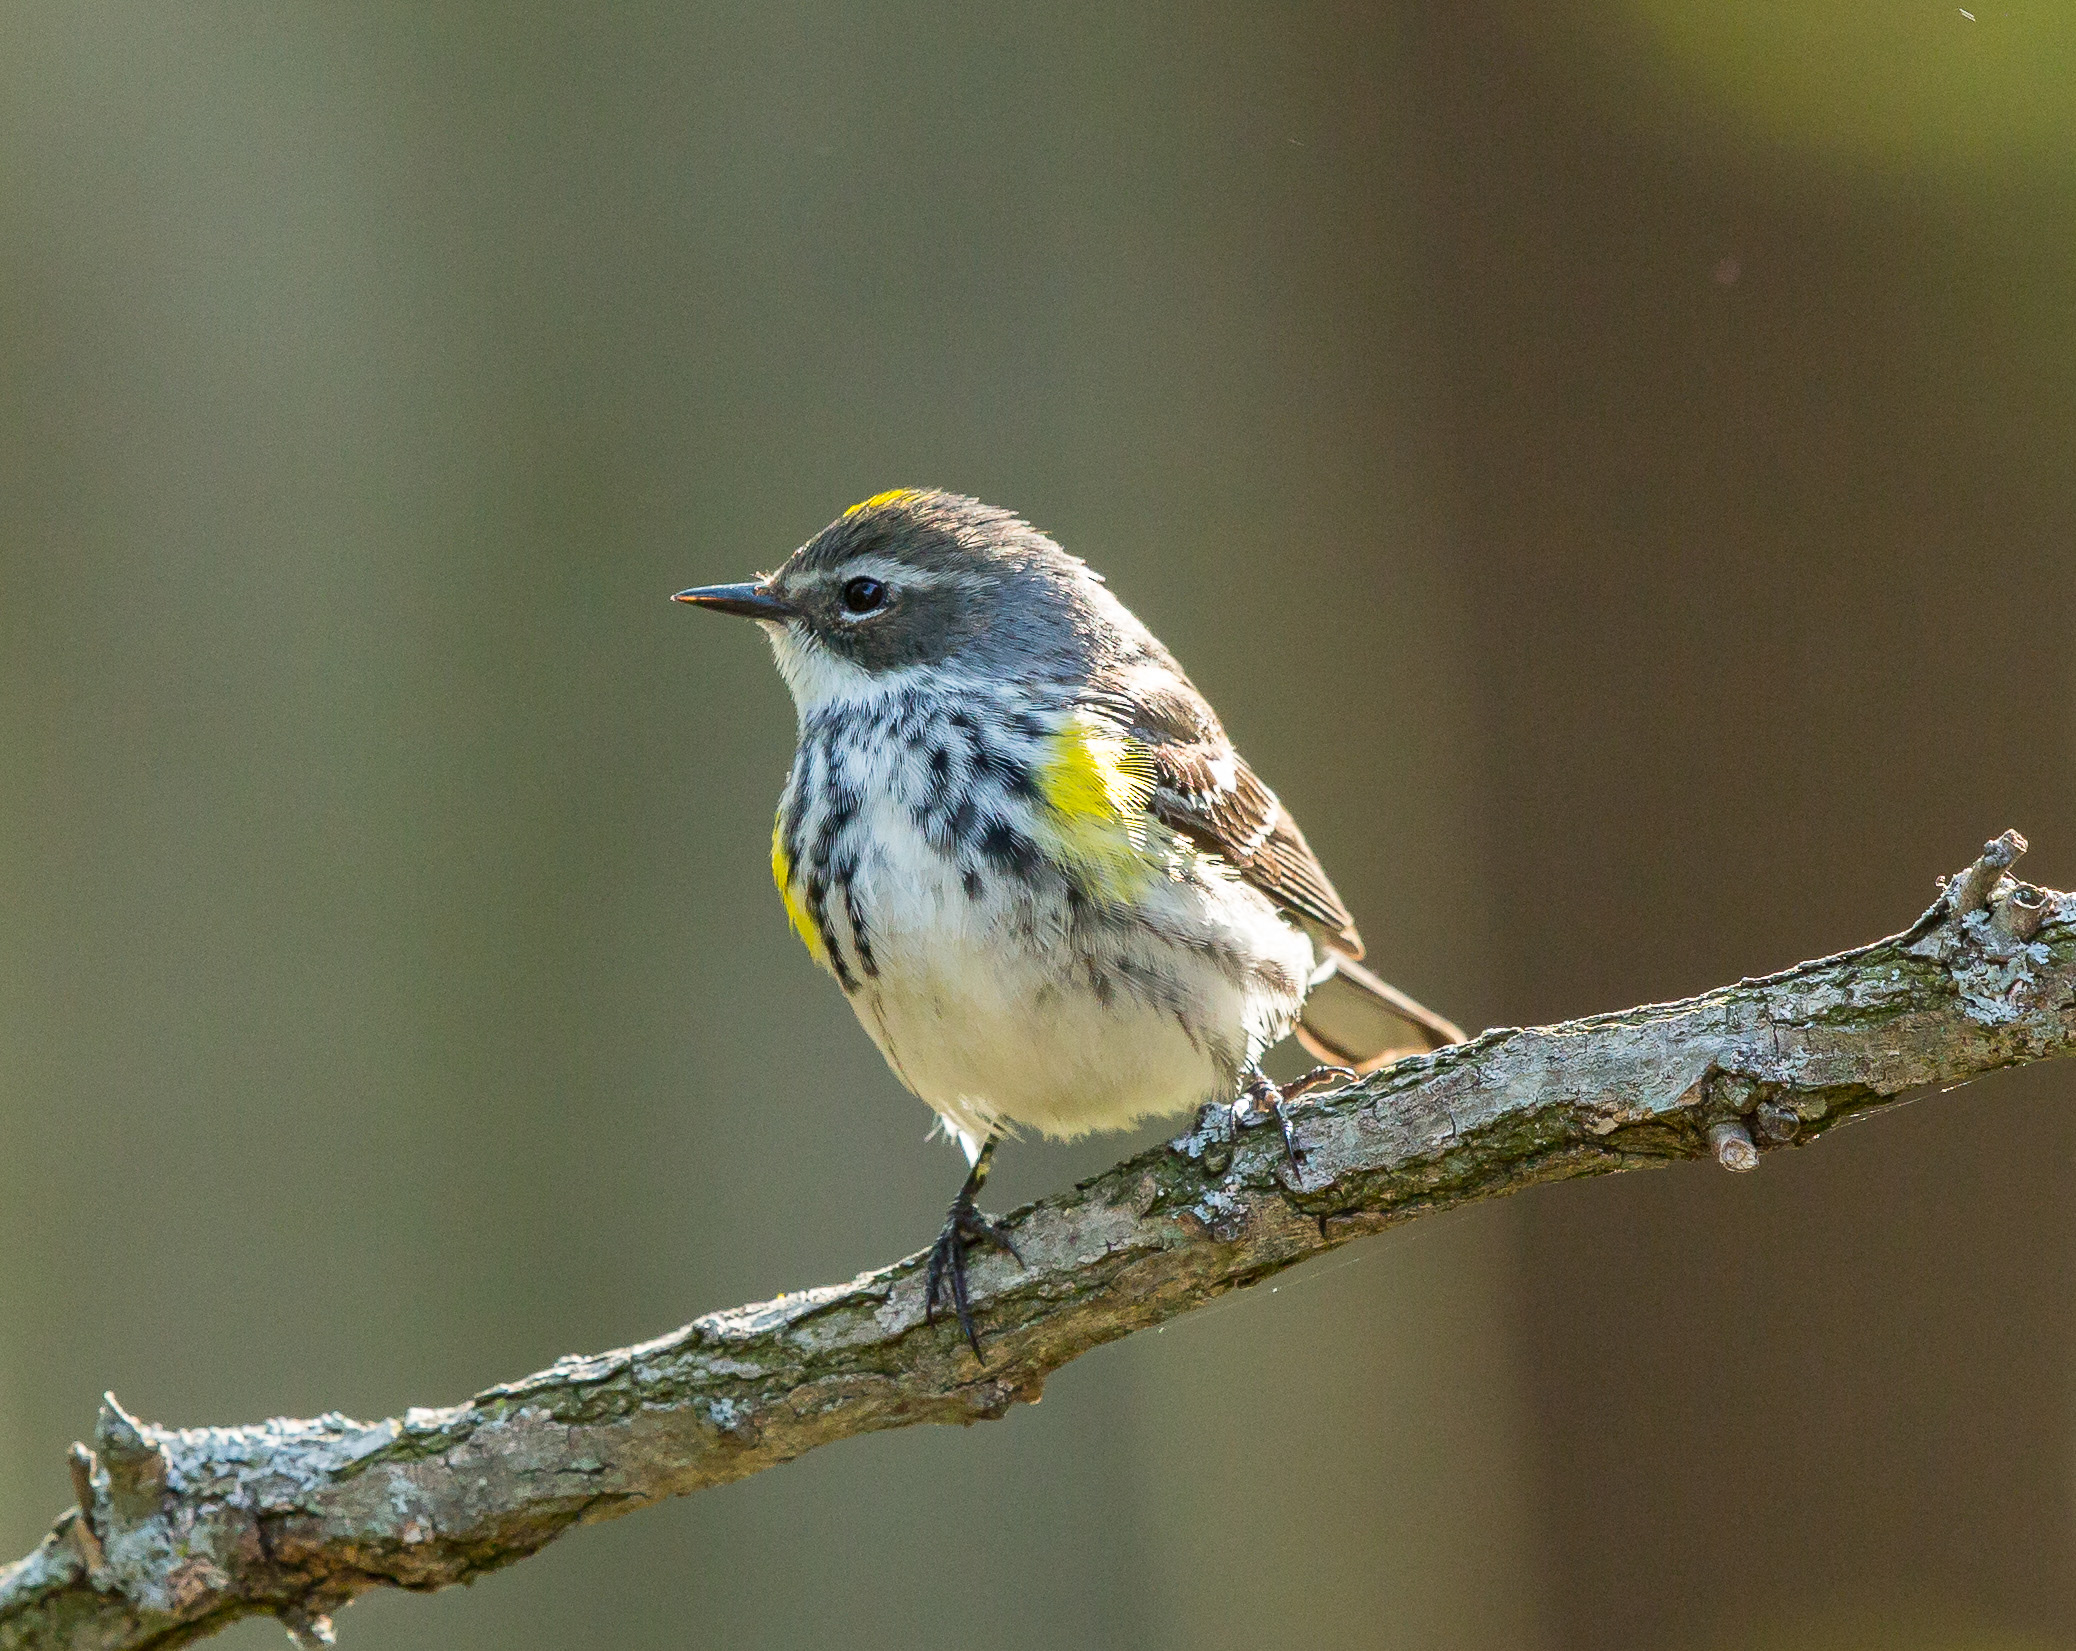
Door open and camera setup inside the house, I pointed the long lens toward the perches and sat down to wait. Before too long, I had several species of birds coming in to bathe who clearly saw me, but were comfortable with my distance. This Yellow Rumped Warbler was one of the first of the new birds to venture close.
Other Deck Visitors
I was feeling pretty pleased with myself – checking exposure, rearranging my setup, drinking my coffee, and checking my phone while I waited. It wasn’t long before I noticed half a dozen or so confrontational looking hornets working on their nest situated right above me at the top of the door between the glass and the screen.
I was heavily distracted by those hornets, but too stubborn to relocate. I kept nervously looking up to see if the hornets were noticing me. They weren’t, but to be comfortable and on task, I’m was going to have to get rid of that hornets’ nest.
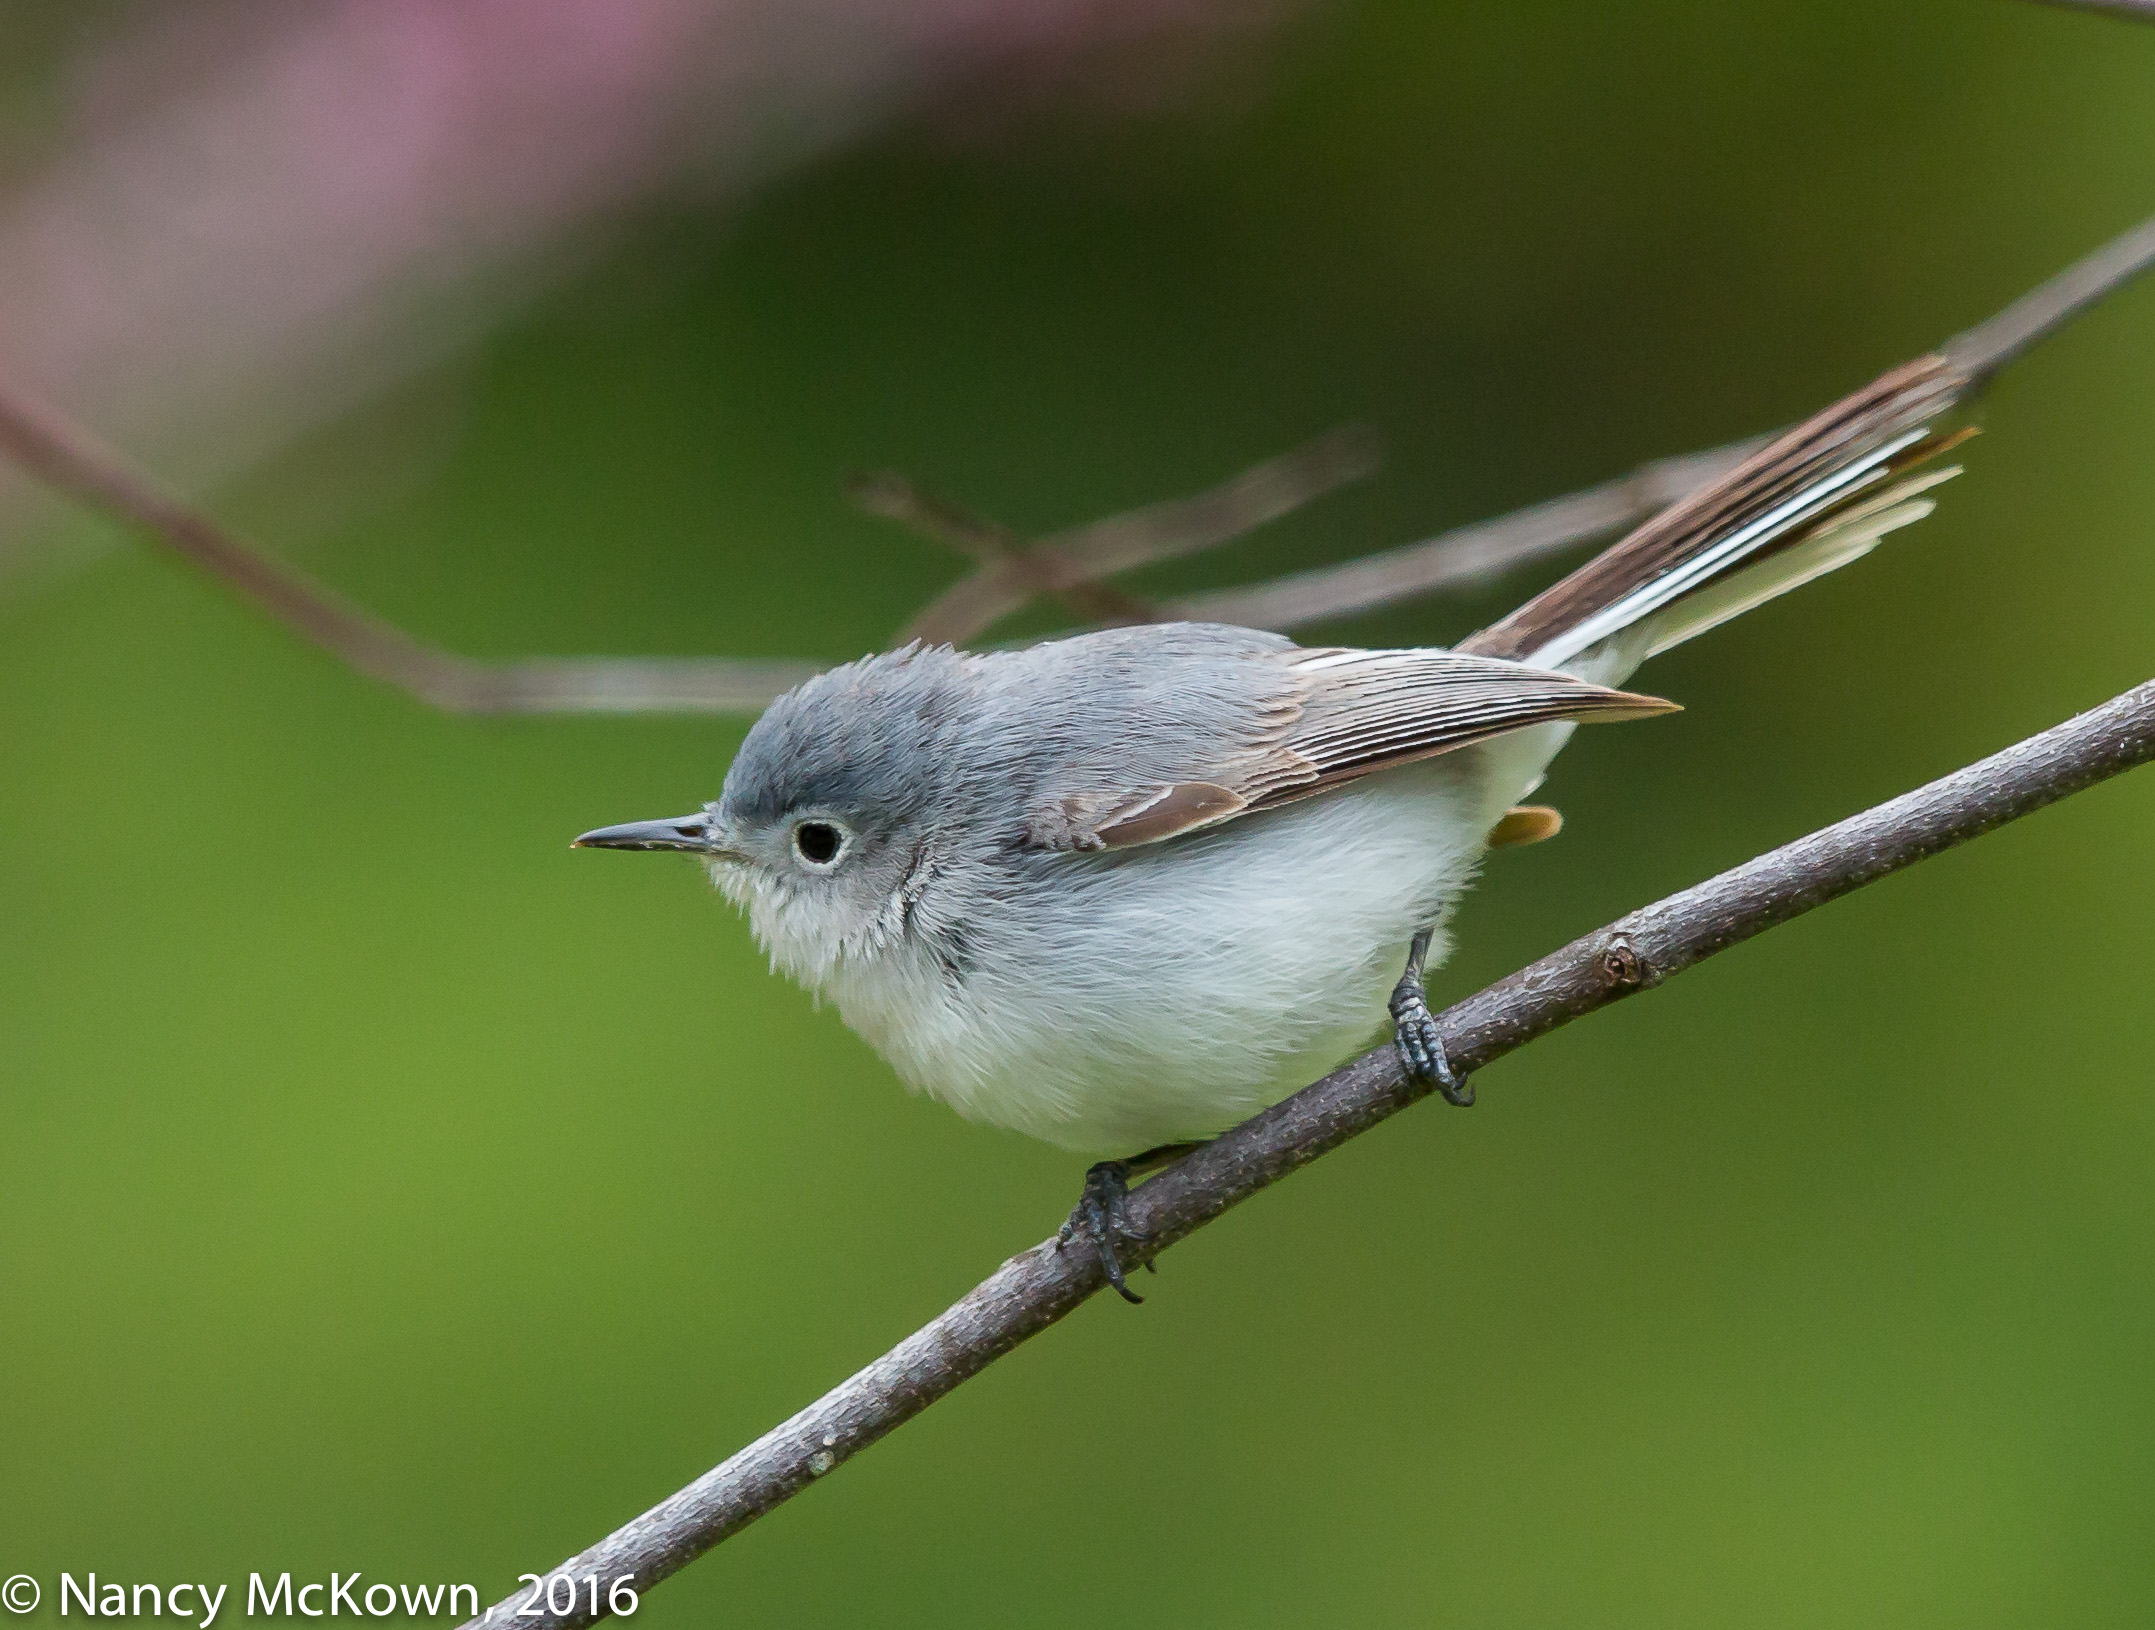
Photographing the Yellow Rumped Warbler
I sat there another hour or so, long enough to capture these shots of the Yellow Rumped Warbler. He definitely noticed my proximity, and even the hornets, but lingered long enough to get a drink and before he flew off.
Usually when I photograph warblers, they are tucked deep within the foliage. It nice once in a while to capture their beauty on an isolated branch, without the having to work around the tangled and thorny thickets that are their natural habitat.
I can’t wait to see what other newcomers come to drink at the fountain.