


More Light!
It’s mid summer and the trees are lush with light blocking foliage. The three tiered fountain near our deck is attracting lots of Robins and a few new visitors. We are on the Lake Michigan migration corridor, so I expect (and desperately hope) that a lot avian transients will pass through our yard as it gets colder.
As the sunlight filters down through the branches in our back yard, it creates only a few sparsely placed patches of light. More often than not (and depending on the time of day) I can expect uneven light, high (8000+) ISOs, marginally sharp focus, and unappealing dark blotchy backgrounds.
Somehow I’ve got to introduce some more light, hopefully before Fall migration starts.
Underexposed…Taken with Flash Extender
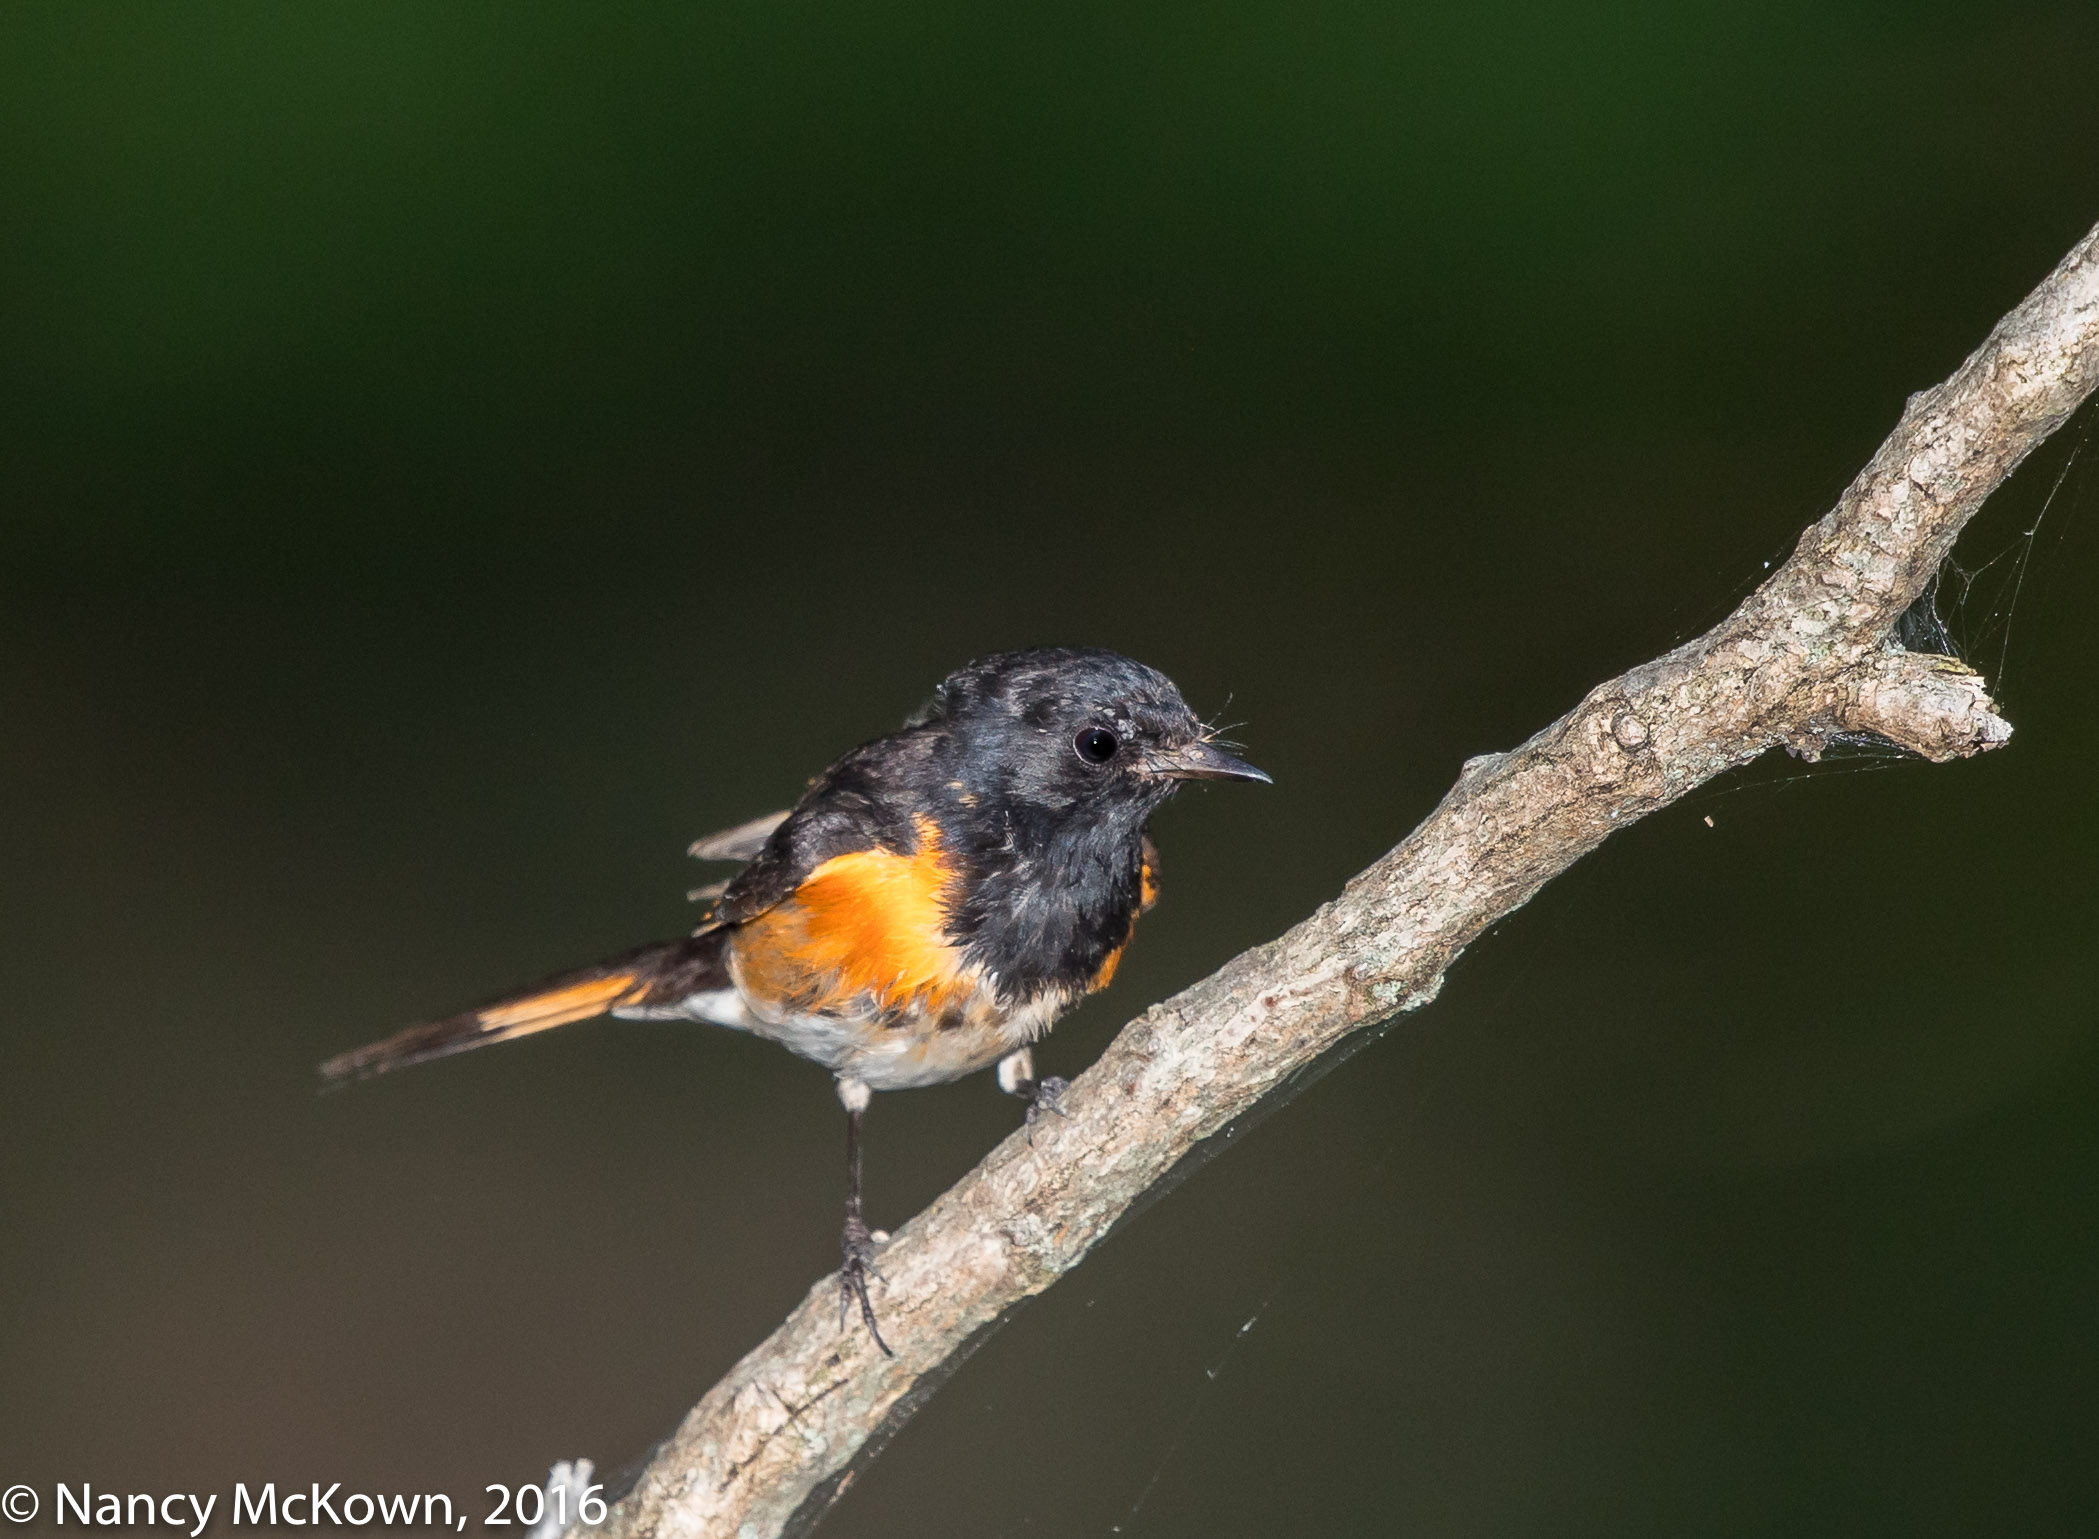
Black feathers on this Male Redstart
Complicated Exposure.
ISO400; f5.6; 1/250 Second
Modern Camera Sensors
In low light, attaining correct exposure without flash often means taking the ISO high. High ISO numbers indicate that the subject was not adequately lit (after calculating shutter, ISO and aperture values) and the camera’s sensor had to increased its sensitivity in order to attain adequate exposure. The tradeoff to achieving correct exposure in low light is added noise.
It must be said that modern digital camera sensors need much less light than ever before to produce very good image quality (IQ) at relatively high ISOs. But IQ is so much better on these modern cameras at base (or close to base) ISO.
The goal of introducing artificial light is to improve image quality by lowering the ISO. (NOTE: All light does not look the same to a camera’s sensor. A color temperature guide for photographers is available at this link.)
Continuous Lighting
Plug in strobes provide powerful light sources and enough of them can make your photos look like you used only natural light. These tools are expensive and cumbersome…more for studio lighting. Other types of continuous (or steady) lighting…like LED lights are not as efficient for illuminating the scene outdoors. Power requirements and light output are very low for LED, substantially lower compared to a flash gun where you can stop action and achieve close to base ISOs.
Flash Extenders
For a long time, bird photographers have attached a “flash extender” to their long lenses. The purpose of flash extenders is to more precisely direct and (more importantly) extend the illumination reach of a concentrated flash blast onto a distant subject and (hopefully) keep the look of natural light.
The most prevalent device on the market for telephoto flash photography is the “Better Beamer Fresnal Extender.” This inexpensive contrivance uses a plastic fresnel lens to redirect the burst of the flash so it is not wasting light by lluminating a wide area. Instead it and narrows and extends its reach. Think lighthouse!

Taken with Flash Extender.
ISO400; f/5.6; 1/250 Second
Considerations
- Attaching a fresnel extender does indeed extend the reach of your flash The operation is fairly easy, and you can control the amount and angle of light. Most importantly, the flash beam does not appear to bother the birds.
- More light = faster and more precise focusing.
- The E-TTL function (on most advanced DSLR flashes) allows the camera and flash to work together to automatically meter exposure. I usually set the camera to manual mode “M” and the flash unit to E-TTL mode. (NOTE: If I set the flash unit to manual, I would be giving up the benefit of letting the camera and flash do the math for exposure calculations.)
- Attaching a flash unit directly to the camera’s hot shoe and angling it so it is pointing directly at your subject can produce dark backgrounds, harsh shadows, overexposed subjects and red eye. This is less true with telephoto flash extenders because of the distance involved between the lens and the flash unit. Hoisting the flash higher so it is positioned above the camera body helps to avoid some of these problems. NOTE: Raising the flash above the camera requires a modest investment in flash accessories. 1) Camera flash bracket made for telephoto lenses that will raise the flash off of the camera; and 2) an TTL off-camera flash cord so you can sync the flash’s E-TTL functions to the camera.)
- AF assist beam on the flash unit (helps to focus in low light and tighten the subject’s pupils so that red-eye is less noticeable) only works in single shooting mode- but since this assist beam is designed to work within an area of 10-12 feet, it is useless in telephoto flash photography.
- Draining flash batteries produce lower flash output and longer recycling times. Flash recycle times can be improved dramatically by attaching an extra battery pack to the flash. This will allow the flash unit to tap into 12 (instead of 4) batteries for power.
- Flash maximum sync shutter speed for flash photography for my Canon cameras is 1/250 second. NOTE: For flashes to work properly, shutter timing must be within limits of the max flash “sync” speed. This is because there must be enough of a time interval between when the 1st and 2nd camera shutter curtain mechanisms move. If the flash is not able to burst in this space when the whole sensor frame is lit, your camera will capture a portion of one or the other shutter curtain bar.
- If High Speed Sync Flash is an option on your flash gun, you can set your shutter speed higher than the max flash sync speed and the flash will synchronize to the higher shutter speed. The flash duration for the High Speed Sync Flash is longer but the burst is less powerful. The faster your shutter speed, the more your flash power decreases. More battery power is used in this mode. I did not use this function because flash at the camera’s maximum sync shutter speed does a good job of freezing the action.
- My flashgun automatically sets the Auto ISO to 400, so noise is not an issue.
- The sparkling pinpoint of catch light in the subject’s eyes that is so attractive in natural light photography is not as impressive when photographing birds using a flash. NOTE: To avoid dead-eye, the catchlights must often be inserted in post processing.
- It takes a little time to adjust the tilt of the off-camera flash so it is aimed correctly at your subject.
Time to Experiment
Experimentation is critical in attaining the right balance of light. Too much or too little flash mean unnatural looking images and headaches in post processing. I need time to practice and experiment more. Stay tuned for Part II of Flash Extender Bird Photography.