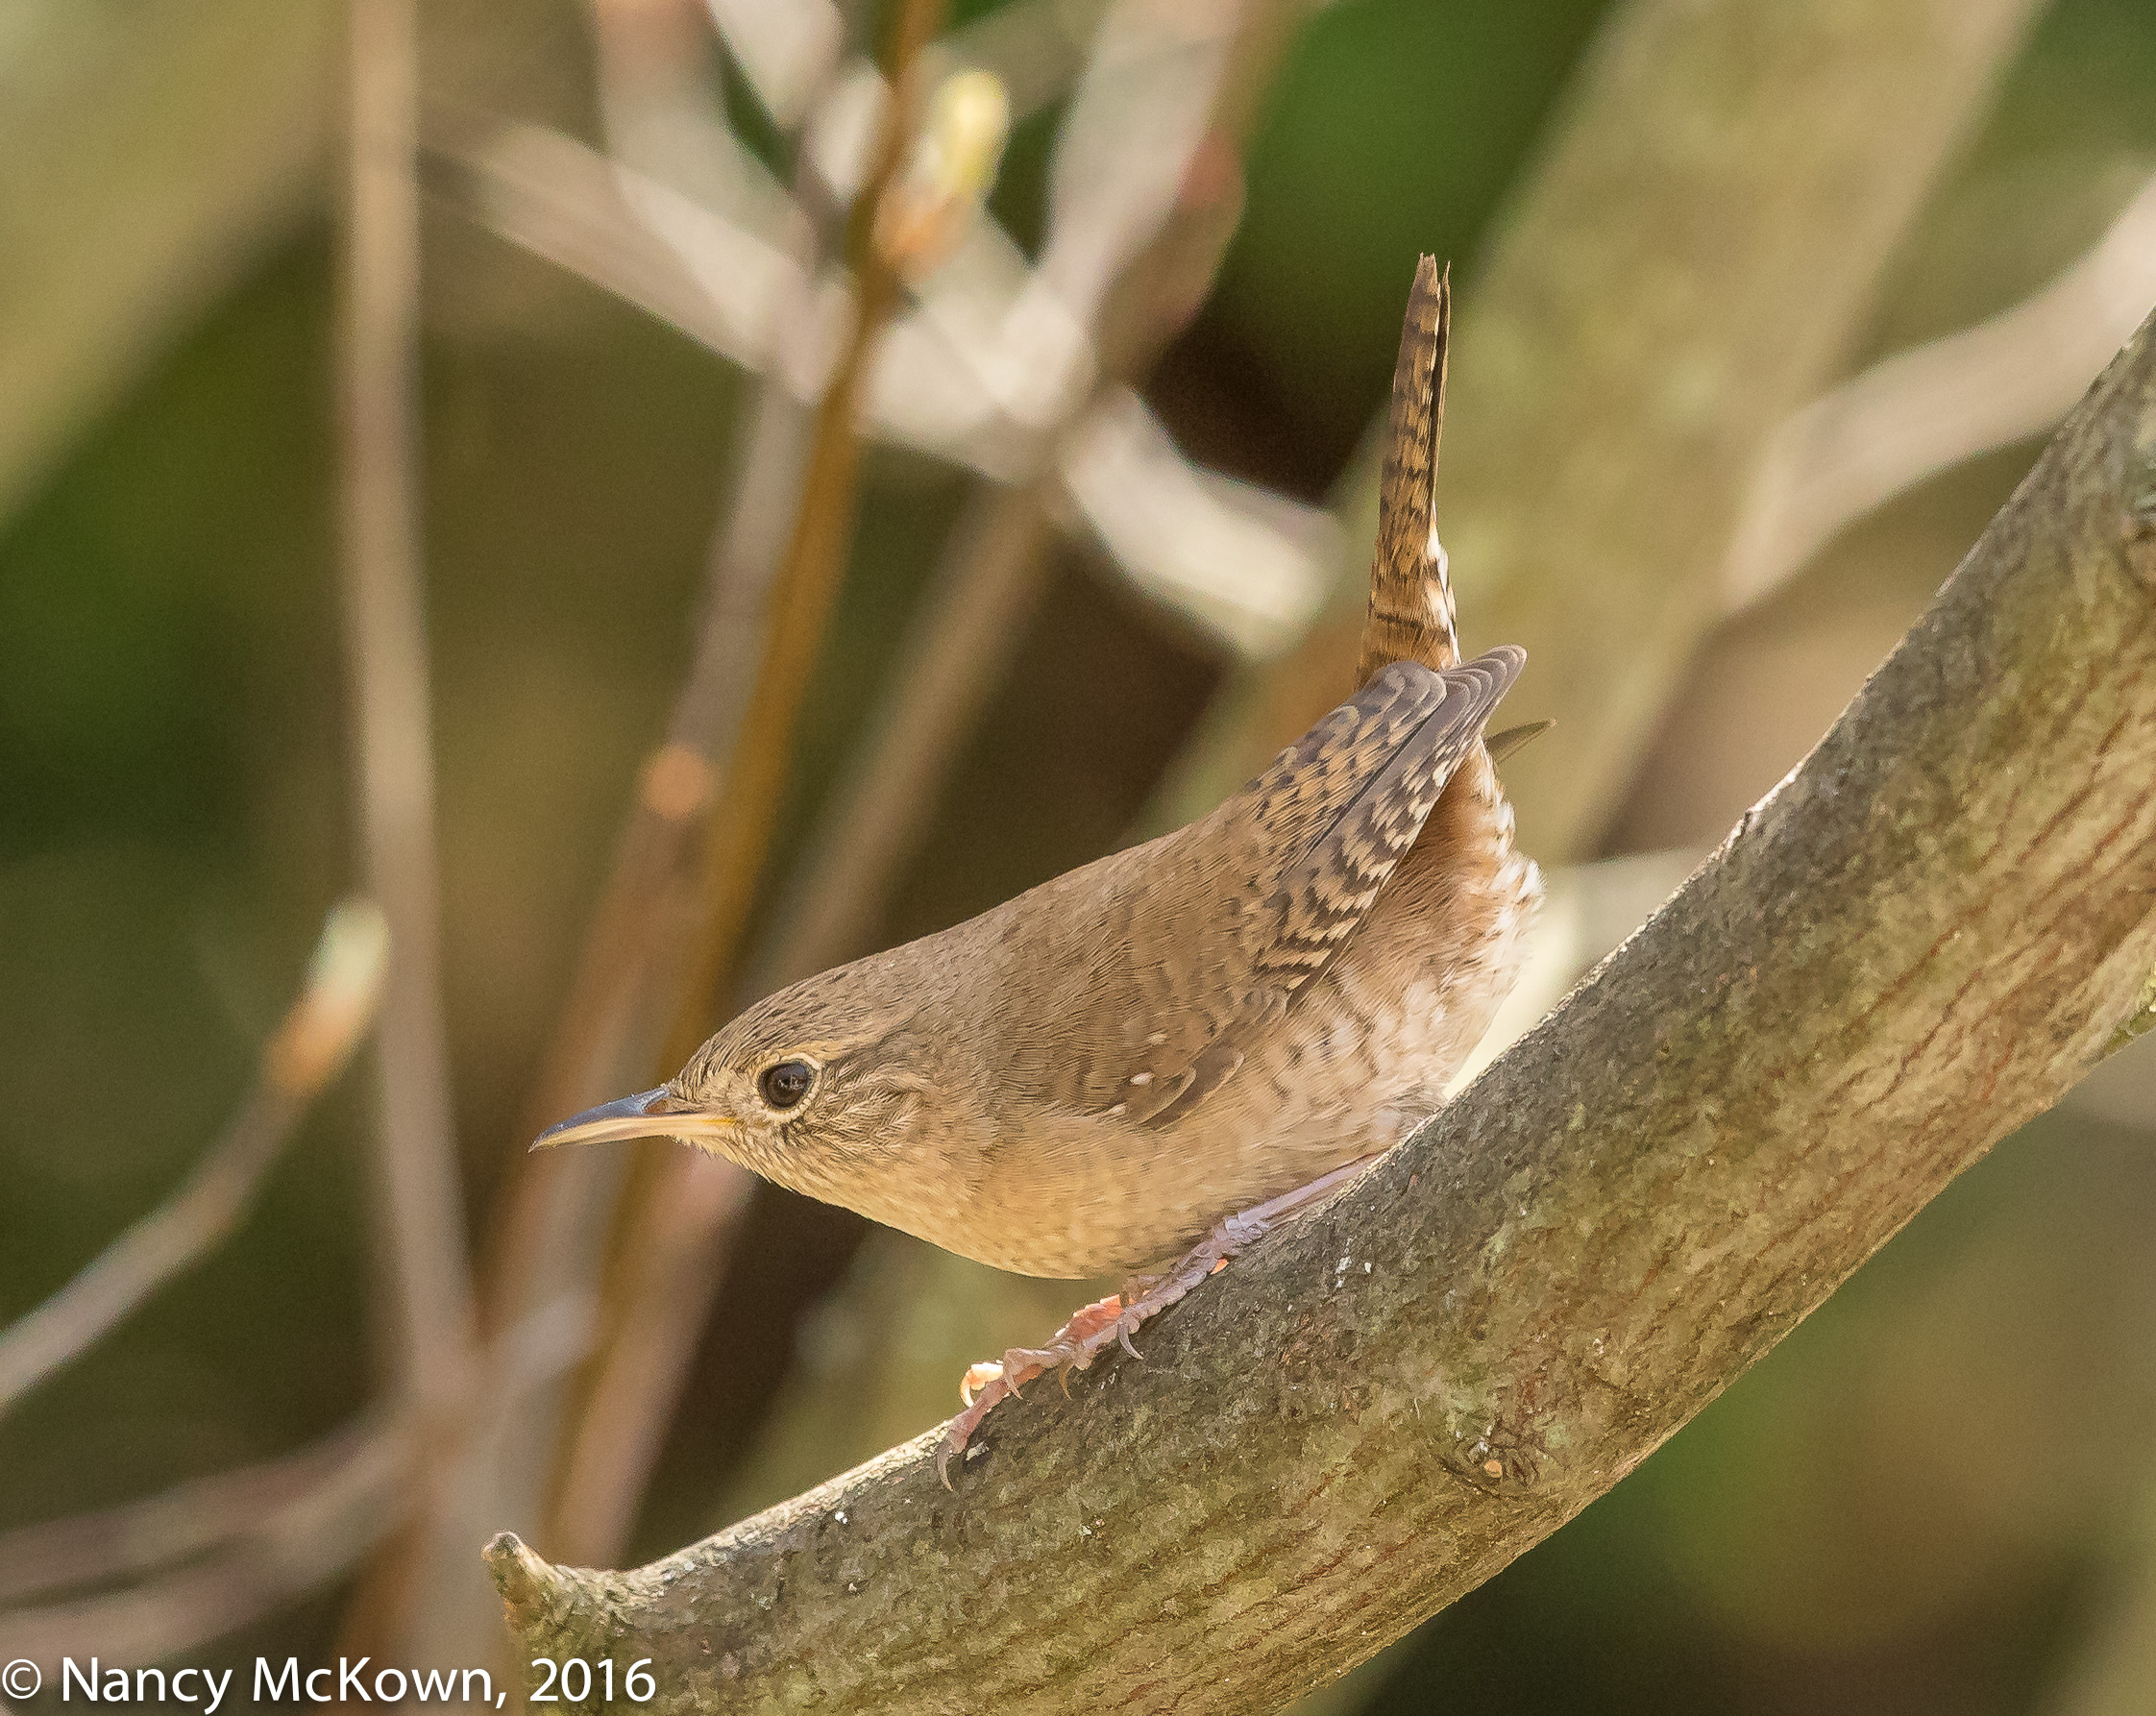
Photographing House Wrens
The skies were overcast when the first male House Wren arrived to our yard. He has been dashing from tree to bush, in full view, heartily singing his bubbly rhapsody. Apparently no female has arrived yet because he has not commenced his nesting ritual of building multiple starter homes from which the female will choose.

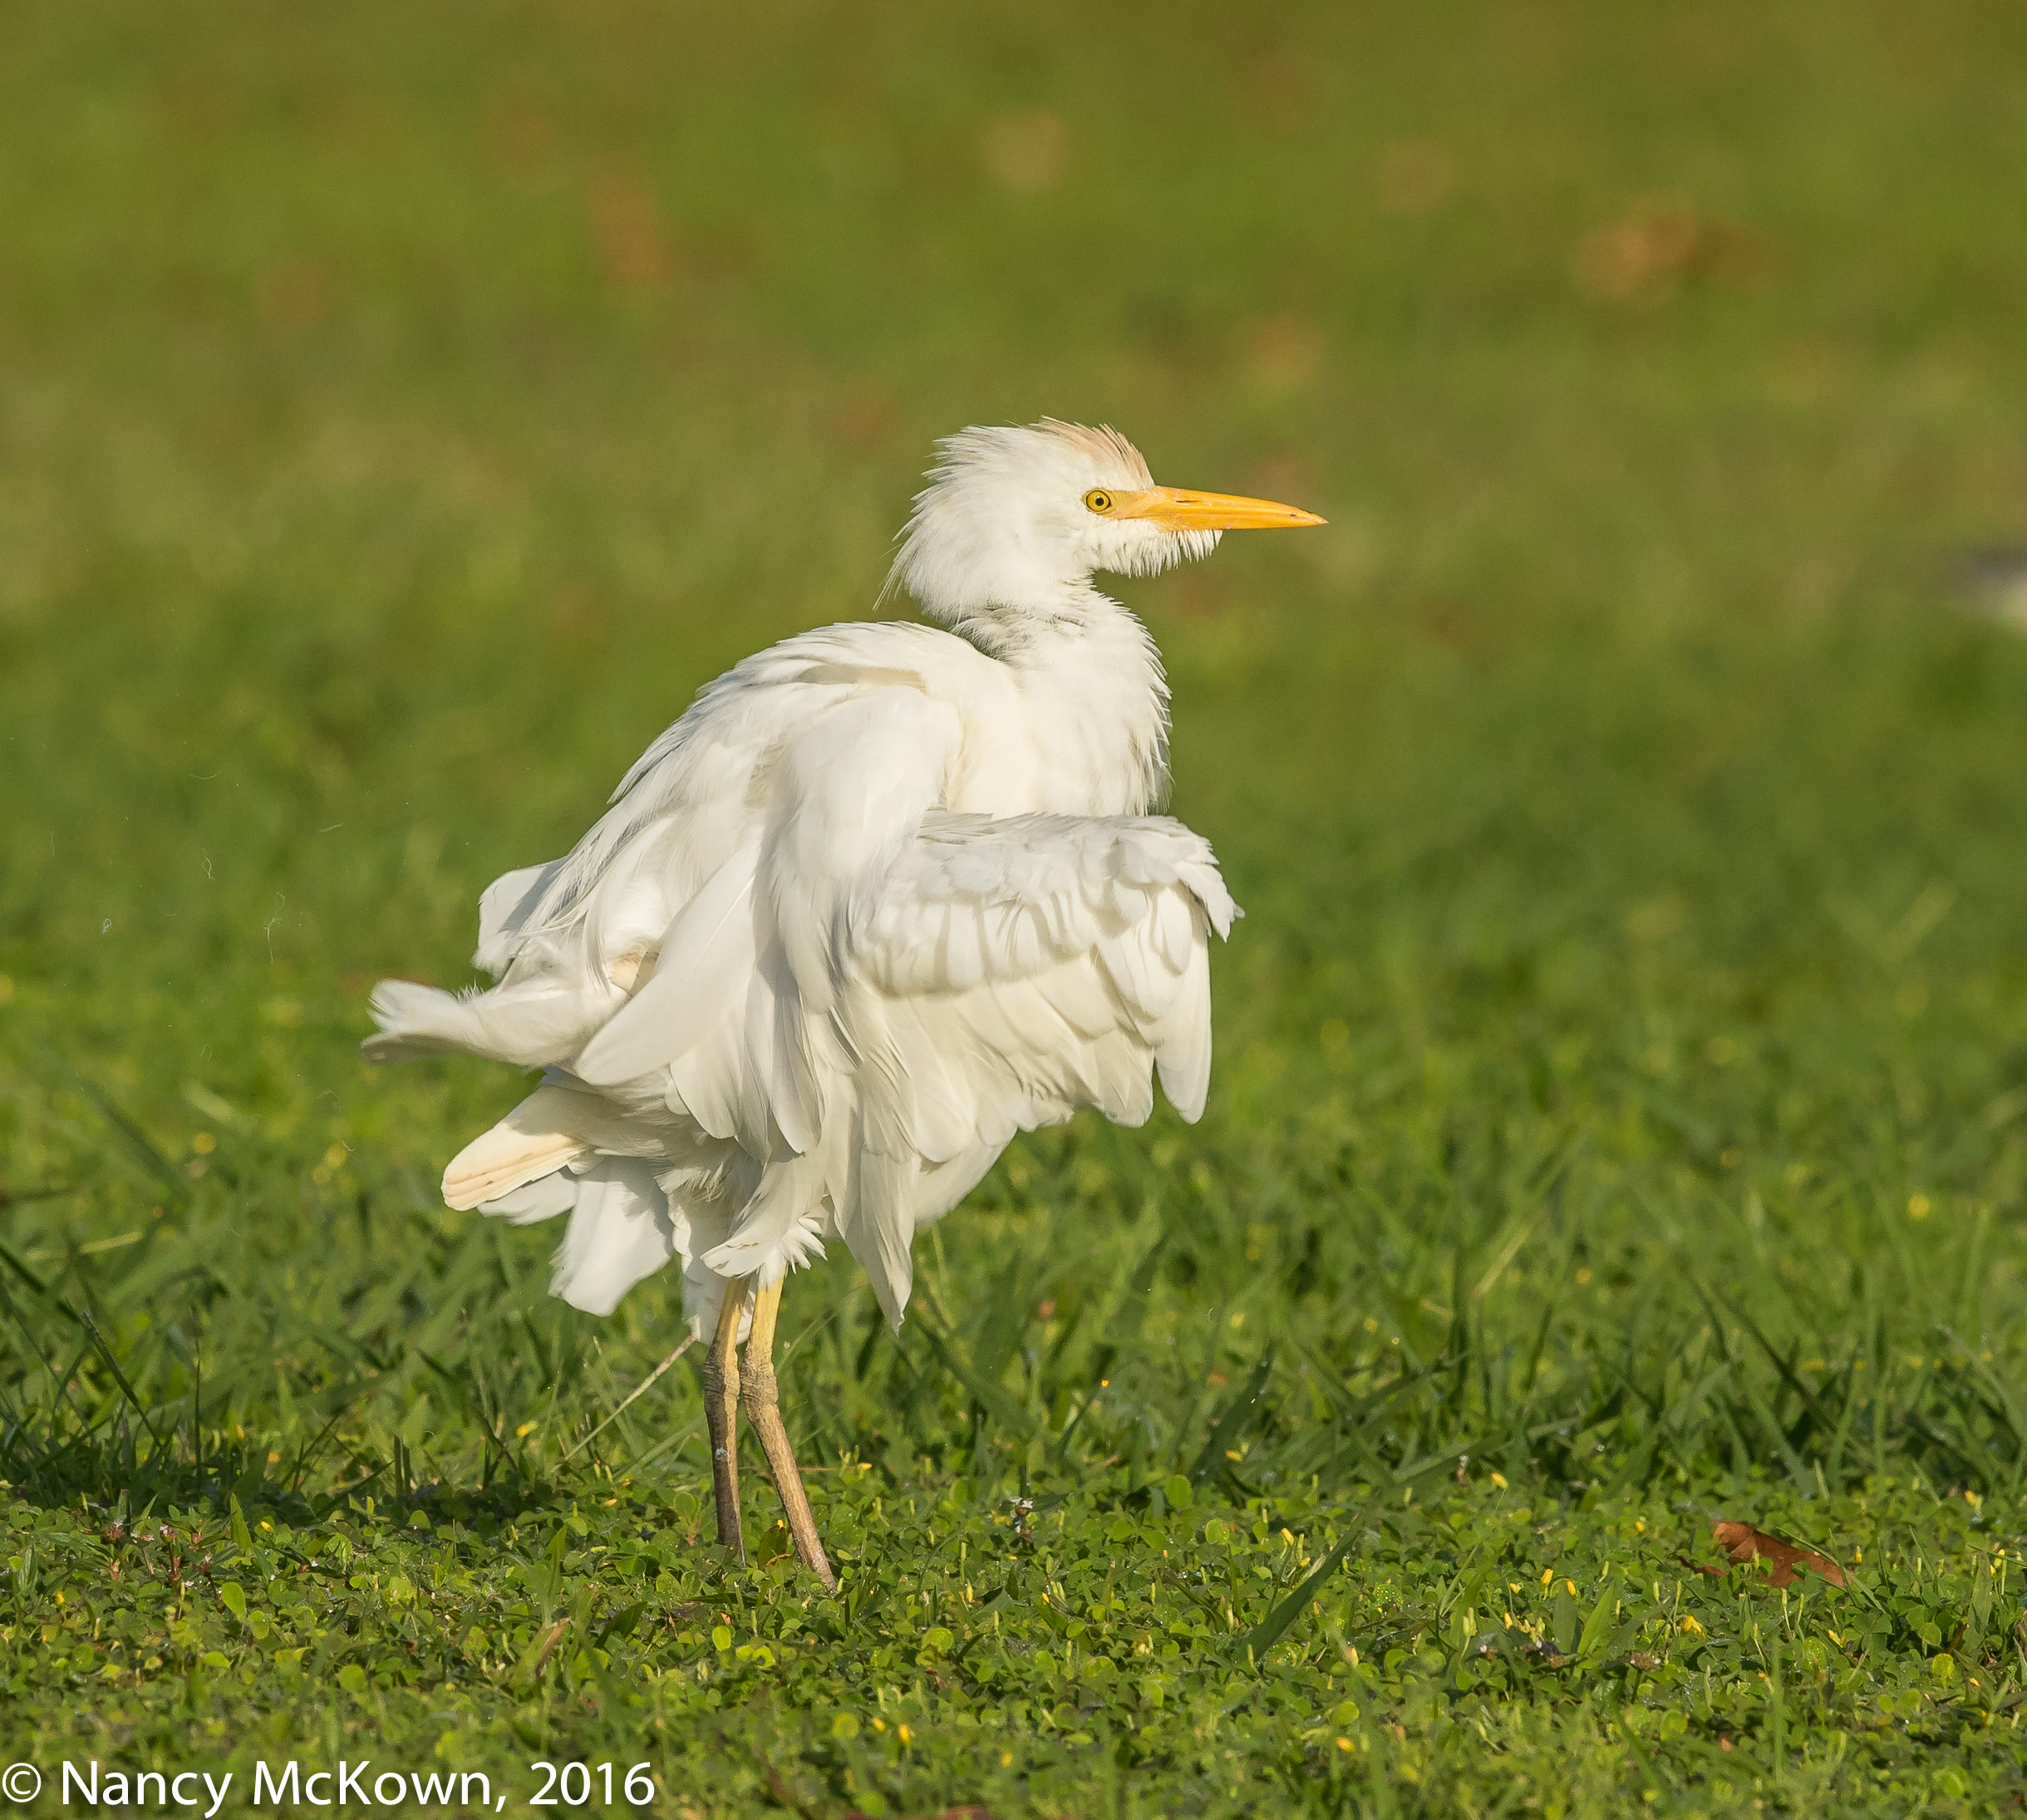
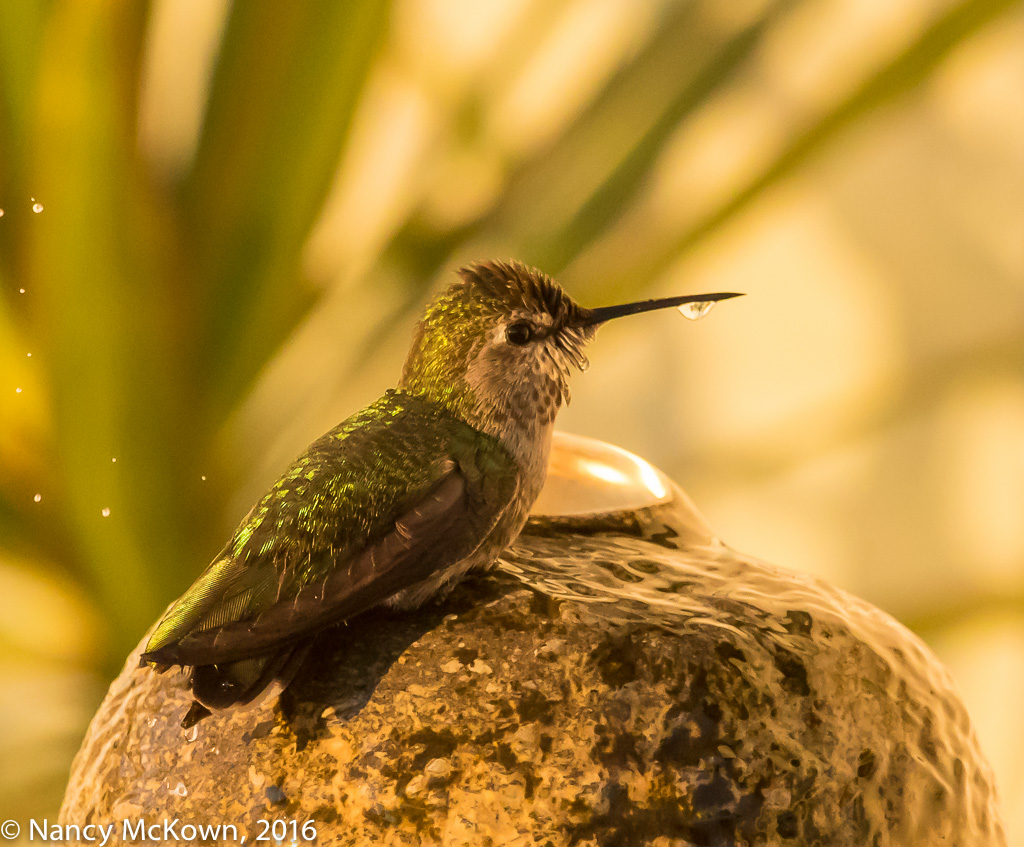
ISO2000; f/7.1; 1/640 Second
A Quick Primer on Viewing Light
Since it is often counterproductive to try to enhance and manage natural light with extra light equipment, bird photographers have to be more observant about how light plays on their subjects, and act accordingly. Knowing how to observe light involves understanding the following terminology:
- “Highlights” are the brightest part of the photo. They indicate where the light source is the closest and most unobstructed.
- “Shadows” are those blocked areas that receive little or no direct light. If shadows are lit, it is from scattered, diffused light reflecting off the highlights.
- “Mid tones” often make up the majority of the light and are those tonal areas between the highlights and shadows.
Bright sun creates much more contrast between the lighter and darker parts of your image, and thus makes it much easier to identify the highlights, shadows and mid tones. Diffused light softens the contrasts across the whole image, making for a more even and balanced look.
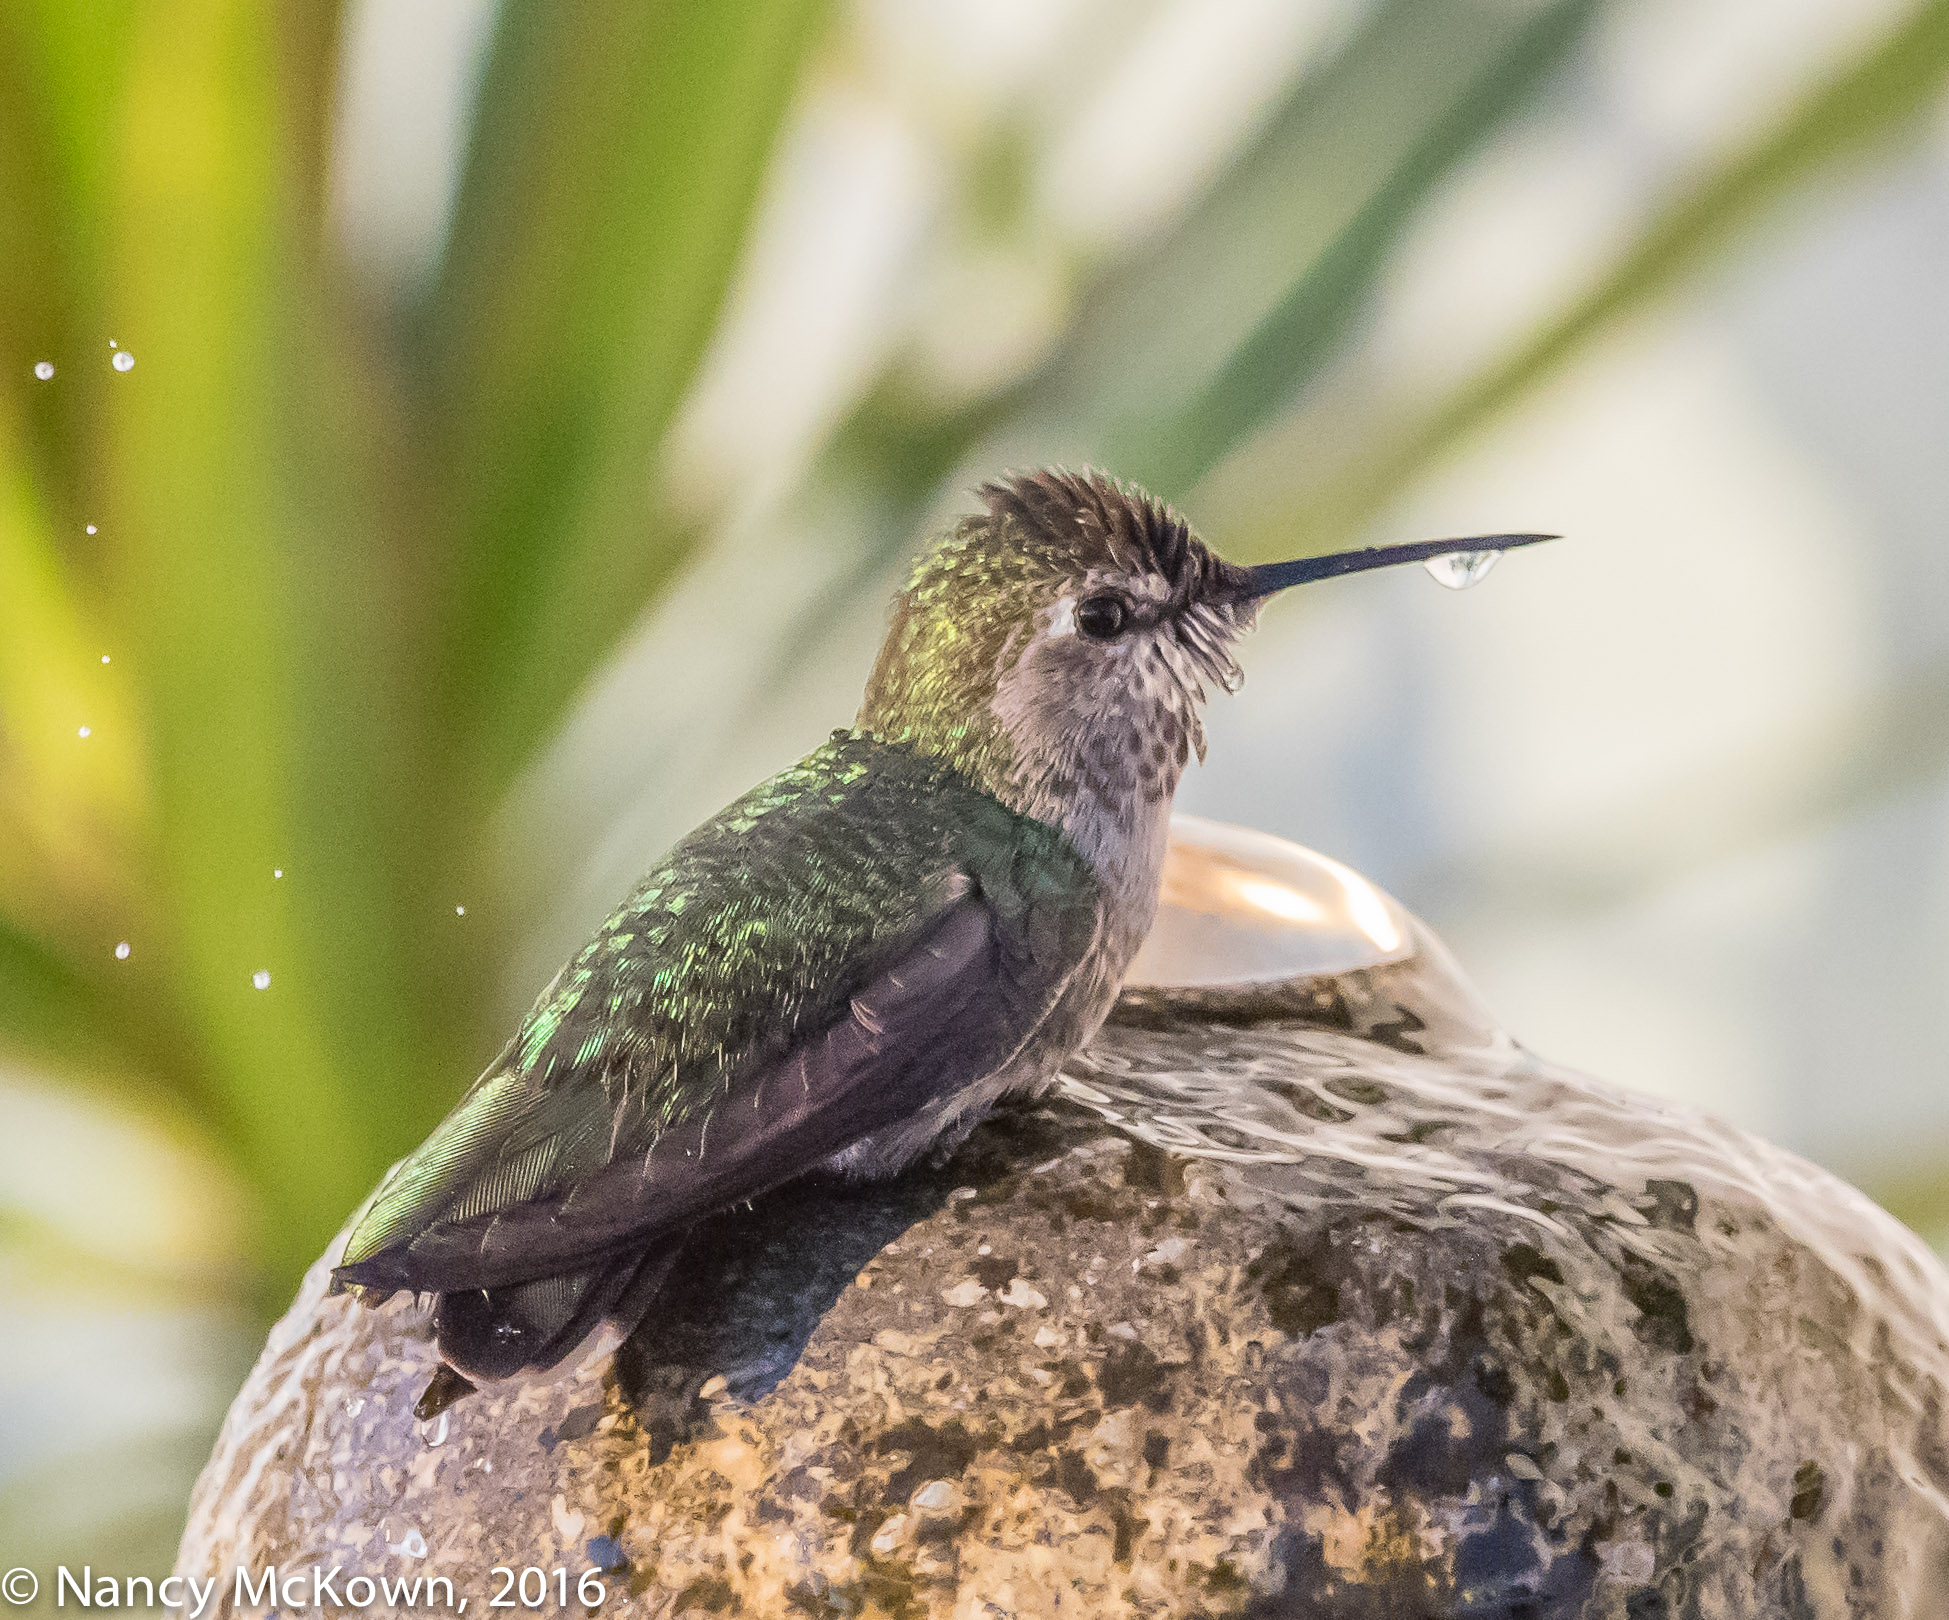
NOTE: This tonal information is mapped on the camera’s histogram. The shadow areas are on the left side; highlights are on the right, and mid tones are represented in the middle. The histograms for both of these photos show a rich range of mid tones heavily weighted in the center of the graph, with very little activity on the right or left side.
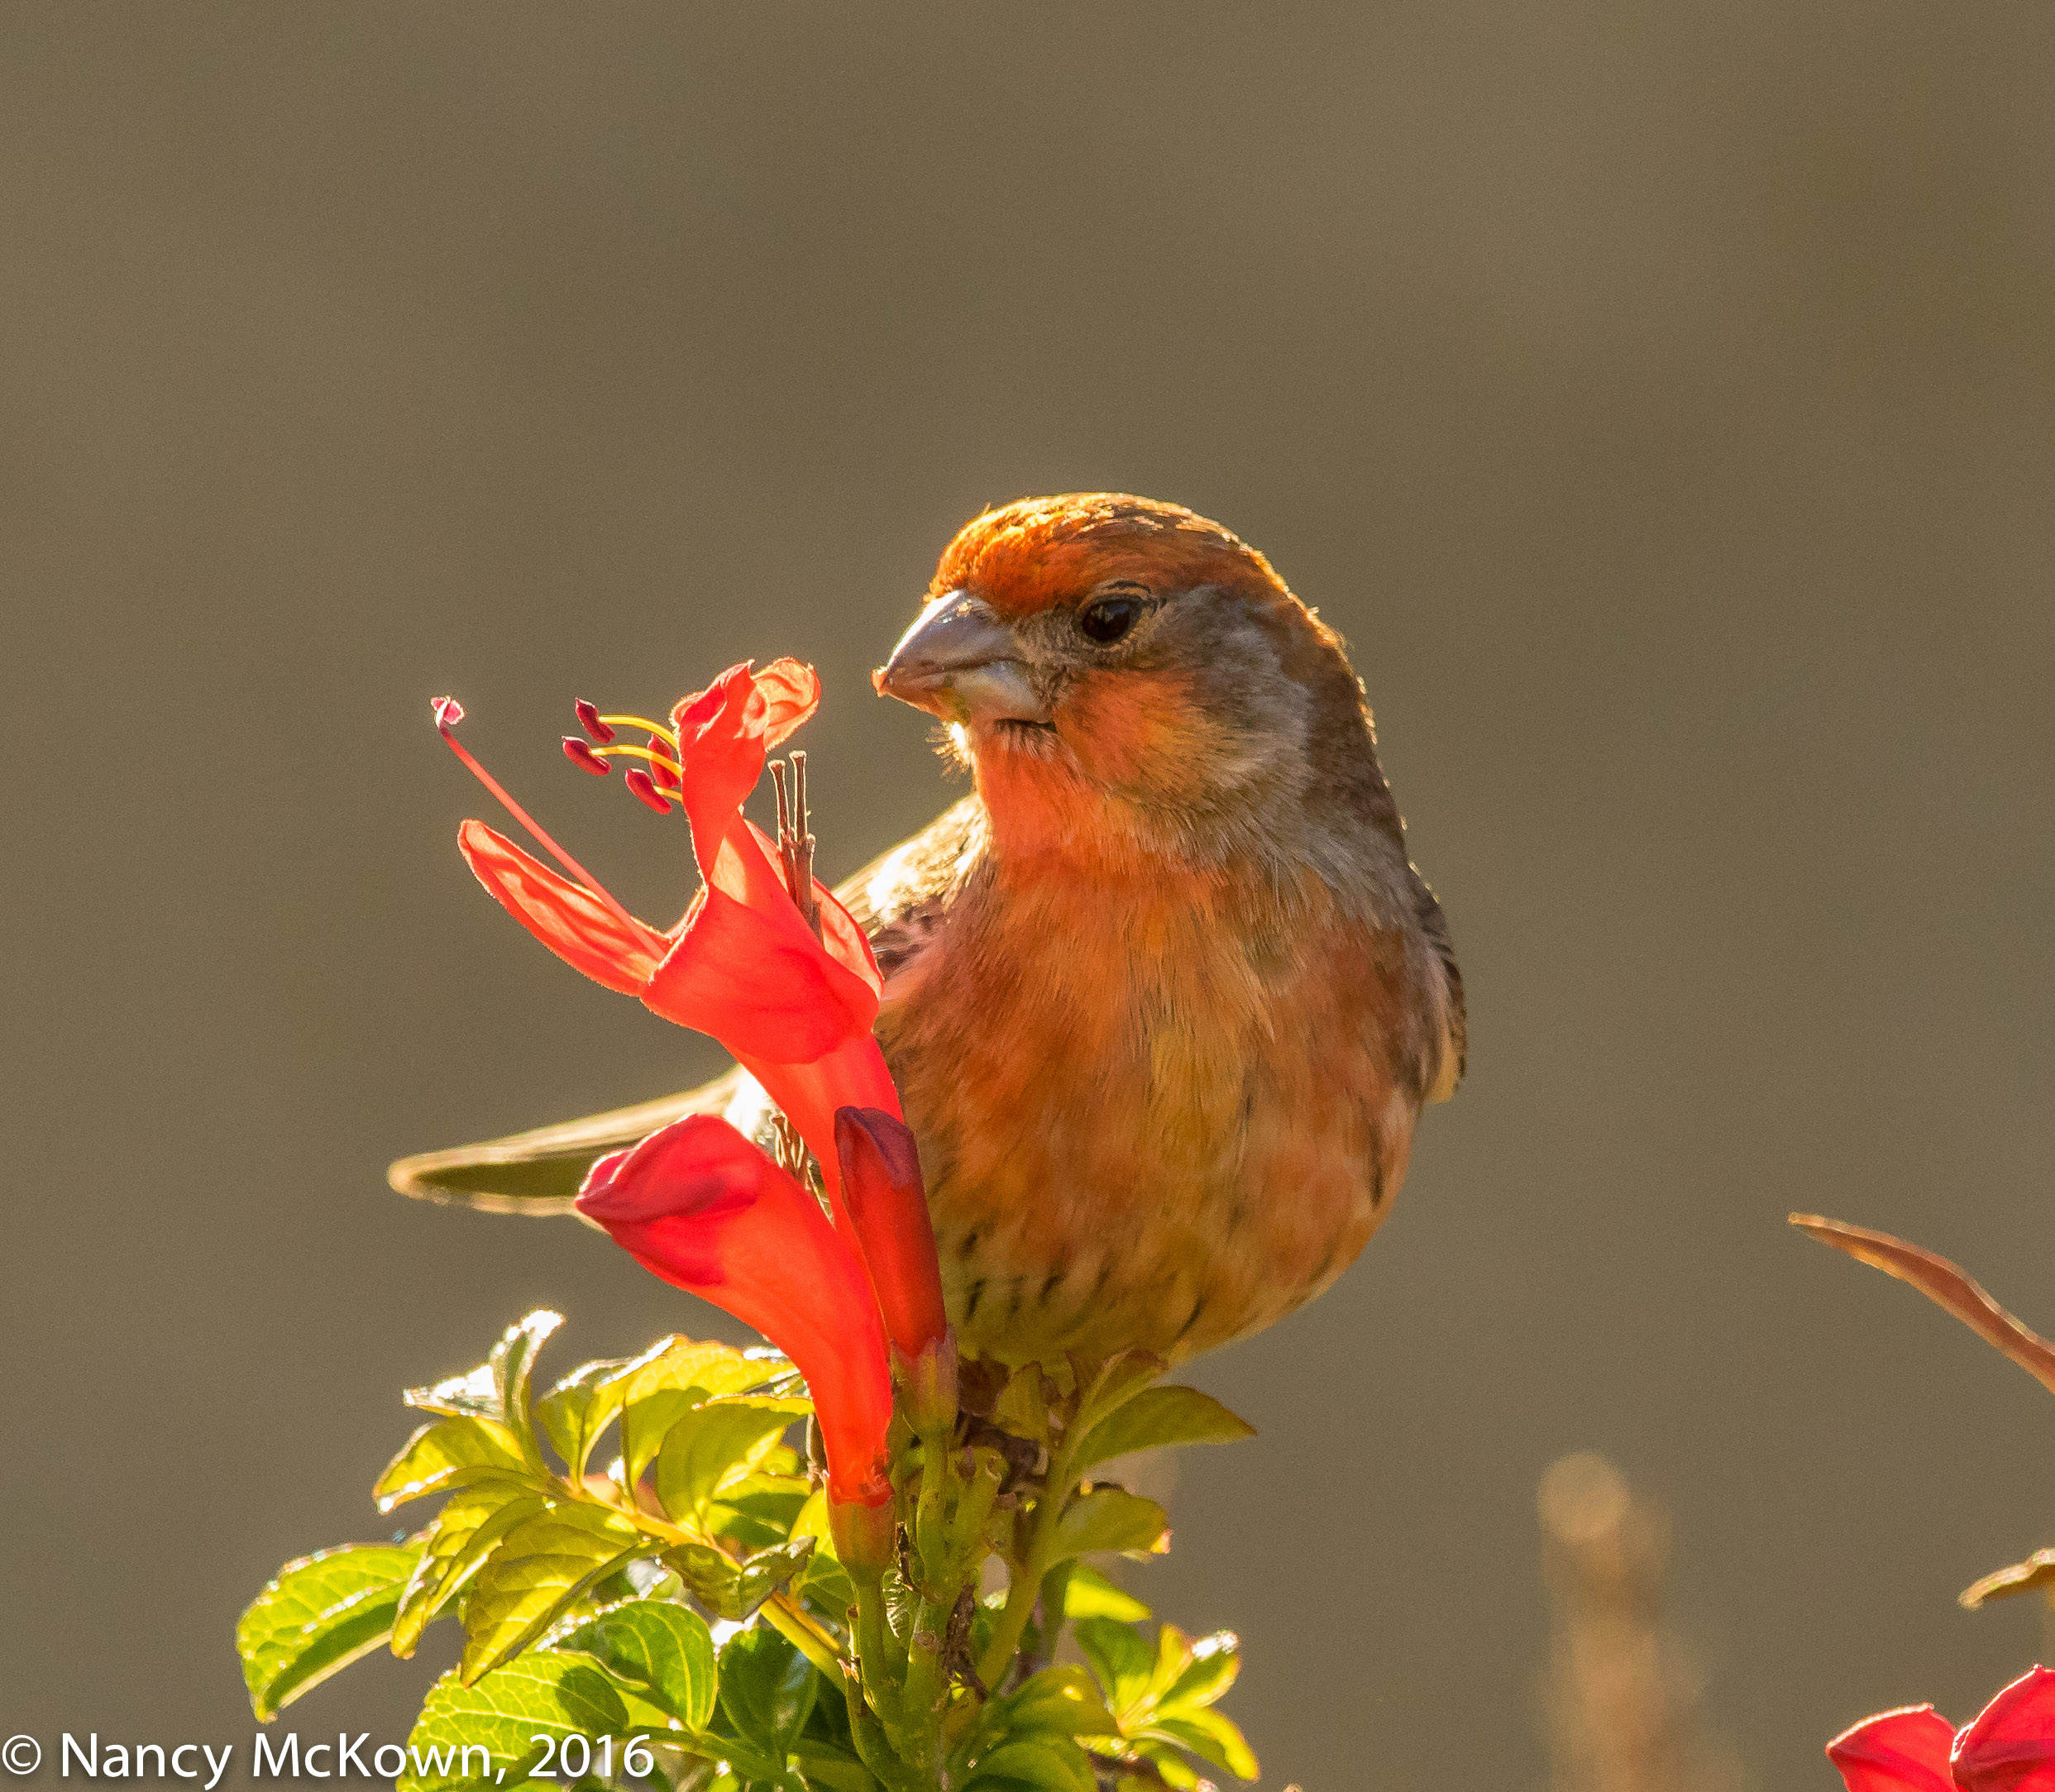
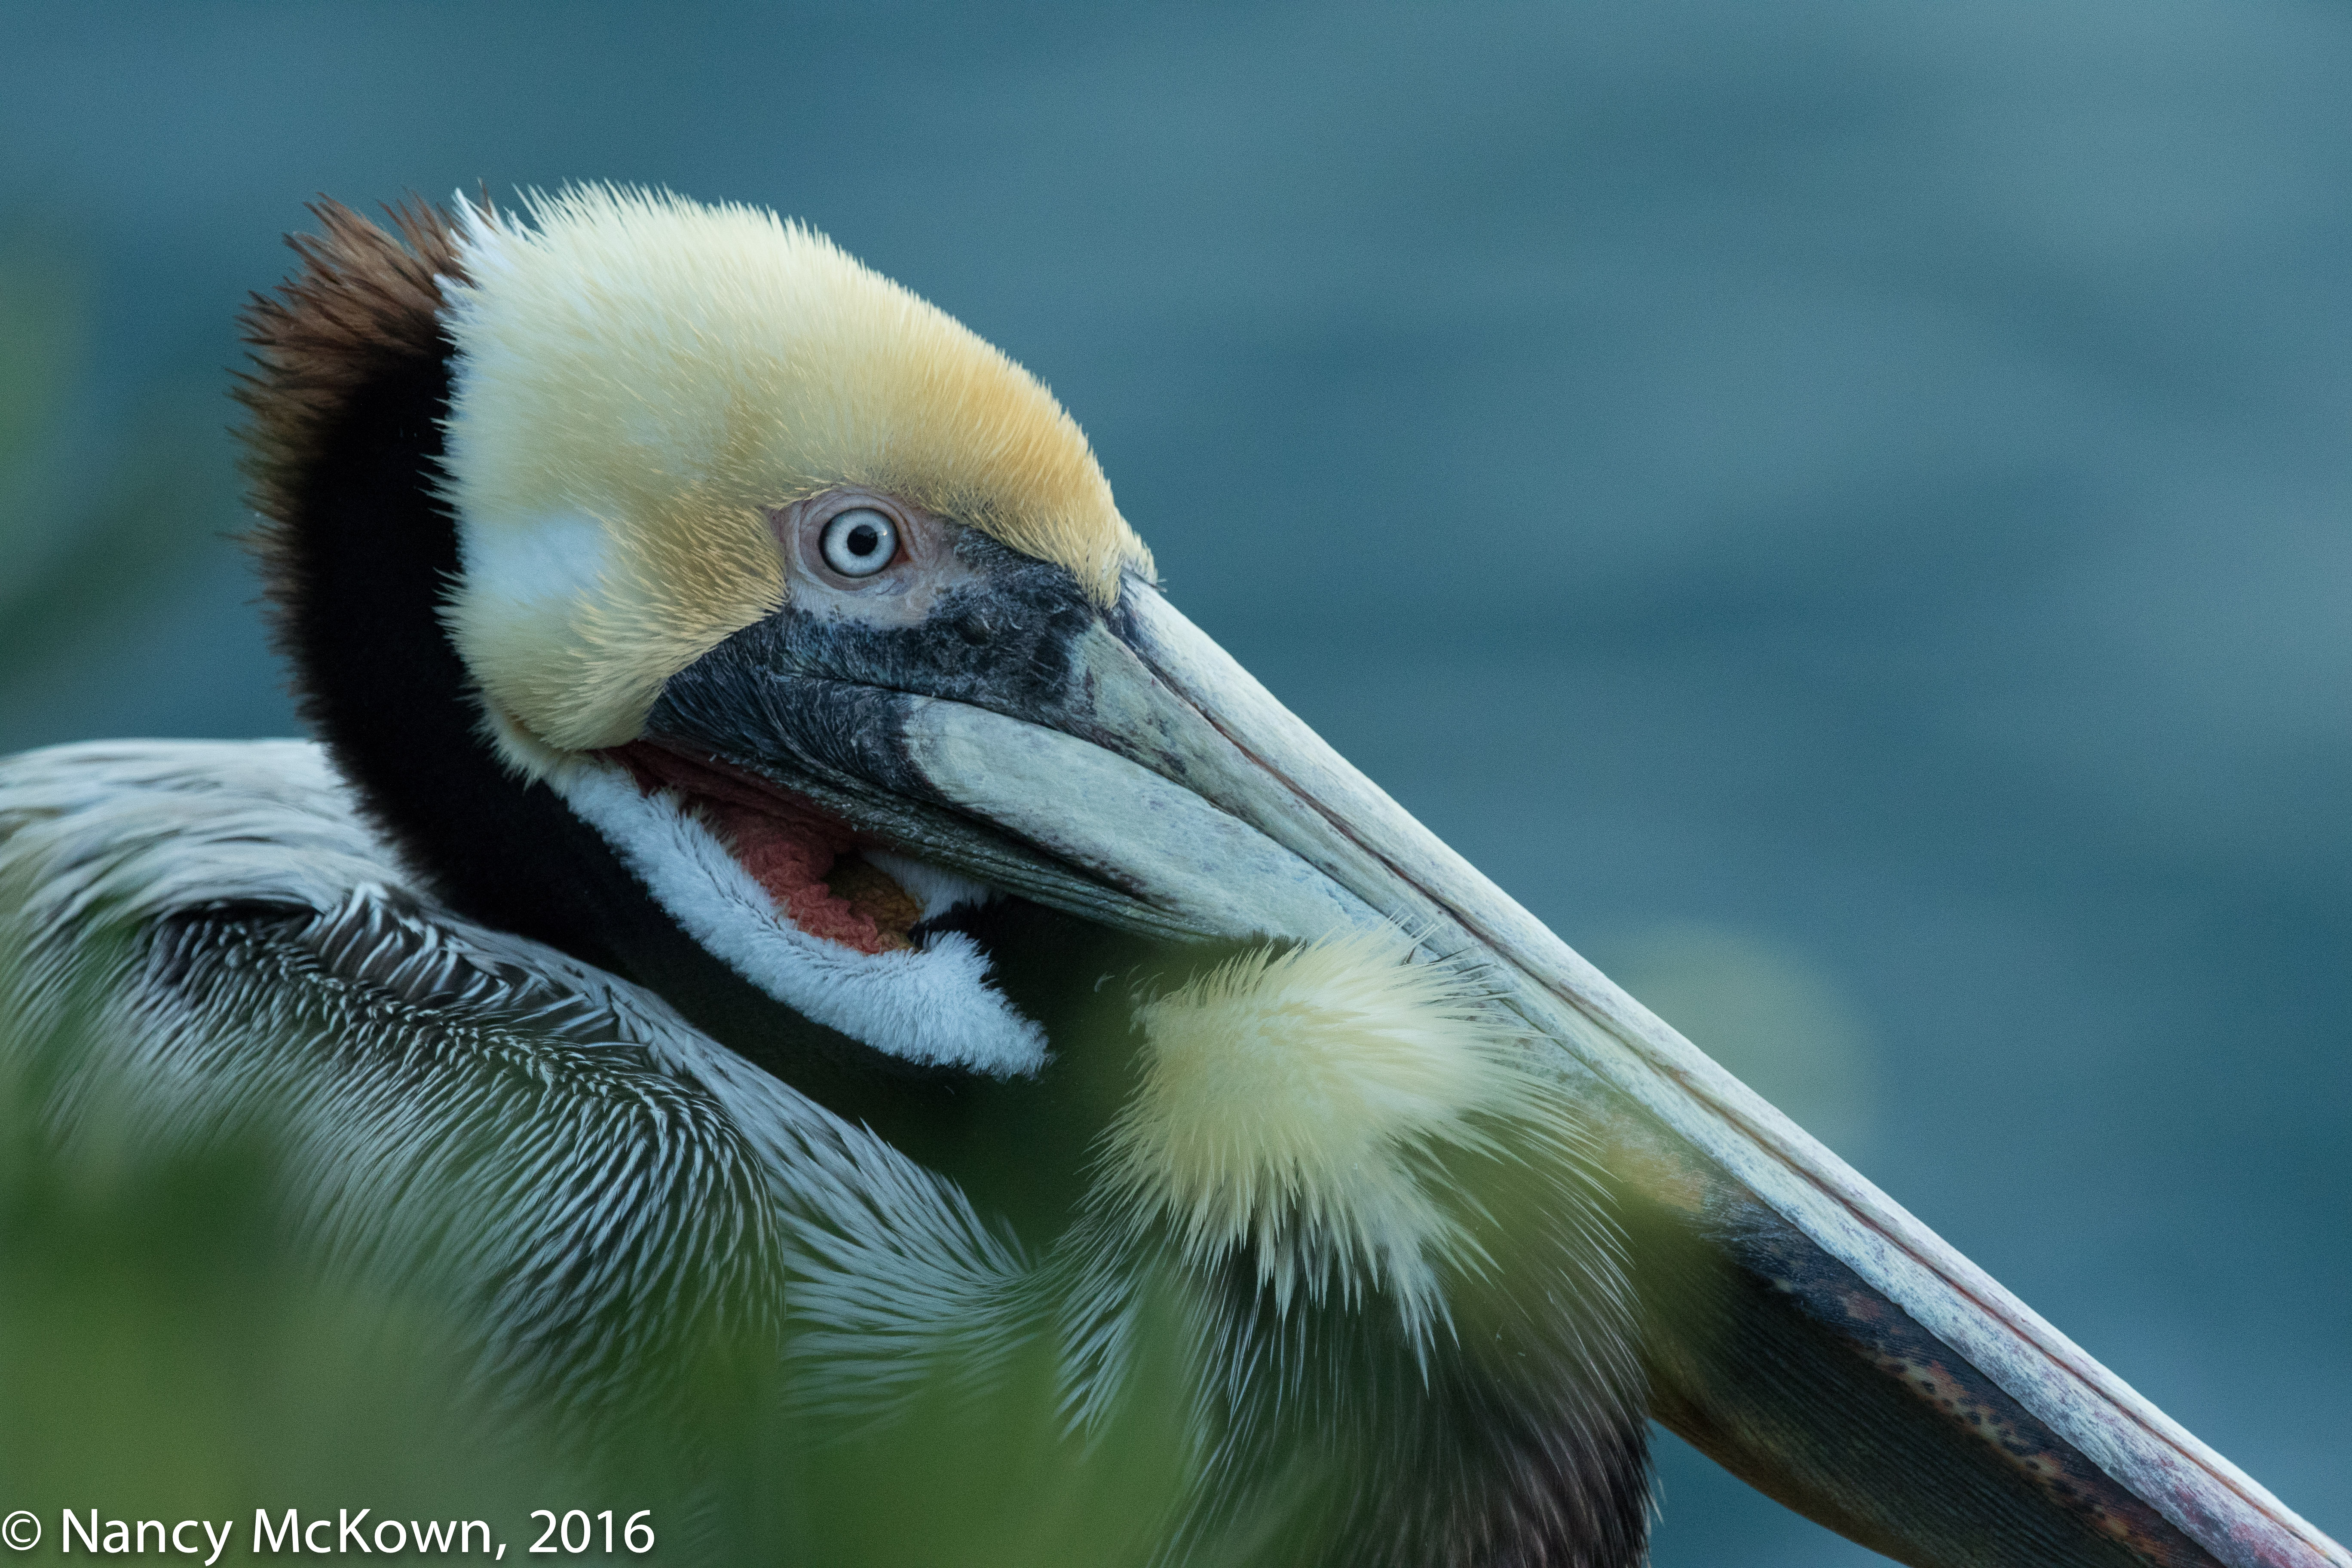
ISO1600; f/71; 1/640 Second
Pay Attention to the Light
Shadows help bring out dimensionality, texture and perspective. Highlights (from the dominant light source) throw excess, diffused light into recessed shadow areas, uncovering detail. If the light is overly bright on the subject, the edges of the highlights and shadows become sharply defined, creating harsh, unattractive contrast.
Light creates mood, purpose, drama – and thus draws visual interest. Bird photographers pay attention to the intensity and directionality of light, and evaluate how the sun scatters light and cast the highlights, shadows and mid tones. They watch how the light interacts with the shape and size of the subject to determine where to position the camera.
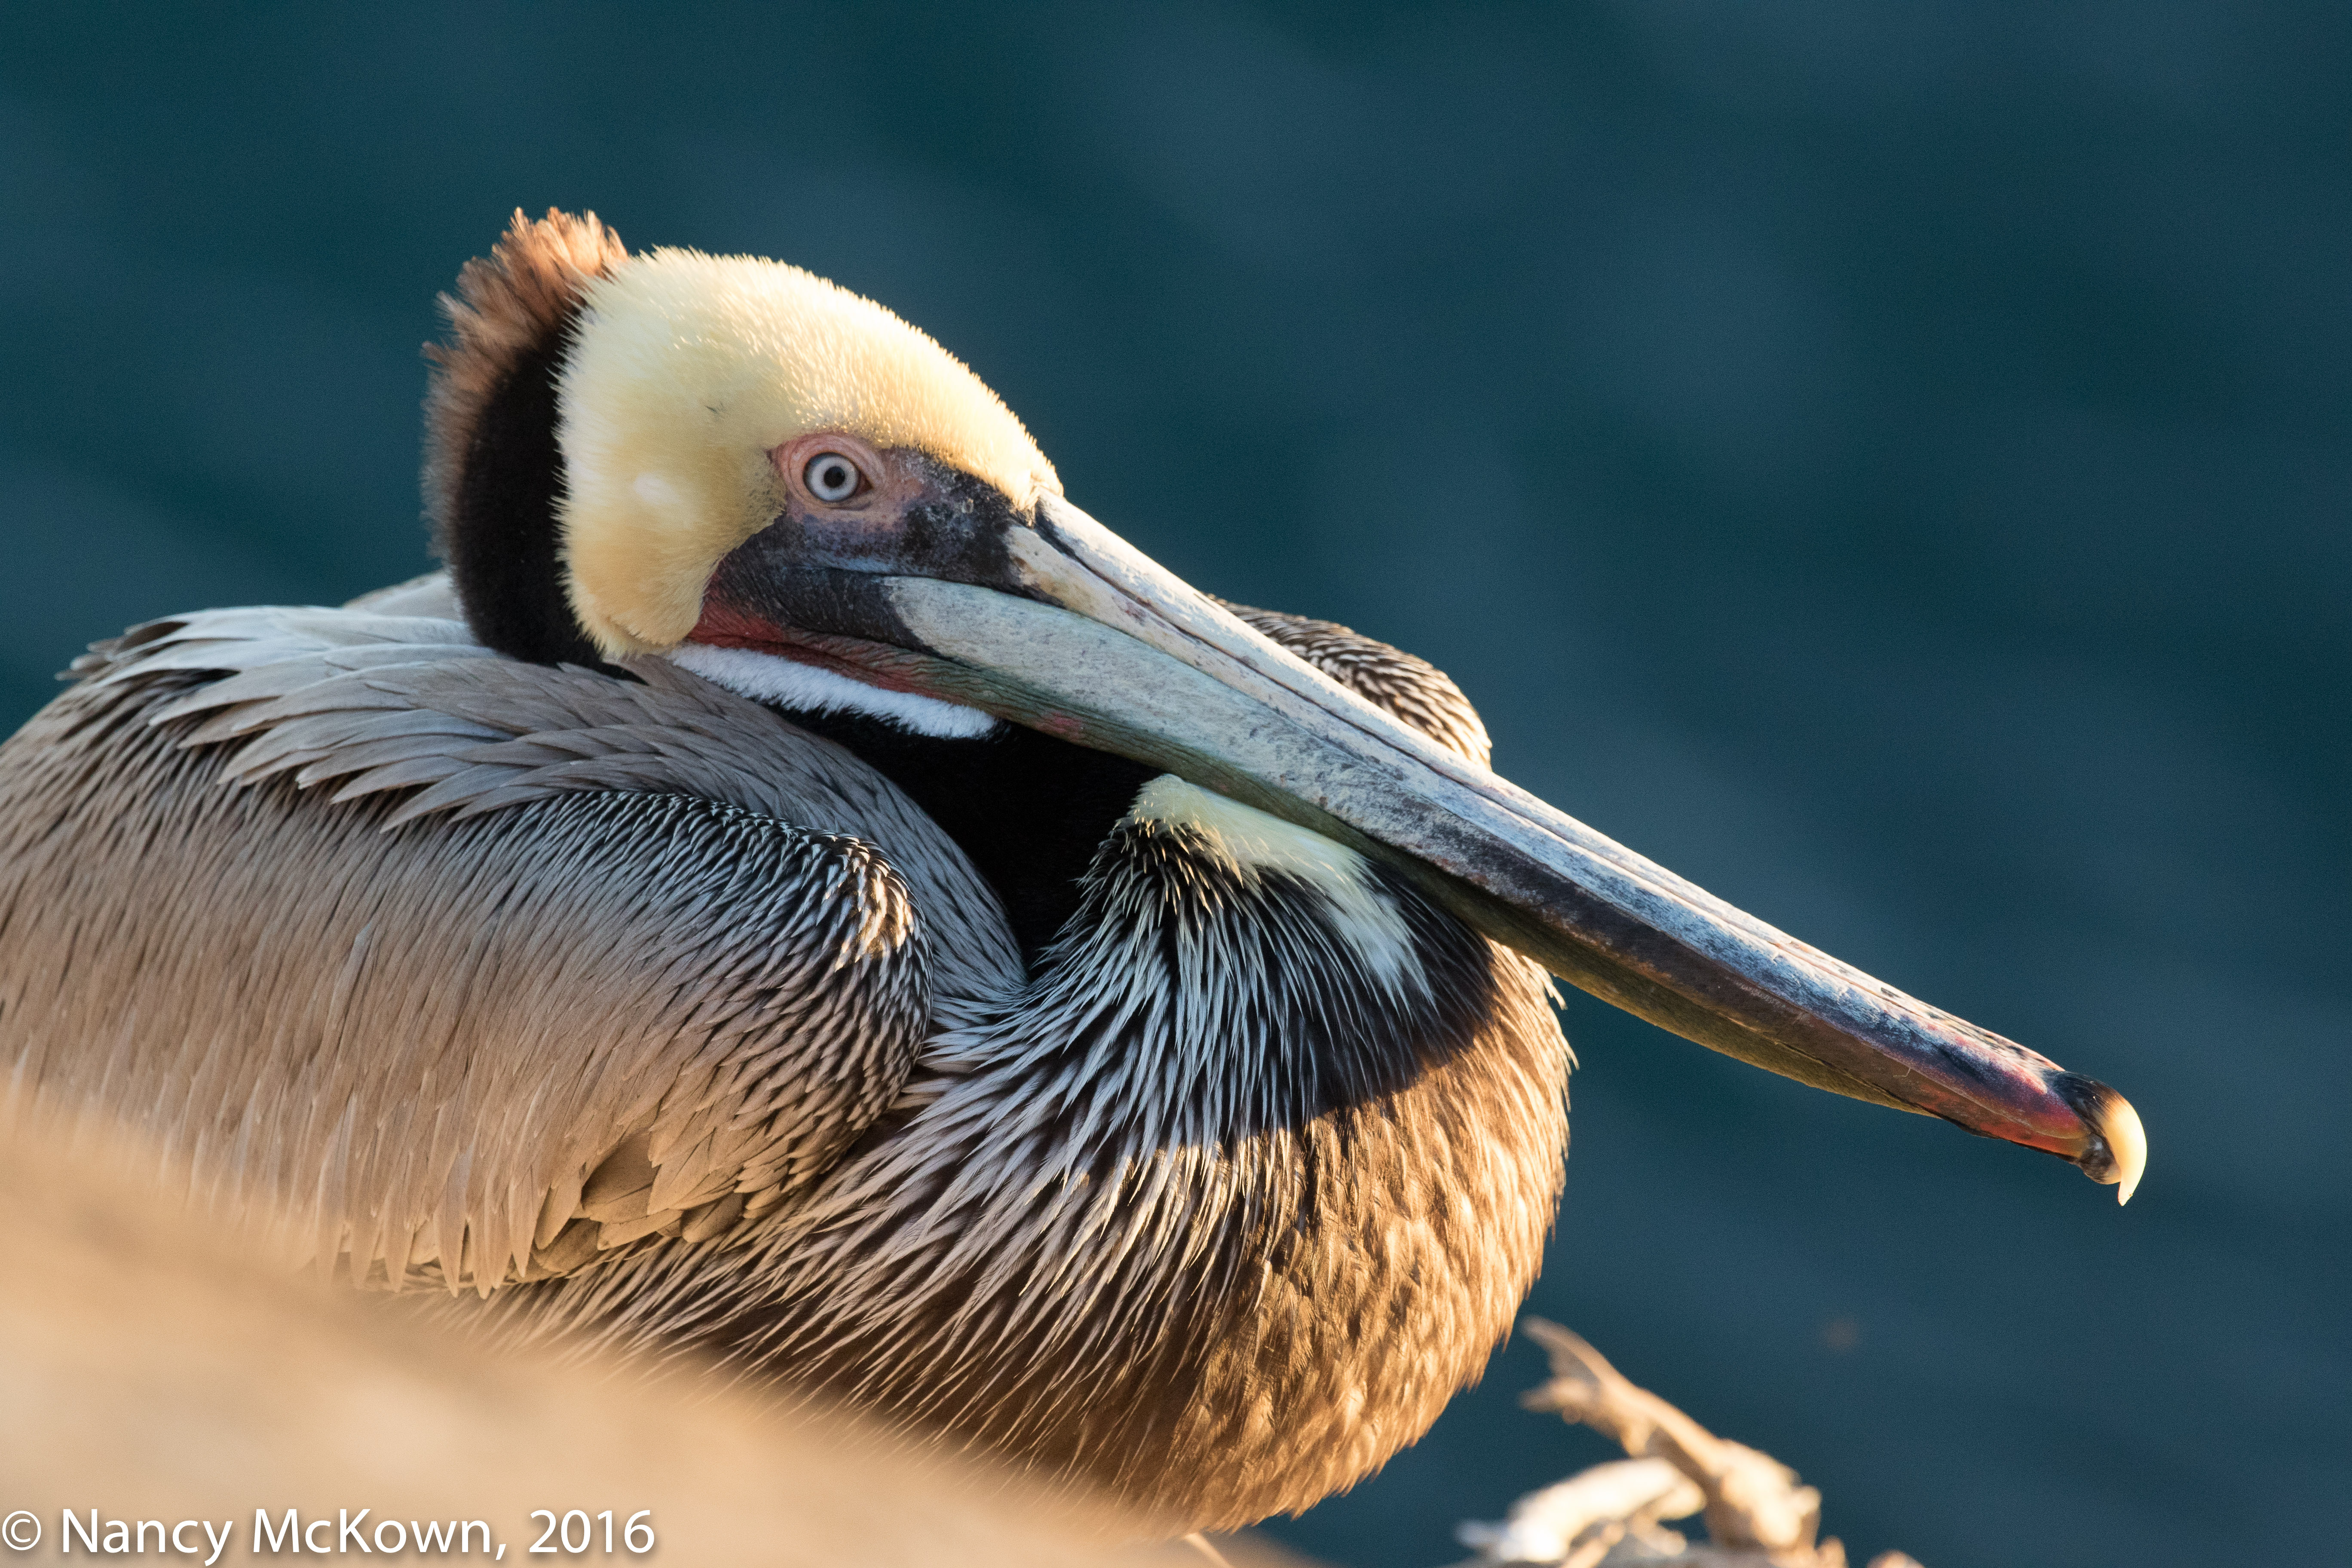
NOTE: On a cloudless day, the sun’s position (orientation and distance) in the sky determines the location, size, shape and length of the shadows.
Softening the Effects of Harsh Light
It’s almost impossible to adequately soften harsh shadows after the image is shot. That said, there are tools you can use to mitigate the effects of glaring, contrasty light.
The Shadow/Highlight Sliders in Post Processing
You can balance the light on your images by using the highlights and shadows sliders in Lightroom. NOTE: It is common to use a heavy hand and overuse the shadow slider; over brightening the shadows and reducing tonal richness. In addition, the more you push that shadow slider, the more likelihood of noise in the shadow areas.
Canon’s Camera-Auto Lighting Optimization – ALO
Auto Lighting Optimization (ALO) is in-camera processing that automatically softens contrasts and restores highlight and shadow detail immediately after the shot is taken. You can choose from 4 settings…”Standard”, “Low”, “Strong” and “Off”.
Ultimately, I prefer to handle the shadow recovery myself in post processing. I leave ALO “Off” for the following reasons:
- Camera processing time slows as the camera writes the ALO optimization data to the memory card.
- ALO will have an impact on other camera exposure adjustment functions that are engaged, like exposure compensation, flash compensation, automatic exposure bracketing, and others.
- ALO will be automatically disabled if Highlight Tone Priority or High Dynamic Range functions are turned On.
- ALO settings are reflected in the shape and position of the histogram as well as the highlight alert warnings (Blinkies) in the camera’s preview LCD screen. I like to review this data unencumbered with ALO effects.
The Photographer’s Greatest Challenge
In bird photography, rarely are there assistants available to manage heavy spotlights intended to project light onto your subjects, or scrims to block harsh sunlight, or reflectors to throw back light and fill the shadows. These light enhancing strategies (and the assistants) would most likely backfire and scare away the birds.
Placement of the different types of light affects every feature of your image and is the photographer’s greatest challenge. It pays to be watchful of the light.
To read more about House Wrens and Bird Personalities, press this link.
To read more about histograms and dynamic range, press this link.