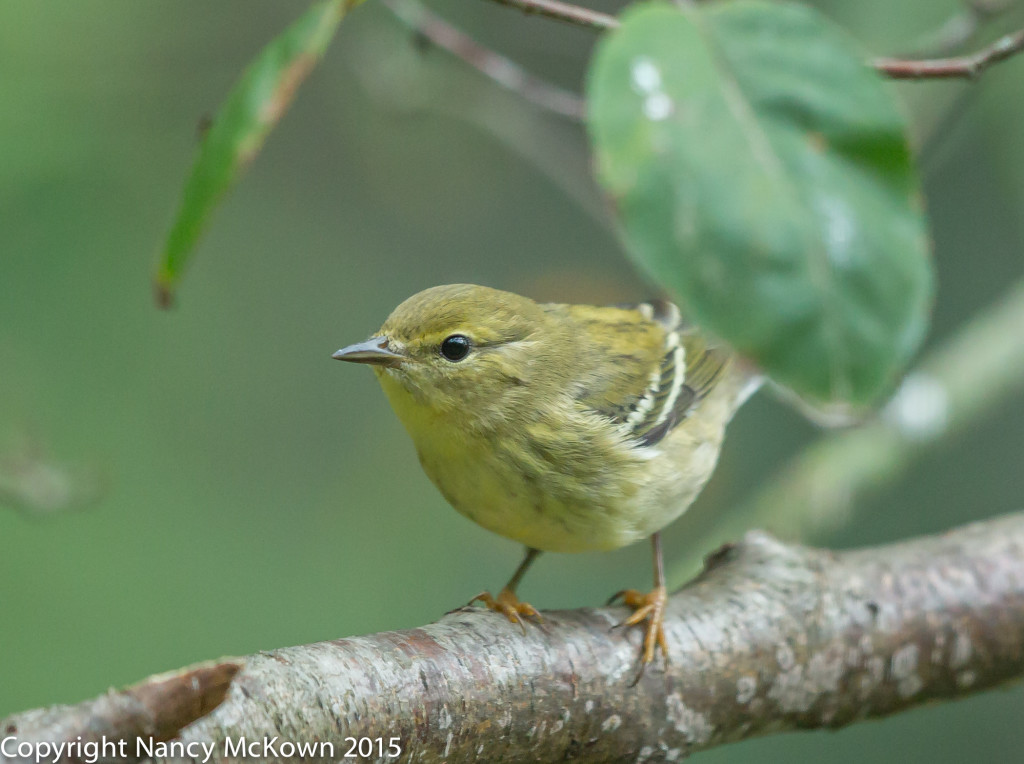
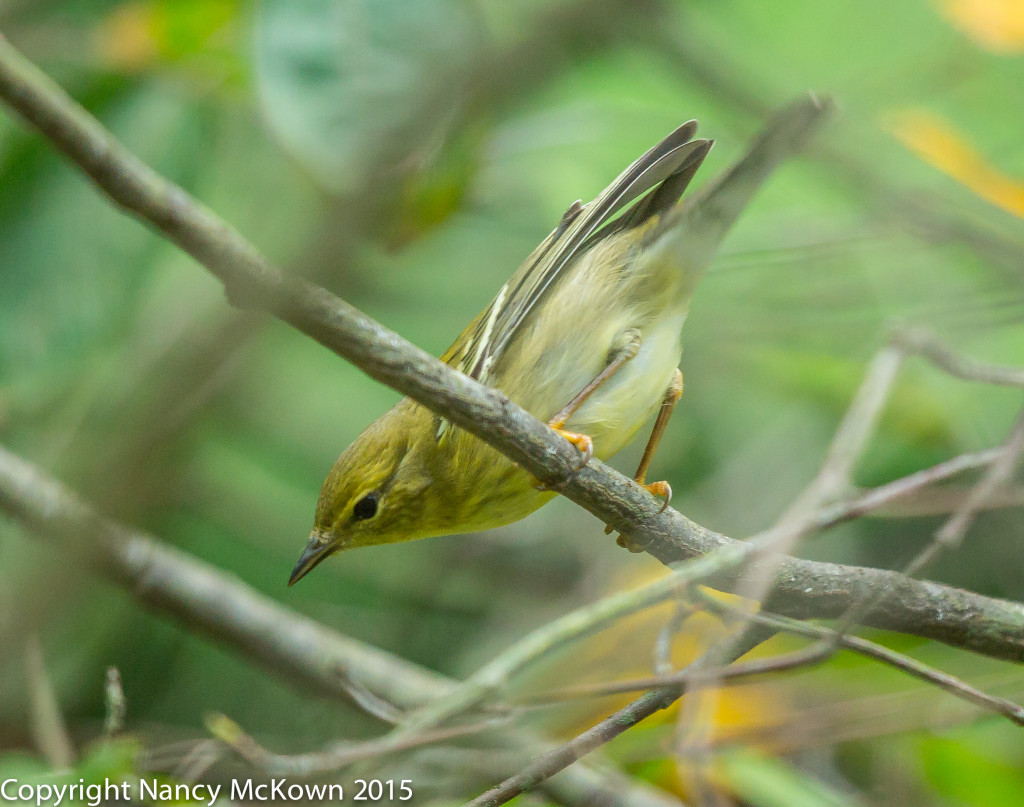
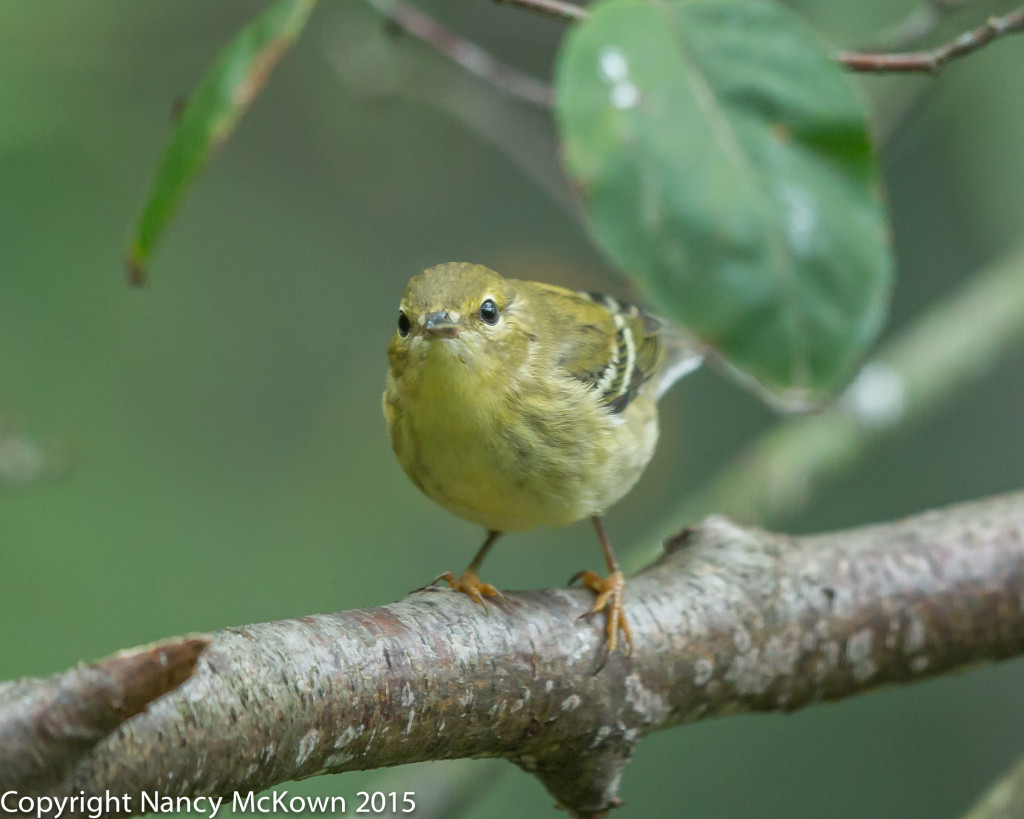
Category Archives: Warblers

Photographing the Black Throated Blue Warbler – Spring Migration Has Past

A Peaceful Morning on the Deck

It’s mid morning in early June; the sunlight is heavily filtered in our yard. I catch the sweet scent of Locust flowers on the breeze and hear the soft droning of honey bees as they feast on the nectar rich Locust blossoms high above. As I set up the camera I think about how the birds must be feasting up there as well.

Chipmunks are everywhere this spring, fashioning their homes within the confines of the Sassafras and Locust logs densely stacked between tree trunks. They pause every few steps to check around for predators as they forage for food dropped below the feeders. Lots of impromptu and playful chasing going on. 

On my deck, delicate single web threads join trees and furniture and sway with the soft wind. I can barely feel these silk gossamers as I move about with my camera equipment and disrupt their tenuous holds. These lines of gauze belong to the tiniest of spiders-and warblers seek them out.
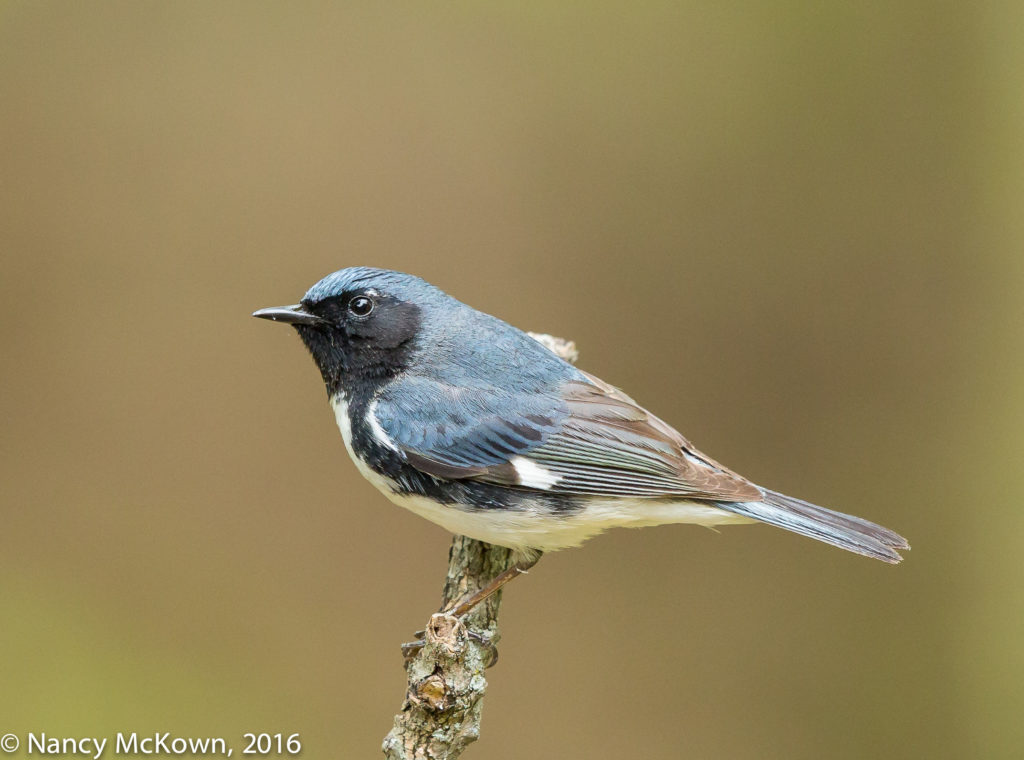
Photo of Black Throated Blue Warbler
Black throated Blue Warbler
ISO1250; f/5.6; 1/400 Second

Photographing a Black Throated Blue Warbler

This Black Throated Blue Warbler did not seem especially shy- or perhaps he was just desperately thirsty from his long migration journey north. In any case, he came in close to the fountain for a drink, heedless of the camera and me.

The perch he chose was perfect….. at least 10 feet between the woodsy background and the bird. Because of the low light, I opened up the aperture and shot at a relatively slow (for birds) shutter speed. The bokeh, brown tinged with green, with no seams and no visible outlines of the tree trunks and brush in the background, complements the ragged, lichen draped perch and the bird’s plumage.

Black Throated Blue Warblers nest in the Blue Ridge Mountain range and also in Northeastern United States and Eastern Canada. They are known to seek out vast tracks of forests for their nesting grounds, so it is likely that they made their homes in SouthWest MI long ago. Come fall, they will migrate south to the Gulf States and the Caribbean.

The male Black Throated Blue Warbler keeps his distinctive blue and black plumage year round. The female mostly blends, like a lot of other female warblers. I photographed the female Black Throated Warbler last fall with her dull olive plumage and subtle white lines above the eyes.
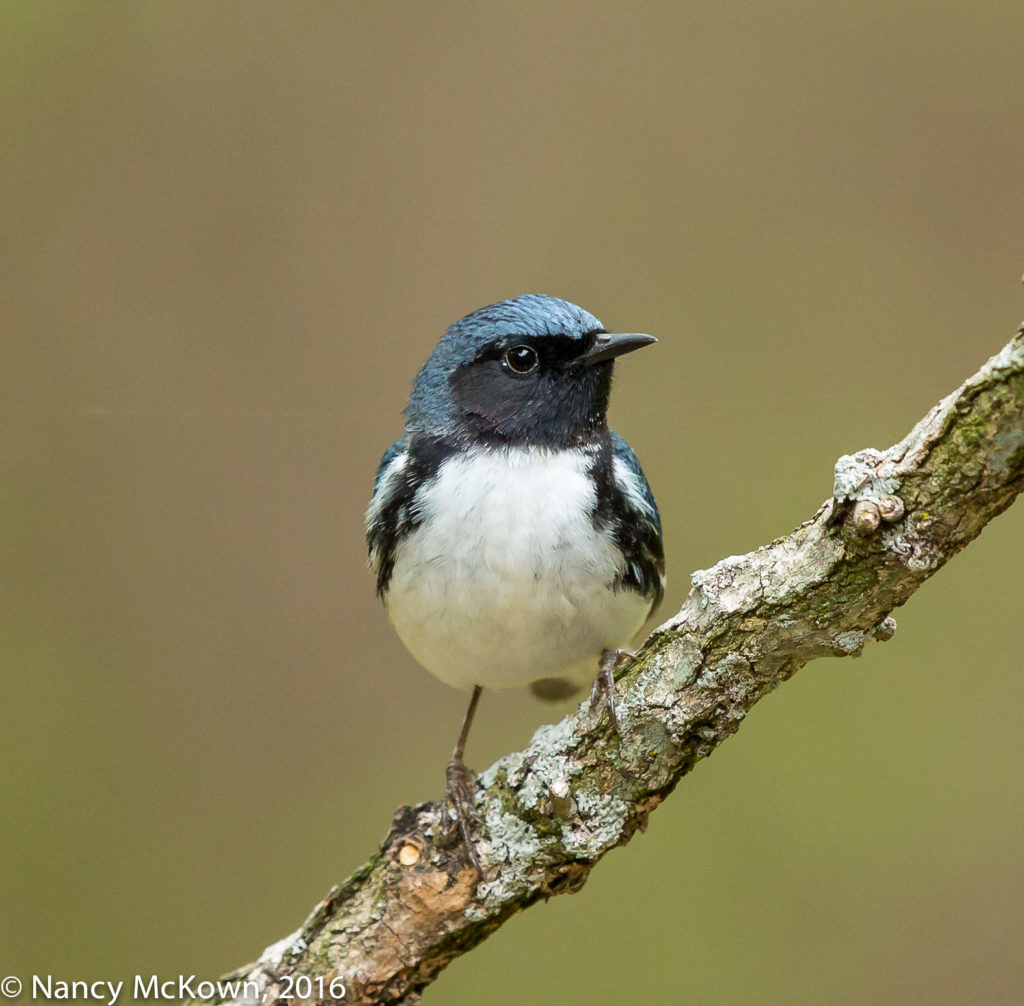
Photo of Black Throated Blue Warbler
Black Throated Blue Warbler.
ISO1000; f/6; 1/400 Second

A Slow Migration Season

This spring, a total of six warbler species stopped to rest in our yard and within the camera’s view. None came so boldly as this Black Throated Blue Warbler.

The migration season for warblers is past. During most of April and May, my cameras and I have been at the ready. I’ve watched the leaves mature and reach out to take their share of the available light. This Spring, we’ve had very little success photographing migrators, despite our warbler friendly yard filled with thicketed and overgrown brush. I know millions of birds are coming through just as they’ve done for millennia, I’m just not seeing them. Jealously, I note that lots of luckier bird photographers are posting splendidly colorful finds. All I can do is continue my search and hope my luck gets better come Fall migration.

I’ve updated my Spring 2016 migration Flickr page. Looking over my past images, it seems I have more luck photographing warblers during Fall Migration. Another adventure to look forward to!
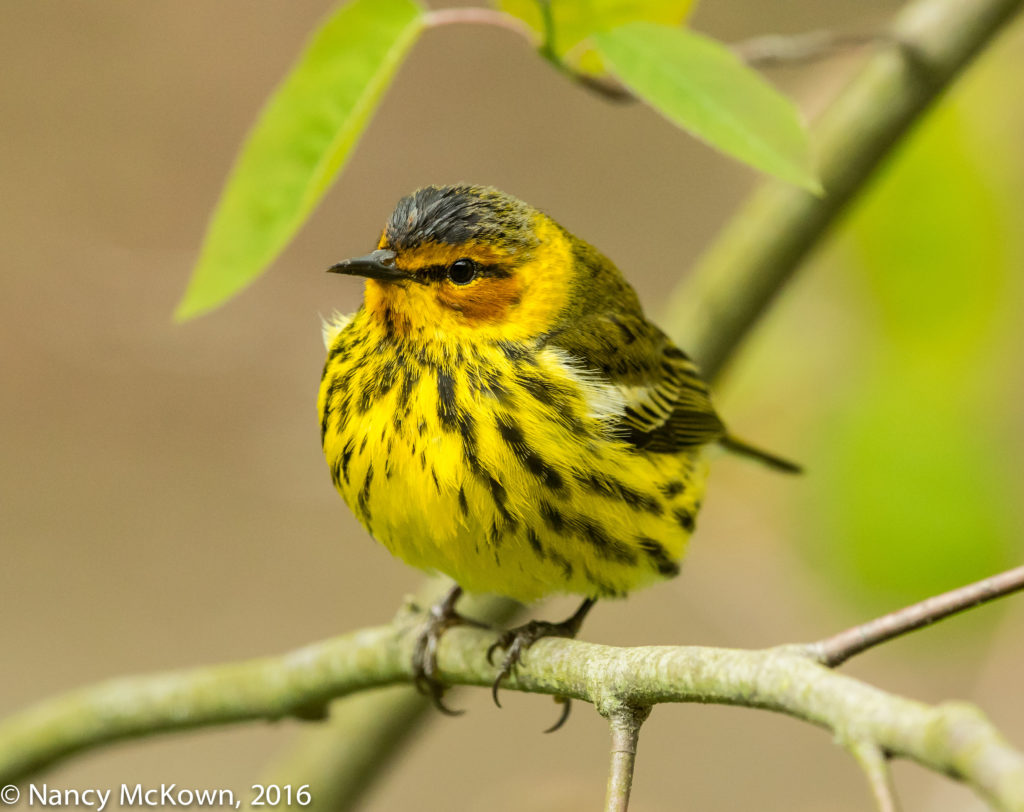
Photographing Cape May Warblers and Customized Shooting Modes

Photographing A Cape May Warbler

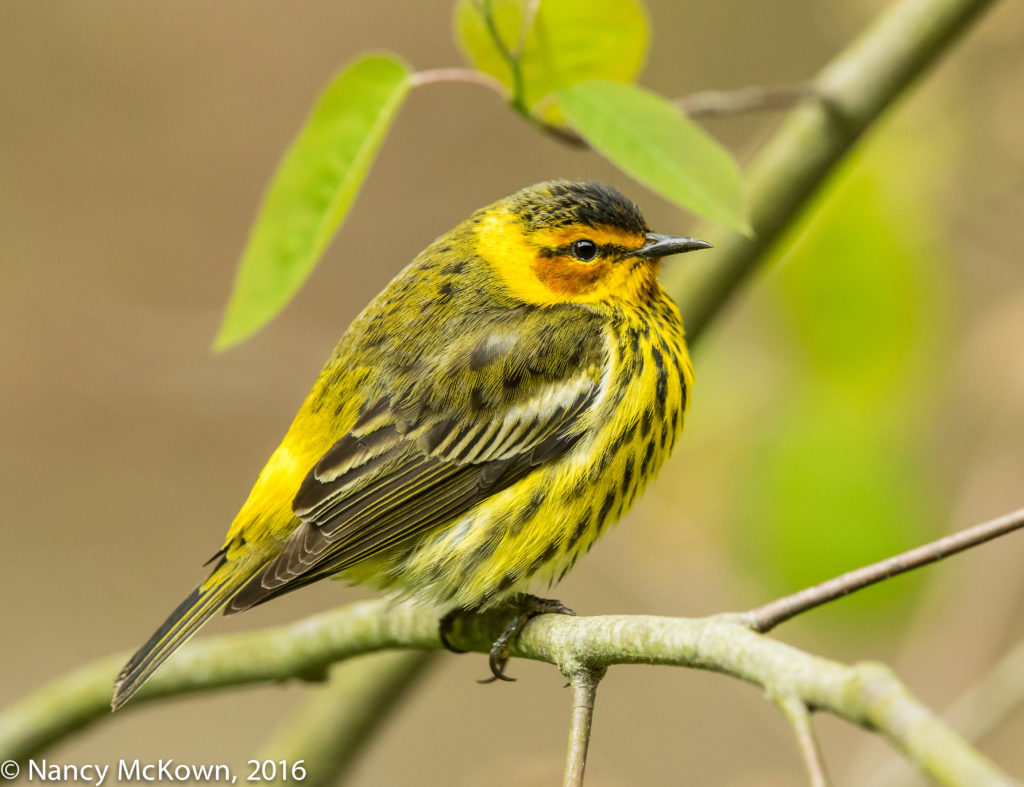
In Spring, migrating warblers are eye candy, most especially the males. This Cape May Warbler with his prominent chestnut cheek patches and brightly streaked head and chest perched right outside my (closed) window. He did not appear frightened by me or the camera, so much so that I considered opening the window. After a minute or so, he bolted for more satisfying territory, but not before I was able to get off a few through-the-glass-window shots.

Cape May Warblers winter in tropical climates (S. Florida, Caribbean, West Indies and Mexico) where they are known to feast on nectar collected with their curled and semi tubular tongues. They migrate long distances to breed in Northern U.S .and the Canadian woods where their preferred food is spruce budworms. In SW Michigan, we see only a few of them in the Spring and Fall.

Photo of Cape May Warbler
Cape May Warbler
ISO1600; f/6.3; 1/640 Second.
Through the Glass Window shot

User Settings

Whether I plan to drive to a birding location or am surprised by a warbler outside my window,  it’s relatively easy for me to make sure that all settings for both my cameras are properly adjusted at what I consider to be optimal for the intended shooting location. This not so short checklist of settings includes: white balance, max auto iso, one shot or continuous shooting mode, metering mode, live view, video, exposure compensation, file format, aperture, shutter speed, ISO, minimum and maximum ISO/Shutter settings, image size, picture style, autofocus modes, autofocus point selection, P, Tv, Av or M shooting mode, etc. (Whew!)

Both of my cameras see a lot of action in different locations, consequently I have to be able to make setting adjustments as quickly as possible to accommodate different environments.

Photo of Cape May Warbler
Cape May Warbler, Male.
Through the Glass Window shot.
ISO1600; f/6.3; 1/640 Second

Instant Recall

This Cape May Warbler departed as fast as he came. As is often the case, there was no time to even think about complex camera configurations. The knowledge and experience stored in my brain is not necessarily instantaneously retrievable, especially in the heat of an exciting bird sighting. I will more than likely miss some action if I take my eyes off the bird  to try to remember how to adjust something like the autofocus point selection.

Custom Shooting Modes

Modern DSLR cameras have storage and instant recall functions called “custom shooting modes” into which you can register or preset preferred settings and functions. (NOTE: The camera’s memory cards are not used for this task.) When you set up custom shooting modes, the camera saves to memory your favorite camera settings which are then retrievable with a flick of a switch. The camera’s long term memory will hold your preferences until you change them.

I use all three of the customized shooting modes that are available to me on my Canon cameras.  C1 and C2 are used for my birding adventures and C3 for family/people photography. These presets allow me to confidently operate “on-the-fly”.

Easy Setup

Custom Shooting Modes help make prepping for bird photography simplier. Canon menu systems provide a very straightforward process to activate custom shooting modes, and best of all, you don’t have to start from scratch to configure your first C mode. Just set the camera as you usually do right before you go out in the field. Then register these settings quickly in the menu by going to “custom shooting mode” and then the “tools” tab.  Assign a C1, C2 or C3 designation, then OK, the SET.  Other more in-depth options are available if you wish to customize further, like: 1) clear your settings whenever you want; 2) program new settings over the old; or 3) enable “Change Auto Update Set” to permanently retain new additions to a group.

Store What You Know

It’s fun to experiment with the range of options available in sophisticated DSLR cameras, but it’s best to set up your custom shooting modes in a thoughtful, non-rushed way.  These presets are not a place to store hardly ever needed, adventurous stuff that will not be useful in the heat of the moment and will soon be forgotten, or worse, accidentally triggered. Take the time to think about what you want and need for different bird photography scenarios and then make them available instantly by flicking on the custom shooting modes C1, C2, or C3 on the camera’s mode dial.

Presetting your custom shooting modes into the camera before going on your bird photography adventure is all about anticipating what might happen – and then being ready when it does.

Photographing A Chestnut Sided Warbler and Why Maximum Aperture Matters

Photographing A Chestnut Sided Warbler

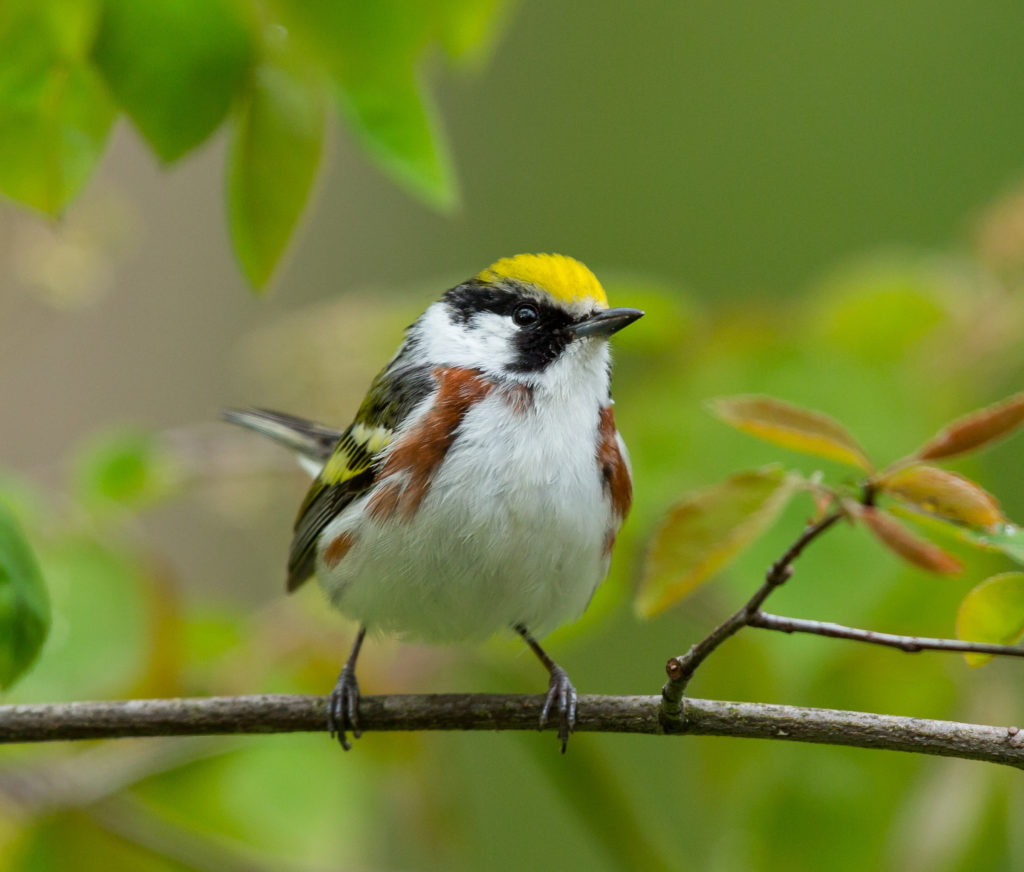
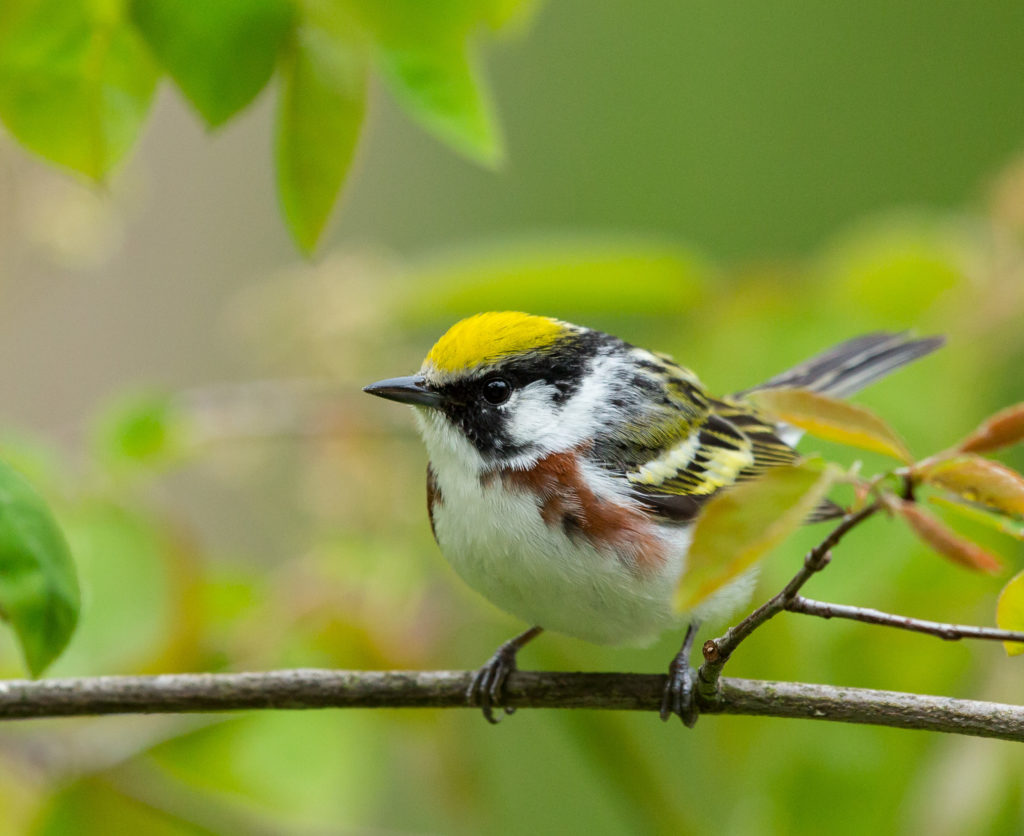
This fetching male Chestnut Sided Warbler arrived one late morning to the Service Berry tree in our yard. Lots of bird activity draws even more birds, I believe, and there was partying going on at the feeders.

The light was just right. The histogram revealed a nice balance of dark and light variation. The 1/400 shutter speed captured the moment sharply thanks in part to the relatively low ISO.

What a beauty! This spring specimen flaunts a bright yellow cap, black elongated eye stripes atop a white face, glossy chestnut colored streaks on its flanks and a complementing touch of yellow on the wing bars.

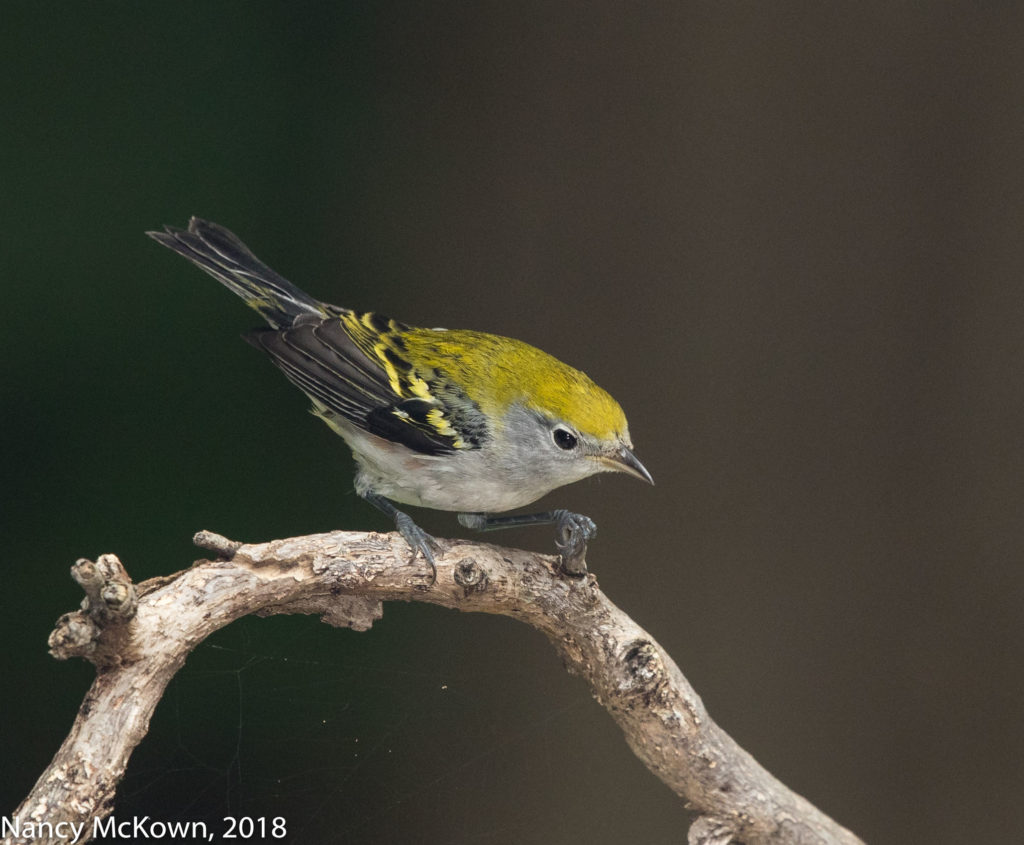
I photographed the female Chestnut Sided Warbler last Fall. I was not so lucky in proximity for that shoot and had to use a 2.0 extender on my 500mm lens to get the magnification I needed.

Photo of Chestnut Sided Warbler
Chestnut Sided Warbler
ISO800; f/6.3; 1/400 Second

Why Aperture Size Impacts Autofocus

Whenever I read about tele extenders, dire warnings about potential focusing problems surface. I find the literature on this subject to be somewhat baffling, or perhaps just incomplete, so I did some more research.

The basic question:  Why might autofocus be compromised when I attach a 1.4 or 2.0 extender to a telephoto lens?

It really depends on the lens – or more specifically, the maximum aperture of the lens. (See this post to learn more about the basics of aperture.)

Attaching an extender to a lens effectively narrows the the size of the len’s max aperture. A 1.4 extender shifts the len’s max aperture one stop smaller; a 2.0 extender shifts the len’s max aperture two stops smaller.

Photo of Chestnut Sided Warbler
Chestnut Sided Warbler
ISO1250; f/6.3; 1/500 Second

The Downside – Less Light

If the len’s maximum aperture becomes smaller when you attach an extender, light transmission through the lens is reduced. Example: My 300mm lens 2.8 L II lens with a 2x extender would lose 2 stops. As I look through the viewfinder I would see the equivalent of a f/5.6 aperture. That’s significantly less light. So What?

In order for you to see optimally through the viewfinder, you need light. In order for the camera and lens to accurately auto focus, they need light. When preparing to take a photo, the len is always set to its widest aperture for auto focus purposes. It immediately stops down to the aperture needed for correct exposure when the shutter is released.

Modern AutoFocus Point Technology

Modern multiple focus point technology (selectable and non-selectable assist points) is engineered to deal with a wide variety of action, accurately and fast. But autofocus points need light to work. With an active bird, you increase your chances of accurate focus if the maximum aperture of your lens lets in a lot of light. As the max aperture is reduced (as is the case when you attach an extender) the lens slows down and does a lot more hunting, especially on a low light cloudy day, and most especially when multiple focus points are activated.

(NOTE: See this post to learn more about using multiple focus points.)

Should I Attach A Tele Extender to My Lens?

If you have a lens letting in a lot of light (2.0 or 2.8 maximum aperture), the camera’s access points have sufficient light with which to autofocus. Attaching a tele extender to this lens would be no problem. However, a lens with an extender narrowing the max aperture to f/5.6 or f/8 may have insufficient light and/or contrast, causing some autofocus points to be slow or not operational. NOTE: The center auto focus point will most likely work because it will get the most light.

If you have a modern DSLR camera and are wondering how many auto focus points are actually working with a lens and extender attached, you can check. Activate all auto focus points, look through the viewfinder, press the shutter half way, and see how many light up.

Manual Focus to the Rescue

If autofocus does not work, you are left with manual focus. Looking through a relatively dark viewfinder may hinder your ability to get an accurate fix in manual focus.  NOTE: I find it hard to manually focus without lots of light so I generally switch the camera to Live View and focus from the LCD screen instead of thru the viewfinder. (More info on Live View is available at this post.)

Variable Aperture Zoom Lenses

Just to complicate this issue, some zoom lenses have variable apertures; meaning the max aperture available changes depending on the focal length. Example: Canon EF 100-400mm f/4.5-5.6L IS II USM Lens. The widest aperture of this lens is f/4.5 at 100mm and f/5.6 at 400mm.

Here’s a photo of the female Chestnut Sided Warbler:

Female Chestnut Sided Warbler
ISO800; f/8; 1/250 Second

Photographing a Blackpoll Warbler and Thoughts About Monocular Vision

Warbler Lover

It’s no secret to people who read this blog that my favorite birds to photograph are warblers. These birds present an exhilarating challenge to find and photograph, especially in the spring when their breeding plumage is resplendent and they have reason to display and sing.

The 38+ species of wood warblers who breed in Eastern North America display a wide variety of color and melodic embellishments; and peculiar names. Though a certain warbler species may be difficult to precisely ID without being fairly close (and for me, accompanied by a confirmation photo) the behaviors marking them as warblers are quite consistent. Tiny, (avg 5″ and less than 10 grams) jittery, purposeful, arboreal birds with broad ranging migratory habits, warblers skitter about on the ground or in dense brush and rarely pose on the perfect photo perch.

Photo of Blackpoll Warbler
Blackpoll Warbler
ISO1600; f/4; 1/500 Second

Monocular Vision

When I placed my dominant right eye up to the viewfinder eye cup to photograph this Blackpoll Warbler, my left eye automatically shut, effectively blocking out any other birds that may have been outside the center of my one-eyed gaze.

The most obvious reason my left eye closes is that binocular vision only works when both eyes are working together. It is too disorienting when one eye is looking through a long lens showing a limited field of vision and the other is looking without magnification at a much wider field of view.

So, I keep my left eye closed when photographing birds and have honed my skills at transitioning quickly between binocular vision (with overlapping fields of view) to the one-eyed magnified view I see through the viewfinder.

Photo of Blackpoll Warbler
Blackpoll Warbler
ISO1000; f/4; 1/500 Second

Through-the-Lens Bird Relocation

It is not uncommon for me to spend many frustrating moments trying to re-find a fast moving warbler that I saw with two eyes, but lost once I peered through the lens. I must direct the lens and quickly re-locate that spot while looking through the much narrower field of view of the lens, all in a highly charged instant. If the warbler is bouncing in and out of the viewfinder, and then gets lost in densely packed undergrowth, there is no choice but to lift my head again until I catch sight of it and am able to redirect the lens.

NOTE:  With time and lots of practice, my through-the-lens warbler re-location skills have improved.

Blackpoll Warblers

This female (or immature male) Blackpoll Warbler is a new one for me. She is not as distinctive as the male Blackpoll, with his black cap and white cheeks, but lovely none-the-less. As is often the case, I saw only the less colorful bird in my yard. The females or immatures look very similar to the BayBreasted Warblers. I was lucky enough to see them last Fall as well.

This Blackpoll Warbler stayed less than 5 minutes, looked around at all the commotion the other birds were making, and then decided not to play.

Photo of Blackpoll Warbler
Blackpoll Warbler
ISO1600; f/4; 1/500


Photographing a Tennessee Warbler and Thoughts About IS on a Tripod

Photographing a Tennessee Warbler

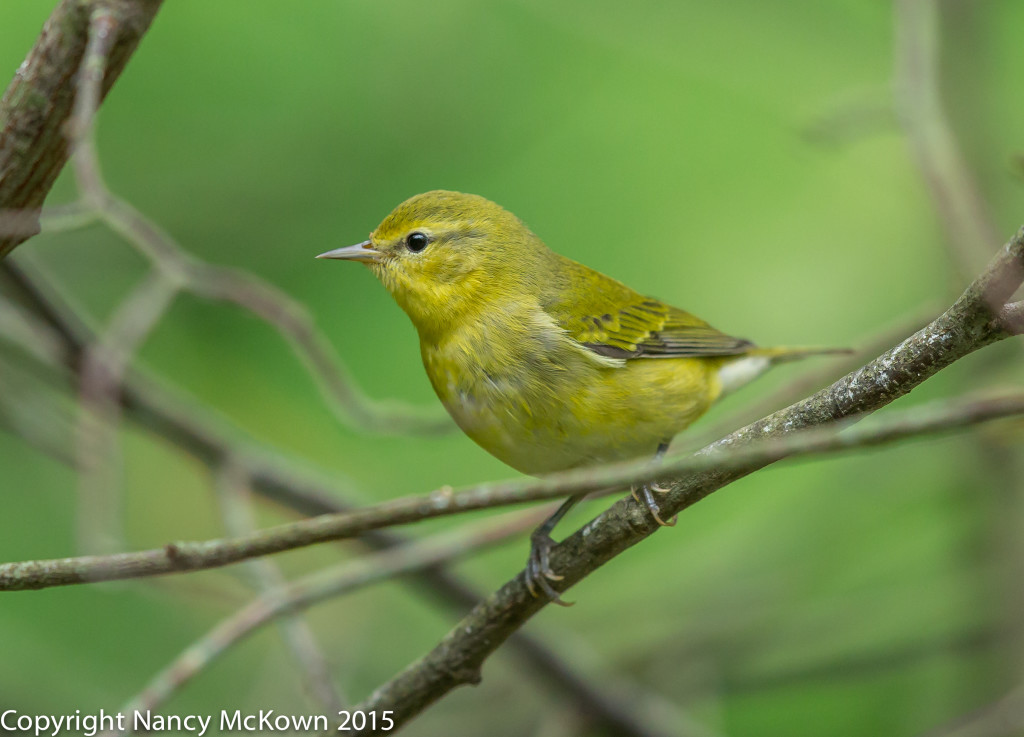
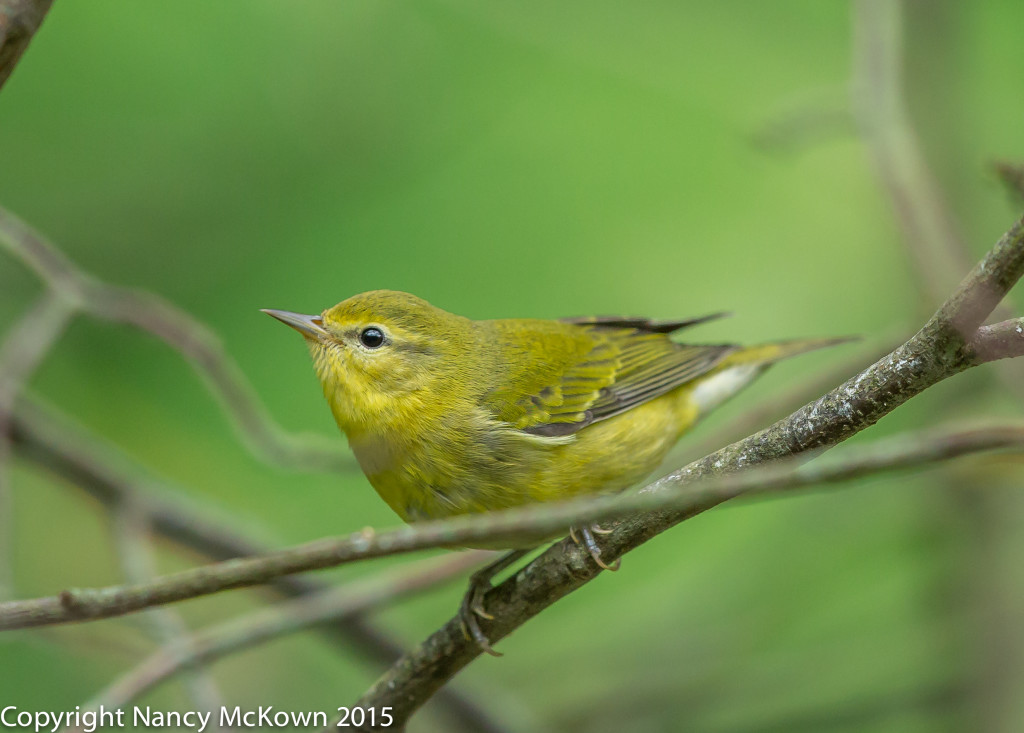
Out of all the warblers that visit our yard during migration, the Tennessee Warbler is our most frequent visitor. Somewhat drab, this species is best identified by the markings on its face; a thin yellowish line over the eyes and a dark line running through the eyes. Like most warblers, it  breeds in the northern states and Canada and winters in South American countries like Columbia, Venezuela, and Ecuador.

Tripod Steady

The Tennessee Warblers pictured here were both methodical and swift as  they probed the branches and limp leaves for insects. For this shoot, I was lucky to have a relatively bright day in our yard. I took advantage of the light by using a faster shutter speed, one where the advantages of image stabilization on a tripod would probably not be needed. As always, the weight of the lens alone is enough for me to keep my equipment mounted steadfastly on the tripod.

Photo of Tennessee Warbler
Tennessee Warbler
ISO1250; f/5; 1/500 Second

Tripod Based Movement

Most of the time, the light is low in our heavily wooded yard, forcing me to resort to shutter speeds below 1/100 second. Stabilization is essential. (Frustrating NOTE: In Michigan, there’s a 29% sunshine rate…the percent of non-cloudy sunshine hours during the winter months.- See this link.)

Tripod steady is not always enough to capture sharp images at low shutter speeds. Even the most stable of tripods can not keep the camera and lens completely still. There will always be some tripod based vibration due to shutter mirror slap, or just because I am moving about on the floor, twirling the camera and lens this way and that, and pressing the shutter button in a continuous effort to capture a pose. Also, the longer the lens I have mounted on the tripod, the more this minute vibration is magnified.

NOTE: Remote shutter releases do help stabilize cameras on tripods, but I don’t often use mine when photographing birds because I feel less in control; bird action just happens too fast.

Tennessee Warbler
Tennessee Warbler
ISO1250; f/5; 1/500 Second

Enter MODE III – IS and Tripod Use

With previous IS Canon lenses I have owned, I had to remember to manually turn off the image stabilization function when I used a tripod, otherwise it would pick up the tripod’s inherent vibrations and erratically try to correct. It was not uncommon to end up with more blurriness on the images instead of less.

Since low shutter speeds are pretty essential to increase the amount of light available for exposure, tripod movement was a problem. Clever engineers at Canon’s R&D helped to minimize those obstacles by creating a secondary image stabilizing mode…. one made specifically for tripod use.

Canon IS lenses with Mode III functionality are engineered to sense when the lens is on a tripod. The purpose is not to disable the IS feature, but to identify and compensate for those slight tripod movements when the shutter is set between 1/30 second and 1 minute  – the settings at which the camera is very vulnerable to producing blurry photos. NOTE: Image Stabilization on the tripod is automatically disabled if the shutter speed is set for 1 second or longer.

Remember, birds are constantly moving – and IS will not compensate on that end. 

To read more about Image Stabilization, press this link.

It is easy to mistake the Tennessee Warbler for another drabbish warbler…. the Orange Crowned Warbler. To see this bird in action, press this link.

It has been my observation that accuracy, consistency, logic and convention do not appear to matter when naming birds. Read more about this here.

Photographing the Yellow Rumped Warbler and Experimenting With Focus Preset

Photographing the Yellow Rumped Warbler

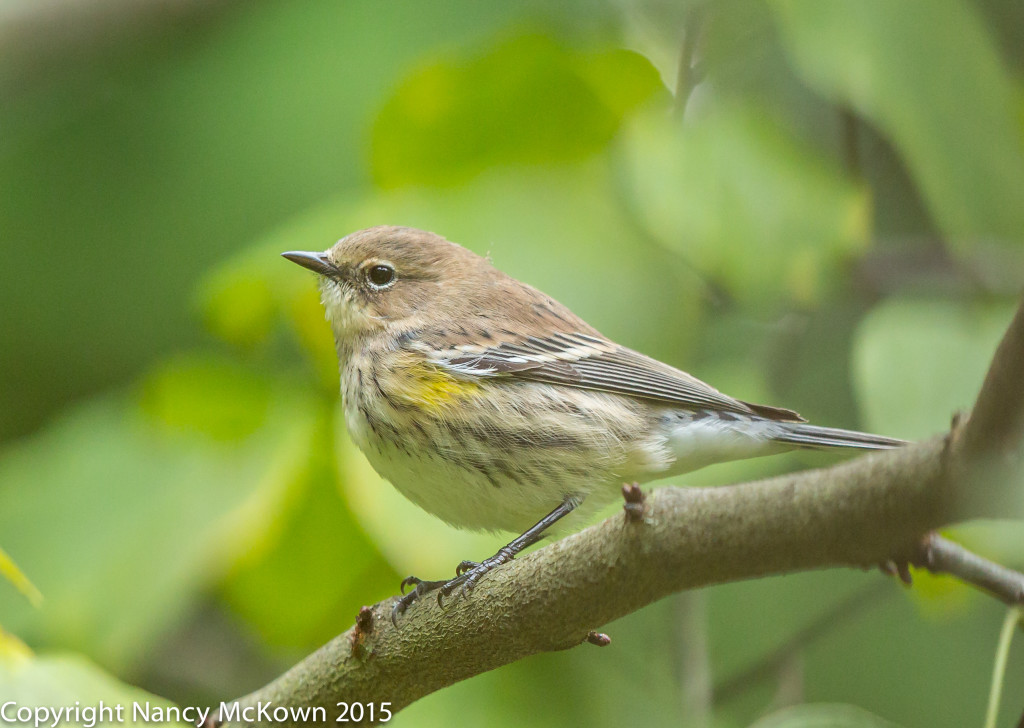
In my yard and in most of the Eastern US, it’s the hardy white throated Yellow Rumped Warbler of the Myrtle subspecies who lingers in the cold long after other species of warblers have gone south. Feasting on bay berries to survive, it’s not uncommon to see them here in November and December.

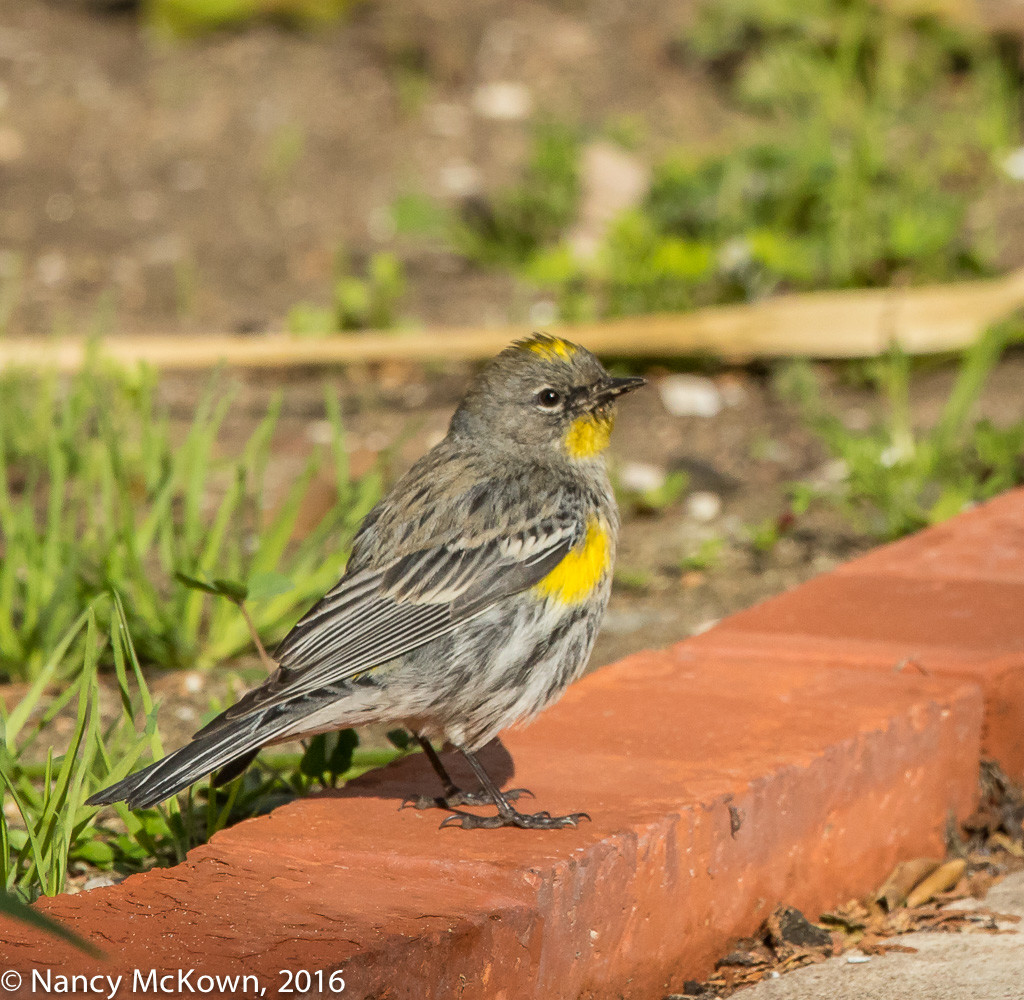
In the western U.S., the yellow throated Yellow Rumped Warbler of the Audubon subspecies thrives. Both have the trademark “butter butt” – a bright yellow patch of feathers above the tail.  NOTE: I hope to photograph this western variety on my next trip to California. Update:  My first day in San Diego and the Yellow Rumped Audubon subspecies showed up in front of my camera. See last photo below.

Yellow Rumped Warbler

Yellow Rumped Warbler from
the Myrtle Subspecies.
ISO1600; f/5; 1/500 Second

Finding the Right Perch

In my yard we have a few optimal bird perching spots with lush and colorful backgrounds that receive a good amount of the morning light. They are ideal little niches with no unsightly and chaotic debris to interfere with the len’s ability to lock focus. Most importantly, I know warblers perch there.

Photo of Yellow Rumped Warbler
Yellow Rumped Warbler.
ISO1600; f/5; 1/500 Second
Photo of Yellow Rumped Warber
Yellow Rumped Warbler of the Audubon subspecies.
Common in the West.
ISO640; f/8; 1/2000 Second

The Focus Preset Function of the Lens

These perching spots offer an opportune time to practice a function on my telephoto lens that is never urgently needed but fun to play with. It’s called FOCUS PRESET. I don’t use this function much because it’s unnecessary for the most part… modern auto focus lenses are so fast to focus.  But, since I paid a whole lot of money for my 300mm and 500mm L II lenses, I think I might as well better understand the precision electronic data-transfer controls that make them so expensive.

Focus Preset allows the photographer to save a predetermined distance to the len’s memory and then automatically recall it.

To Set Focus Preset:

1) Turn the focus preset switch to On or On with Sound. (NOTE: The On w Sound setting simply means that you will hear a beep to confirm that focus preset is initiated. On w/o sound  = no beep.)

2) Using auto or manual focus, focus the lens on the spot that you want the lens to memorize.

3) Press the SET button

Your desired distance is now saved, and will be saved in the lens until you turn the focus preset switch to the “off” position.

To Engage Focus Preset

The auto focus function on your lens works as it normally does until you recall the Focus Preset.

Just give a little twist (either to the right or left) on the thin serrated metal focus preset ring (located right in front of the manual focus ring on the lens) to instantaneously recall the lens to focus on the spot previously saved to memory.

Kind of fun once you get the hang of it.

Subspecies or Hybrid

NOTE: In my many bird photography adventures, I have photographed several subspecies, but I have never photographed a bird that would be considered a hybrid. A subspecies is a variety of the same species….a population (usually geographically isolated) that has a slightly different appearance than others of its own species. A hybrid is born when two different and closely related species successfully breed..

An excellent article about hybridized warblers can be found at this link.

To see photos of Palm Warbler Subspecies, press this link.

Photographing a Nashville Warbler and Thinking About New Transport

Finding and Photographing Nashville Warblers

These photos of a Nashville Warbler were taken in the Allegan Forest in October, 2015 after I spent hours the night before preparing my pack and then hauling heavy camera equipment into the woods early the next morning. It was worth it. My final destination was idyllic, as was the soft glow of the morning light.

I am pleased with the images, but weary too. I need a simpler and more efficient way to transport my photo gear to and from my car and home.

Photo of Nashville Warbler

This Nashville warbler was ducking in and out
of the bushes; quite a challenge for
the Camera’s auto focus.
The early morning light was strong and contrast good.
ISO400; f/9; 1/1000 Second

Heavy Gear Weighing Me Down

Transporting equipment back and forth to the site is what photographers do. Countless times I have cradled my camera and lens in my arms like a baby, thinking that a short walk with my gear will be no problem. I plan ahead by wearing multi-pocketed pants, shirts, vests, all with extra pulls, straps and harnesses designed to hook onto my tripod and other requisite gear. When I’m not supporting the camera and lens in my arms, everything is packed in my fancy, stiffly padded (and heavy) backpack.

Inevitably, the short walks turn painfully long over bumpy, uneven (slippery, wet, hilly) terrain. The camera equipment gets heavier with every step I take. I do not have a lot of upper body strength and before midday, I am sore and anxious for the day to end.

Photo of Nashville Warbler

Nashville Warbler, Posing Amongst the
Red Branches.
ISO1600; f/4; 1/500 Second

Struggle Less and Enjoy Photography More

My goal is to struggle less and enjoy my photographic adventures more by getting this equipment off my back and onto a cart that is ergonomically designed to roll over tree roots and up and down uneven, sandy or snowy hills. After consulting with various nature photographers, the cart that appears to be most suited to my needs is the Eckla Beach Rolly Gear Cart.

Well Designed Equipment Transport

The company’s ad makes this cart sound so easy and convenient that I assumed that the Eckla Beach Rolly Gear Cart had its own means of propulsion. Nope. This equipment cart must be drawn or pushed. However, it’s made of light aluminum and outfitted with sturdy, wide pneumatic wheels (rustproof, sand proof, salt proof) which should reduce my struggles and make my role as a plow horse easier. It’s basically a collapsable cart that disassembles and transports easily. When assembled, you strap your gear stuffed camera bag and tripod (up to 176 lbs) onto the cart and off you go.

The company offers 2 basic models…. (1) Cart only; and (2) A cart with a built in nylon seat. As with most equipment associated with photography, smartly designed gear transport is expensive. I’ve decided that the time has come for me to lighten my load and enjoy bird photography more. I’m going to take a chance that this transport system will be worth the $200 price tag.

For more information about the Eckla Beach Rolly Gear Cart, visit this link.

Photo of Nashville Warbler
Nashville Warbler,
After a long walk, I Found
a good location, bright
enough to get fairly low ISO.
ISO160; f/9; 1/1000 Second


Photographing an Orange Crowned Warbler and Trusting Your Camera’s Sensor

Photographing an Orange Crowned Warbler

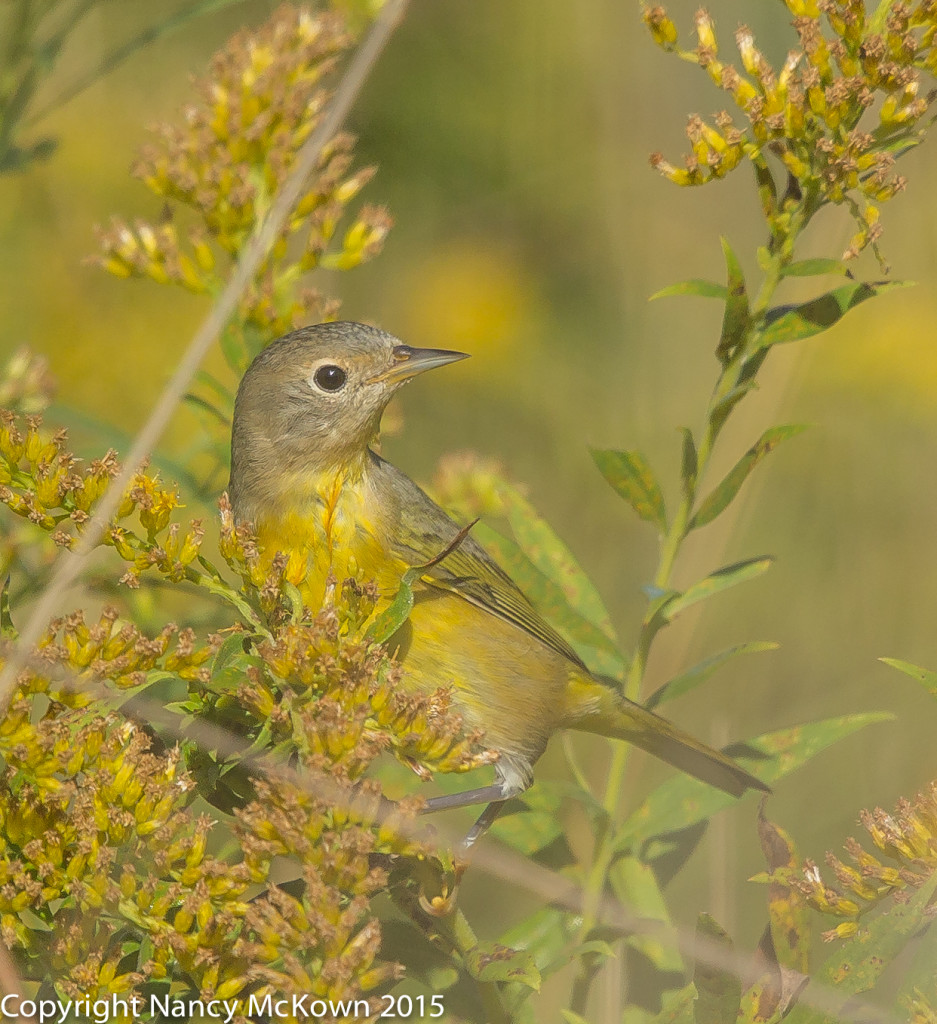
Orange Crowned Warblers are rather scarce during bird migration through SW Michigan, so I was very pleased when Whatbird.com confirmed that this bird was indeed an Orange Crowned Warbler. For ID, I check the head and face for the broken eye ring and eye line markings and look hard at my photos for the inconspicuous orange patch of feathers on the crown. I often confuse them with the more numerous Tennessee Warblers.

Exposing Correctly

The photos of the Orange Crowned Warbler included with this post were exposed correctly in the camera. In the first photo (see below) I used ISO 2500, but I would have gone higher if it meant getting the shot.

Photo of Orange Crowned Warbler
Orange Crowned Warbler
Quite a lot of Feathery Detail
Despite the High ISO Setting.
ISO2500; f/5; 1/500 Second

Protective Underexposure

There are a few tricks and trade offs which allow photographers to keep the ISO low. One popular one is to purposely underexpose and then artificially correct the exposure during raw post processing. This practice is referred to as “protective underexposure”.  It’s an effort to “protect” the image from noise damage due to high ISO settings.

I’ve spent many long hours trying to diminish the effects of noise in post processing and I have learned that this strategy most often backfires. In fact, protective underexposure can produce images that contain more distracting noise, despite the lower ISO setting and image torturing you inflict in post processing.

Photo of Orange Crowned Warbler
Orange Crowned Warbler
ISO1000; f/5; 1/400 Second

No Substitute for Proper Exposure

When photographers intentionally underexpose during a shoot, they are letting in less light than the conditions call for. The sensor records less data causing color and tone quality to be compromised. Underexposed color looks black. The more they underexpose, the worse it gets.

When they try to fix the underexposure in post processing by lifting brightness into unlit areas, more noise is introduced resulting in less detail. The color and tone data just isn’t there to recover, especially in the dark and shadowy areas.  

It’s hard to overestimate the importance of light in photography. Exposing your images properly introduces enough light to allow your camera’s sensor to record the maximum amount of data.

Trust the Sensor

Sometimes correct exposure means taking the ISO high. I trust the engineering that went into the circuitry in and around the sensor of my DSLR camera and try not to handicap it by underexposing. 

If the scene is wildly chaotic in terms of light, I figure out what’s important in the scene and expose that portion properly. I watch the histogram for guidance. If it’s predominately pushed to the left, I adjust exposure. The bracketing functions built into the camera help insure that I’ll get it right.

More Time Photographing Birds

I live in a SW Michigan where lake effect cloud cover blocks much of the sun year round. (29% sunshine rate…the percent of non-cloudy sunshine hours during the winter months.- See this link.)  The sensor in my camera has proven that it can handle relatively high ISO levels.

Most of my efforts in post processing are spent on noise reduction. I’ve learned over the years that the best way to keep down the noise is to make sure exposure is set correctly in the first place. 

See this post to read more about Exposing to the Right – ETTR.

See this post to learn more about noise reduction plugins.

See this post for more information on bracketing.

Photographing Northern Parula Warblers and Thoughts About Aperture Priority

Welcomed New Warblers

A couple of Northern Parula Warblers passed through our yard during fall migration — in mid September and again in early October. These little warblers have a preference for building their homes in Spanish Moss and are not known to nest in SW Michigan. Both Parula visits were quick, and happily, long enough for me to get off a couple shots to confirm ID at Whatbird.com.

Photo of Northern Parula Warbler
Northern Parula Warbler
ISO800; f/5.6; 1/500 Second

Auto Exposure Controls

Birds are constantly on the move, flittering and soaring in and out of the light. Most migrating warblers are around SW Michigan for a very short time, if they come at all. This unpredictability has led me to photograph birds mostly in Manual mode, where I feel I can respond the quickest. I rarely rely on my camera’s P, Tv or Av auto exposure controls.

Aperture Priority

I’ve wondered why so many bird photographers whose work I admire prefer to shoot exclusively in Av mode. In Av, the photographer sets the Aperture and the ISO, (unless Auto ISO is engaged) and the camera automatically sets the fastest shutter speed “allowed” for proper exposure, based on the cameras exposure calculations. (NOTE: The exposure settings the camera chooses appear in the viewfinder.)  

A function that constantly patrols the light and sets exposure instantly is definitely advantageous, especially during those times when you can predict strong light and relatively unperturbed birds.

Functions to Enhance the Utility of Av Mode

User intervention tools are available on modern DSLR cameras that help make auto exposure settings more practical and precise in delivering consistent exposure. If the photographer is uneasy about the uneven light and the constantly changing automated readings while in Av mode, she can always tweak the auto exposure system by:

  • Engaging Exposure Compensation (+/-). EC allows you to quickly adjust exposure by darkening or brightening the image. In Av mode, the camera will then respond by re-adjusting the shutter speed (or perhaps cranking up the ISO if Auto ISO is engaged) to get the shutter speed up to an acceptable level. (NOTE: See this link to learn more about EC. Remember, EC is NOT active in Manual mode).
  • Pressing the “AE Lock-Hold” to temporarily put a hold on the Av. The camera’s AE Lock-Hold button tells the camera to retain whatever light readings auto exposure took immediately before pressing the AE lock and hold them until you press that button again. This is especially useful if you want to recompose a shot and not worry about the Av mode changing exposure because it is reading different light values when you recompose. AE Lock-Hold is only available in P, Tv or Av modes.
  • Setting the Metering Mode. The camera’s auto exposure readings will be based, in part, on the metering mode you have set- Evaluative, Partial, Spot, or Center Weighted. Selecting an appropriate metering mode for the scene will go along way in helping auto exposure to correctly set exposure.

Concerns About Using Av Mode

  • After using EC, I have to remember to set EC back to “0” so Av doesn’t keep compensating exposure 2 or 3 or 4 stops during my next set of shots.
  • If I’m making exposure adjustments to auto exposure by using EC and AE Lock Hold, the convenience of Av mode is somewhat diminished. Setting Manual exposure on-the-fly is as convenient for me as fiddling with the various tools to over ride initial Av auto exposure readings.
  • I have learned over the years that that my long lenses have very shallow depths of field…. to the point where I feel the need to close down the aperture on my 500 mm lens to f/8 or more. In low light, that tight aperture setting would give the camera’s auto exposure mechanism only a few options –options that may include setting a shutter speed that is just too slow for bird activity. If the shutter speed gets slow enough, even built-in image stabilization and a steady tripod would not prevent blurred images.

Whatever it Takes to Nail Exposure

Of course, whenever a challenge is posed when photographing birds, it doesn’t matter what exposure mode you’re in…. you’ve got to think fast to nail exposure. Clearly, some excellent nature photographers feel they have an edge when using the camera’s Av mode. That’s all that matters.

Photo of Northern Parula Warbler
Northern Parula Warbler.
Spot Focusing helped me lock focus
on this warbler’s head
and blur the Leaves
in forefront and background.
ISO1000; f/5.6; 1/500 Second

Press this link to read more about Manual Mode.

Photographing the Wilson’s Warbler and Thoughts About Image Size and Quality


Photo of Wilson's Warbler
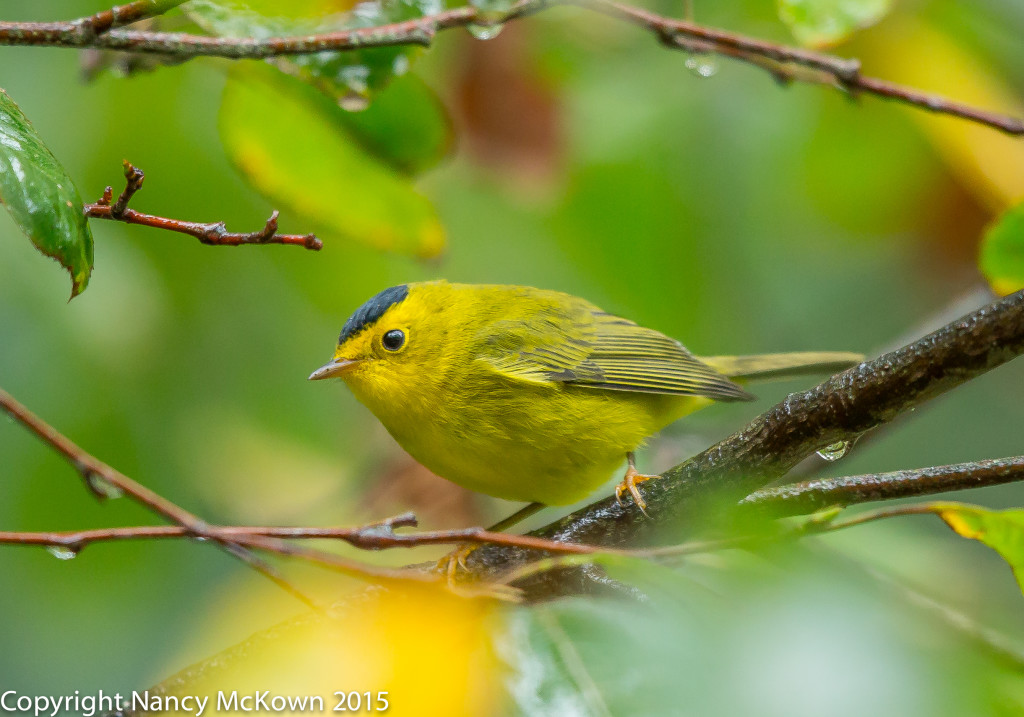
Wilson’s Warbler, with That Tar Black Crown.
ISO1250; f/4; 1/400 Second

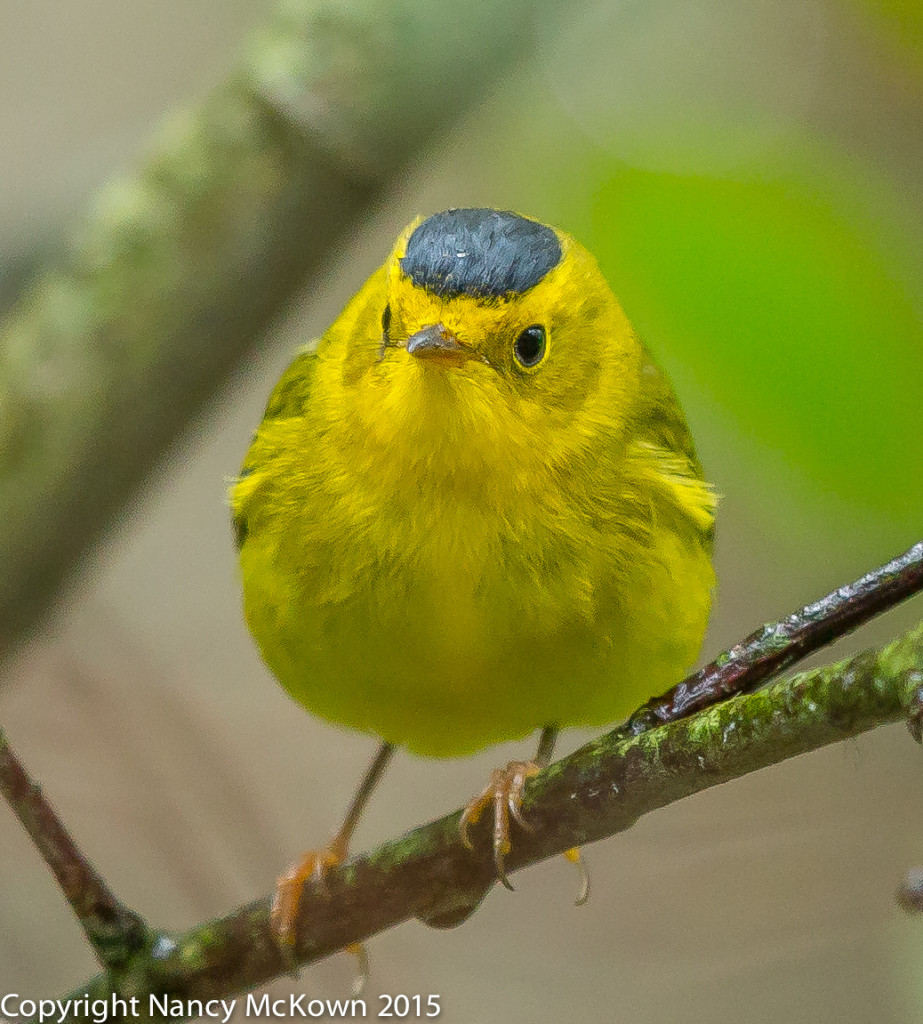
The male Wilson’s Warbler is no doubt one of the easiest warblers to ID. It’s hard to miss that black swash atop the forehead of this little wood warbler, made all the more stunning against his coal black eyes and bright yellow face. We don’t see them in SW Michigan except during migration cycles. One or two show up in our yard each year, usually traveling in mixed flocks of other small transients.

Camera Settings for Image Size and Quality

I photographed this male Wilson’s Warbler in RAW, full blast-(22M-resolution and 5760×3840- width and height pixel dimensions).  When I first started in bird photography, it was not uncommon for me to lower the image size/quality settings on my camera for “people” shoots, and then forget to switch it back when I went out to photograph birds. One time, after a particularly bountiful bird shoot, I discovered that my camera was set on the Canon “S3 JPEG” setting – which means 0.3M resolution with 720×480 width and height pixel dimensions.  It took me a while to figure out why detail was sparce and why I could not zoom-in closer to some far off birds in post processing. That day I went from proud and hopeful exhilaration to crushing defeat.

Image Quality Set to the Max

It’s impossible to predict how close the birds will come to the camera, and since most of them are tiny, it’s best to be as prepared as possible for distance shots. One of those preps involves setting the image size and quality to the maximum. (22.3MP raw image on my 5D Mark III and 20.2 MP on my 7D Mark II.) I like having that edge to zoom-in when needed and still maintain some quality. This setting does add a lot of time to my post processing workflow and backup routines because the file sizes are so large. I’m willing to put up with all the extra file management, just in case I need it.

Shooting Double Images With One Click

If you don’t worry about storage space limitations and management hassles, most advanced DSLR cameras allow you to shoot double images with one press of the shutter.  The RAW + JPEG setting allows the photographer to take one RAW format image (in an assortment of sizes) and one JPEG format image, also in an assortment of sizes. The size setting for the JPEG images will control both the resolution (as displayed in the pixel dimensions–720×480) and the compression quality. On the Canon DSLR camera menus, higher quality JPEG images are noted by the smooth quarter circle – medium quality is indicated by a quarter circle with “stair steps”. The JPEG compression algorithm will discard more data when you choose medium quality…. and produce a smaller file.

Photo of Wilson's Warbler
Close up of the head and face
of the Wilson’s Warbler,
Showing That Tar Black Crown.
ISO1250; f/4; 1/400 Second

Two-Slot Separate Storage

For those DSLR cameras that are equipped with two-slot storage (one CF slot and one SD slot), the photographer can specify the card on which to save JPEG files and the card on which to save RAW files. This is very handy for those times when you wish to share the JPEG copies more immediately, and still retain the RAW copies for later post processing. The dual storage solution is convenient when traveling, especially when the computers available to you for image review can not read RAW format without widgets and downloads.

NOTE:  Whenever you engage both disk storage options, the camera’s disk recording and saving slows down considerably, especially during bursting.

Comfortable with Shooting RAW Only

When I’m close to home, I almost never set the camera to shoot double images. Too much time and effort are needed to manage (sift through, sort, delete, backup) one copy of my photos in post processing, let alone two. When I need a JPEG, it’s a simple process to generate a JPEG file from the RAW file and then export it. 

To read more about Bursting, visit this blog posting.