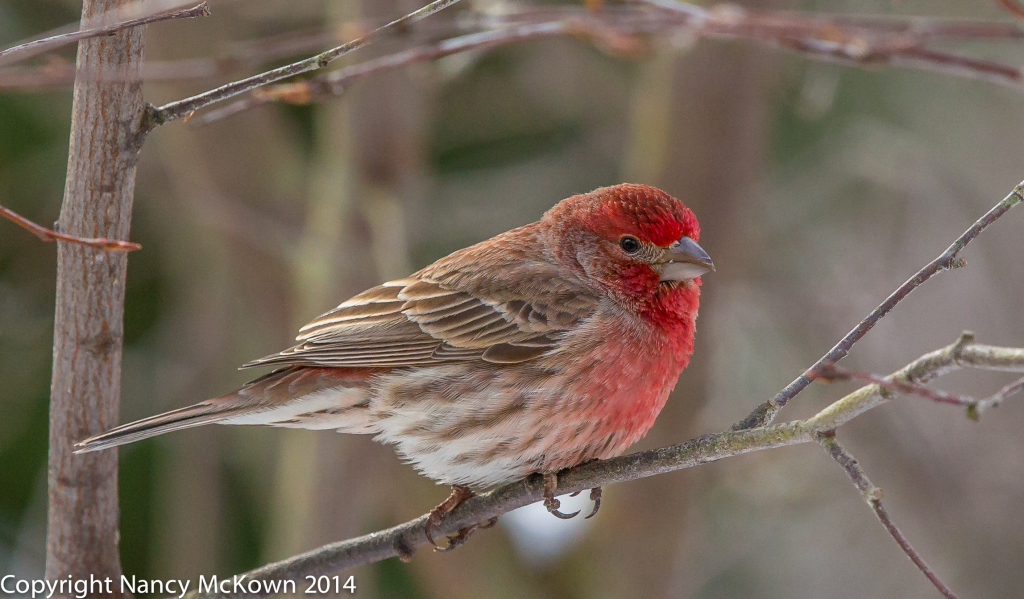
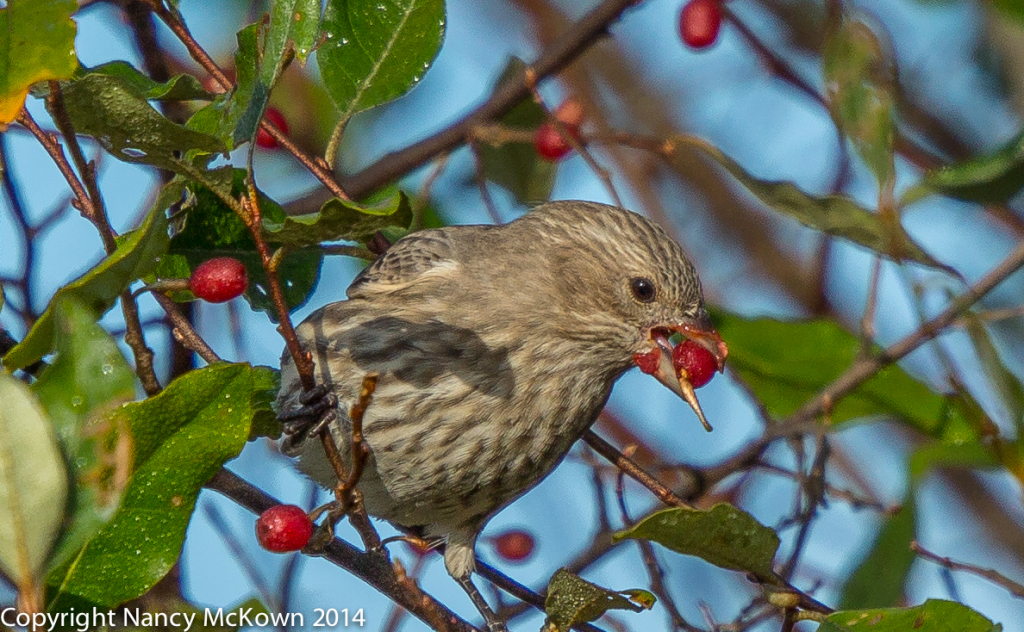
Category Archives: Finches

Photographing Purple Finches – Thoughts About Focus Points and DOF

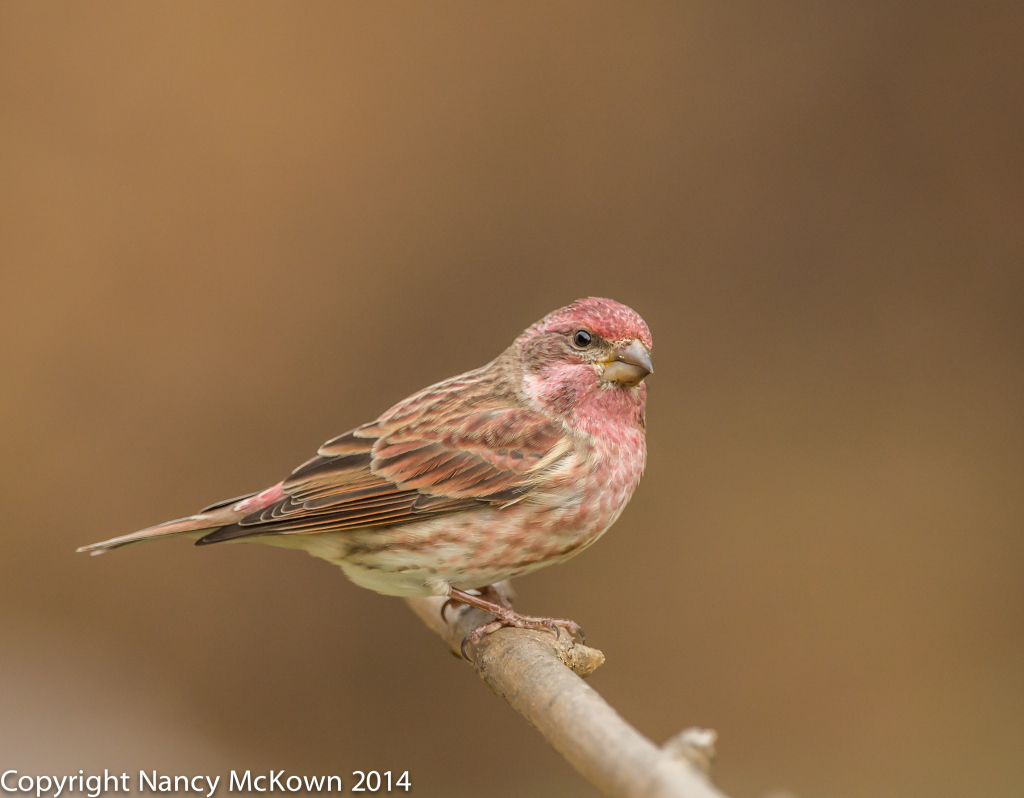
Photographing An Eastern Purple Finch

Purple Finches are irregular visitors in SW Michigan. We hear them singing high in the trees (gushing and emphatic) and love to watch them as they cluster in with the other finches at the feeders. When they do come, they stay only a few days.

In the Spring, the raspberry feathers draping the male Purple Finches glimmer in the sun. (This fresh breeding plumage makes it easier to tell Purple Finches apart from the more numerous and year-round House Finches). The females and immature birds sport crisp brown and white facial marks, not unlike the patterns on the female Rose Breasted Grosbeaks, who come to nest in our yard in early May.
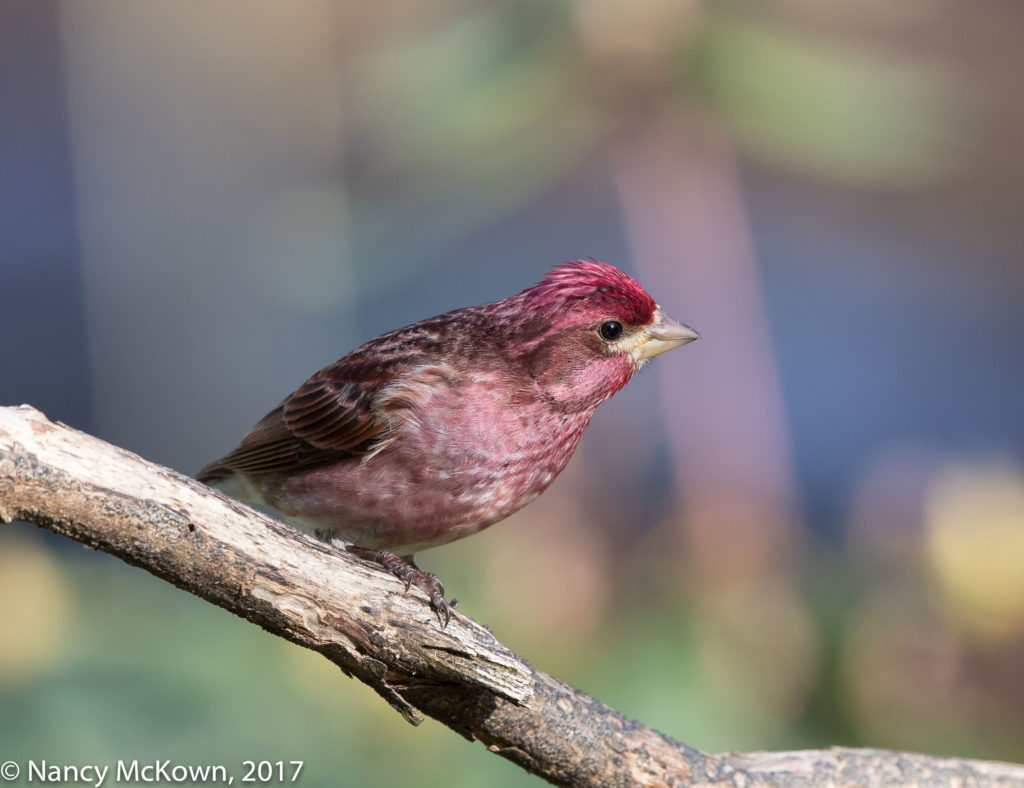
Male Purple Finch
Male Purple Finch
Colorful, Haphazard and Somewhat
Distracting Background
ISO1250; f/8; 1/400 Second

Focus Point Sensors

For unpredictable and highly active birds like Purple Finches, engaging the camera’s army of focus points (primary/secondary and cross type) to quickly acquire sharp focus is a good idea. (NOTE: This assumes that you’d rather use the camera’s multiple focus points rather than frantically chasing the bird around the frame with one central point.) The complex array of focus point sensors connects, communicates and exchanges data with other systems in the camera to weave together an almost immediate, very precise and user directed autofocus.
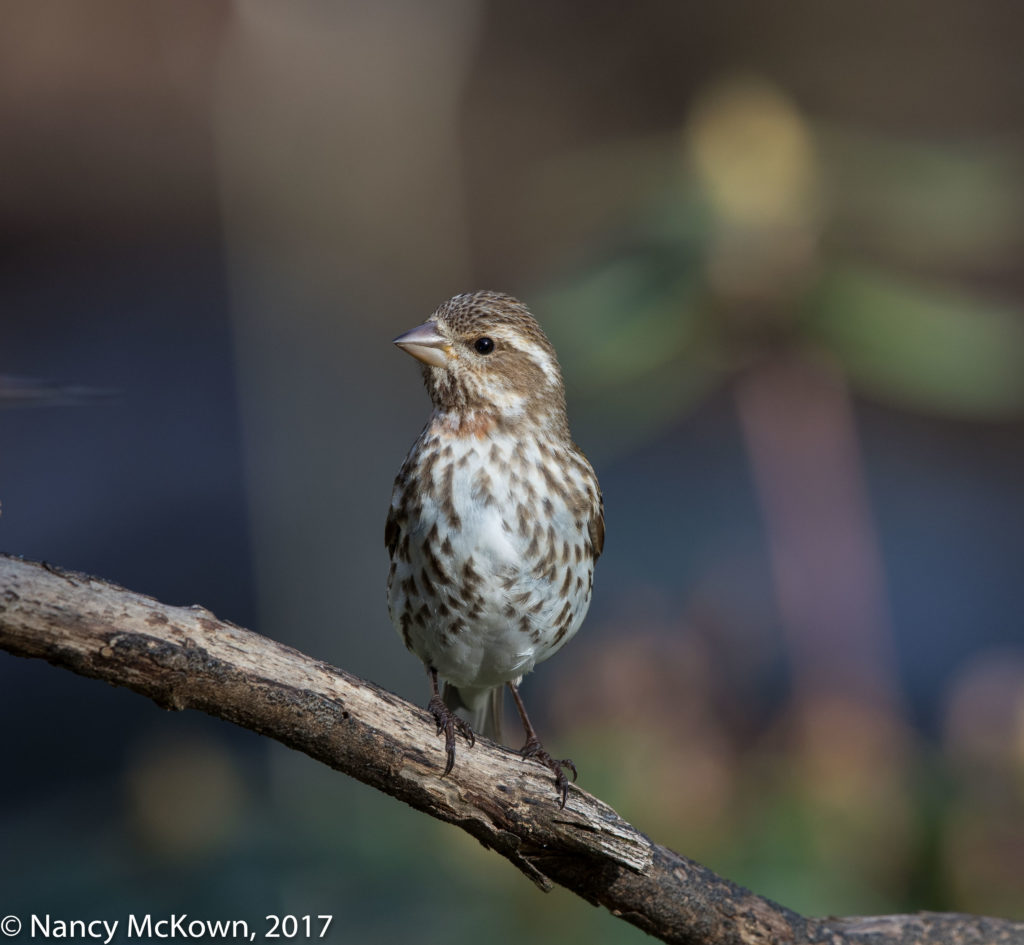
Photo of Purple Finch
Purple Finch, Female
or Immature Male.
ISO640; f/8; 1/400 Second

It’s Not Magic

This process seems magical to me…so it is not surprising when I make assumptions about the capabilities and connectivity of the focus system that are just wrong.

What I know about the auto focus process on modern dSLR cameras:

  • Canon’s Al Servo focus mode puts the lens on high alert for movement. Designed to work hand-in-hand with whatever focus points are activated, it efficiently adjusts and readjusts focus the second it senses motion.
  • Empowering a mass of auto focus points without specific instructions can cause problems. It is advisable to pair the engaged focus points with an intelligent tracking mode that predicts movement and direction (mathematically); and then configure the behaviors that tracking mode should follow.
  • Judiciously choosing a selection of auto focus points helps the camera decipher what it sees. It takes practice (under pressure) to merge focus points into groupings with the rocker switch .
  • Maximum aperture on a lens is integral to focus – the more light it lets in, the more responsive the focus sensors.
  • Restricting the light metering mode narrows focus point activity.
  • Engaging your camera’s extra sensitive cross-type auto focus point sensors, (within zones or not) allows autofocus to read across vertically and horizontally placed lines for more precise focusing.
  • This highly configurable mass of focus points automatically re-orient (vertically or horizontally) if the camera is rotated- assuming you’ve set this function in the menu.
  • Focus point tracking sucks up battery power.
  • Even with all this user preparation combined with the camera’s complex and predictive algorithms governing movement and focus, ultimately only one little soldier point will be called upon to make the focus call.
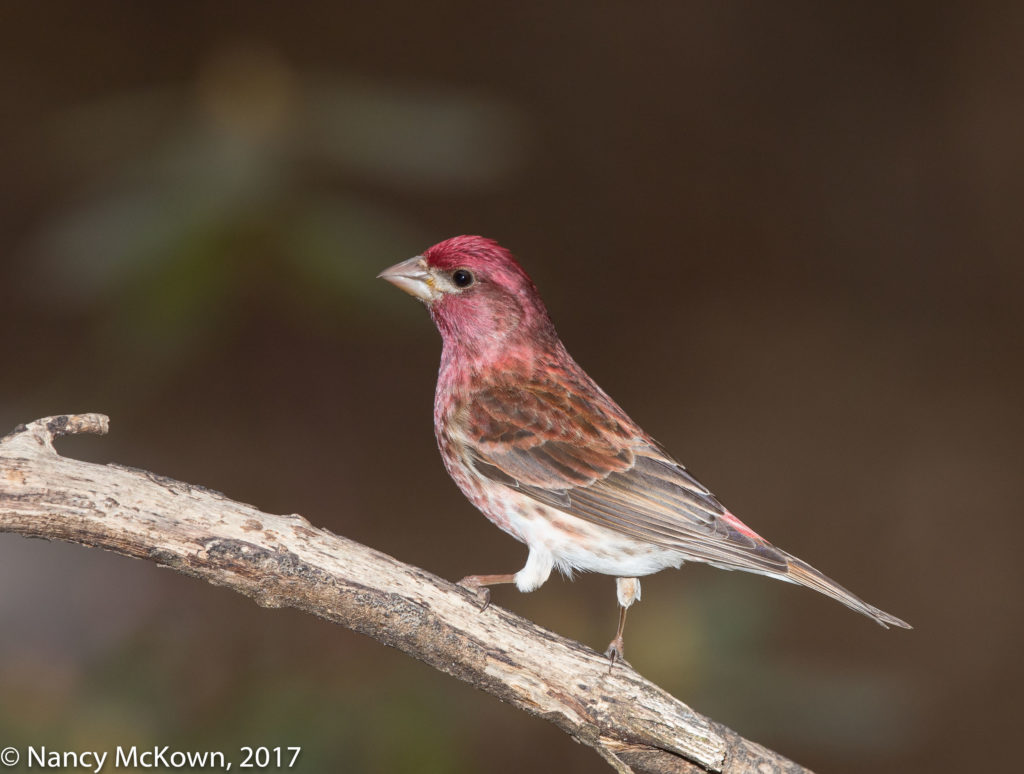
Male Purple Finch
Male Purple Finch
Early Evening Profile Shot.
Flash Engaged
ISO400; f/9; 1/250 Second

Do Autofocus Points Work With DOF?

I had assumed that depth of field calculations would be included in all the focus point sensor math.  After all, locking down accurate focus is the goal and the camera and lens are interacting in a very sophisticated way. But that assumption is not logical.

Through the viewfinder, the photographer sees an assortment of things at a variety of distances. No matter how many AF points light up, the camera will follow specifications set up in the menu and do the math on the distances to ultimately select one point upon which to lock focus -most likely the closest object.  This one chosen distance is the point upon which the lens must physically position itself to focus. The specific aperture that you (or the camera) select makes no difference to the auto focusing calculation process….even though it will most certainly affect your range of focus….ie, how much your subject (in front of and in back of the chosen focus point) will be in focus.

Question Your Assumptions

So why did I think that depth of field would be integral to the complicated algorithms made by the auto focus system? Just because connecting the two can lead to more completely focused subjects doesn’t mean the camera is going to automatically do that for you.

I think it’s important to question the attitudes, beliefs and assumptions that a photographer brings to the art and science of bird photography. It’s a clarifying exercise well worth the effort.

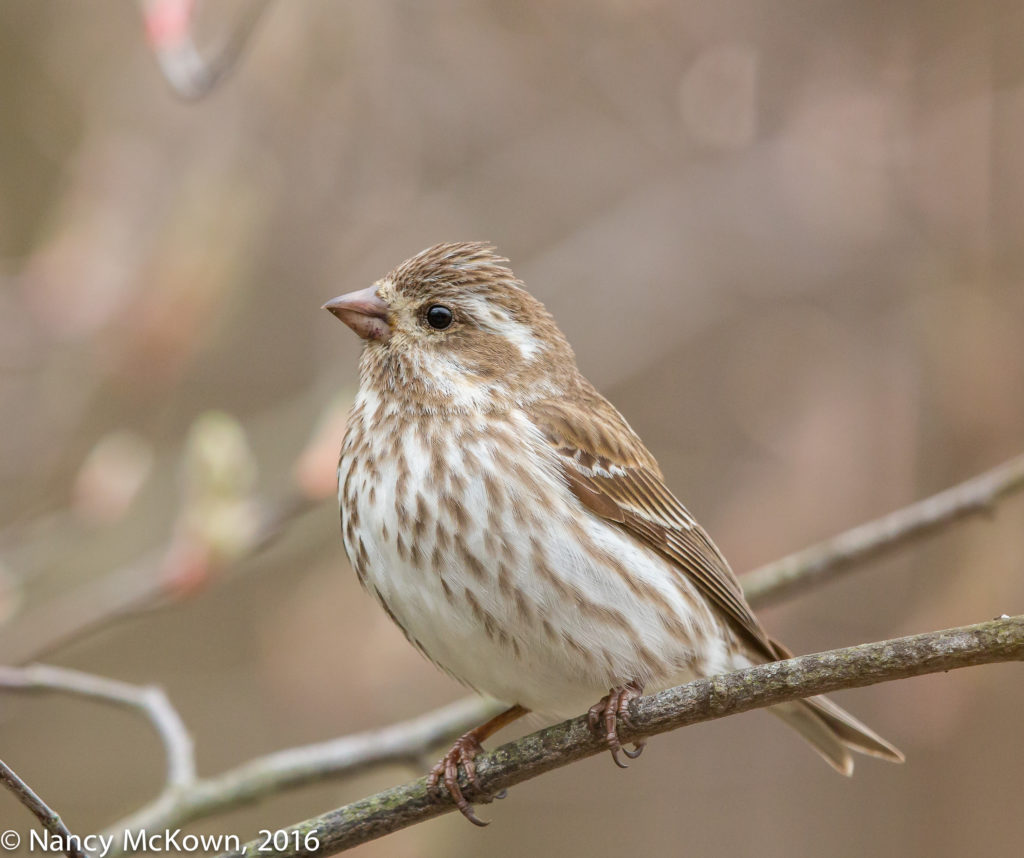
Photographing Purple Finches and Thoughts About the Groundwork of Nature Photography

Photographing Purple Finches

While I watch for birds to photograph around our home, I often see a fox, thin and young, with a shaggy tail and reddish coat blotchy with mud. I think of foxes as being wiley….clever, stealthy, patient and quick, but this one just comes ambling through the backyard in broad daylight, looking around for an easy opportunity (perhaps a sleeping squirrel?) as she passes through. She does manage to displace some of the birds – though they don’t look especially worried about her presence.

The Purple Finches photographed here were watchful of the fox, but did not scatter as she came trotting through the area where we keep our feeders. I did not expect any threatening encounters as the finches rarely hop down to forage at ground level, nor can that fox climb trees.

Photo of Male Purple Finch
Male Purple Finch
ISO1000; f/6.3; 1/640 Second

A Different Approach

Early one morning I watched this fox gingerly carry her small, helpless baby kit in her jaws. That started me thinking about workable camera/tripod layouts for a different sort of photo.

The camera setup (as it is situated in my library) offers an eye-level view of birds in the nearby understory trees. It is targeted to capture up-close shots of song birds; on this day, Purple Finches. The minimum lens focusing distance of a Canon f/4 L II 500mm lens = 12′ 14″. The feeders are closer to the library window than that, but the tree branches nearest to the feeders upon which birds alight are between 13 and 18 feet from the windows. Lots of interfering branches and leaves near this foliage and in the immediate background, but with the camera and long lens positioned so close, it’s not hard to isolate the subject.

As comfy and convenient as my indoor set up is, it would not work for my new imaginary scenario. I would have relocate outside at ground level within my heavily wooded yard and close to where the fox regularly visits.

Photo of Female Purple Finch
Female Purple Finch
ISO2000; f/7.1; 1/800 Second

Steps to Actualize Dreams

Fabulous bird photos don’t just land in front of your camera lens. Once you become inspired, well thought out plans and actions are required.

  • Setup must not interfere with my bird friendly environment.
  • Setup arrangement would have to have enough clearance for the lens to successfully track moving subjects, at least minimally.
  • Stealth is necessary. Must determine the best spot to set up blind, taking into consideration background, light, time of day, telephoto lens (see field of vision post), wind and weather.
  • Within the blind, I must adjust the tripod legs so they are as low to the ground as possible – 12″. (Tripod center columns removed.)
  • I will be in the blind for long periods, so I insert my campy chair. (The Crazy Creek Chair, light weight nylon, adjustable, light, padded, low to the ground, with back support.)
  • Watch attentively, wait and hope.

Preparation Does Not Always Lead to Opportunity

It took a couple days, but I successfully re-created this dream scenario into an actionable setup. I have watched and waited for many hours in that blind. So far, lots of resident song birds, squirrels, chipmunks, mice and deer roaming about, but no fox; at least none that I saw within the confines of my blind.

Perhaps this fox is more deft than I thought.

Resilience and Tenacity

Watching the birds interacting with their environment and visualizing possible scenarios to photograph constitute a lot of what nature photographers do. Then comes the strategizing and setting up to actualize those dreams. Often nothing comes of it, but there’s always a chance that you will be in the right place at the right time with the right equipment.. and you get the shot.

If something serendipitous happens while you’re out there, all the better.

Photographing House Finches Eating Spring Flowers and Noticing Lens Flare

Photographing House Finches

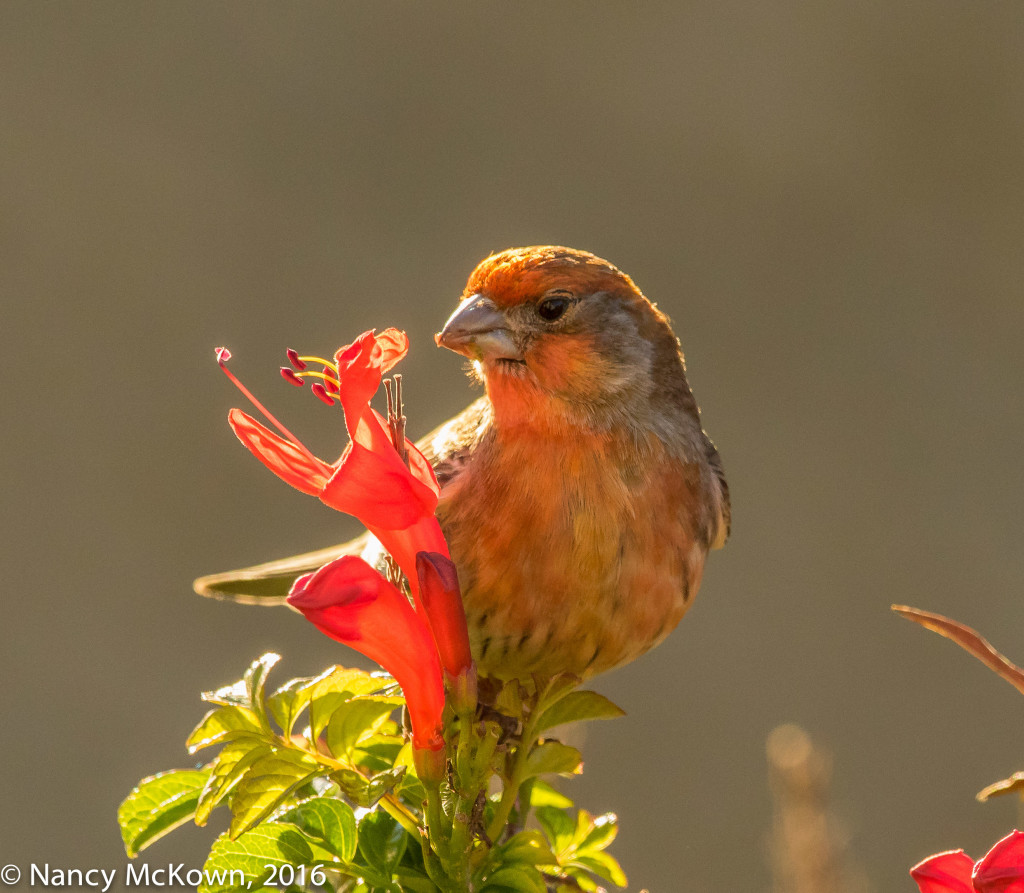
House Finches are primarily herbivores consuming nutritious foods wherever and whenever they can. It was rather easy to find and photograph House Finches in San Diego engaged in some serious pruning;  tearing the base off of flowers and consuming the soft buds, blossoms and nectar from blooming bushes.

Female House Finch
House Finch – Female – Eating A Flower.
Lens flare and Some Reflective Glare potmark the background.
ISO1000; f/6.3; 1/800 Second

Lens Flare Everywhere

Take a good look at the photos of the House Finches above and below. In the first image, the background foliage is potmarked with small polygon shaped, bright white ghost images and some glare. At first I thought that those white spots were a consequence of how the light played in the shadows on the leafy background. Looking closer, it is easy to see that these bright white points of light are indeed lens flare combined with leaf glare.

The second photo below is a less cluttered image because an olive colored wall takes up the majority of the background, but you can still see tiny lens flare orbs in the leafy foliage of the plant.

Photo of Male House Finch
House Finch, Male, Eating Flower Buds.
Lens Flare in barely evident in the
in the Leafy Foliage below the Finch.
ISO1000; f/6.3; 1/800 Second

Sun Flare Sneaking Into the Lens

Lens flare is no more than stray light (usually unintentional and undesirable) sneaking in and bouncing around the inside of a camera lens and leaving on your images an assortment of light specters shaped like the diaphragm of the lens. Lens Flare is almost always a consequence of backlighting coming from within or outside the frame.

These photos were taken with my 300mm L 2.8 IS II lens pointed at the birds, but also toward the sunlight. Despite the multi-coated technology on the lens, the use of an attached lens hood, and my hand blocking extraneous light from coming into the viewfinder cup, the sun’s position and the light’s angle must have been just right to enter the lens (and ultimately reach the sensor) and blast the images with little orbs.

You can see in the second photo that as I repositioned myself and altered the angle of the lens, the intensity of the lens flare became much more subdued. The backlighting at this angle also helped create a soft glow around the bird’s head. 

AutoFocus Challenge

Chaotic backlighting can trick the auto focus system, causing the lens to act erratically and incorrectly lock focus. For both of these photos, the backlighting causing the lens flare did not impact auto focus- in part because spot autofocus was set and the camera was able to securely and correctly lock down focus on the bird’s body.

Not Necessarily Operator Error

Flare and glare happen all the time and often goes unnoticed. In this particular shoot, lens flare was widespread within all of my images.

In bird photography, I find lens flare and glare to be unattractive and distracting- an operator error which can be remedied. But it’s a personal preference. Some photographers find it desirable and creatively insert lens flare into their images….either in the field or afterwards in post-processing.

See this post for photos of Eastern Bluebirds subsisting on plant materials during the Michigan winter.

Photographing House Finches and Thoughts About ETTR

Early Morning Finch Photography

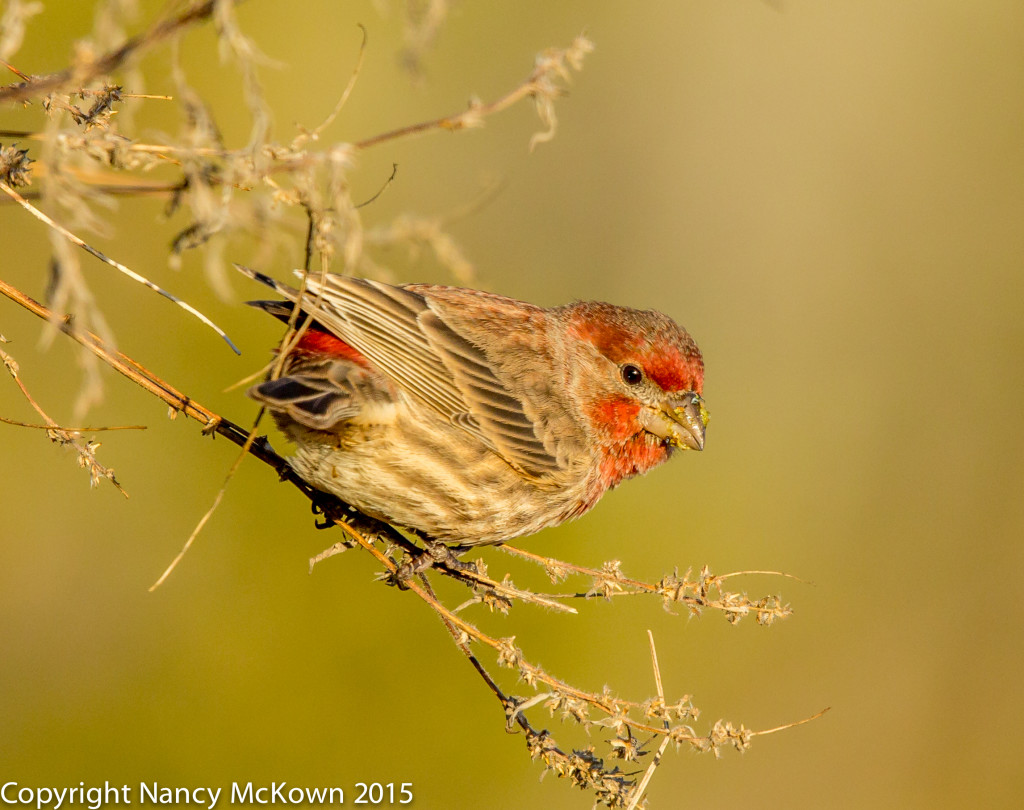
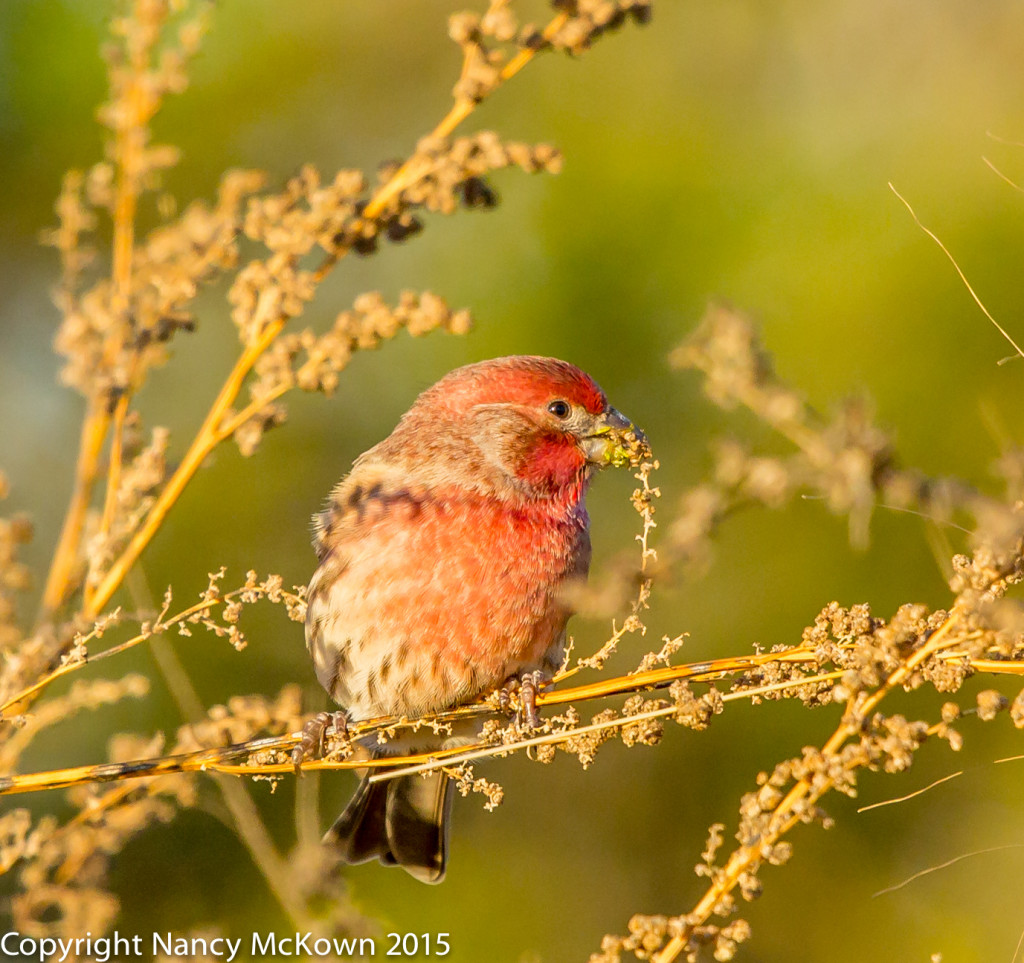
It’s December, and since most of the migrating birds are gone, I tend to search for suitable locations that offer the more common birds cavorting in woods that have minimal (and distracting) scrub vegetation and luminous backgrounds. I was lucky enough to find these House Finches feeding in such a place.

Photo of House Finch
Male House Finch
Gorging Himself on Seeds.
ISO800; f/9; 1/1000 Second

The photos of the House Finches included in this post were taken early one bright morning in the Allegan forest. I chose relatively tight apertures and high shutter speeds over low ISOs because the birds were highly active and I was using a 500mm lens known for its very shallow depth of field. I hoped I could get the ISO lower than 400, but was not able to. Overall, I was pleased with the quality of the images.

Exposing To The Right

I’ve been reading a lot about the practice of Exposing To The Right (ETTR).

Wikipedia defines ETTR as: “The technique of increasing the exposure of an image in order to collect the maximum amount of light and thus get the optimum performance out of the digital image sensor.”

You do this by playing with the the shutter and aperture settings so that your histogram shows the image to be overexposed or “to the right”. More light on the camera’s sensor results in less noise in the shadows, richer colors, and greater dynamic range after you dial back the exposure in post processing. This assumes that you are shooting in RAW and don’t overexpose to the point where details are unrecoverable in post processing. It also assumes you are shooting at the camera’s base ISO.

Photo of Male House Finch
Male House Finch
ISO1000; f/8; 1/1000 Second

Going Lower than Base ISO

Base ISO (ISO100) is the recommended optimal performance ISO on Canon cameras -but it’s not the lowest ISO available to photographers. The practice of ETTR takes ISO lower than base in an effort to extract the maximum amount of detail data in the image file. Setting the ISO higher than the camera’s base ISO would be useless because a higher ISO setting would bring in more noise and cancel out the benefits of ETTR. 

Is ETTR Worth the Hassle?

Essential question: Will my bird photography be noticeably better if I set the ISO to base 100, and then lower that base ISO by over-exposing?

It depends. Image quality improvements (and flaws) are mostly invisible unless you VIEW LARGE and/or PRINT LARGE. Ultimately, the practice of exposing to the right is only for those times when you plan to significantly enlarge your images and need that edge in sharpness and clarity.

Real World Bird Photography

Photography is about making choices. I generally choose relatively high shutter speeds and a tight apertures over low ISO settings. In my world, the opportunity to set ISO to base comes very rarely.

For more information on using histograms, please read this post.

Photo of American Gold Finch

Photographing the American Gold Finch

Weary of Winter

As I watch the forbidding gelatinous swells push up to the shores of Lake Michigan, I wait with my camera for birds to brighten my day. Nothing. No doubt the few that remain on the beach are freezing and huddled in the lee of some fox free dune.

My heavy coat and equipment bundles weigh me down as I climb the steep flight of stairs and head for home. Winter’s dreariness excites within me yearnings for the new landscape that comes with Spring. Come back my feathered friends, and bring the light!

Photo of American Gold Finch
American Gold Finch caught by the photographer
displaying a rather jaunty pose.
ISO 1600; f/6.3; 1/1250 Second.

Photographing the American Gold Finch

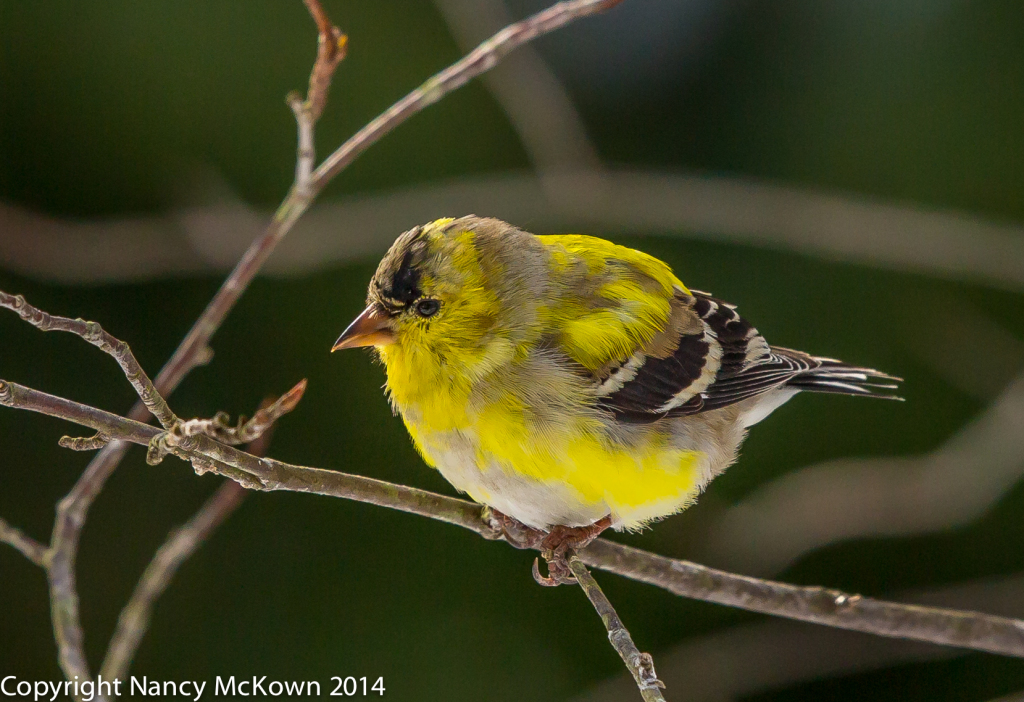
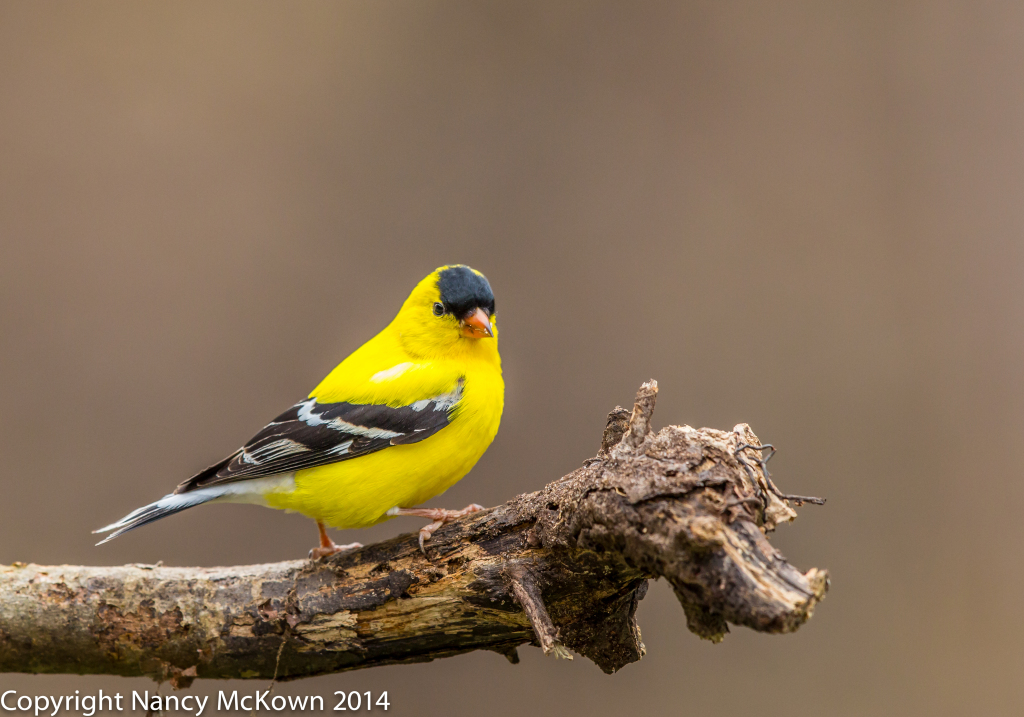
American Gold Finches in drab winter plumage have visited our feeders in January, but so far, not this winter. These birds are unpredictably nomadic and generally forage in noisy flocks. Come Spring, these small sociable songbirds will be plentiful around the feeder, especially if fresh thistle seed is offered. The males are a perky lemon yellow with a pink/orange beak, black cap, white rump, orange legs and dark eyes. They flash their vibrant colors as they float to and from the feeder in wavelike flight.

Here are a few bright photos from last Spring that help me remember that winter will pass and a new beginning is not far off.

My camera was set up on the porch one early April morning and aimed at a thick, broken branch that I positioned and secured on top of the platform feeder. Michigan Aprils are usually very cold, but in the excitement of photographing these lovelies, I don’t remember noticing.

0U6A0328
Gold Finch, waiting for his turn at the feeder
and rather patchy from molting.
0U6A2378
American Gold Finch Staring Back at the Photographer
ISO 1600;; f/6.3; 1/1250 Second

Spring Colors Bring Photo Opportunities

Many different shades can be seen on the male American Gold Finch as the year progresses. To view slideshow (produced by Sibley Guides) showing their plumage cycle, press this link.

Press this link if you are interested in reading more about Photography Outdoor Studio Setups.


Photo of Male Purple Finch

Purple Finch or House Finch? ID Photographs and Clues

Purple Finches and House Finches Visit the Feeder

The House Finch and Purple Finch species are very similar. It’s hard to observe the subtle differences between them without good photos. Even with good photos, the more I compare these look-a-likes, the more I just don’t know. The ID clues seemed elusive, depending on the season, depending on the location, the subspecies, the individual bird…. depending on the considerable color variation and the blurriness of their markings.

It was time to get serious about telling them apart.

First thing I had to do was to get good photographs of the male and female Purple Finches. I had a few photos of the male and female House Finches (positively identified by WhatBird.com). It wasn’t until late November that we had some visitors to our feeders that looked a little different. I was able to get a couple photos of them and, to my delight, Whatbird.com positively identified them as Purple Finches.

Purple Finches

Photo of Female Purple Finch
Female Purple Finch Calling Out to the Male —ISO 800; f/8; 1/1250 Second

Purple Finch ID Clues

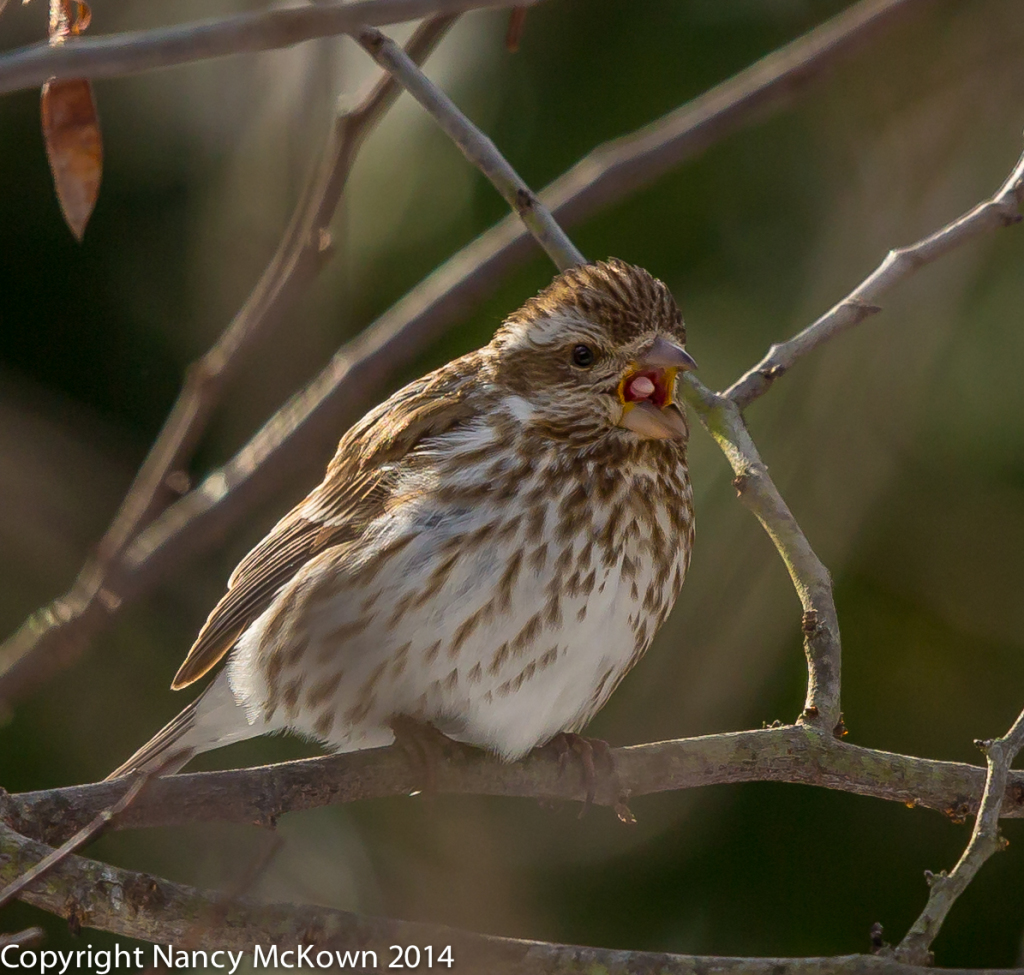
A female (photo above) Purple Finch is a little easier to tell apart from a female House Finch. The face is very distinct with brown and white markings. Short, dark brown streaks decorate the female’s white breast.

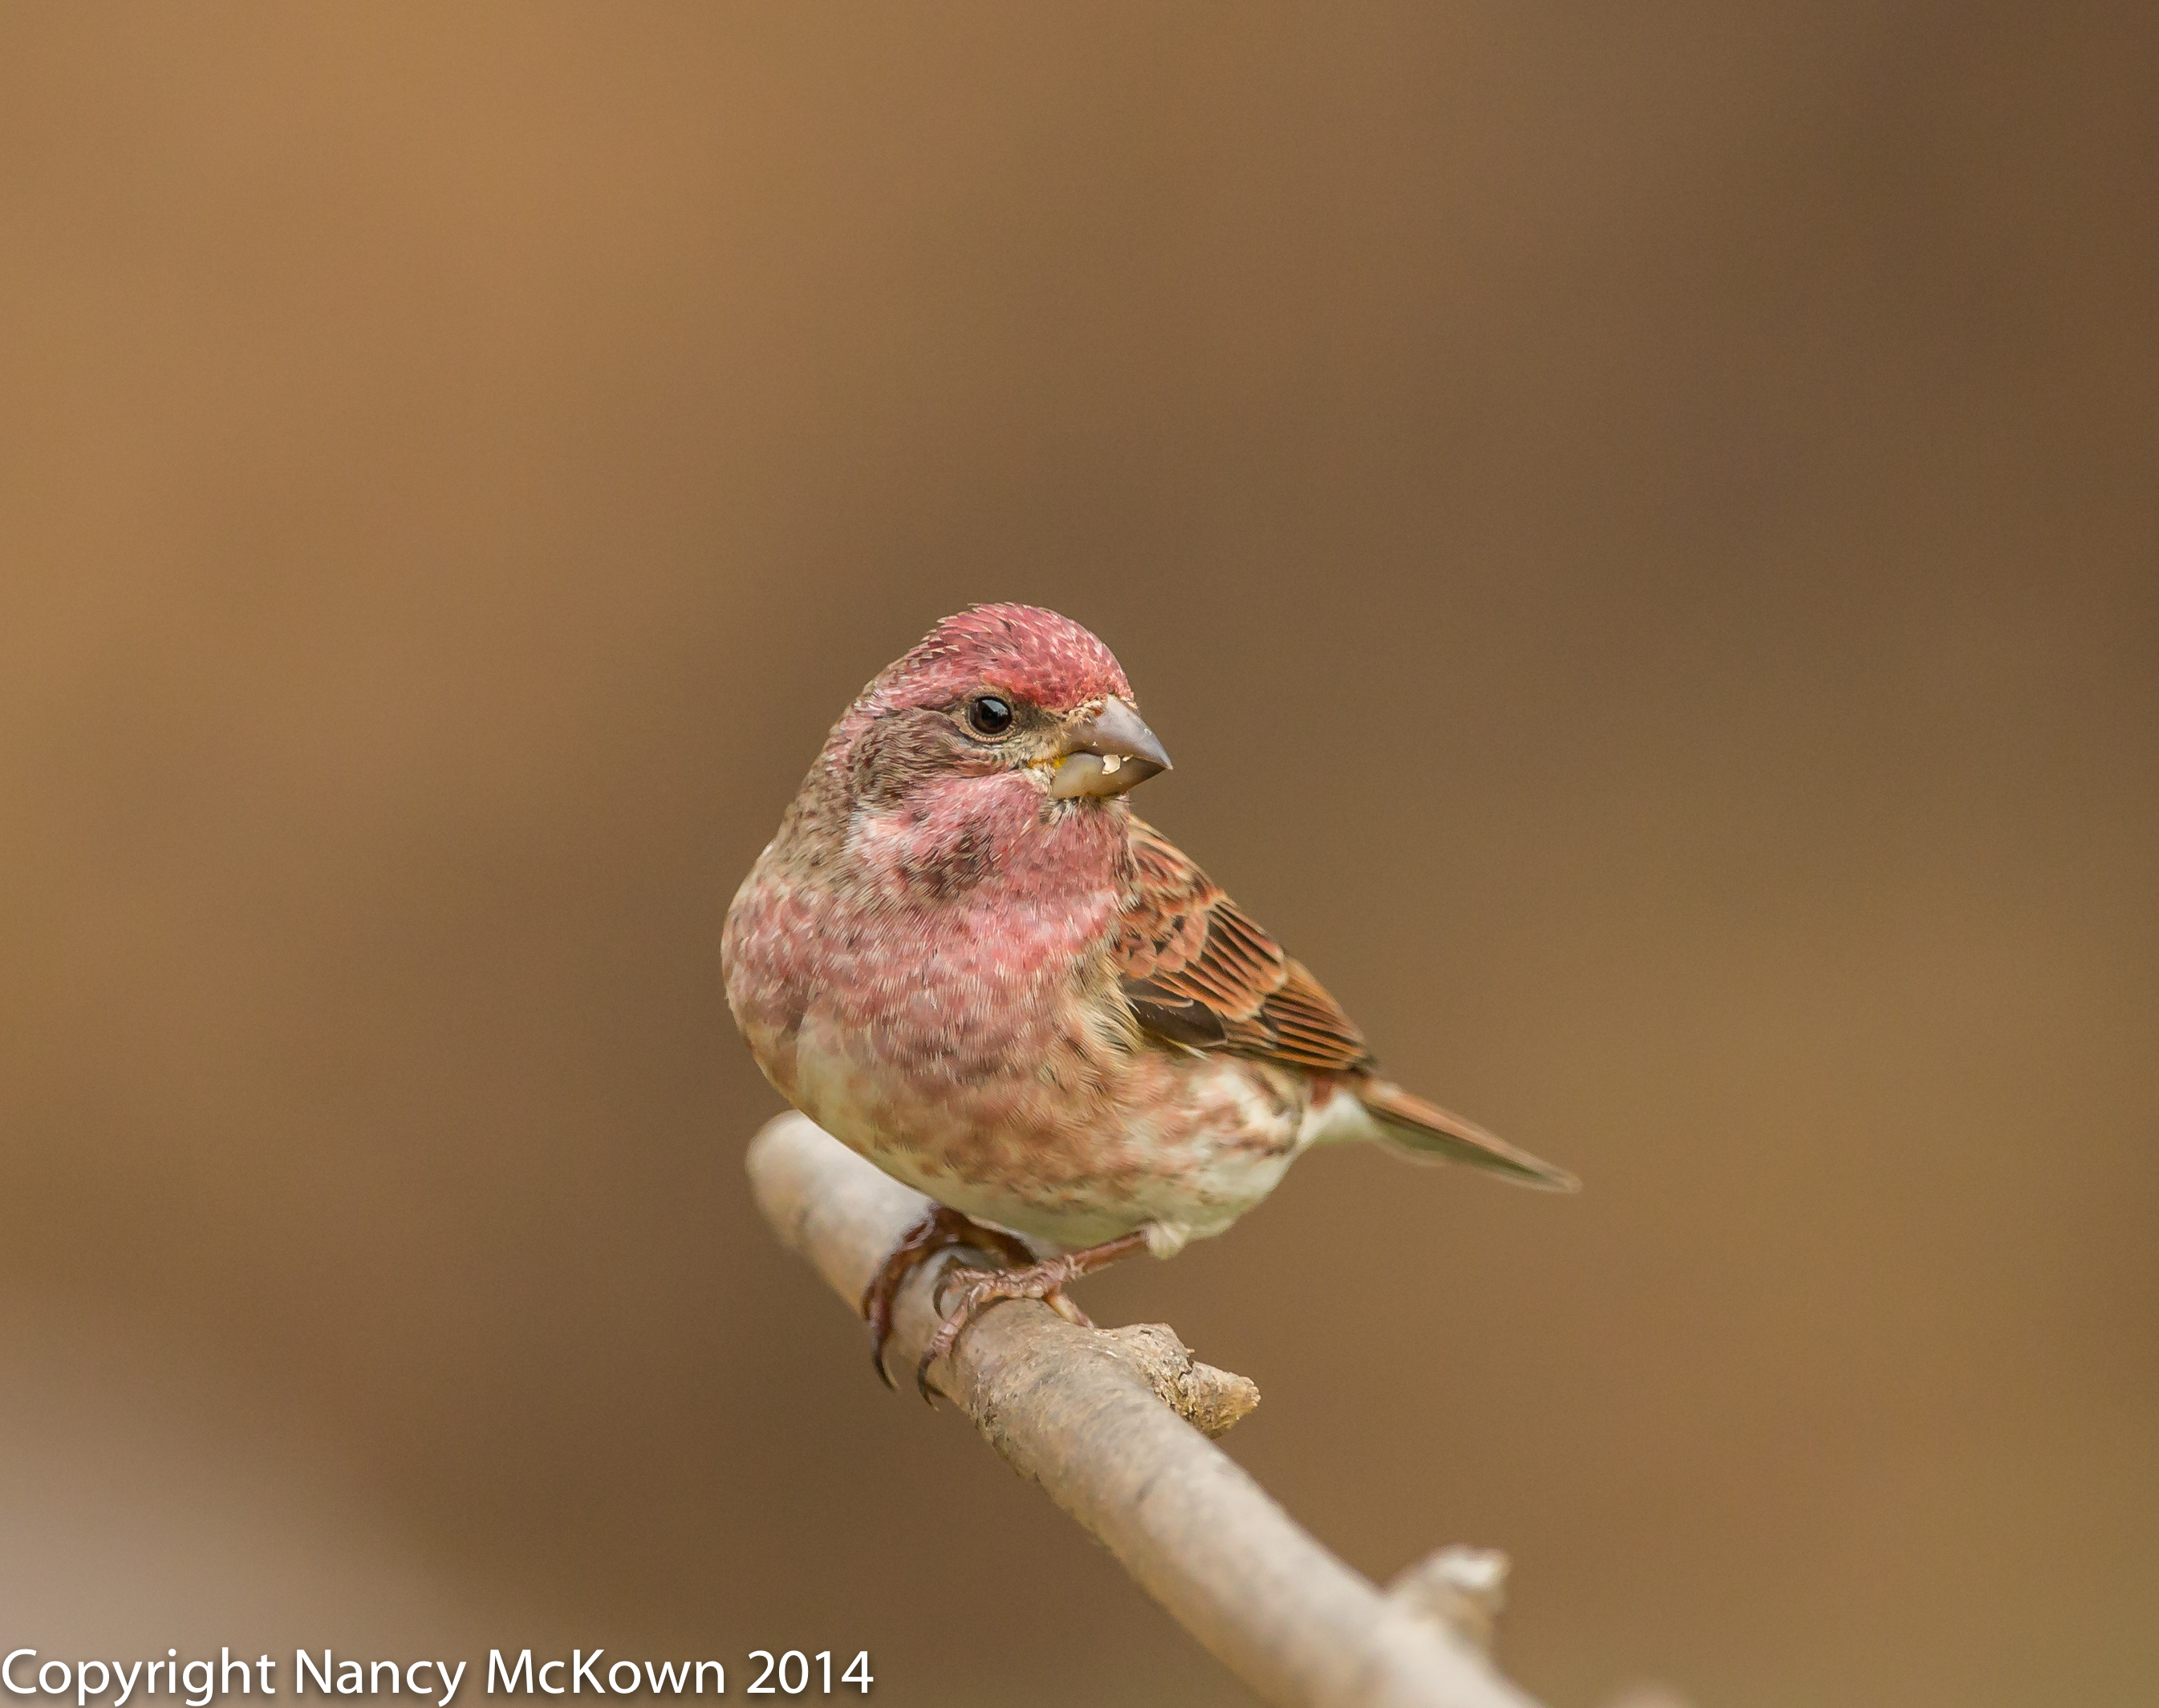
A male Purple Finch (photo below) is clearly more raspberry colored than a male House Finch. Raspberry splash is evident on the nape, hind neck, back, chest and flanks. In addition, the males sport a subtle rose over brown color on the wings, and a not so subtle raspberry rump.

Additional Clues

  • Male and Female Purple Finches have bills that are shaped like a cone, with a straight upper mandible.
  • Male and female Purple Finches are larger and chunkier than House Finches.
  • The folded wings of the male and female Purple Finches are longer than House Finches and include a strong notch in the tail feathers.
Photo of Male Purple Finch
Male Purple Finch ISO 1600; f/5; 1/500 Second

House Finches

Photo of Male House Finch
Male House Finch
ISO 2000; f/8; 1/1250 Second

House Finch ID Clues

  • The Male House Finch (photo above) has a red or orange forehead, chin, upper throat & breast. The rump can be red or orange. The back and wings are brown. 
  • Females House Finches (photo below) have a plain gray/brown overall head. She has no strong facial markings. 
  • Male and female House Finches have bills with an upper mandible that curved downward  (curved culmen).  The bill appears more round than cone shaped.
  • Male and female House Finches have lots of long (front to back) blurry brown streaking on their chests and flanks.
  • Male and female House Finches are smaller and thinner than Purple Finches.
  • The folded wings of House Finches are shorter than Purple Finches, and their tails are longer with a slight notch.

0U6A5560

My Biggest Clue

I still think the differences are slight and subtle between these two closely related species. My biggest clue is that Purple Finches are irregular visitors….coming from the northern woodlands during migration. Since House Finches are much more common and widespread in the U.S., do not migrate, and are more likely to reside in Southwest MI year round, the odds are very good that I’m mostly observing House Finches.

Both species are beautiful, and bring much needed brightness and joy to an otherwise dreary southwest Michigan November.