Photographing The Dark Eyed Junco and Thoughts About Resizing Images

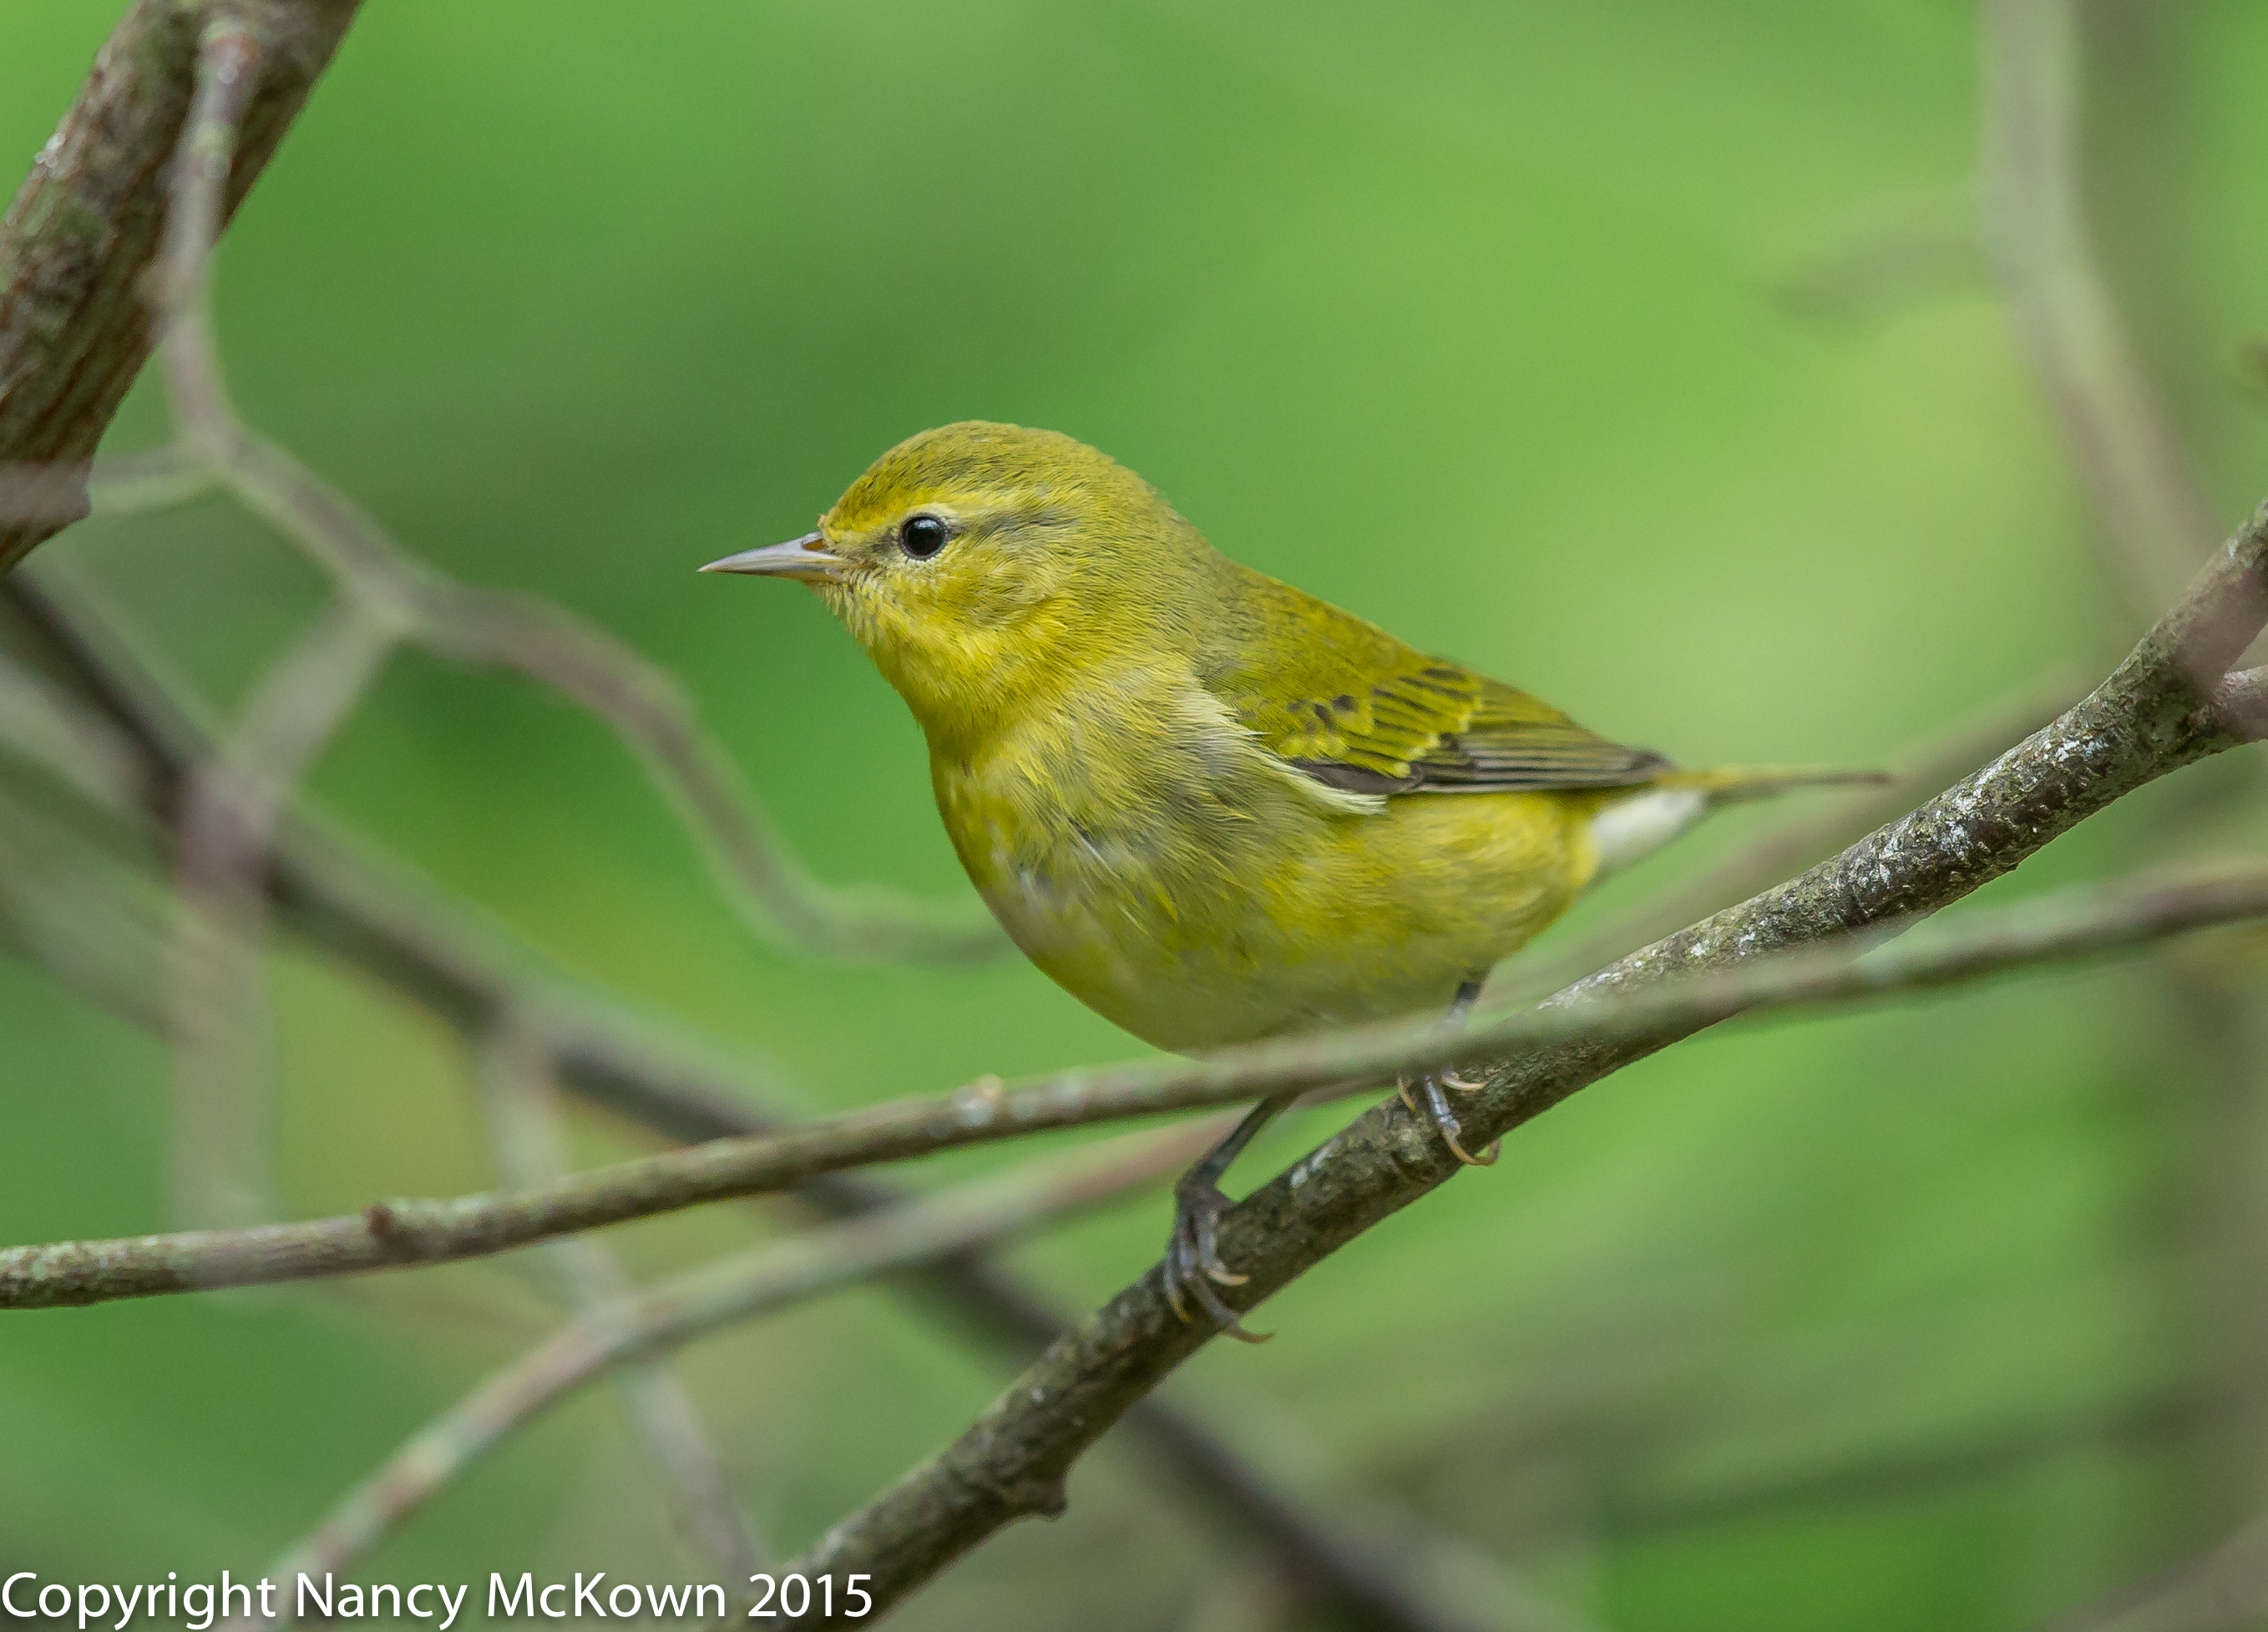
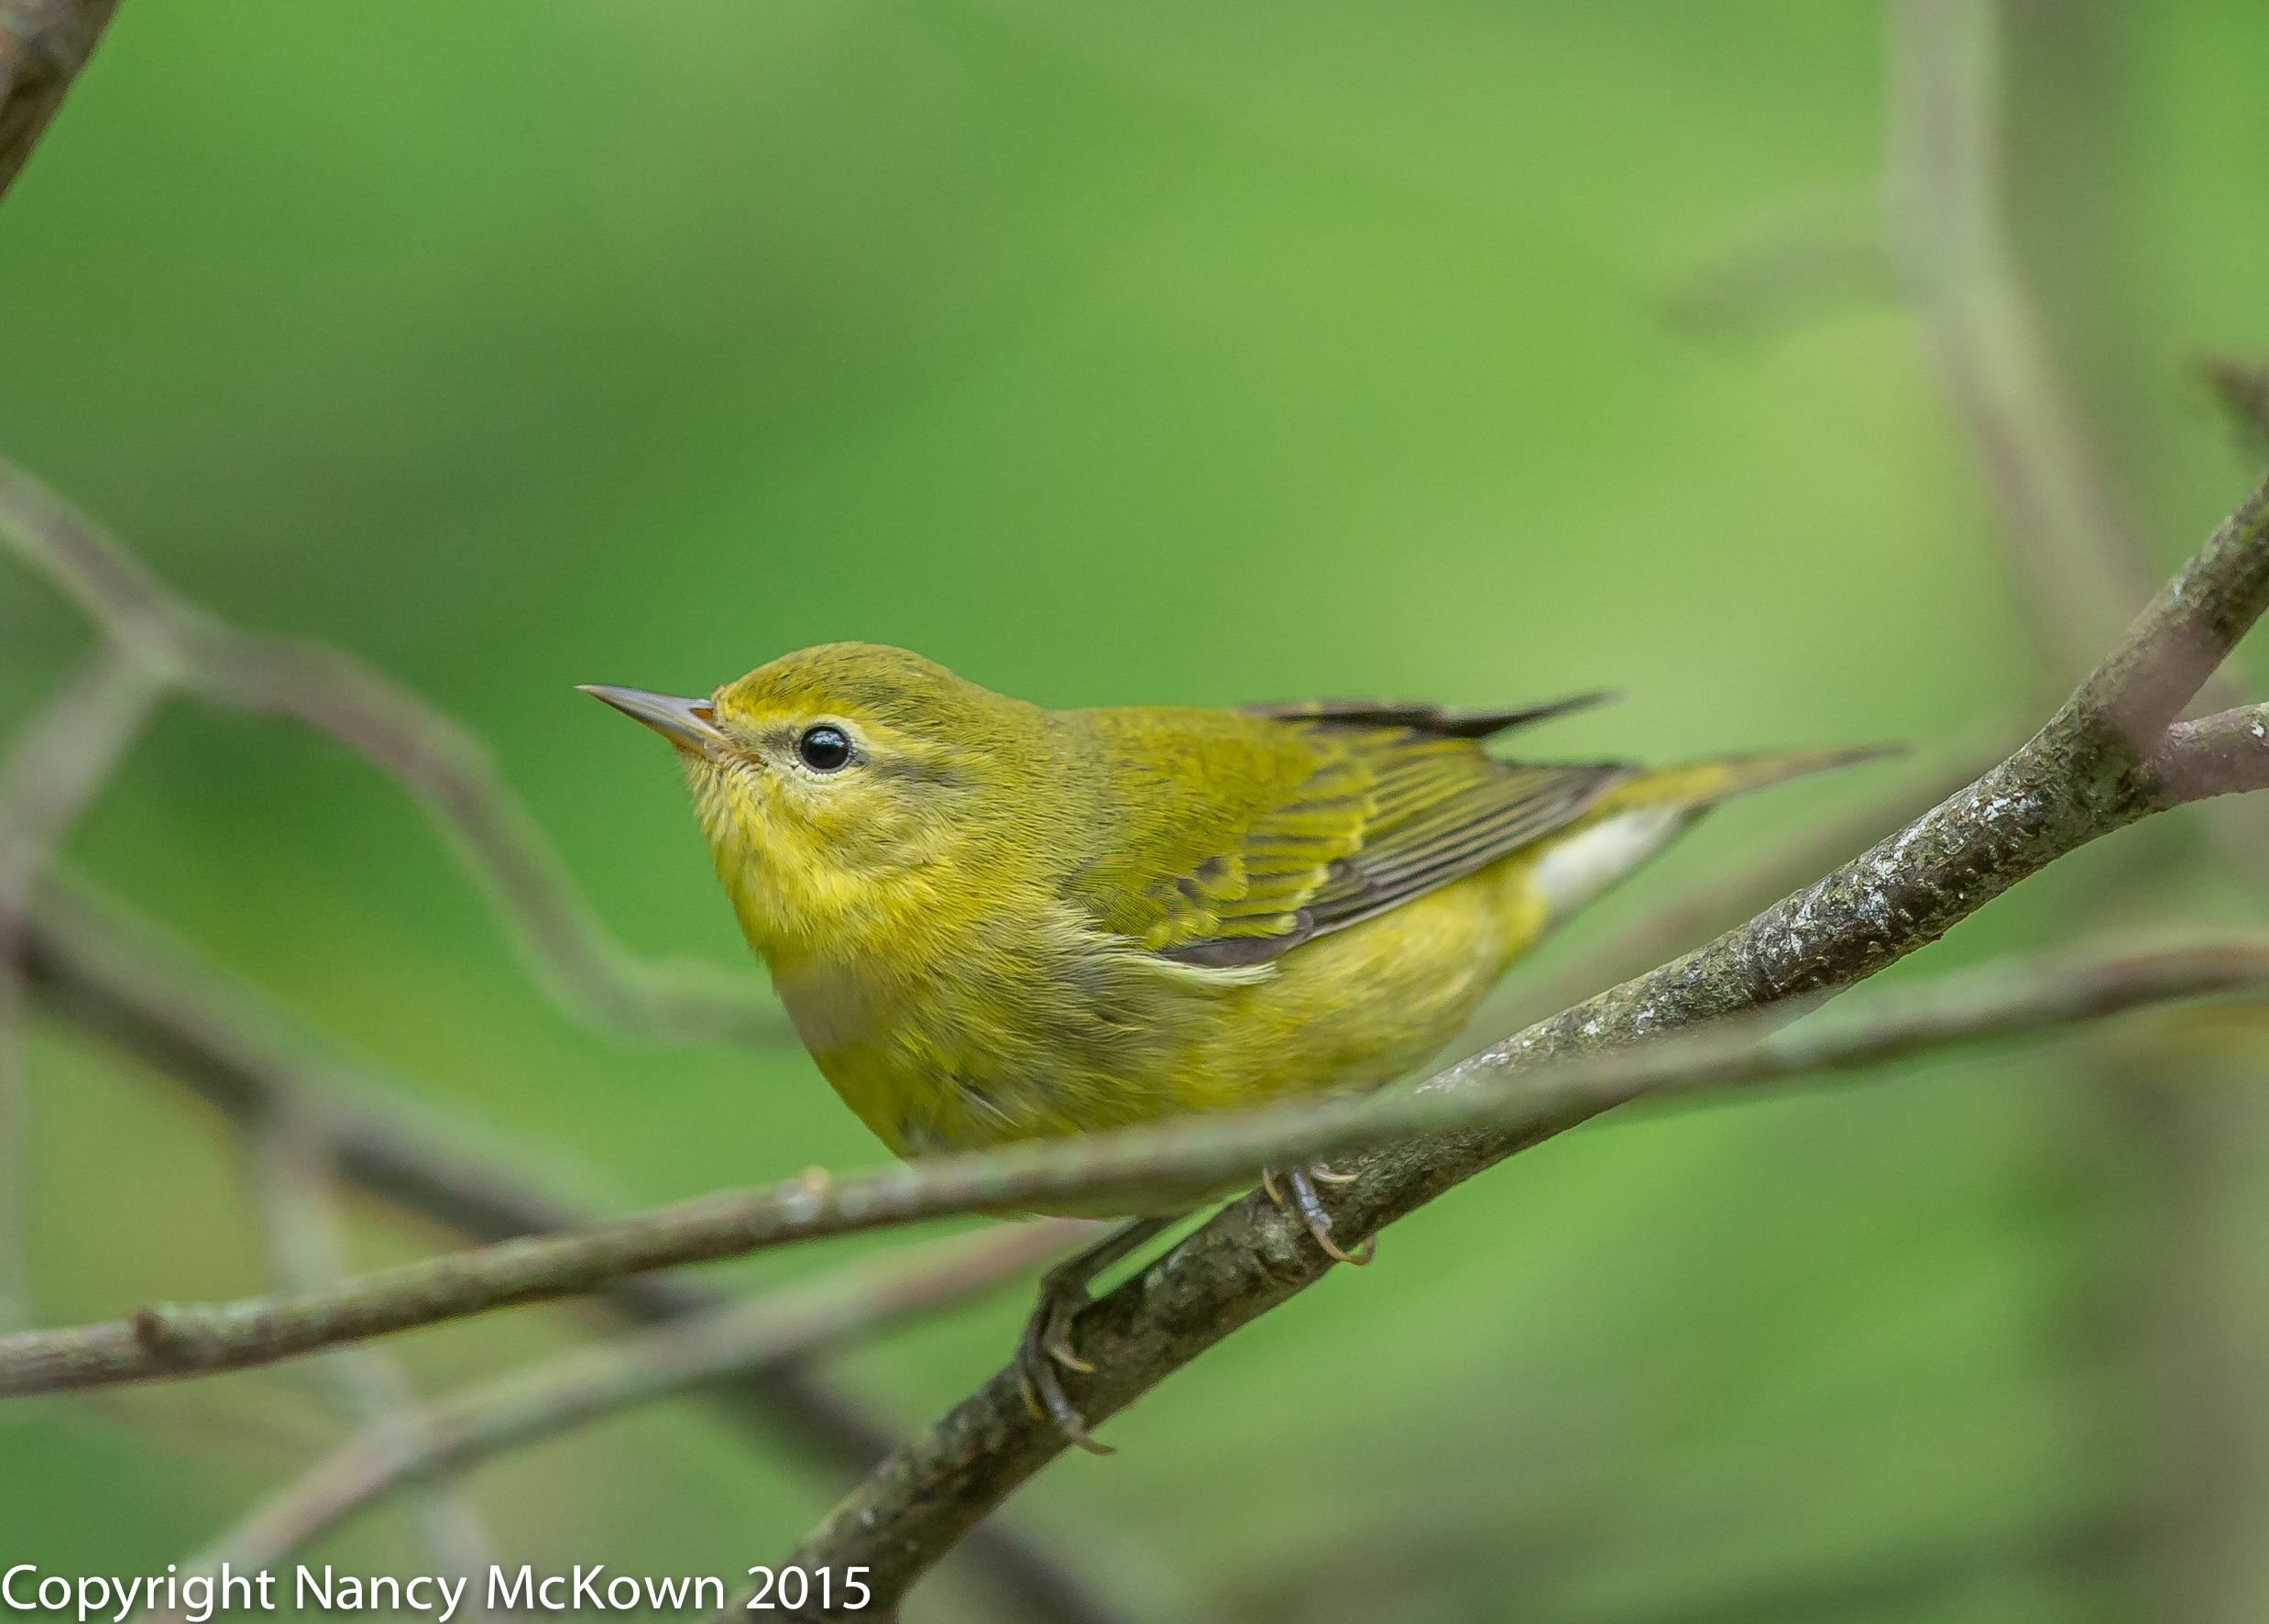
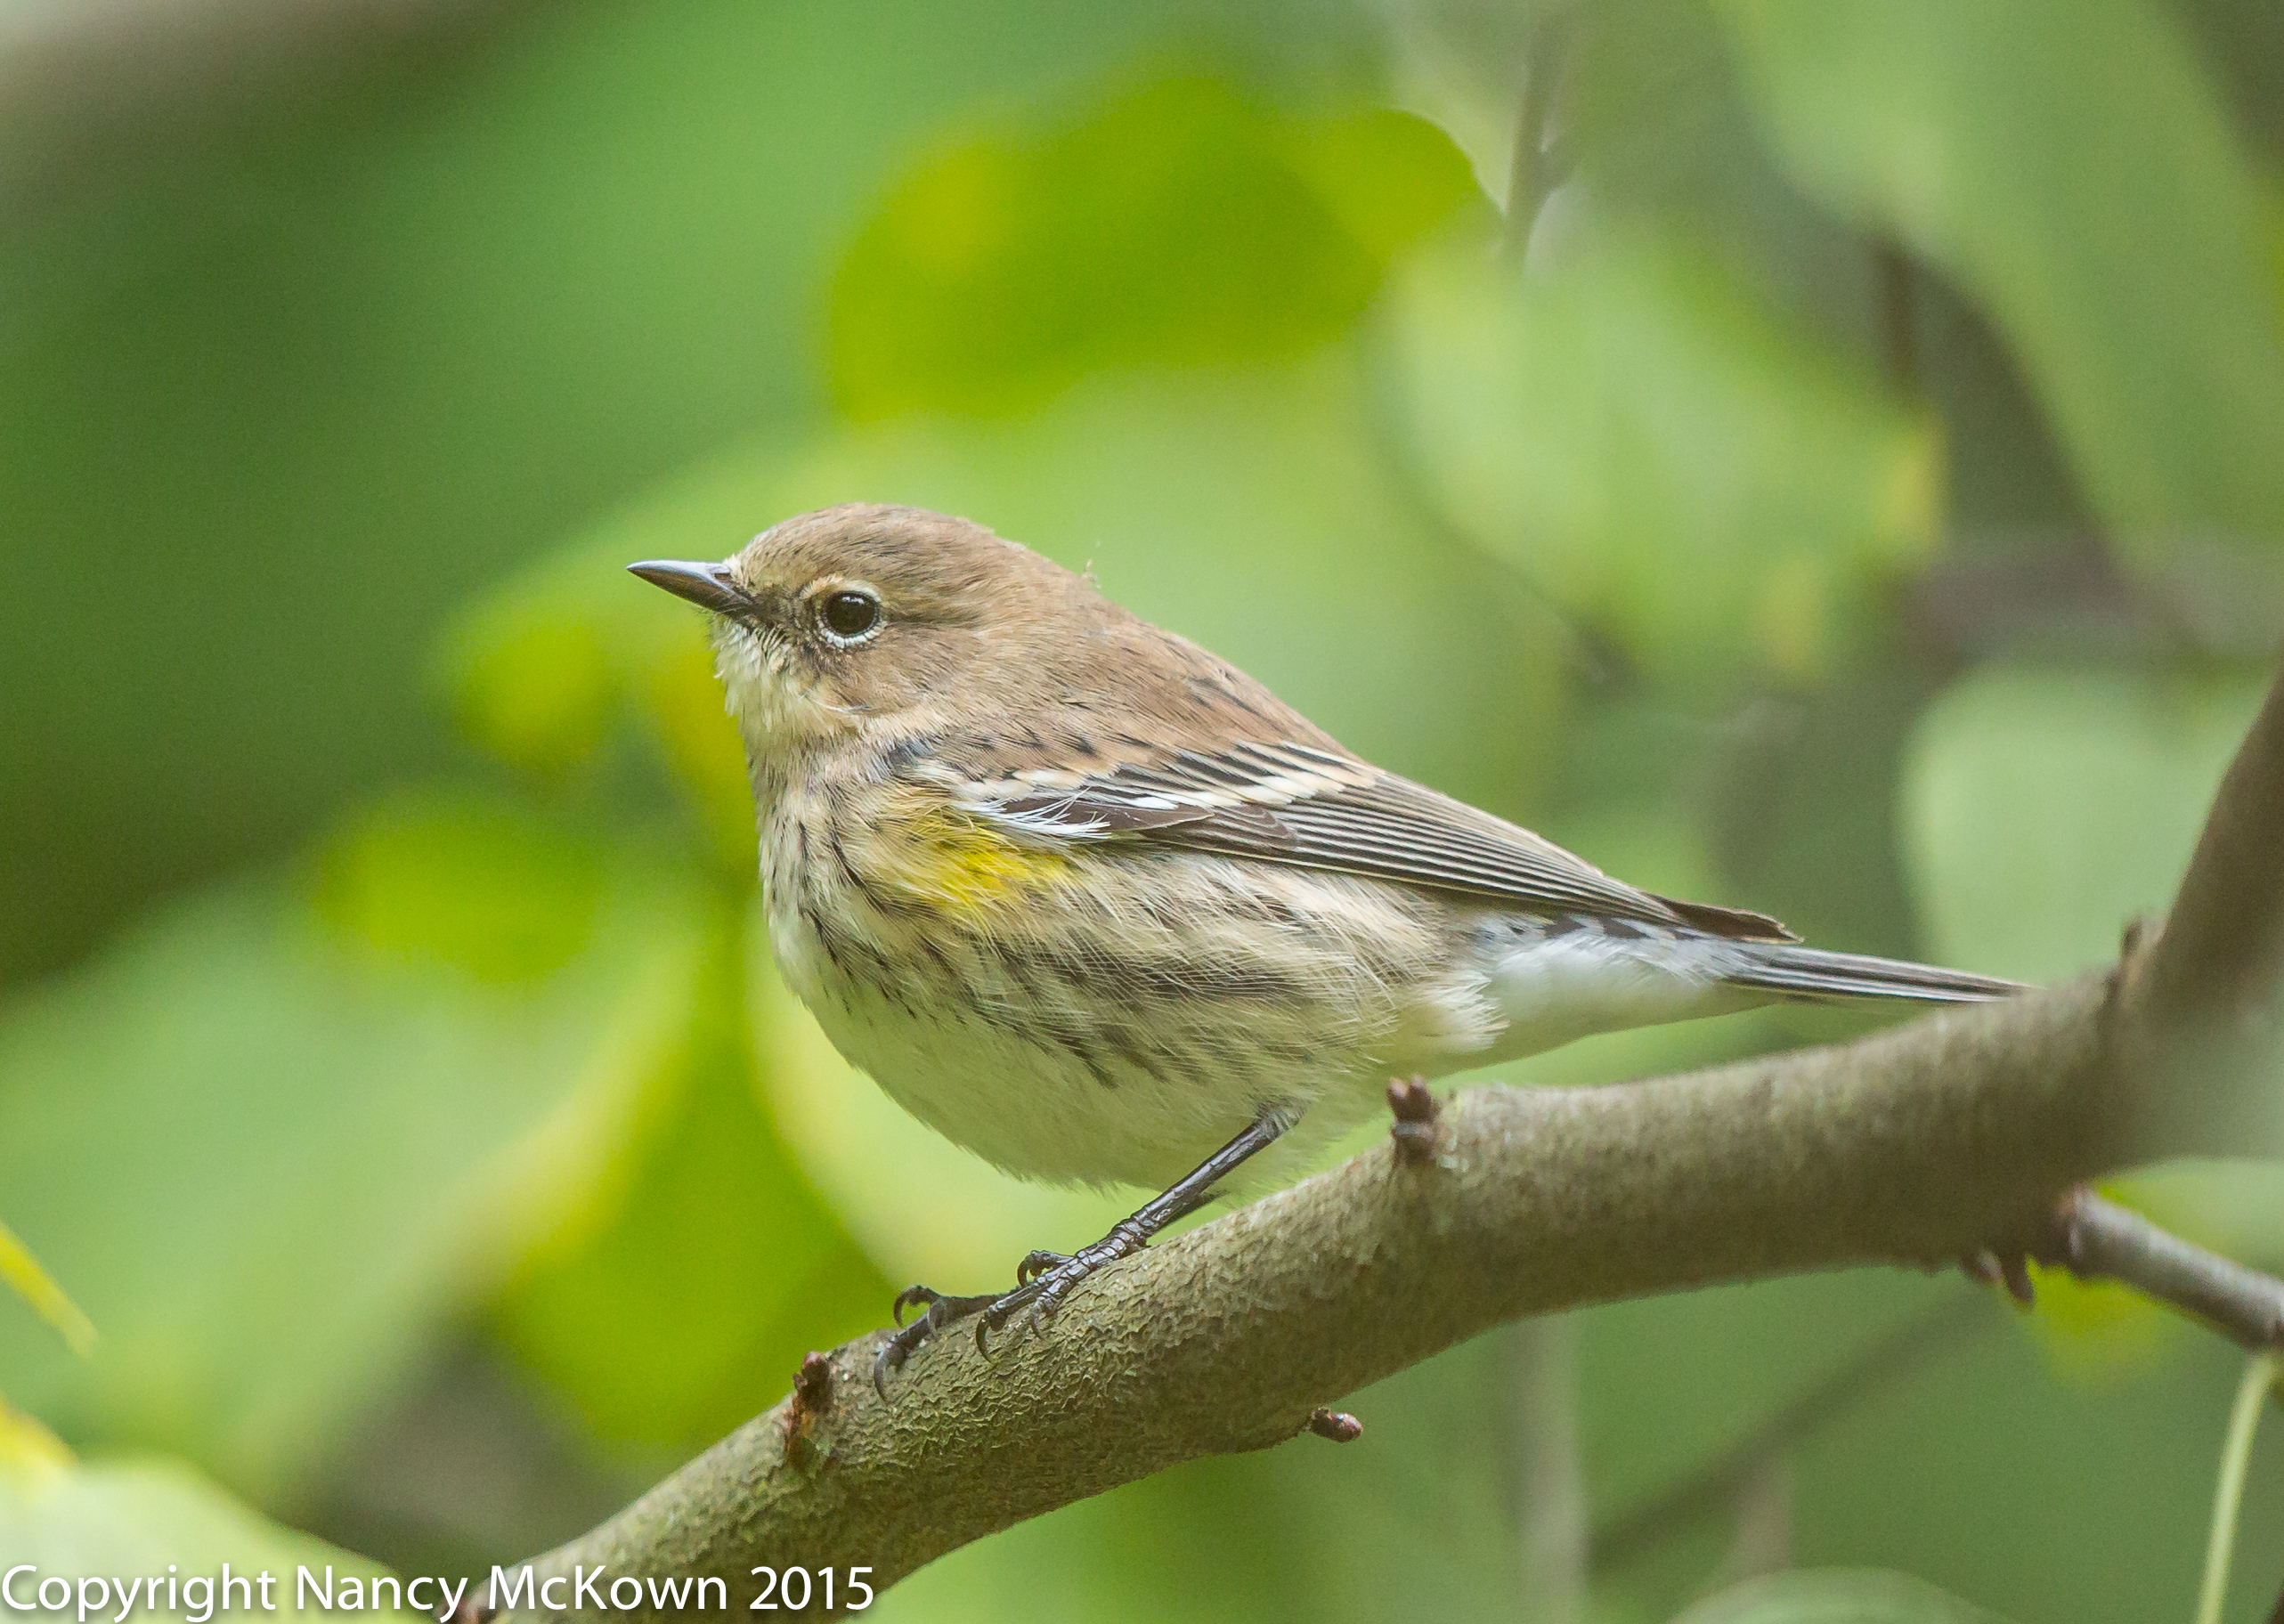
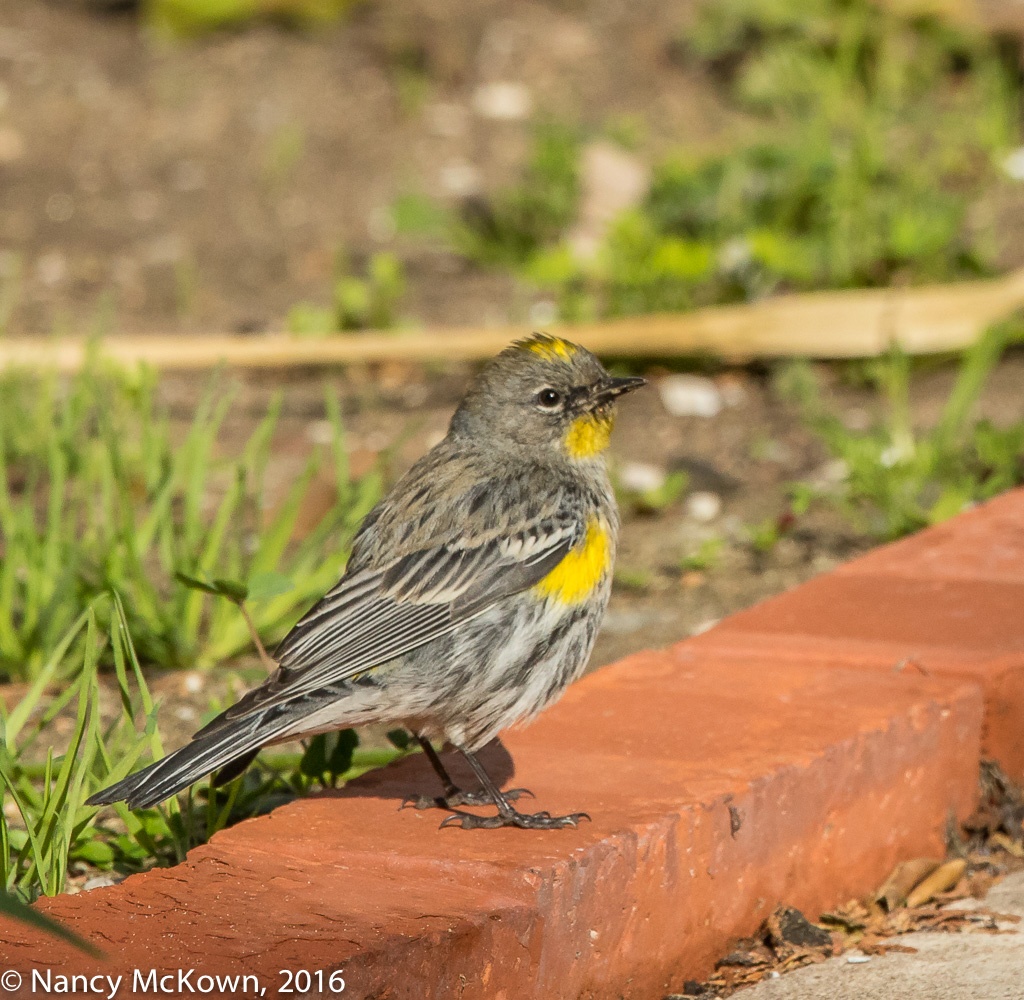
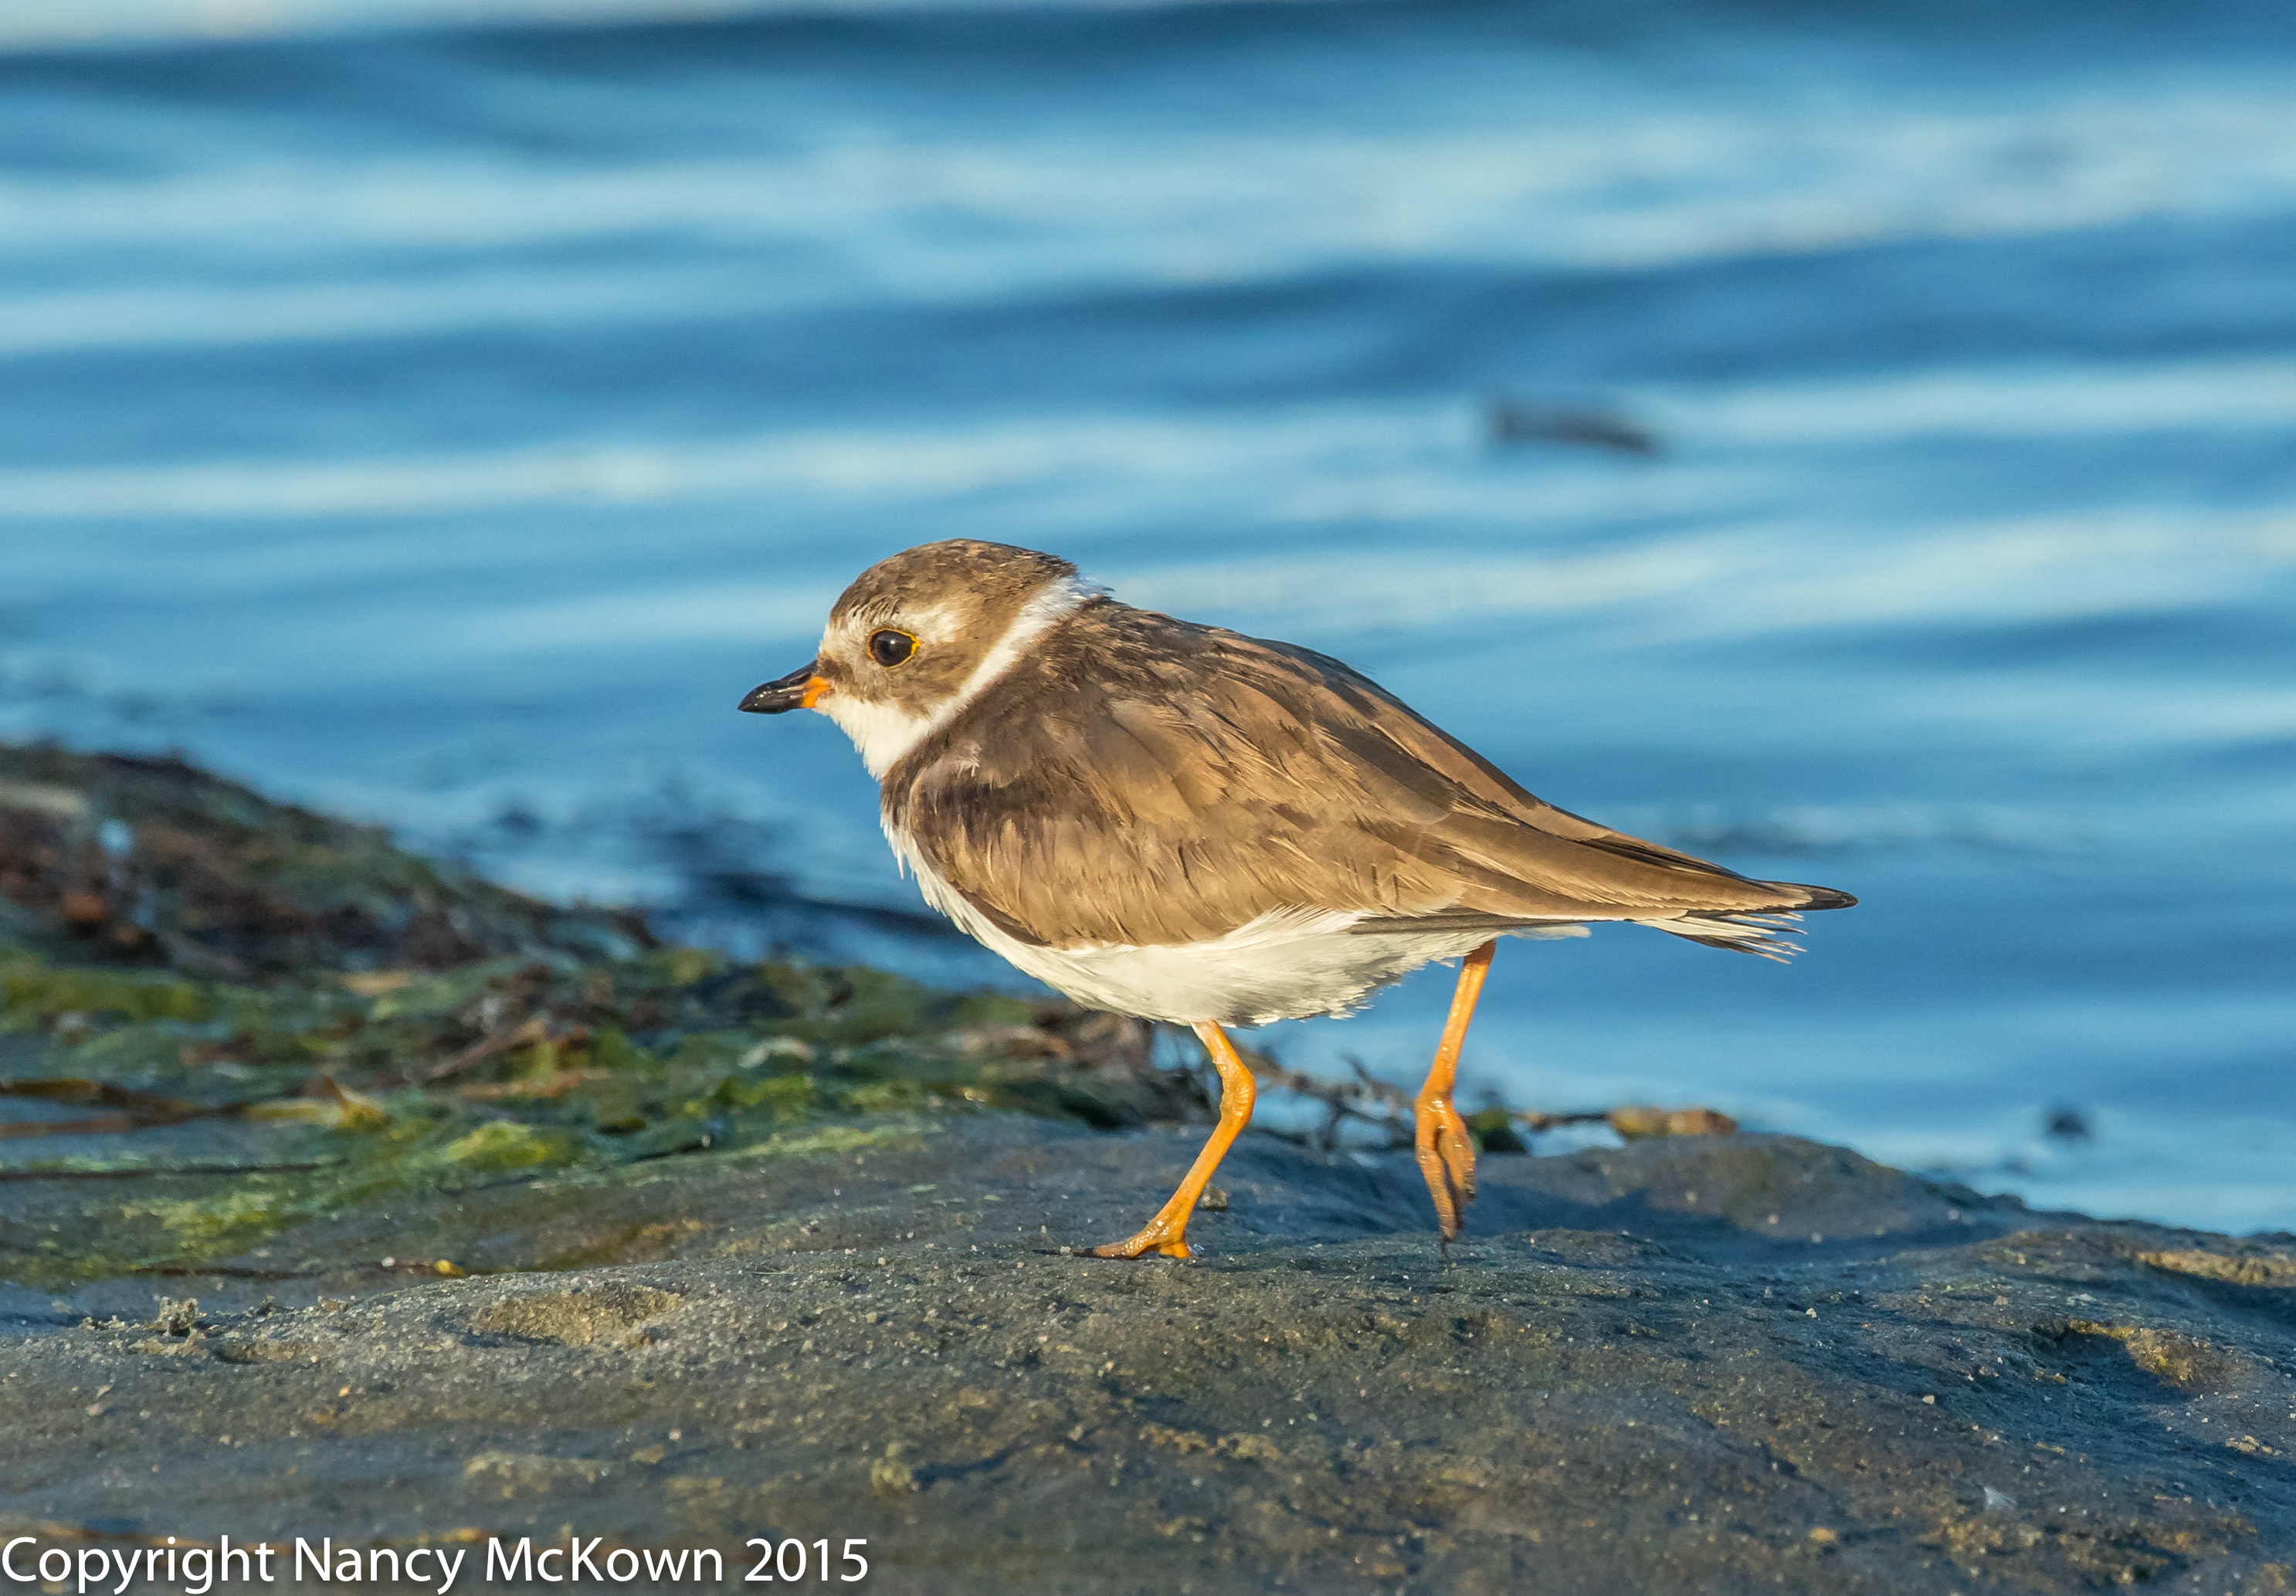
Photographing Dark Eyed Juncos

Abundantly distributed in the U.S. in the winter, these dark topped and white bellied sparrows are easy to find everywhere I go. There’s a wide range of variability in the black, gray and brown color patterns of this species, but the black eyes and pinkish bills are consistent.

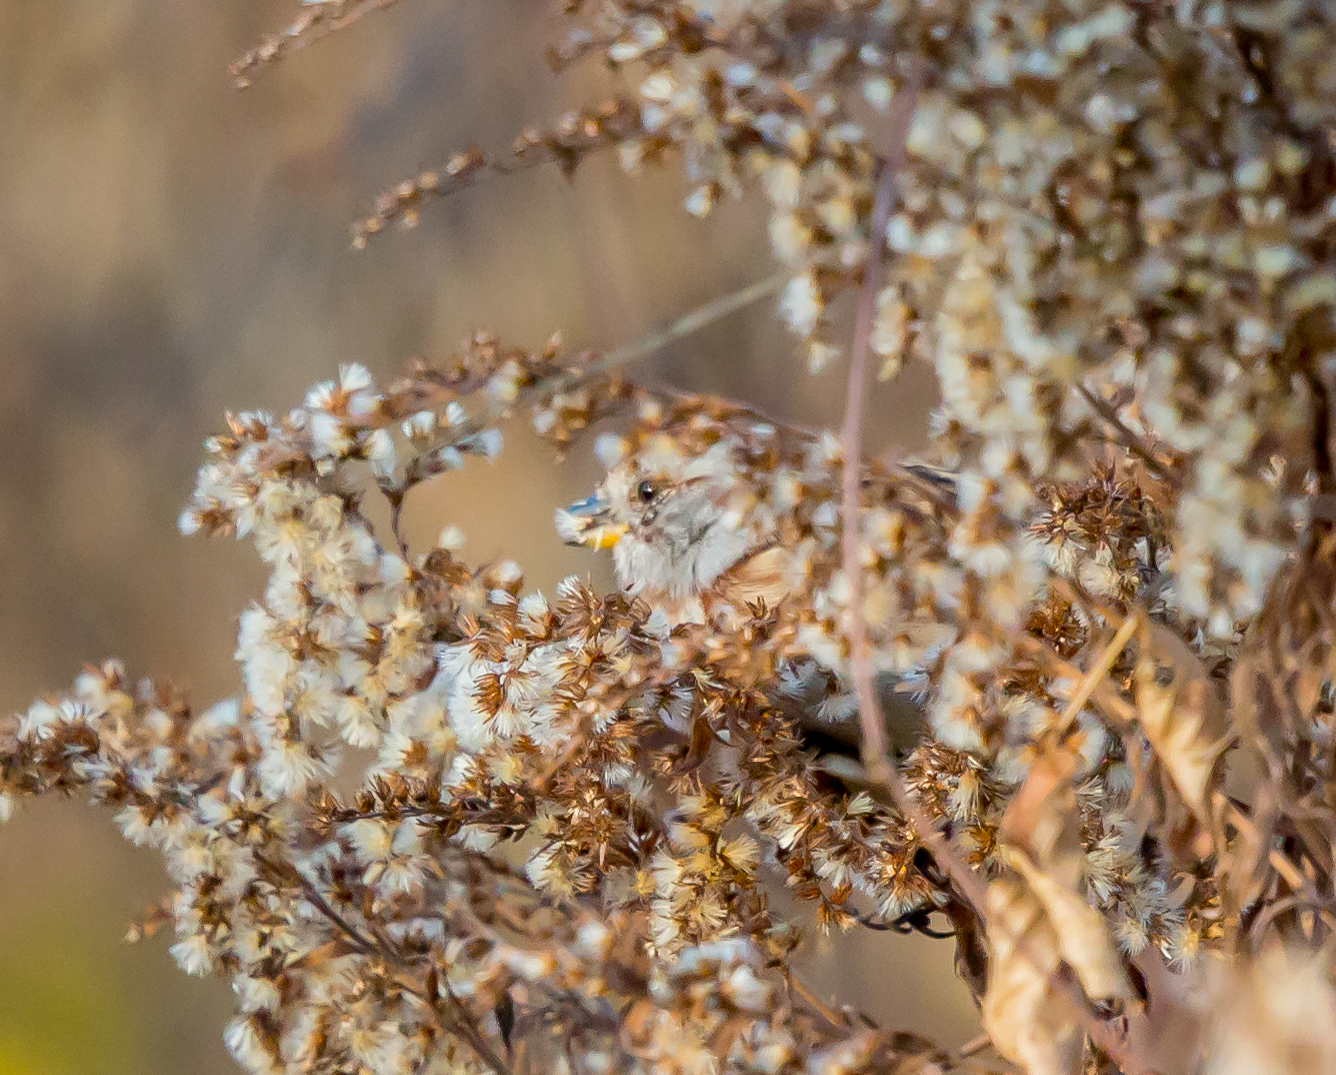
If I was going for boring, I would photograph the flocks of Dark Eyed Juncos competing for seeds on the ground nearest to the feeders. Sadly, most of my images from that particular morning shoot are departing shots of their bright white outer tail feathers as they fly away.

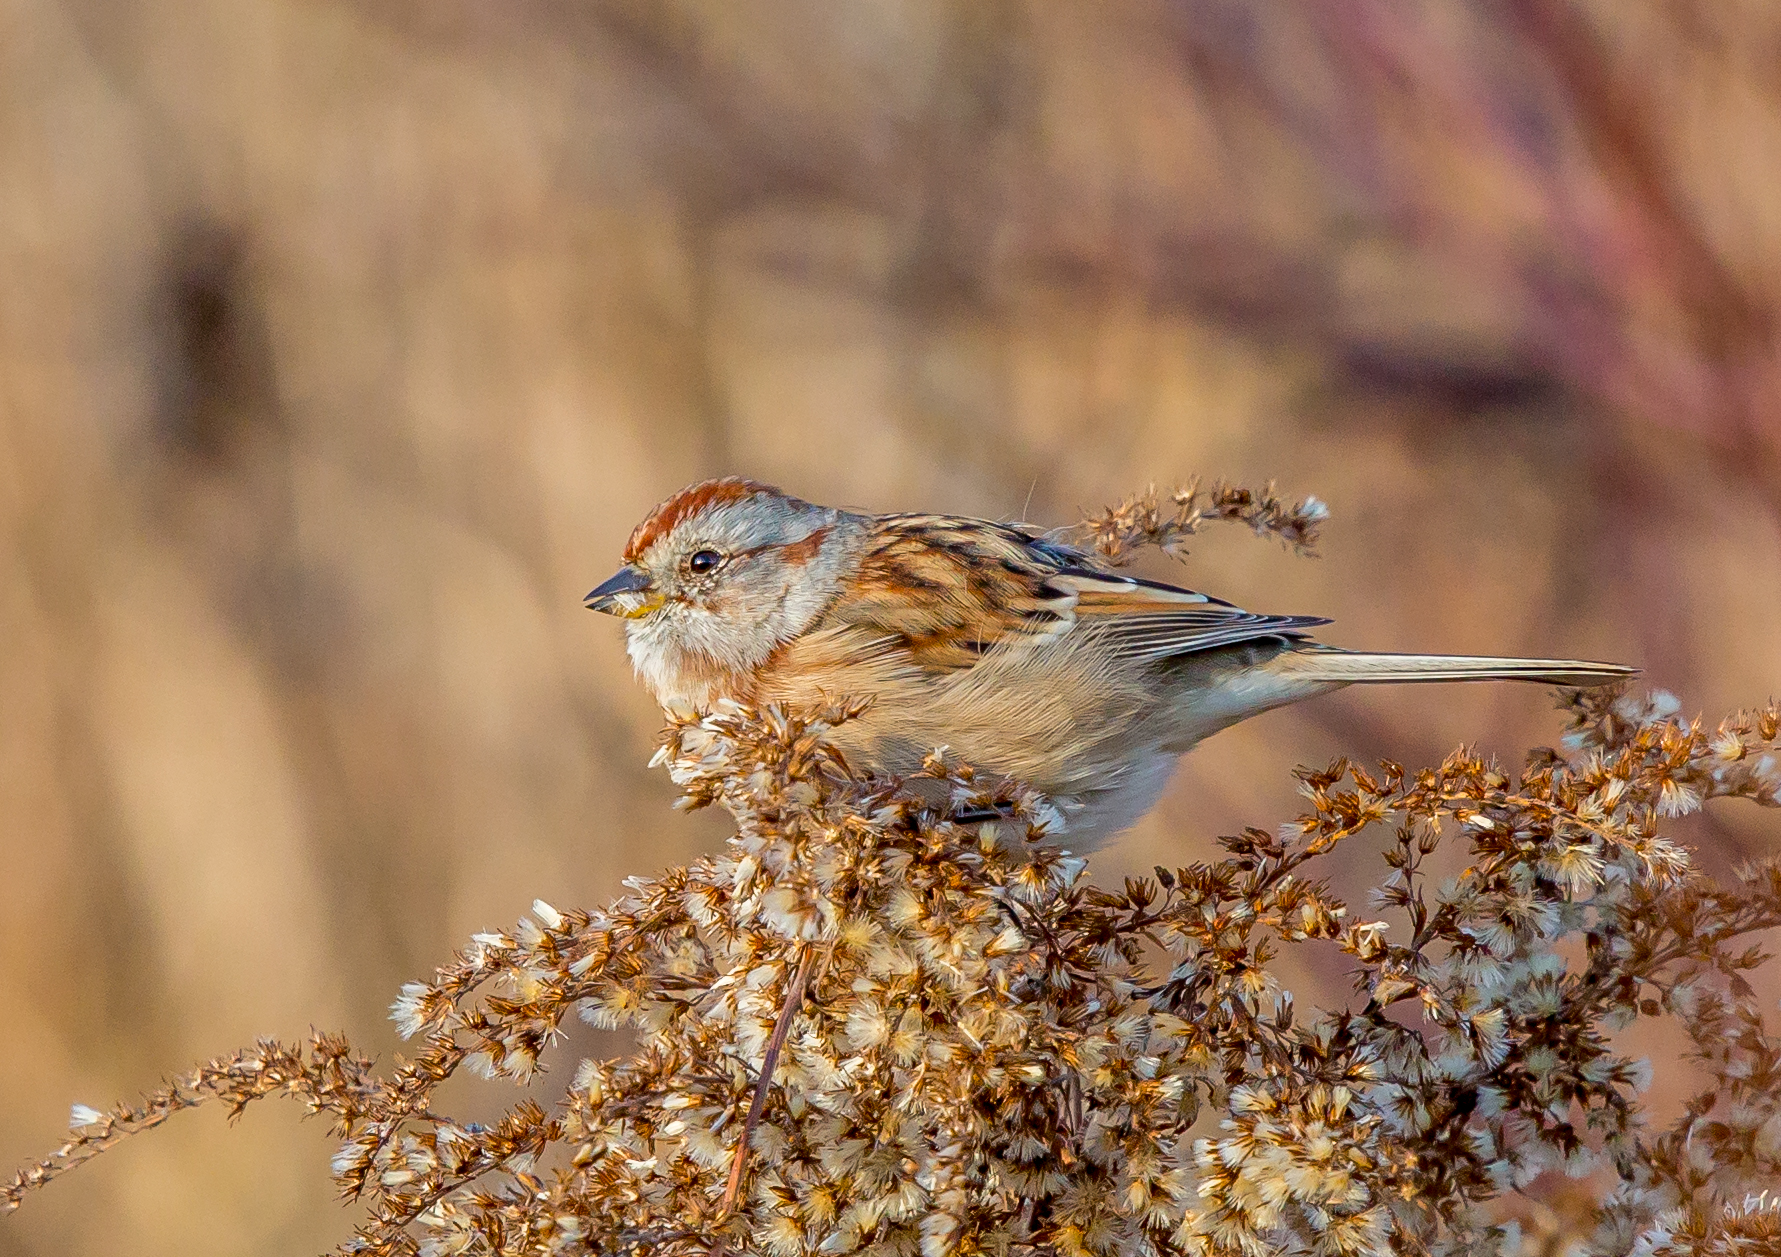
I did manage this one-sided profile pose. Notice the exposure readings shown beneath the photo below. There was enough light that morning to play for a change.

Dark Eyed Junco

Dark Eyed Junco
ISO640; f/9; 1800 Second

Preserve those Megapixals

In post processing, whether I upsize or downsize my photos, my goals are to preserve the quality while also preparing the file to download faster on the web. NOTE: Minimal cropping and zooming were needed in post processing for the above photo because this little sparrow came in very close to the camera.

I am aware that pixel density is just not that important for web viewing. Judicious cropping also helps change the proportions of the image for the better. However, there are loss-in-quality consequences to resizing and zooming (technically and ascetically) because these processes eliminate data. The more you do, the worse it gets.
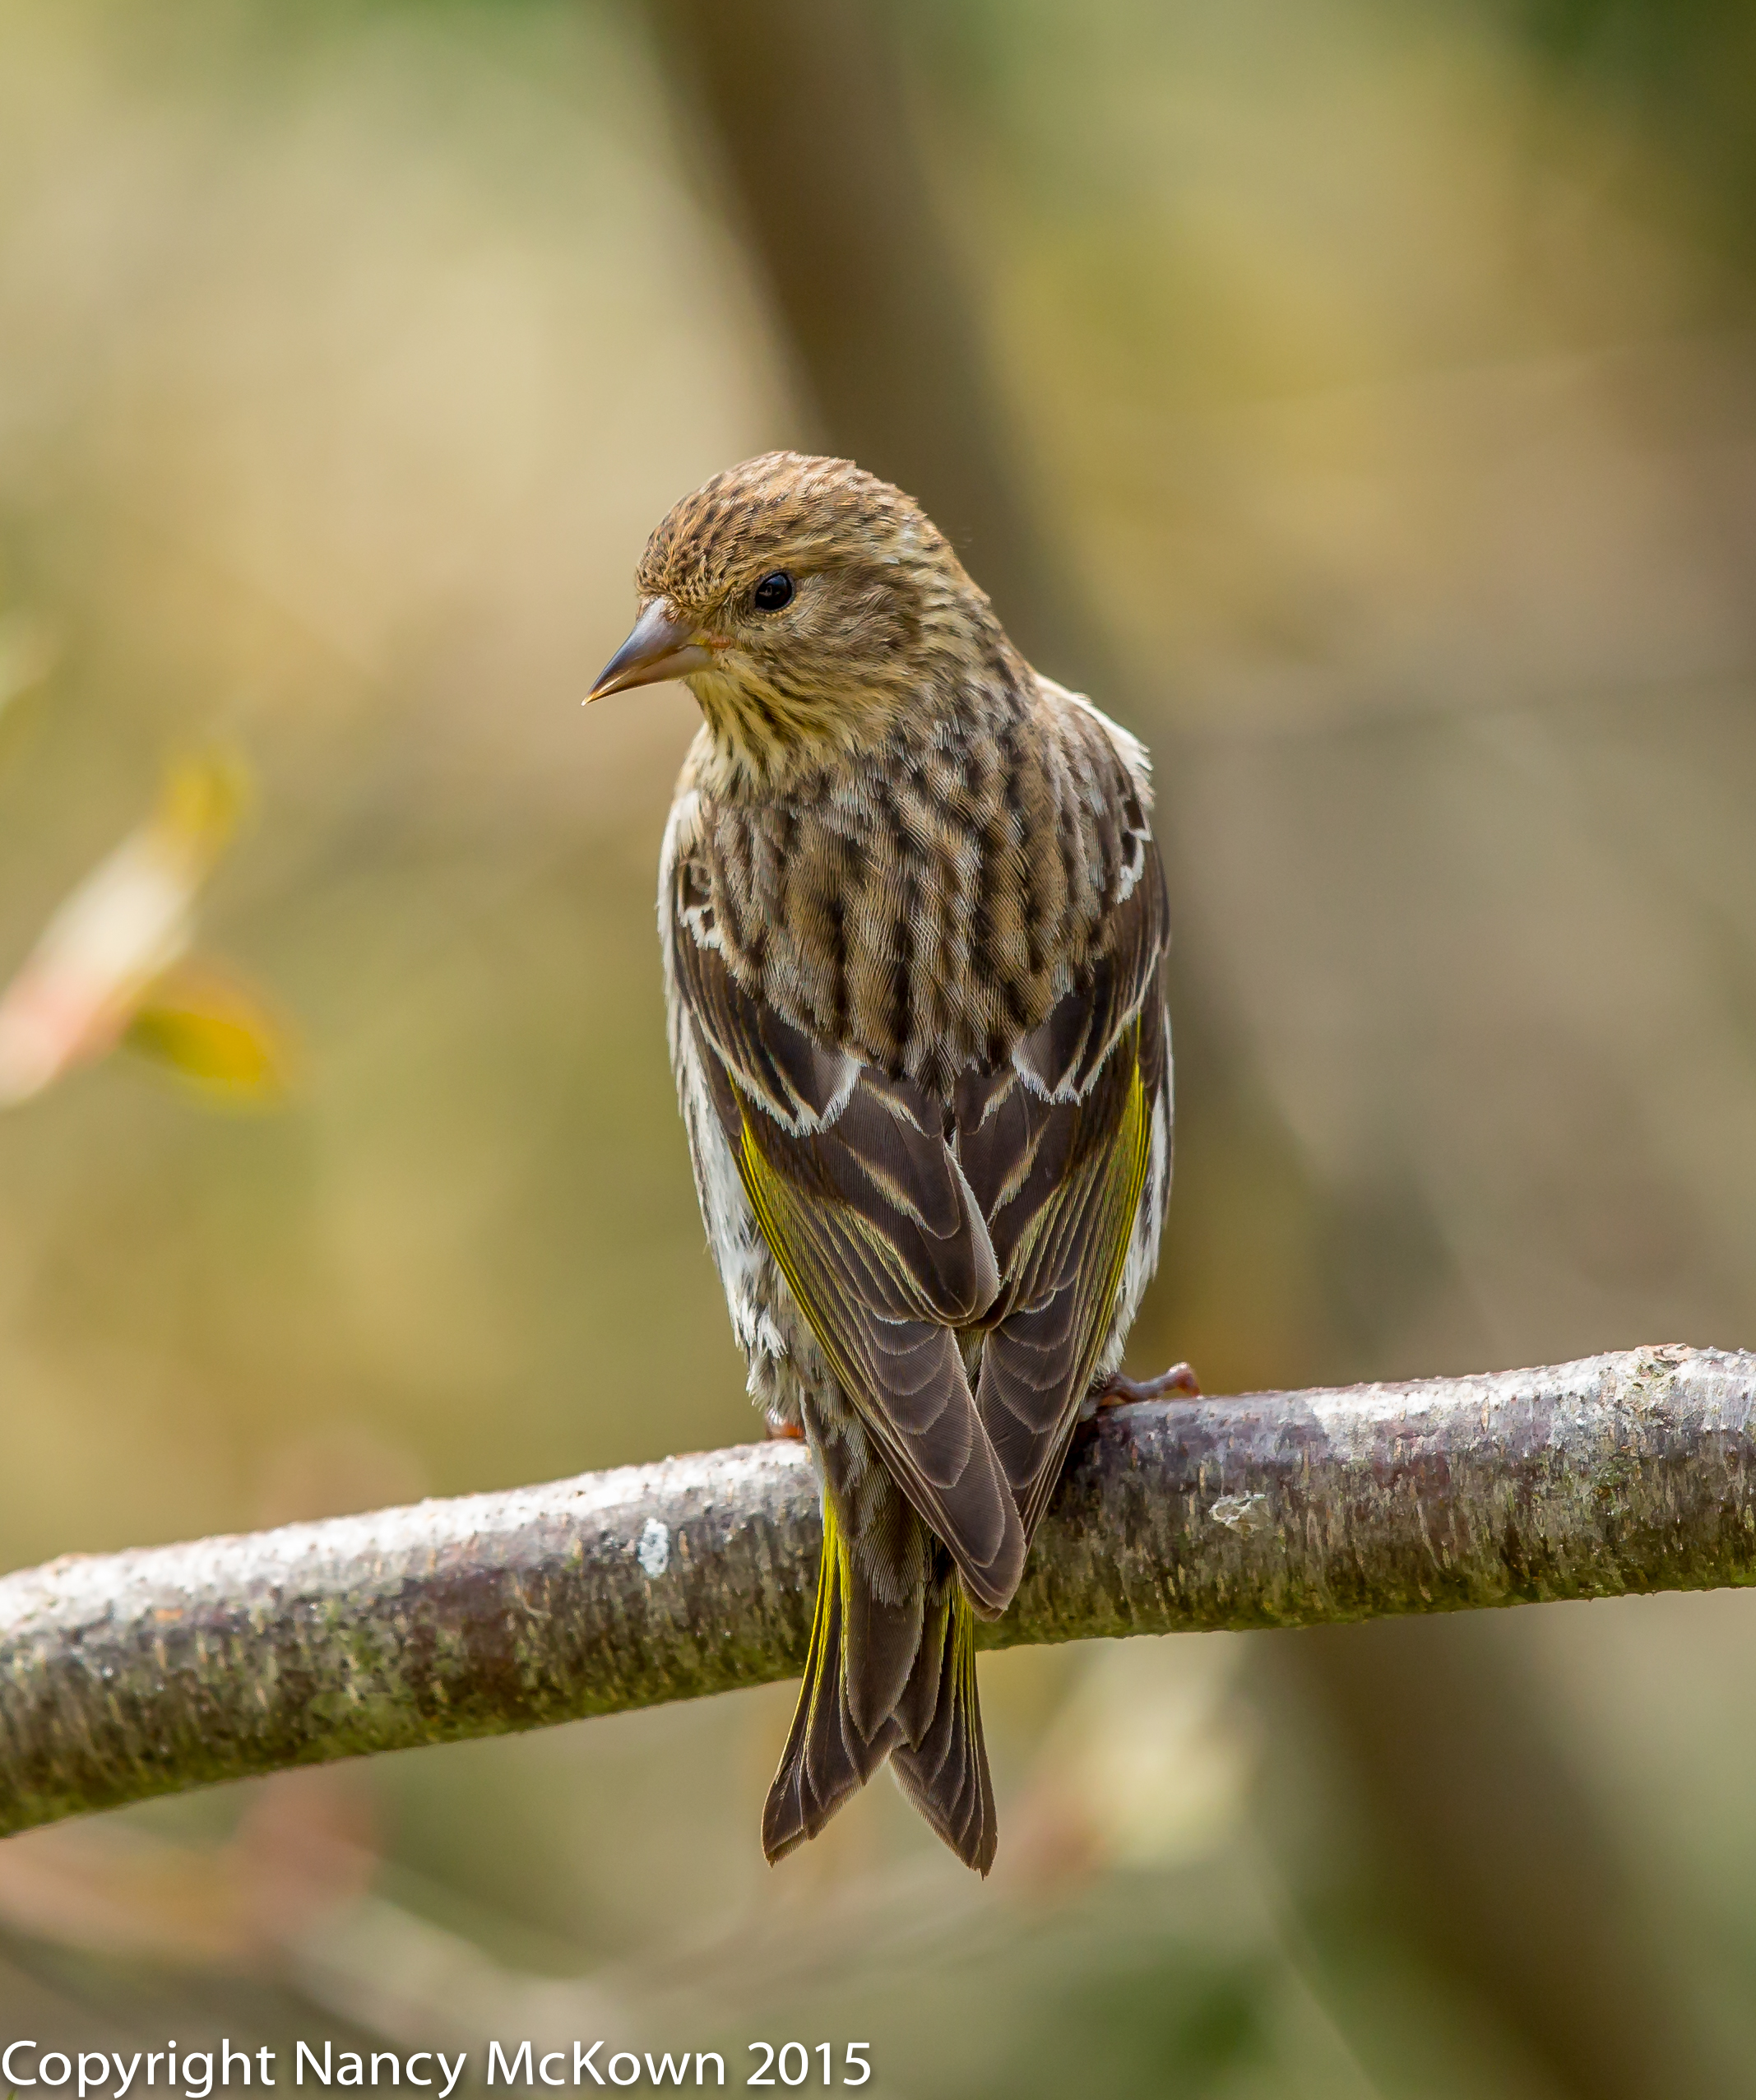
Over Zoomed

This is pretty basic stuff for a photographer, but for some reason, it took me a while to figure it out. Going back over my portfolio, I find way too many over-zoomed photos that, way back when, I considered excellent. Now they are nothing short of embarrassing.
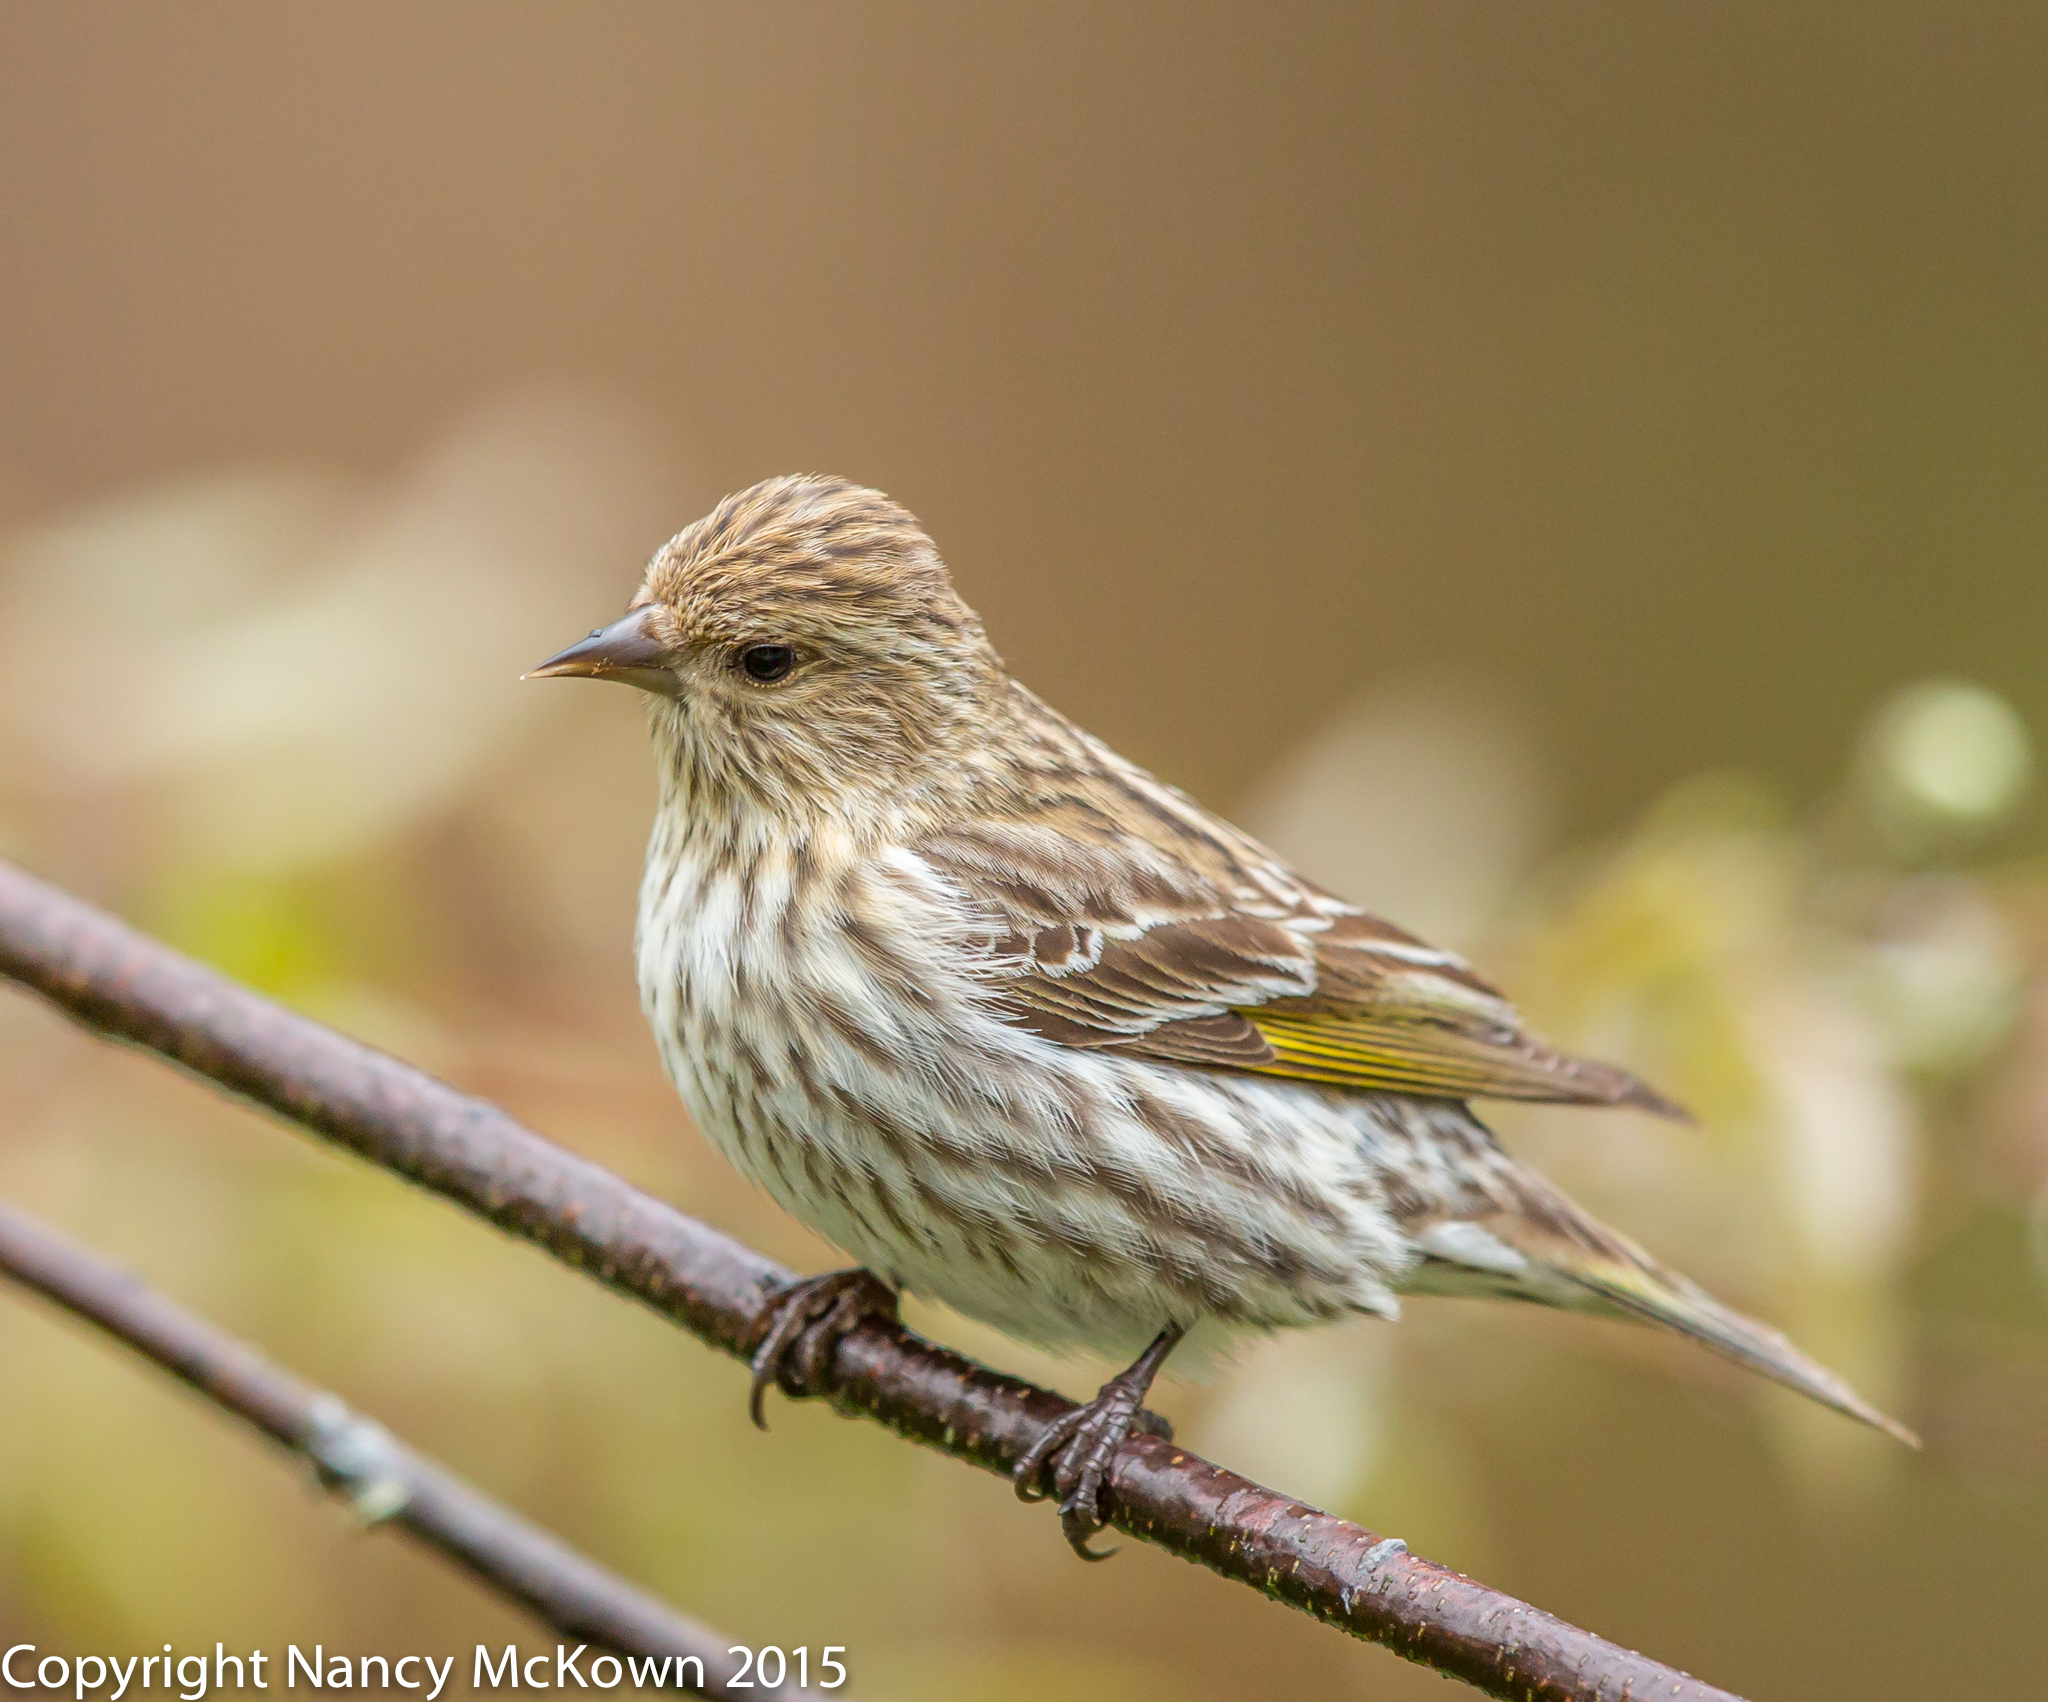
A Practiced Eye

This bird photography blog has helped me to be more self critical — to be practiced at discerning what’s bluster and what’s skill.  When I first purchased a high-end DSLR camera and professional quality lenses, I was overly dazzled with the clarity I saw in the photos. I magnified and cropped the photos way too much in post processing. Overemphasized detail masqueraded as quality. For the most part, whatever artistic merit these photos had was squandered.

Perspective and Humility

I’ve grown over the years as a photographer. Knowledge, experience, skill, perspective (in the field and in post processing) and not a little humility (the mother of all virtue) all contributed to this growth.  

For better or for worse, I’m quick to recognize the post processing “flaws” in others’ photos displayed in art shows, on Facebook, Etsy, etc. (NOTE:  You never really know if the original image was as badly flawed as what eventually shows up on social media. Many of these digital showcases automatically downsize a photo using a process that does not retain the image quality.) I also enjoy examining the bird photos of several outstanding bird photographers and learn from them about what constitutes quality…..and what does not.

BTW- There are many other artistic and technical problems in my photography screaming out at me now. A lot of them have to do with too little planning and too much reliance on random shots….- but that’s for another blog.

Photographing an Osprey in Flight and Thoughts About AF Point Coverage

Photographing An Osprey in Flight

My camera was set up on a second story balcony overlooking a relatively calm bay side view of the ocean in Southern California. Yes indeed! We left cold and cloudy SW Michigan for a short vacation in San Diego.

Photo of Osprey
Osprey Lifting off a Sailboat Mast Head.
ISO400; f/10; 1/2000 Second

In front of the camera, Ospreys, Pelicans, Herons and Seagulls spent their time combing the shores for sustenance. These are opportunistic sea birds and it’s comical to watch them brazenly pilfer the catch of more successful avian predators.

On this day, things were relatively quiet. Two Ospreys were chasing each other, playfully somersaulting every which way until the larger one perched on the topmast of a nearby moored catamaran. No room for the smaller Osprey, so he flew on.

No Time to Swap Out Telephoto Extenders

On the tripod, I had my 300mm f/2.8L IS II lens with Canon 1.4 III telephoto extender attached to my Canon 7D Mark II 1.6 cropped sensor DSLR camera. The perching piscivore was just a little too far away…. even if he spread his wings taking flight. (NOTE: An adult Osprey’s wingspan is 5′-6′). I had a moment to think about swapping out the 1.4 for the 2.0 telephoto extender. No time. The Osprey spotted a meal, leaped into the air (See photo above.) and circled around to a spot closer to the shore. He momentarily hovered directly above his quarry–and then plunged, maneuvering into a feet first position just before hitting the water.

Photo of Osprey
Osprey Heavily Lifting Out of the Water
After His Dive;
Sadly, Without A fish.
ISO800; f/9.0; 1/1600 Second

This fish hawk plummeted so fast that by the time I dropped my lens into position, he was completely submerged. I did however capture him as he heavily lifted himself out of the water, without a fish.

Tracking A Bird in Flight

Modern cameras make tracking and locking focus on a bird in flight relatively easy, assuming the following:

  1. You are able to hold steady the lens while tracking.
  2. The light and contrast are good enough to achieve focus
  3. You are tracking a bird that is within range of your lens’s magnification
  4. The bird’s flight path is in a relatively open area.

My Canon 7D Mark II has 65 all cross type AF points. After setting the camera to Al Servo continuous autofocus and selecting your auto focus points, the camera will (within a fraction of a second) track movement and predict where that fast moving and erratic bird will go, all the while adjusting focus accordingly. Assuming your lens is up to the task, the technology is blazing fast.

Photo of Osprey
Osprey, Lifting Himself Into the Air.
ISO800; f/9; 1/1600 Second

Auto Focus Point Coverage

Efficiently tracking a flying bird takes all of your concentration. When you look through the viewfinder at a fast moving bird, those densely packed auto focus points are not spread out across the entire frame. Instead, they are mostly clustered in the center area. You must continuously and skillfully manuever the lens so that your subject is at least partially within the center area covered by AF tracking points. If you let your subject wing its way outside the focusing area, the camera lens will try to re-focus on anything it can within the auto focus point coverage area.

Quality auto focus performance is about so much more than the number and spread of the AF points. Still, the newest and most advanced Canon and Nikon DSLR cameras (Nikon D500 and Canon 1D X Mark II to be release in the Spring, 2016) are both proudly touting expanded auto focus point coverage, despite the very real inherent limits of widening the autofocus coverage area.  

Makes me excited just thinking about getting my little hands on a prototype. 

Press this link to read more about opportunistic shorebirds fighting over a fish.


Photographing a Tennessee Warbler and Thoughts About IS on a Tripod

Photographing a Tennessee Warbler

Out of all the warblers that visit our yard during migration, the Tennessee Warbler is our most frequent visitor. Somewhat drab, this species is best identified by the markings on its face; a thin yellowish line over the eyes and a dark line running through the eyes. Like most warblers, it  breeds in the northern states and Canada and winters in South American countries like Columbia, Venezuela, and Ecuador.

Tripod Steady

The Tennessee Warblers pictured here were both methodical and swift as  they probed the branches and limp leaves for insects. For this shoot, I was lucky to have a relatively bright day in our yard. I took advantage of the light by using a faster shutter speed, one where the advantages of image stabilization on a tripod would probably not be needed. As always, the weight of the lens alone is enough for me to keep my equipment mounted steadfastly on the tripod.

Photo of Tennessee Warbler
Tennessee Warbler
ISO1250; f/5; 1/500 Second

Tripod Based Movement

Most of the time, the light is low in our heavily wooded yard, forcing me to resort to shutter speeds below 1/100 second. Stabilization is essential. (Frustrating NOTE: In Michigan, there’s a 29% sunshine rate…the percent of non-cloudy sunshine hours during the winter months.- See this link.)

Tripod steady is not always enough to capture sharp images at low shutter speeds. Even the most stable of tripods can not keep the camera and lens completely still. There will always be some tripod based vibration due to shutter mirror slap, or just because I am moving about on the floor, twirling the camera and lens this way and that, and pressing the shutter button in a continuous effort to capture a pose. Also, the longer the lens I have mounted on the tripod, the more this minute vibration is magnified.

NOTE: Remote shutter releases do help stabilize cameras on tripods, but I don’t often use mine when photographing birds because I feel less in control; bird action just happens too fast.

Tennessee Warbler
Tennessee Warbler
ISO1250; f/5; 1/500 Second

Enter MODE III – IS and Tripod Use

With previous IS Canon lenses I have owned, I had to remember to manually turn off the image stabilization function when I used a tripod, otherwise it would pick up the tripod’s inherent vibrations and erratically try to correct. It was not uncommon to end up with more blurriness on the images instead of less.

Since low shutter speeds are pretty essential to increase the amount of light available for exposure, tripod movement was a problem. Clever engineers at Canon’s R&D helped to minimize those obstacles by creating a secondary image stabilizing mode…. one made specifically for tripod use.

Canon IS lenses with Mode III functionality are engineered to sense when the lens is on a tripod. The purpose is not to disable the IS feature, but to identify and compensate for those slight tripod movements when the shutter is set between 1/30 second and 1 minute  – the settings at which the camera is very vulnerable to producing blurry photos. NOTE: Image Stabilization on the tripod is automatically disabled if the shutter speed is set for 1 second or longer.

Remember, birds are constantly moving – and IS will not compensate on that end. 

To read more about Image Stabilization, press this link.

It is easy to mistake the Tennessee Warbler for another drabbish warbler…. the Orange Crowned Warbler. To see this bird in action, press this link.

It has been my observation that accuracy, consistency, logic and convention do not appear to matter when naming birds. Read more about this here.

Photographing the Yellow Rumped Warbler and Experimenting With Focus Preset

Photographing the Yellow Rumped Warbler

In my yard and in most of the Eastern US, it’s the hardy white throated Yellow Rumped Warbler of the Myrtle subspecies who lingers in the cold long after other species of warblers have gone south. Feasting on bay berries to survive, it’s not uncommon to see them here in November and December.

In the western U.S., the yellow throated Yellow Rumped Warbler of the Audubon subspecies thrives. Both have the trademark “butter butt” – a bright yellow patch of feathers above the tail.  NOTE: I hope to photograph this western variety on my next trip to California. Update:  My first day in San Diego and the Yellow Rumped Audubon subspecies showed up in front of my camera. See last photo below.

Yellow Rumped Warbler

Yellow Rumped Warbler from
the Myrtle Subspecies.
ISO1600; f/5; 1/500 Second

Finding the Right Perch

In my yard we have a few optimal bird perching spots with lush and colorful backgrounds that receive a good amount of the morning light. They are ideal little niches with no unsightly and chaotic debris to interfere with the len’s ability to lock focus. Most importantly, I know warblers perch there.

Photo of Yellow Rumped Warbler
Yellow Rumped Warbler.
ISO1600; f/5; 1/500 Second
Photo of Yellow Rumped Warber
Yellow Rumped Warbler of the Audubon subspecies.
Common in the West.
ISO640; f/8; 1/2000 Second

The Focus Preset Function of the Lens

These perching spots offer an opportune time to practice a function on my telephoto lens that is never urgently needed but fun to play with. It’s called FOCUS PRESET. I don’t use this function much because it’s unnecessary for the most part… modern auto focus lenses are so fast to focus.  But, since I paid a whole lot of money for my 300mm and 500mm L II lenses, I think I might as well better understand the precision electronic data-transfer controls that make them so expensive.

Focus Preset allows the photographer to save a predetermined distance to the len’s memory and then automatically recall it.

To Set Focus Preset:

1) Turn the focus preset switch to On or On with Sound. (NOTE: The On w Sound setting simply means that you will hear a beep to confirm that focus preset is initiated. On w/o sound  = no beep.)

2) Using auto or manual focus, focus the lens on the spot that you want the lens to memorize.

3) Press the SET button

Your desired distance is now saved, and will be saved in the lens until you turn the focus preset switch to the “off” position.

To Engage Focus Preset

The auto focus function on your lens works as it normally does until you recall the Focus Preset.

Just give a little twist (either to the right or left) on the thin serrated metal focus preset ring (located right in front of the manual focus ring on the lens) to instantaneously recall the lens to focus on the spot previously saved to memory.

Kind of fun once you get the hang of it.

Subspecies or Hybrid

NOTE: In my many bird photography adventures, I have photographed several subspecies, but I have never photographed a bird that would be considered a hybrid. A subspecies is a variety of the same species….a population (usually geographically isolated) that has a slightly different appearance than others of its own species. A hybrid is born when two different and closely related species successfully breed..

An excellent article about hybridized warblers can be found at this link.

To see photos of Palm Warbler Subspecies, press this link.

Photographing the Male Scarlet Tanager -My Nemesis Bird

Formidable to Photograph

It’s official. The male Scarlet Tanager is my “nemesis” bird. That’s bird photography jargon for the inability (over and over again) to connect with a readily identifiable but highly illusive bird.

Once you claim a nemesis bird, it becomes personal. More than just chance, luck or opportunity is at work. Nature is simply not cooperating- and if you give up, you have failed. It’s all the more irritating when the bird is not a rarity, but a nesting resident right in your home town.

“My Destiny Calls and I Go”

Despite years of searching, this secretive though not uncommon bird intentionally thwarts and eludes me. I have spent countless hours in the woods with my camera, following up on leads, plotting, hoping, yearning. During my many travails, I have had a thrilling sense that a male Scarlet Tanager finds me….watches me.  I see quick red flashes high in the trees that vanish into nowhere. I’m at a point now where I will settle for any shot, but hope for the time and light to do it right.

NOTE: To add insult to injury, my husband once boasted that a tropical looking male Scarlet Tanager was shamelessly showing off his Spring plumage right in our back yard, no doubt with a ginormous colorful insect in his beak.

Photo of Female Scarlet Tanager
Female Scarlet Tanager Eating Fruit.
ISO 1250; f/9.0; 1/500 Second

Photographing the Female Scarlet Tanager

One lucky day in late summer, 2014, I saw two of the less intangible female Scarlet Tanagers high in the forest tree top canopy. The female’s plumage is muted; olive above, yellow below, far less exotic looking than the male. She sports thin yellowish eye rings and (like the male) a thick round beak, accented with a little notch. These photos were taken as they feasted on the fruit high in a Mulberry tree.

Tripod Shooting Angle

Photographing the underside of a bird produces mostly unflattering images. The shooting angles for the images below were still within the range of the tripod head – even for the highest bird. NOTE: Shooting angle on most tripod heads is restricted. However, I find it almost impossible to handhold and then prop upward a camera with a 500mm telephoto lens. Even with image stabilization engaged, there’s too much shaking! I was happy that the shooting angle was such that I was able to keep the heavy camera on the tripod head.

Photo of Female Scarlet Tanager
Female Scarlet Tanager
Notice that Little Notch around Center Point
In Her Long Beak.
ISO 640; f/9; 1/500 Second
Photo of Female Scarlet Tanager
Female Scarlet Tanager.
The Big Beak Comes in Handy.
ISO1250; f/9.0; 1/500 Second

It’s Personal, Not Business

The pursuit of bird photography is personal for me. Absorbed in the challenges of this pursuit, enjoyment mounts and hours fly by. Searching for and then capturing an image of these avian wonders in their natural habitats cultivate within me a deep interconnection with nature. It’s a passion into which I can pour my heart and soul.

I’m resigned to waiting until next spring when the Scarlet Tanagers return from Northern South America and the Caribbean. After all, what other choice is there?  

Patience! Perserverence!

“And the wild winds of fortune will carry me onward
Oh, whither soever they blow.”

Man of La Mancha 

Photographing Semi Palmated Plovers and Understanding Dynamic Range

A Slow Winter Season, So Far

So far, January, 2016 has been cloudy, comparatively warm, and sadly disappointing as far as bird photography goes. I know they are out there, so I still have high hopes of capturing a few birds in their winter habitat. Until then, I will tap into my portfolio of bird photographs from sunnier, more productive photo shoots. The images below were taken in Southern California in February, 2015.

Semi Plover

Semi Palmated Plovers
On a Beach exhibiting a Wide
Dynamic Range.
ISO800; f/6.3; 1/2000 Second

Photographing Semi Palmated Plovers

The Semi Palmated Plovers are the tiniest birds foraging for food on the Southern California shoreline. These shorebirds are compact, fast and handsome as they skitter about rummaging for insects, crustaceans, and worms in the mudflats. Come Spring, most of them will begin their migrational trek to nest in the northern arctic and subarctic regions.

Semi Palmated Plovers are reminiscent of Killdeer because they lead predators away from the nest with a “broken wing” display. Their young are precocial — able to walk away from the nest shortly after hatching and feed themselves. (Press this link to read more about Killdeer.)

These birds allowed me to get close with the camera…..up to a point. Once I tip-toed too close for comfort, the whole group jetted off to forage a few yards ahead on the beach. The light was good, considering it was mid-morning and the slippery wet beach sand was highly reflective. I still was able to pick up a wide variety of dark and light colors as I framed the images.

What the Sensor Can Do

Modern, sophisticated digital camera sensors are remarkable inventions and the quality images they produce have convinced millions of photographers to abandon film. To better appreciate the capacity of these little imaging chips, and their recording limitations, it’s a good idea to better understand the concept of “dynamic range”.

Dynamic Range

We have a few musicians in my family, so when I think about dynamic range, I think about how it is used to define and measure (in decibels) the quietest sound to the loudest sound that can be recorded. If you hear music that does not vary in amplitude, it is said to have a small dynamic range. A wide mix of soft and loud sounds in a piece of music has a wide dynamic range.

In digital photography, dynamic range defines how much dark and light variation your sensor can capture in a scene. The range of this variation (tonal range) is illustrated by the camera’s histogram on a 0-256 scale. It displays the darkest part of the photo (on the left commencing with 0 on the histogram) and the lightest part of the photo (on the right ending with 256 on the histogram).

If some of the dark and light details in your captured image overflow past one or both of the extremes on the histogram (0 or 256), the camera’s sensor is not capable of reading or recording those details. Consequently you will see a lot of washed out whites or black blobs in your images. (NOTE: The highlight and shadow recovery tools available in post processing may be able to recover a little more variation detail beyond what appears on the histogram. 

Photo of Semi Palmated Plover
Semi Palmated Plover
ISO1250; f/6.3; 1/2000 Second

High dynamic range images are those with a wide range of tones and whose tonal values reside within the confines of the histogram. If everything in the image has the same brightness, it is said to have low dynamic range.

Controlling Dynamic Range

If the dark and/or light tonal intensities are reading beyond the range of the sensor, you may be able adjust exposure and capture more detail. I usually reduce exposure to insure that I don’t clip the highlights. NOTE: Human eyes are capable of seeing a wider dynamic range then a camera sensor can “see”. It’s a good idea to check the histogram often to see if the dynamic range of your scene that seems OK to your eyes is within the sensor’s confines.

Controlling dynamic range is also possible through the use of a graduated neutral density filter. These filters progressively darken the area of the brightest parts of the scene – like the sky – and thus reduce the range of brightness. Consequently, the sensor can read more detail in the shadows and low light areas.

HDR Solutions

Another way to enhance tonal richness within the dynamic range scale is by using HDR. A High Dynamic Range photo is a compilation of exposures of a static subject. The HDR function allows the photographer to capture more detail on both ends of the 0-256 tonal range spectrum by combining 2 or 3 or even 4 images. A HDR algorithm incorporated in the camera’s software (or post processing software) pulls the images together into one.

Differences in Camera Sensors

Camera sensors differ as to how much dynamic range they can capture. (NOTE: The dynamic range of the Canon sensors installed in its professional cameras is not as highly rated as Nikon’s sensors, manufactured by Sony). The tonal value limitations of sensors are most evident at the darkest and brightest areas of the image. In general, the bigger the sensor and the bigger its pixels, the more light that can be gathered and the more highlight and shadow detail that can be distinguished. 

Read Your Histogram

Train yourself to regularly read the histogram on the back of your camera, and take those extra shots if you need to get a wider spread of tonal values. You will become a more insightful photographer if you do.

To read more about Histograms, press this link.


Photographing a Nashville Warbler and Thinking About New Transport

Finding and Photographing Nashville Warblers

These photos of a Nashville Warbler were taken in the Allegan Forest in October, 2015 after I spent hours the night before preparing my pack and then hauling heavy camera equipment into the woods early the next morning. It was worth it. My final destination was idyllic, as was the soft glow of the morning light.

I am pleased with the images, but weary too. I need a simpler and more efficient way to transport my photo gear to and from my car and home.

Photo of Nashville Warbler

This Nashville warbler was ducking in and out
of the bushes; quite a challenge for
the Camera’s auto focus.
The early morning light was strong and contrast good.
ISO400; f/9; 1/1000 Second

Heavy Gear Weighing Me Down

Transporting equipment back and forth to the site is what photographers do. Countless times I have cradled my camera and lens in my arms like a baby, thinking that a short walk with my gear will be no problem. I plan ahead by wearing multi-pocketed pants, shirts, vests, all with extra pulls, straps and harnesses designed to hook onto my tripod and other requisite gear. When I’m not supporting the camera and lens in my arms, everything is packed in my fancy, stiffly padded (and heavy) backpack.

Inevitably, the short walks turn painfully long over bumpy, uneven (slippery, wet, hilly) terrain. The camera equipment gets heavier with every step I take. I do not have a lot of upper body strength and before midday, I am sore and anxious for the day to end.

Photo of Nashville Warbler

Nashville Warbler, Posing Amongst the
Red Branches.
ISO1600; f/4; 1/500 Second

Struggle Less and Enjoy Photography More

My goal is to struggle less and enjoy my photographic adventures more by getting this equipment off my back and onto a cart that is ergonomically designed to roll over tree roots and up and down uneven, sandy or snowy hills. After consulting with various nature photographers, the cart that appears to be most suited to my needs is the Eckla Beach Rolly Gear Cart.

Well Designed Equipment Transport

The company’s ad makes this cart sound so easy and convenient that I assumed that the Eckla Beach Rolly Gear Cart had its own means of propulsion. Nope. This equipment cart must be drawn or pushed. However, it’s made of light aluminum and outfitted with sturdy, wide pneumatic wheels (rustproof, sand proof, salt proof) which should reduce my struggles and make my role as a plow horse easier. It’s basically a collapsable cart that disassembles and transports easily. When assembled, you strap your gear stuffed camera bag and tripod (up to 176 lbs) onto the cart and off you go.

The company offers 2 basic models…. (1) Cart only; and (2) A cart with a built in nylon seat. As with most equipment associated with photography, smartly designed gear transport is expensive. I’ve decided that the time has come for me to lighten my load and enjoy bird photography more. I’m going to take a chance that this transport system will be worth the $200 price tag.

For more information about the Eckla Beach Rolly Gear Cart, visit this link.

Photo of Nashville Warbler
Nashville Warbler,
After a long walk, I Found
a good location, bright
enough to get fairly low ISO.
ISO160; f/9; 1/1000 Second


Photographing an Orange Crowned Warbler and Trusting Your Camera’s Sensor

Photographing an Orange Crowned Warbler

Orange Crowned Warblers are rather scarce during bird migration through SW Michigan, so I was very pleased when Whatbird.com confirmed that this bird was indeed an Orange Crowned Warbler. For ID, I check the head and face for the broken eye ring and eye line markings and look hard at my photos for the inconspicuous orange patch of feathers on the crown. I often confuse them with the more numerous Tennessee Warblers.

Exposing Correctly

The photos of the Orange Crowned Warbler included with this post were exposed correctly in the camera. In the first photo (see below) I used ISO 2500, but I would have gone higher if it meant getting the shot.

Photo of Orange Crowned Warbler
Orange Crowned Warbler
Quite a lot of Feathery Detail
Despite the High ISO Setting.
ISO2500; f/5; 1/500 Second

Protective Underexposure

There are a few tricks and trade offs which allow photographers to keep the ISO low. One popular one is to purposely underexpose and then artificially correct the exposure during raw post processing. This practice is referred to as “protective underexposure”.  It’s an effort to “protect” the image from noise damage due to high ISO settings.

I’ve spent many long hours trying to diminish the effects of noise in post processing and I have learned that this strategy most often backfires. In fact, protective underexposure can produce images that contain more distracting noise, despite the lower ISO setting and image torturing you inflict in post processing.

Photo of Orange Crowned Warbler
Orange Crowned Warbler
ISO1000; f/5; 1/400 Second

No Substitute for Proper Exposure

When photographers intentionally underexpose during a shoot, they are letting in less light than the conditions call for. The sensor records less data causing color and tone quality to be compromised. Underexposed color looks black. The more they underexpose, the worse it gets.

When they try to fix the underexposure in post processing by lifting brightness into unlit areas, more noise is introduced resulting in less detail. The color and tone data just isn’t there to recover, especially in the dark and shadowy areas.  

It’s hard to overestimate the importance of light in photography. Exposing your images properly introduces enough light to allow your camera’s sensor to record the maximum amount of data.

Trust the Sensor

Sometimes correct exposure means taking the ISO high. I trust the engineering that went into the circuitry in and around the sensor of my DSLR camera and try not to handicap it by underexposing. 

If the scene is wildly chaotic in terms of light, I figure out what’s important in the scene and expose that portion properly. I watch the histogram for guidance. If it’s predominately pushed to the left, I adjust exposure. The bracketing functions built into the camera help insure that I’ll get it right.

More Time Photographing Birds

I live in a SW Michigan where lake effect cloud cover blocks much of the sun year round. (29% sunshine rate…the percent of non-cloudy sunshine hours during the winter months.- See this link.)  The sensor in my camera has proven that it can handle relatively high ISO levels.

Most of my efforts in post processing are spent on noise reduction. I’ve learned over the years that the best way to keep down the noise is to make sure exposure is set correctly in the first place. 

See this post to read more about Exposing to the Right – ETTR.

See this post to learn more about noise reduction plugins.

See this post for more information on bracketing.

Photographing An American Tree Sparrow and Savoring the Moment

Familiar Species to Photograph

It’s December and bird activity is dominated by the more common bird species who reside in SW Michigan. Since these birds are familiar to me, I feel less rushed and anxious about photographing them. My approach to bird photography changes.

Photo of American Tree Sparrow
American Tree Sparrow, Blending Into the Branches on Which He Feeds
ISO2500; f/8; 1/1000 Second

My Usual Photographic Routine

Usually when I go out in the field with my camera, the anticipation is high. Long before I start scanning the scene for birds, I watch the light and choose my approach based on its direction and potency. If I see a new bird, the excitement is palatable. My first thoughts are to be immediately prepared and get the shot. I’m afraid to jinx the moment by taking time to enjoy what’s in front of my eyes.

Photo of American Tree Sparrow

American Tree Sparrow
ISO1600; f/8; 1/800 Second

Background and Blending

I noticed movement before I actually observed this American Tree Sparrow as he feasted on seeds. He was inconspicuous at first because he enshrouded himself within the bush. In the photograph, the fuzzy, white, gold and brown seed pods that he consumed match his head feathers in color, pattern, shape and texture. Even his lower yellowish beak blends into the seeds. A beautiful sparrow concealed so serenely- but still not lost to view on his perch. He eventually made his way up to the top branch and rested long enough for me to take the second shot.

Take Photography to a Whole New Level

Sadly, I find it easy to block from view the enchanting qualities of the moment and instead focus in on the object of my quest, heedless of the ephemeral qualities that bring shape, color, form to life. Being overly attentive to the technical camera details can cause me to overlook the sublime magic contained within my surroundings.

With the familiar birds, I’m able to relax more and enjoy how beautifully they harmonize with their environment. Then, if I’m lucky and the light is right, I might capture that common place beauty in a way that is compelling and exceptional. 

It takes capturing to a whole new level.

To read more about the ephemeral qualities of photography, click this link.

Happy Holidays and best wishes for 2016!

Thank you for taking the time to read

my bird photography blog.


Photographing Pine Siskins and Thoughts About Blinds

Photographing Pine Siskins

Pine Siskins are nomadic songbirds that do not migrate through SW Michigan every year. When they do grace us with a visit in the spring or fall, they come loudly in flocks of 25 or more. Pine Siskins are darkly streaked small finches with flashing yellow wing markings and notched tails. Their beaks are slimmer and more pointy than the gold and house finches that are plentiful in our yard most of the year. Pine Siskins stay only a few days. When they depart, tranquility returns to the feeding area.

Photo of Pine Siskin
Pine Siskin
Beak does not look Finch-like to me.
ISO800; f/5; 1/1600 Second

Getting Closer to Wildlife

I set up my blind in our yard one bright, warm morning in early October. I gathered everything I needed (camera, 500mm lens, tripod, and stool) and then stealthily prepared myself to photograph the Pine Siskins I had seen the previous day. After 10 minutes or so, the Pine Siskins came, as well as several persistent bees who squeezed their way through the crevices and into my blind. I got out, sprayed the blind with insect repellant, re-entered and rearranged myself and my equipment. Despite all this commotion, the Pine Siskins perched at the feeders or in the tree nearest to them. Apparently, there is no need to be sneaky with this species. Bold and tame, the Siskins will come regardless of whether I am hidden inside or out in full view.

Photo of Pine Siskin

Pine Siskin, waiting his turn at the feeder.
ISO800; f/5; 1/640 Second

New Photography Accomodations

My current blind is more like a tent that collapses whenever the center crossbar is disturbed. It’s advertised to “hunters and photographers”, but I think the “photographer” keyword was an afterthought. The blind is wide, but not quite as tall as I am, so I must remain slightly bent over during setup, entry, equipment installation, and exit. I use it only in my yard because it’s heavy and awkward to transport. I’ve spent many uncomfortable hours in it and when bird activity is slow, I ponder acquiring a new cloak.

N-Visabag

First and foremost, my car is my main blind. For those times when I need to be more secretive, a more photographer-centric blind has caught my eye. It’s the Rod Planck’s N-Visibag. No set up is needed. You just climb into this cameo sack with your stool, DSLR camera, and tripod and pull it up around you. It’s made of light, breathable, water repellant 100% polyester. Teardown is a quick and quiet process. According to the manufacturer, this blind is roomy, windproof, covered with concealing camouflage and has a wide screened view port big enough to fit a 600mm lens. 

Sounds so much more convenient than my current blind. Guess I will put these accommodations on my Christmas list.