Photographing An Eastern Screech Owl
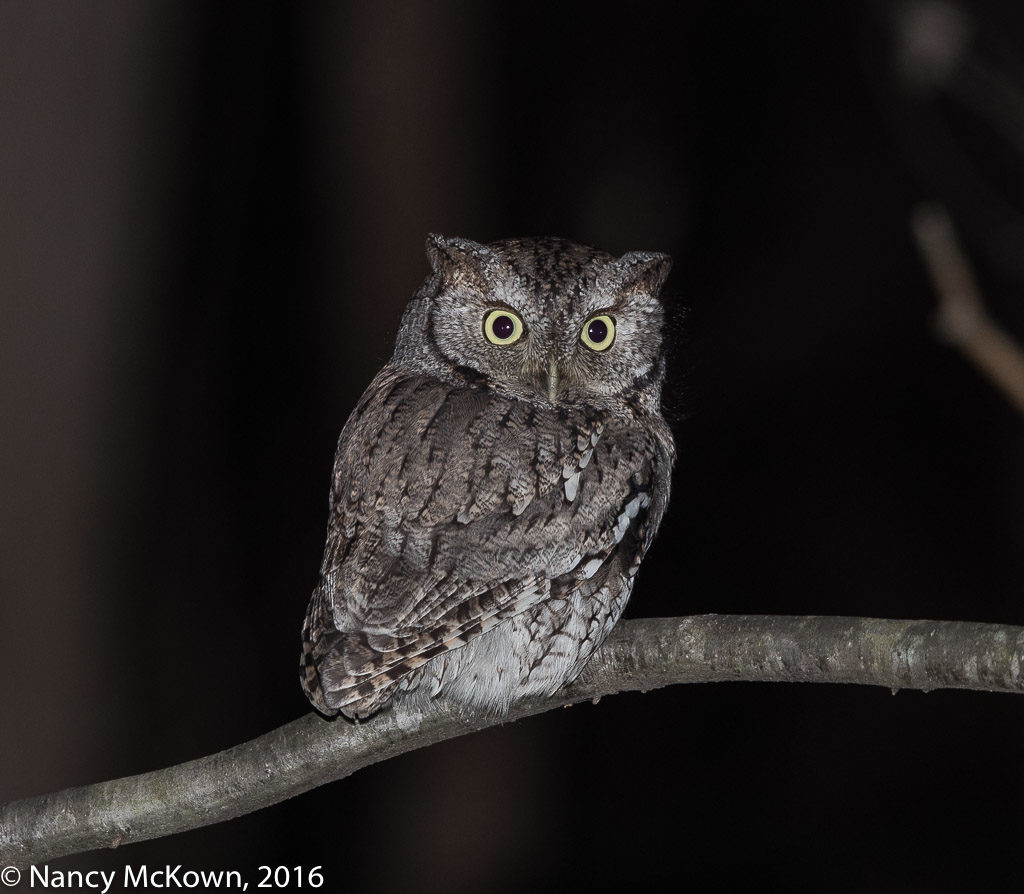
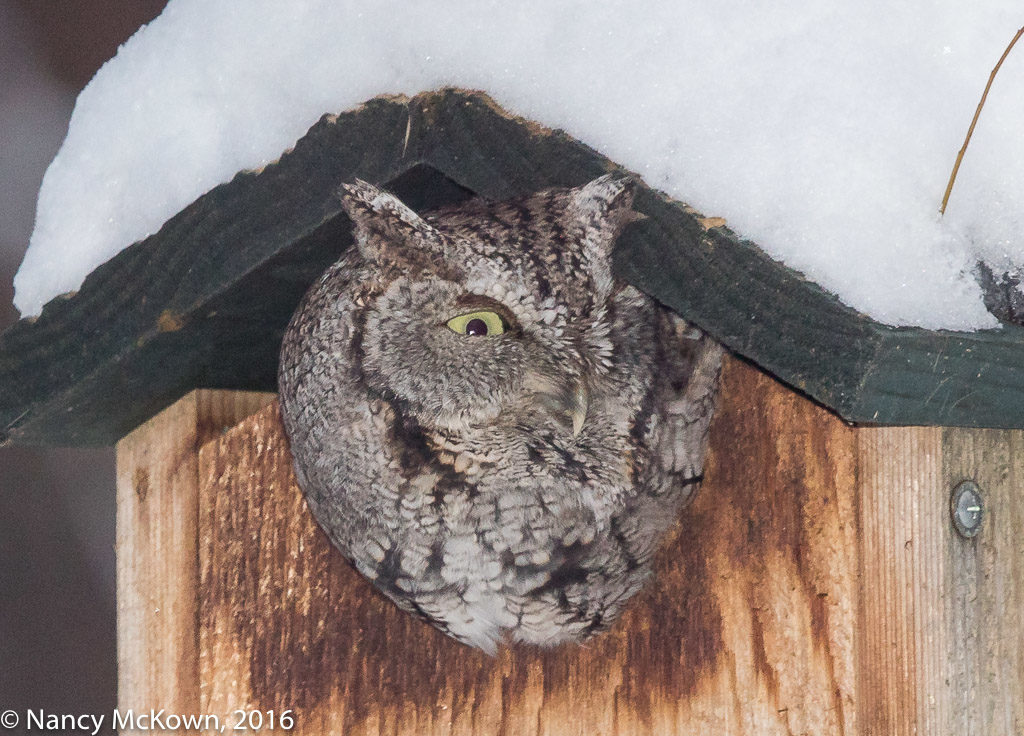
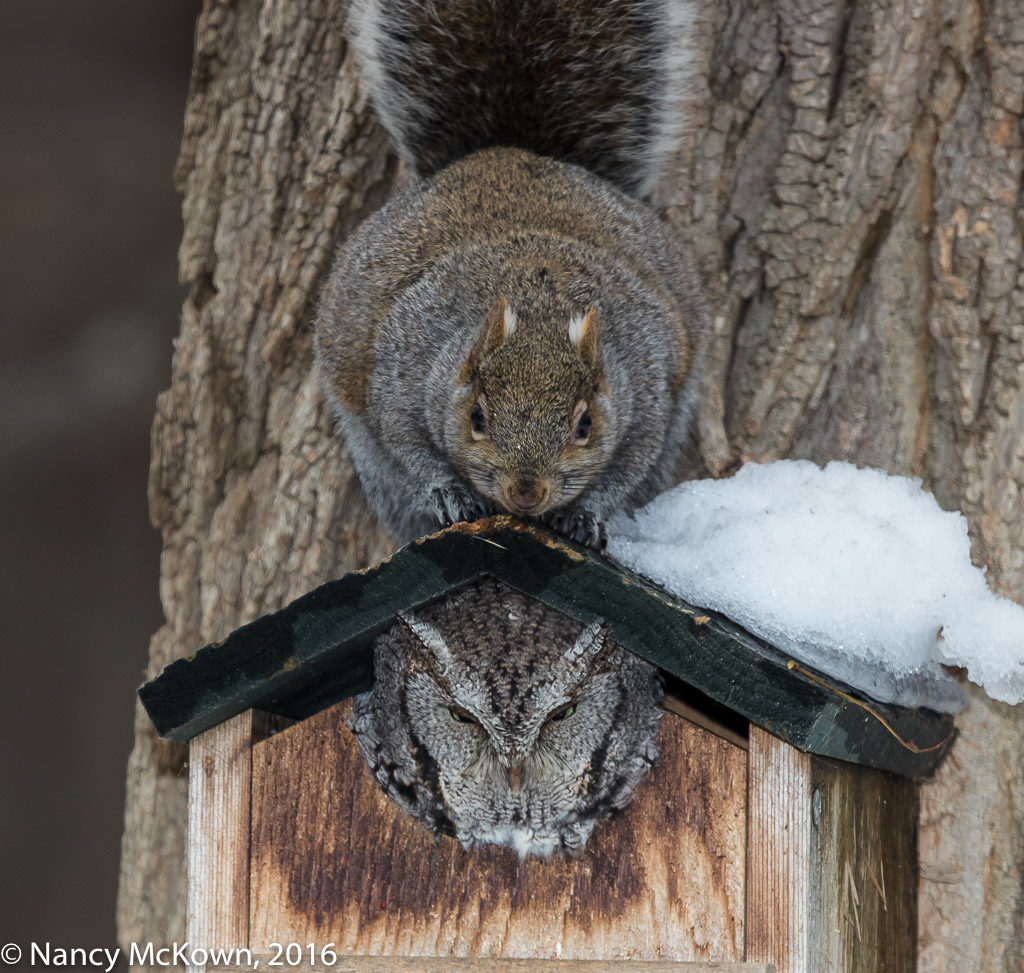
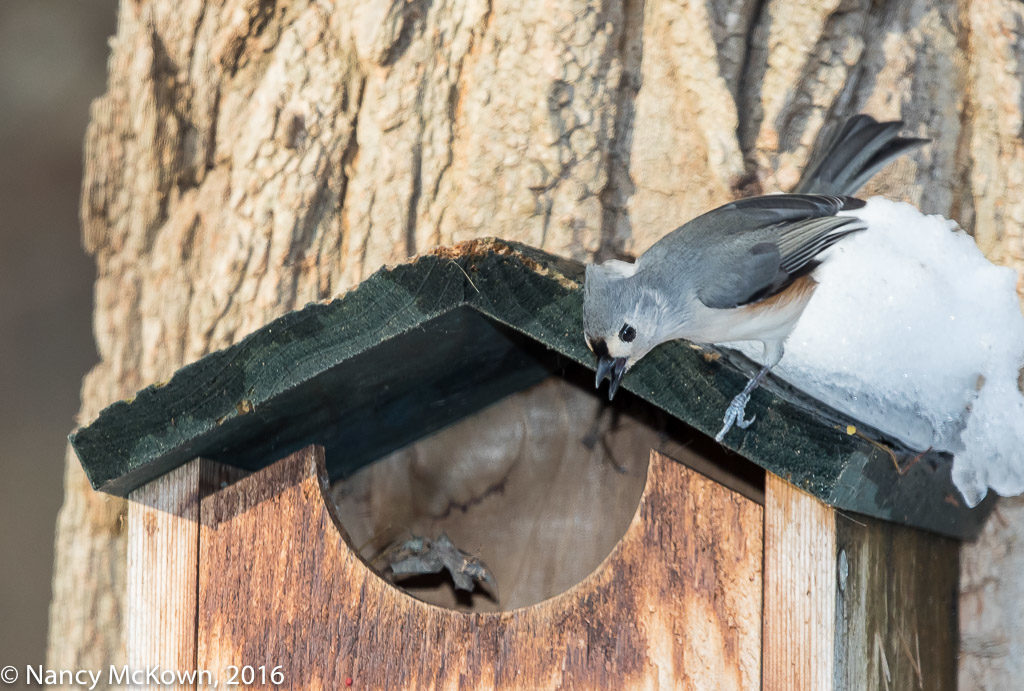
I have been photographing this little Eastern Screech Owl on and off for more than 4 weeks now and have been unable to capture him as he flies out of his box for his evening hunting excursions.
He exits his box at twilight, quickly, unpredictably, and without fanfare. I ready the camera and 500mm lens by connecting the shutter remote and locking focus. The flash is the main source of light, with some ambient light enhancement.
At the ready with the shutter half pressed, I’ve tried over and over to anticipate when he will make his speedy departure. No luck. I end up with images showing a whole body motion blur, streaking from the 3″ entrance/exit hole to the edge of the frame.
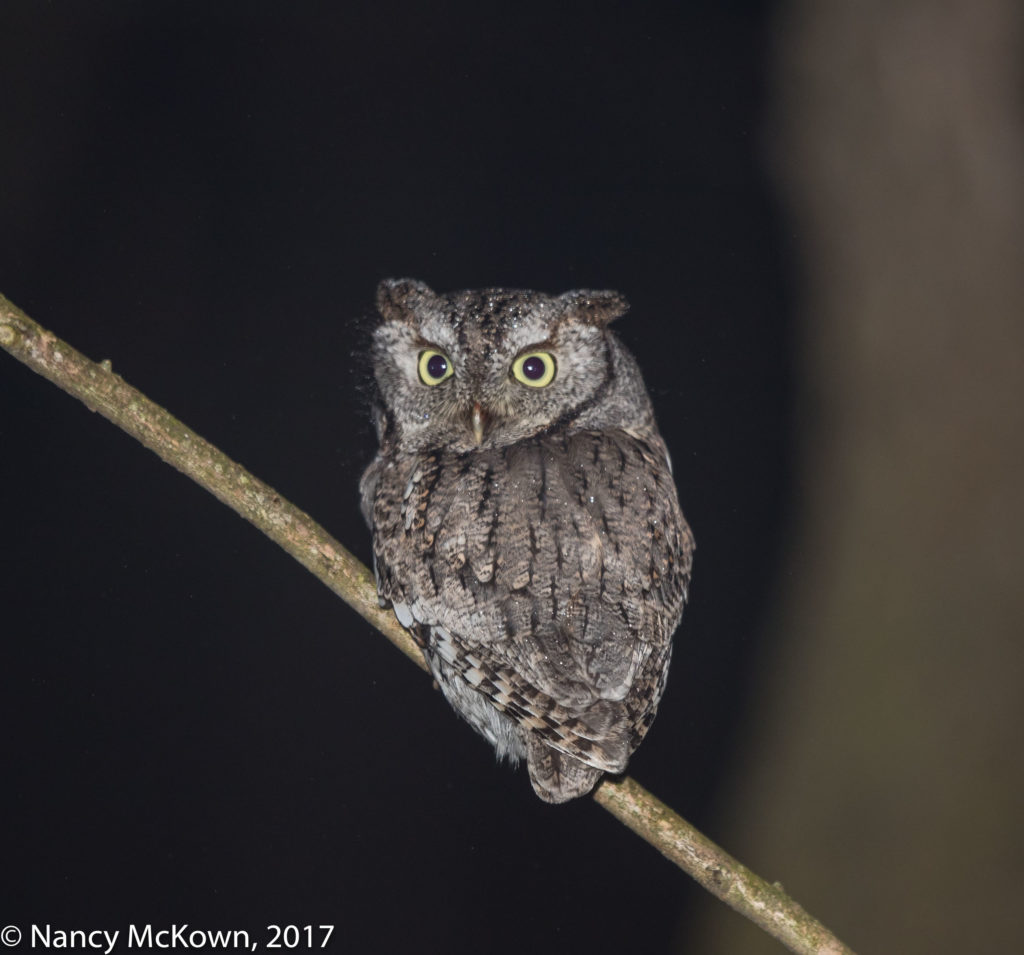
At Me In the Misty Rain.
Is That Blood on his Upper Beak?
Camera set to Program Autoexposure
Mode (P). Please Note Program
Mode’s Unaltered Exposure Settings
ISO400; f/4; 1/60th second
Experimenting With Video
In bright daylight, I can set the camera to burst (up to 14 frames per second) and easily capture flying birds with an ultra fast shutter speed. But owls are nocturnal creatures and my flash gun would never be able to keep up with the camera’s fast bursting. In addition, the flash gun is set at the max sync speed of 1/250 second and will not freeze the action with E-TTL II metering a combination of flash and ambient light.
What if I was to video the Screech Owl exiting his box and then slow down the video in post processing? From there, it might be possible to extract a single captured frame from within that video file.
The video functions on both of my DSLR cameras are unexplored territory for me. Time to learn something new.
Video and Program (P) Auto Exposure Mode
Rather than experimenting with the DSLR video function in Manual (M) mode, I set the camera to Program (P) autoexposure mode. In Program mode, the camera automatically makes all the exposure decisions, like it does in Auto (A) mode, but it doesn’t prevent the photographer from changing those settings. If the photographer alters one of the many settings originally set by Program mode, (ISO, picture style, white balance, aperture, etc) the camera will compensate on-the-fly, re-metering light levels and making the necessary exposure adjustments. Program mode does this by changing the variables that the photographer did not change, taking into account all resources available, including flash settings (not useful in video) and type/focal length of lens. (NOTE: You can even influence how the camera changes exposure parameters in P mode by fiddling with AEC or changing the light metering mode.)
My First Videos
I started out my DSLR video training one evening by producing a couple 2-3 minute videos. (Seemed like an eternity when I was filming). Filming conditions: Cloud-covered twilight, steady rain, 40 degrees, a bit foggy, window open, portable heater going in the background. (NOTE: I do not own video or studio lights.)
As with most learning endeavors, the more I read the manual and the more I practice, the better I get. I found that one of the most useful controls for video was the Q button (Quick Control) on the back of Canon DSLR cameras. It gave me access (in real time) to all sorts of video related functions, including Auto Focus, Frame Rate/Image Size/Compression, Audio Input Control, Headphone Volume, White Balance, Picture Style, and Auto Lighting Optimization.
Watch the Owl Exit in Slo-Mo
The 34 second slow-motion video of the owl flying out of his owl house is below. I slowed down this video clip 50%. (NOTE: The original video was close to 3 minutes long, however, my web hosting server has file size limitations. I had to reduce the length, resolution and quality of this video and eliminate all sound in order to get the file size small enough to upload it to my website.)
Pre-video preparation included the following:
- Load a fully charged battery.
- Insert the fast, high capacity memory card.
- Set the video mode. The camera manual advises that 120fps in 1080p mode is best for slow-mo playback, and it did do a good job, allowing me to see fairly sharp individual frames despite the low light. (NOTE: Be sure you understand the options available in your DSLR for max video size and max video time.)
- Review web resources for DSLR video advice.
Live View
Once I put the camera in video mode, the viewfinder shut down. I had to control the settings via Live View from the LCD screen. Live View on the new Canon 1 DX Mark II camera is crystal clear and very agile. I can pin-point focus by using the touch screen (even at the edge of the frame), dial to loop through exposure settings, white balance, etc., and watch the LCD screen to see how my changes impact the picture quality in real time.
Post video production was done with I-Movie on my Mac Pro. Thus far, I have been unable to grab what I consider to be a high quality frame from the videos I shot. I will continue to try.
There is so much more to learn. Next time I will experiment with video with the camera in Manual (M) Mode.
