Photographing an Orange Crowned Warbler
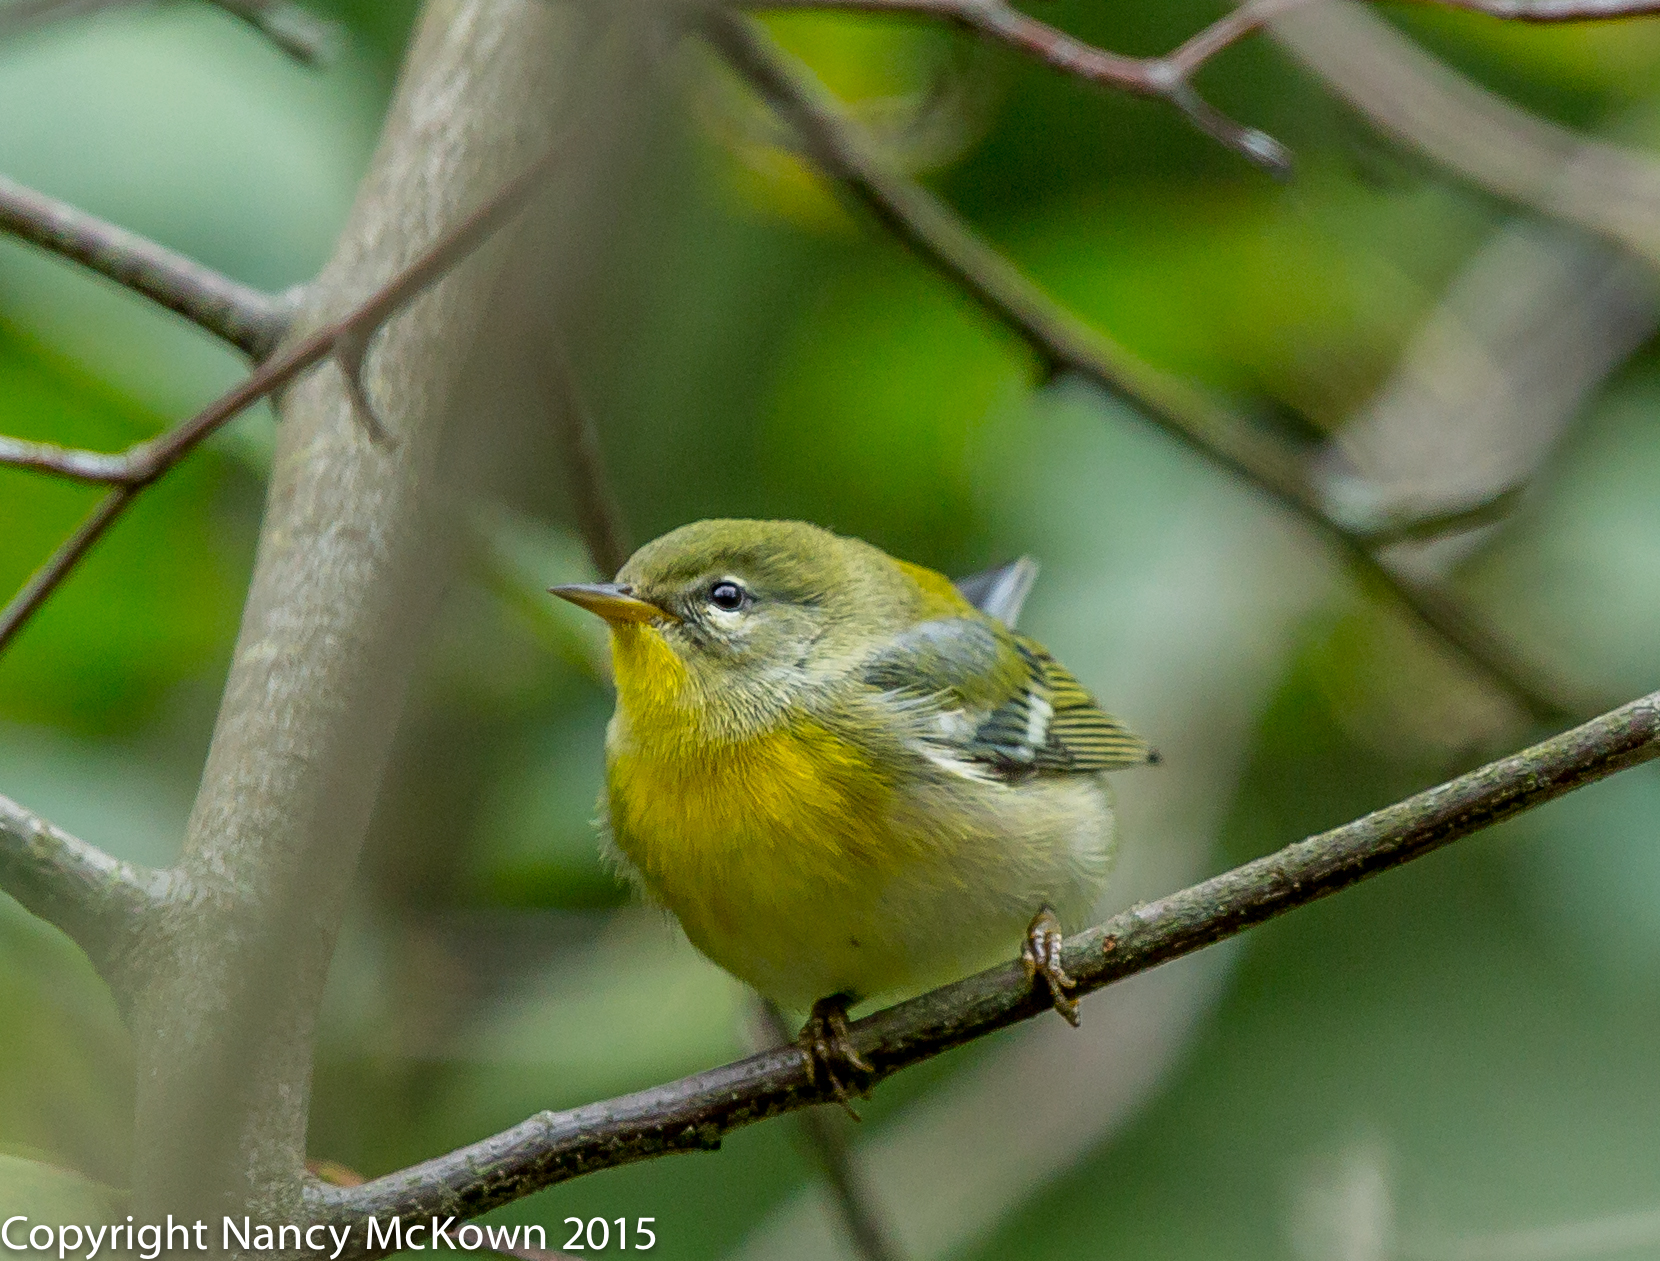
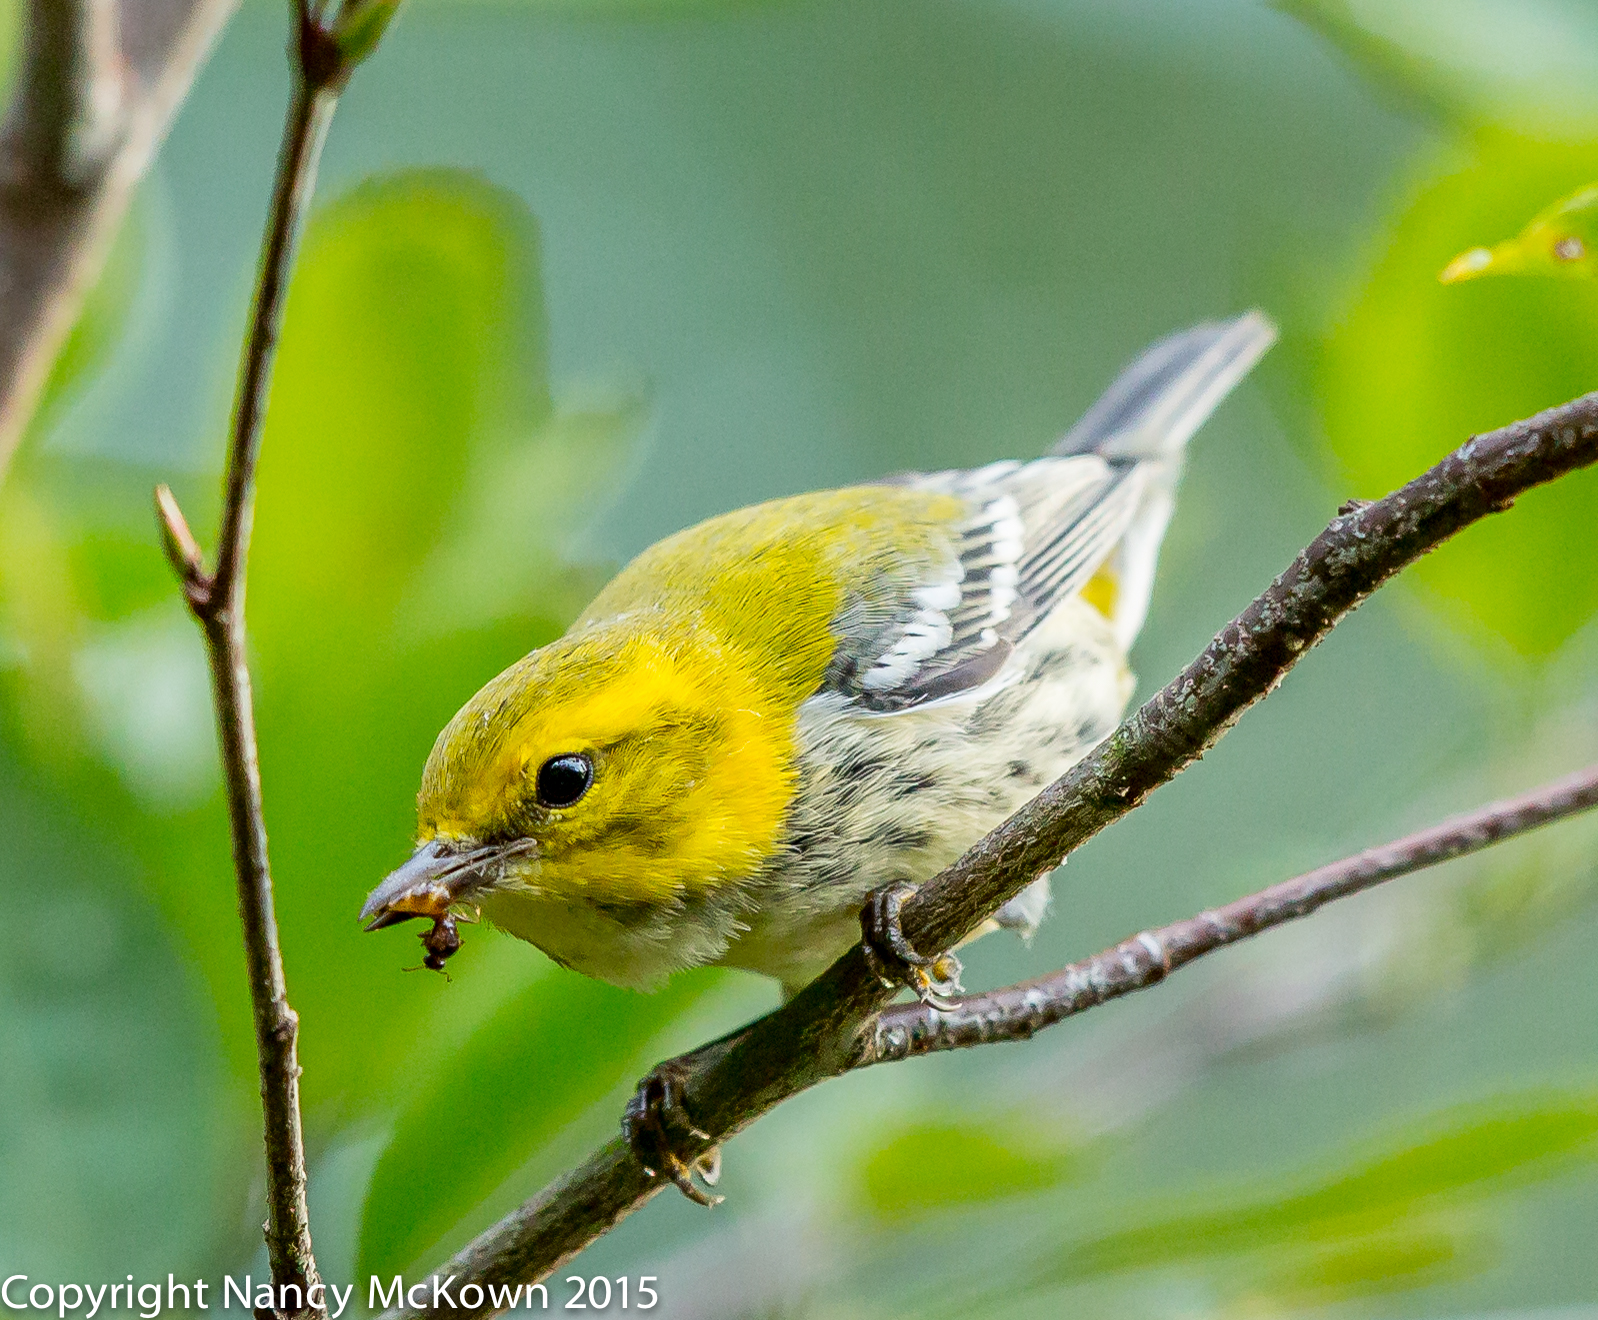
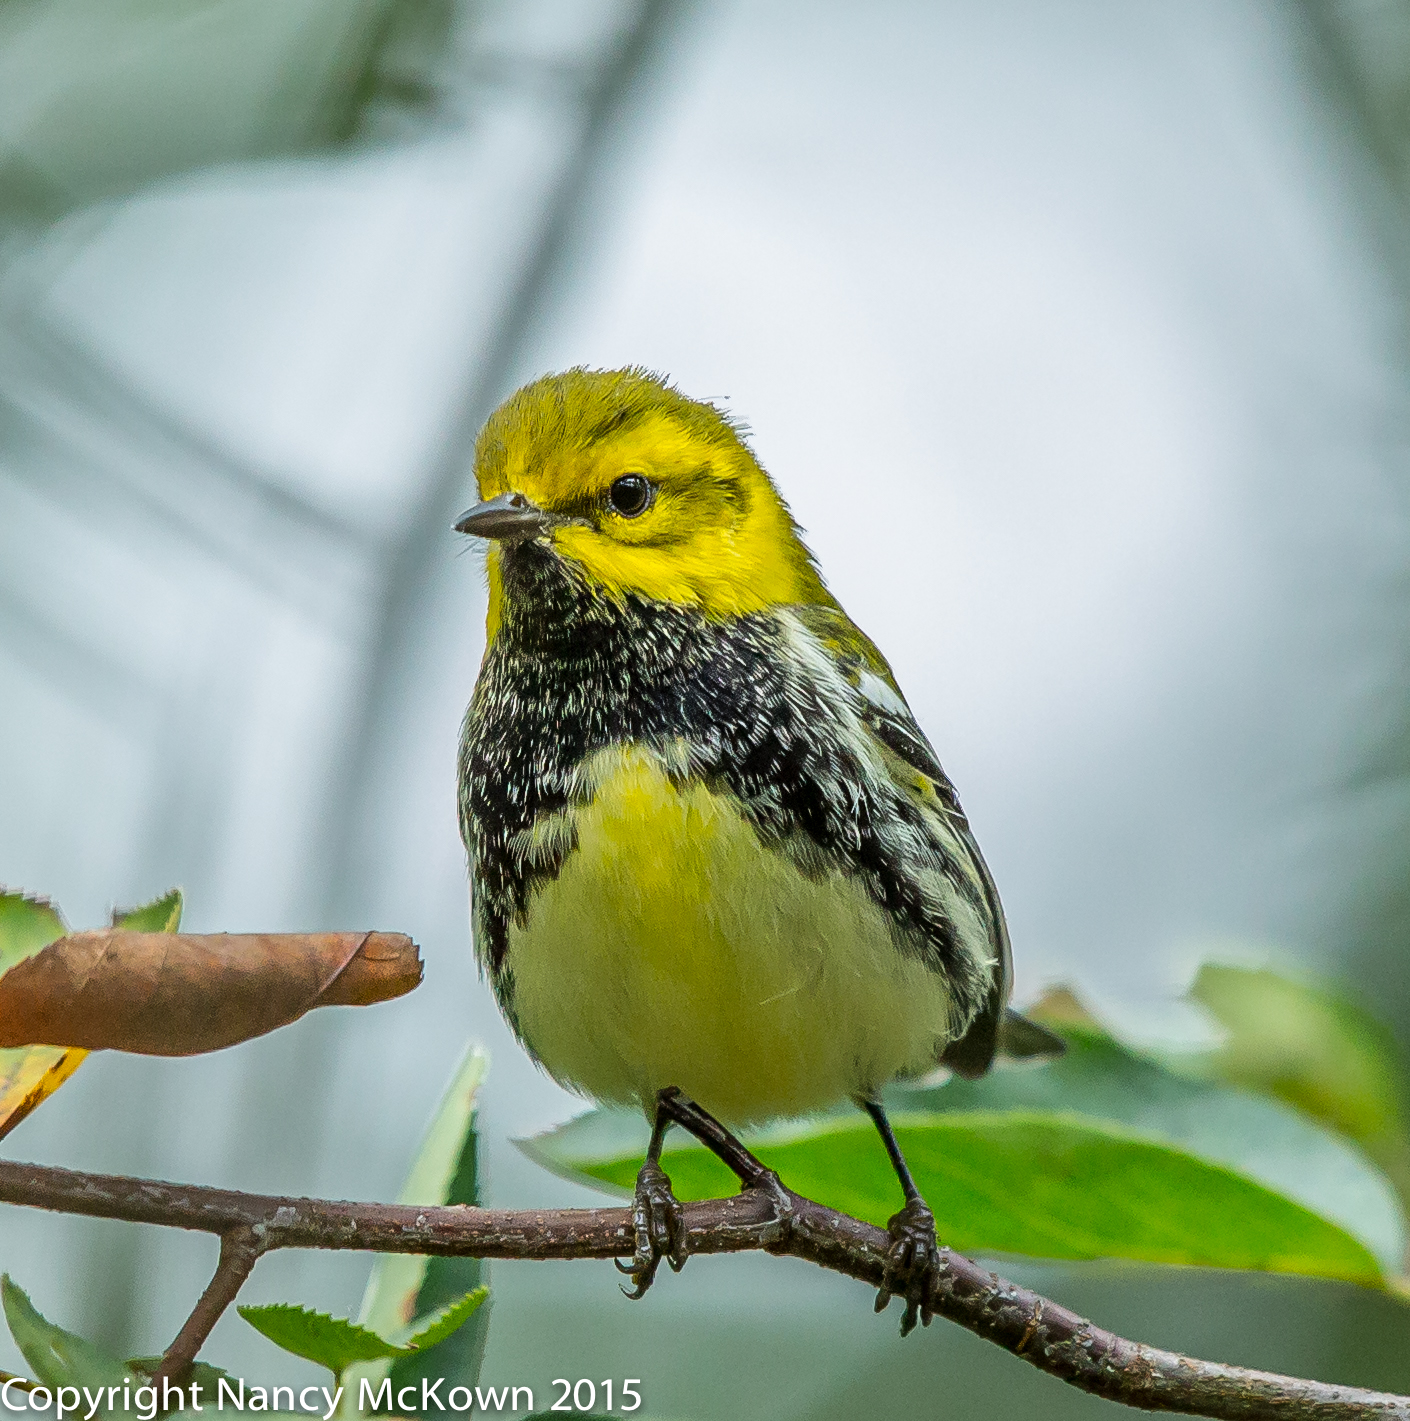
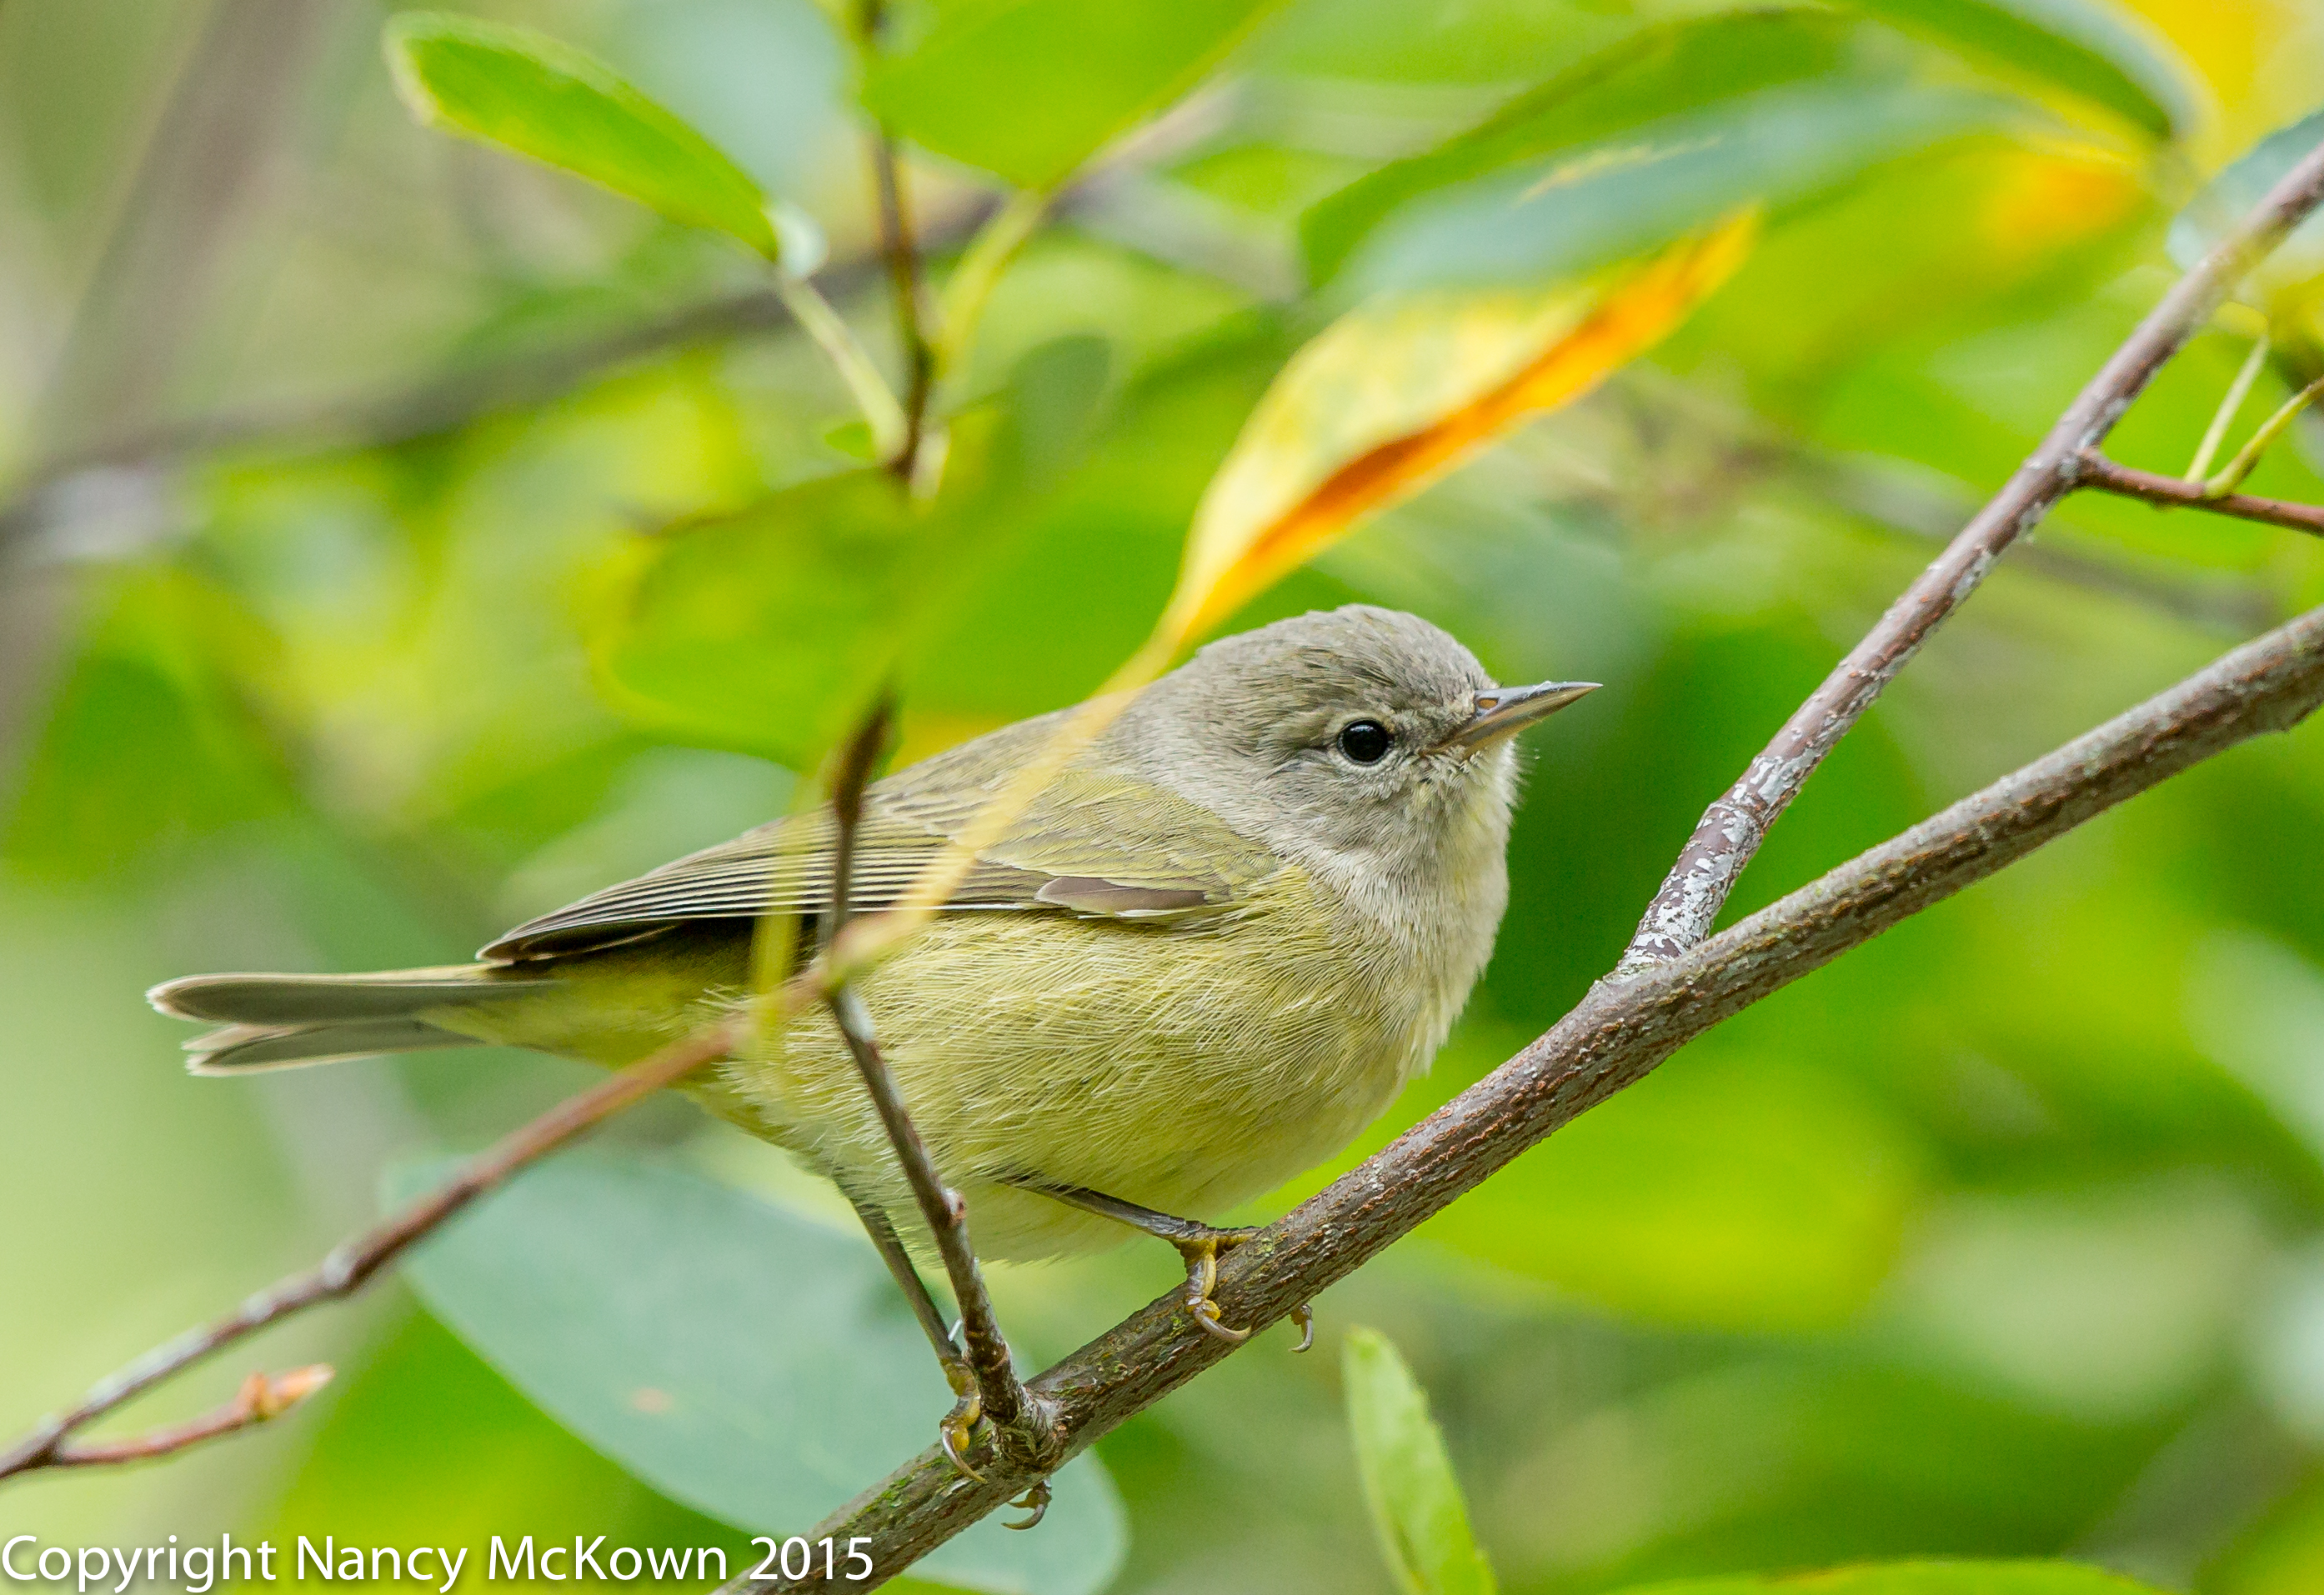
Orange Crowned Warblers are rather scarce during bird migration through SW Michigan, so I was very pleased when Whatbird.com confirmed that this bird was indeed an Orange Crowned Warbler. For ID, I check the head and face for the broken eye ring and eye line markings and look hard at my photos for the inconspicuous orange patch of feathers on the crown. I often confuse them with the more numerous Tennessee Warblers.
Exposing Correctly
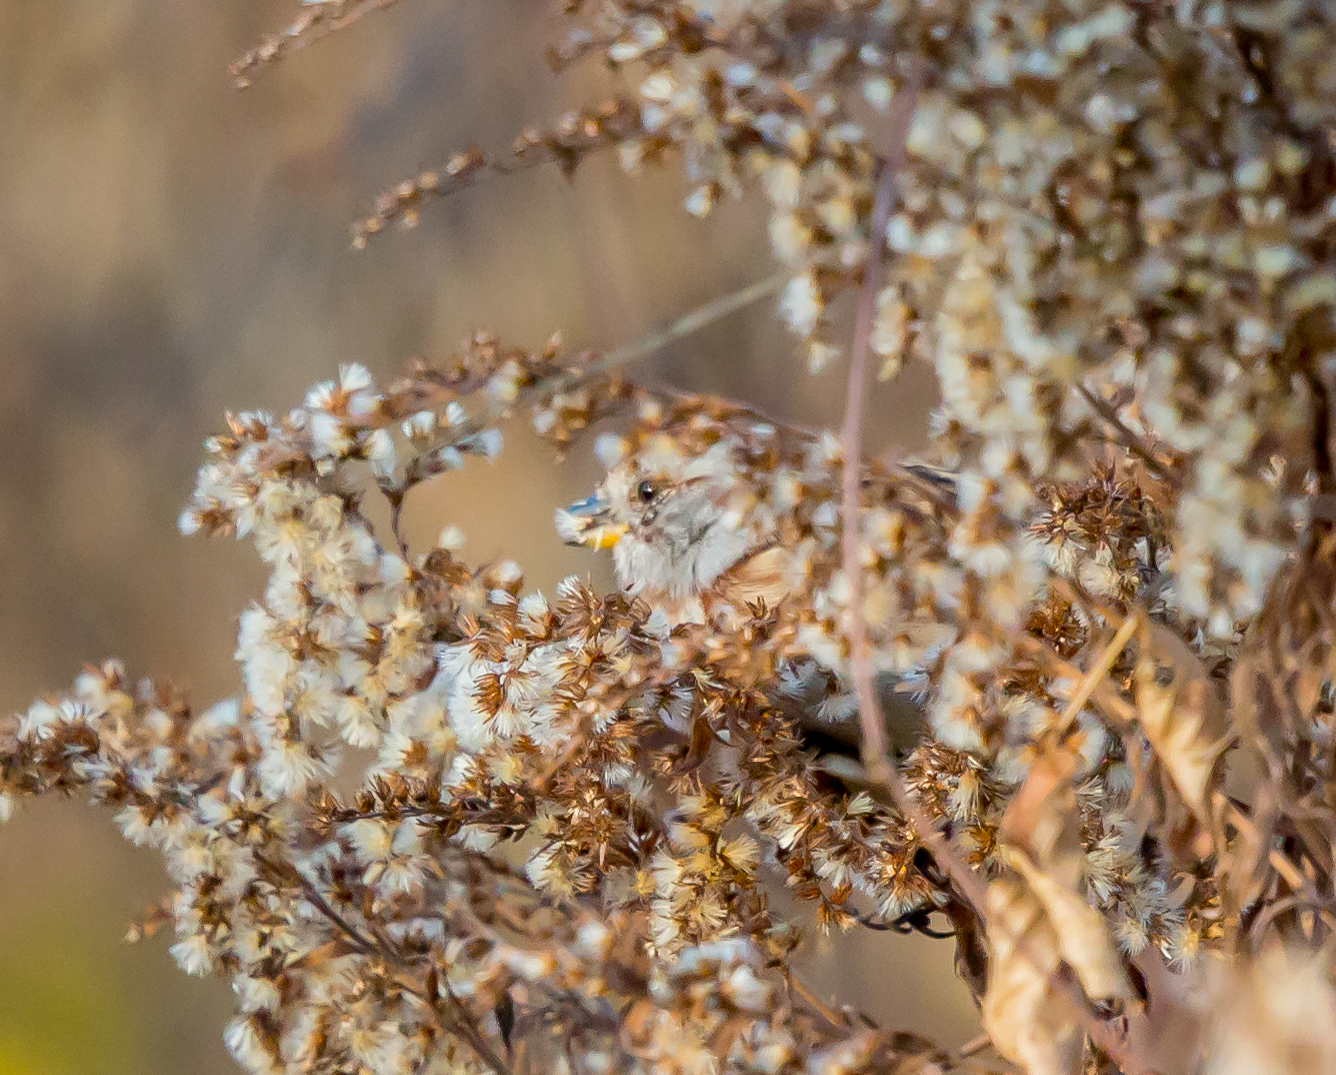
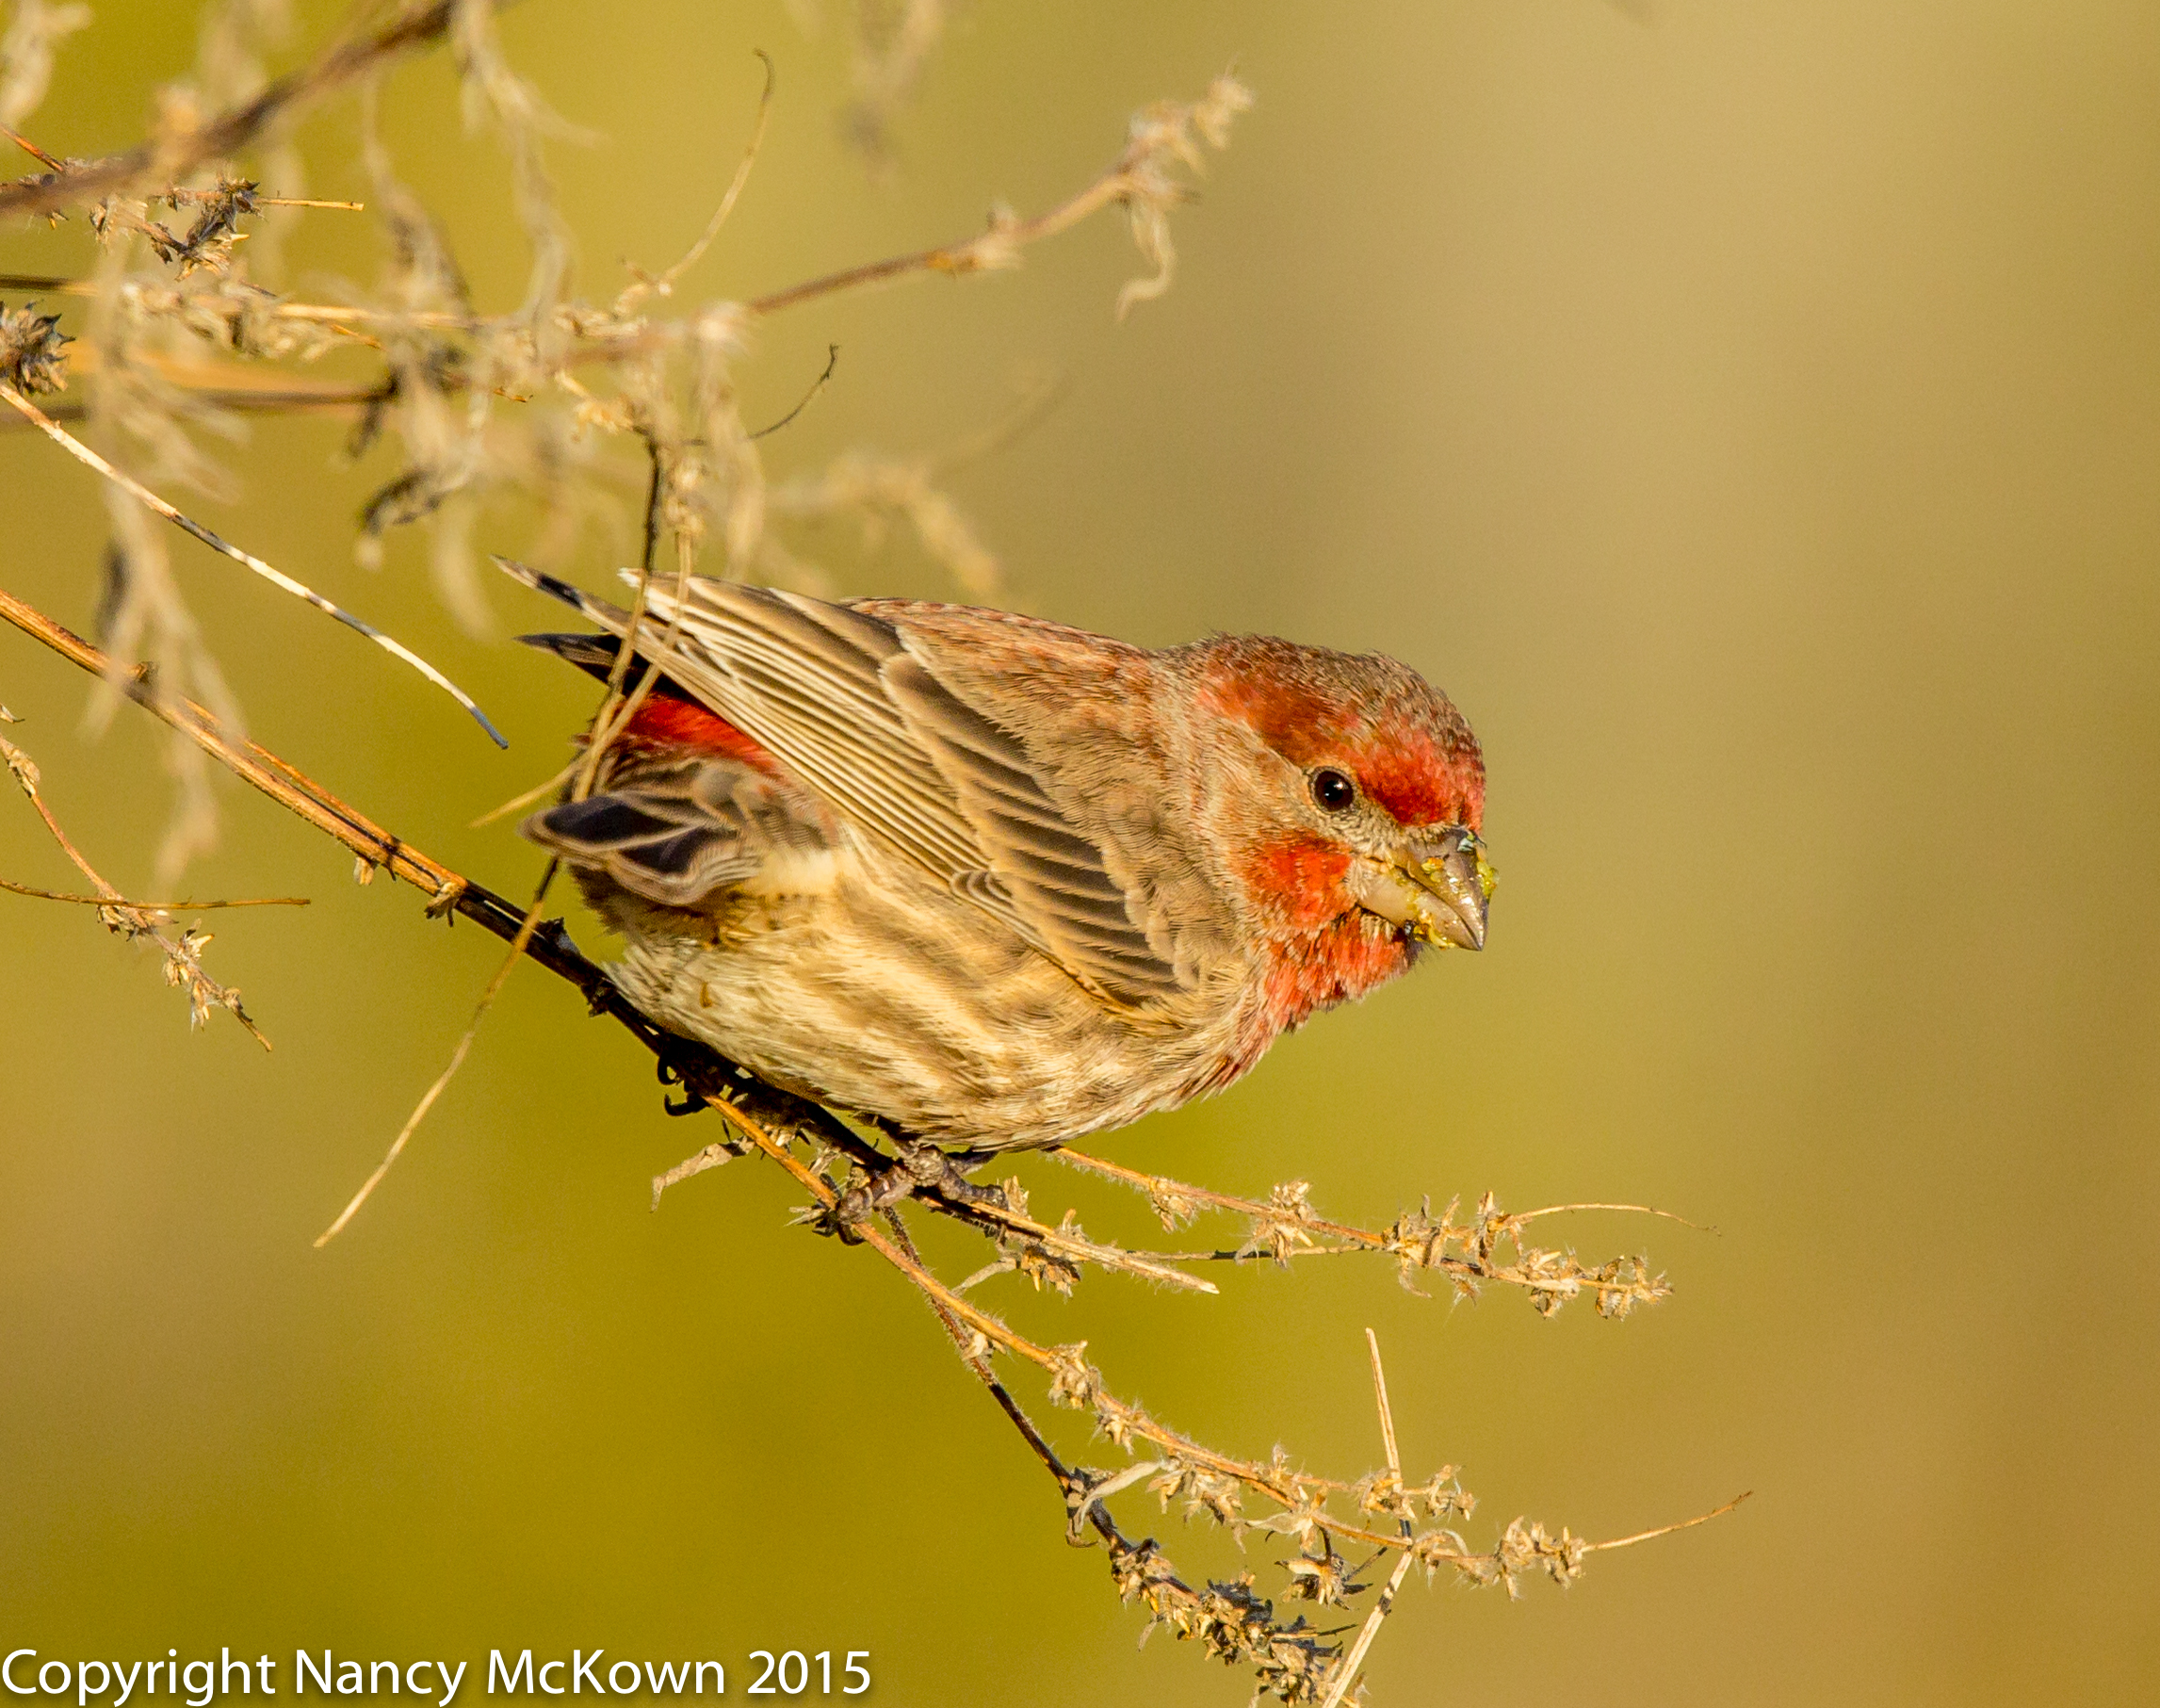
The photos of the Orange Crowned Warbler included with this post were exposed correctly in the camera. In the first photo (see below) I used ISO 2500, but I would have gone higher if it meant getting the shot.
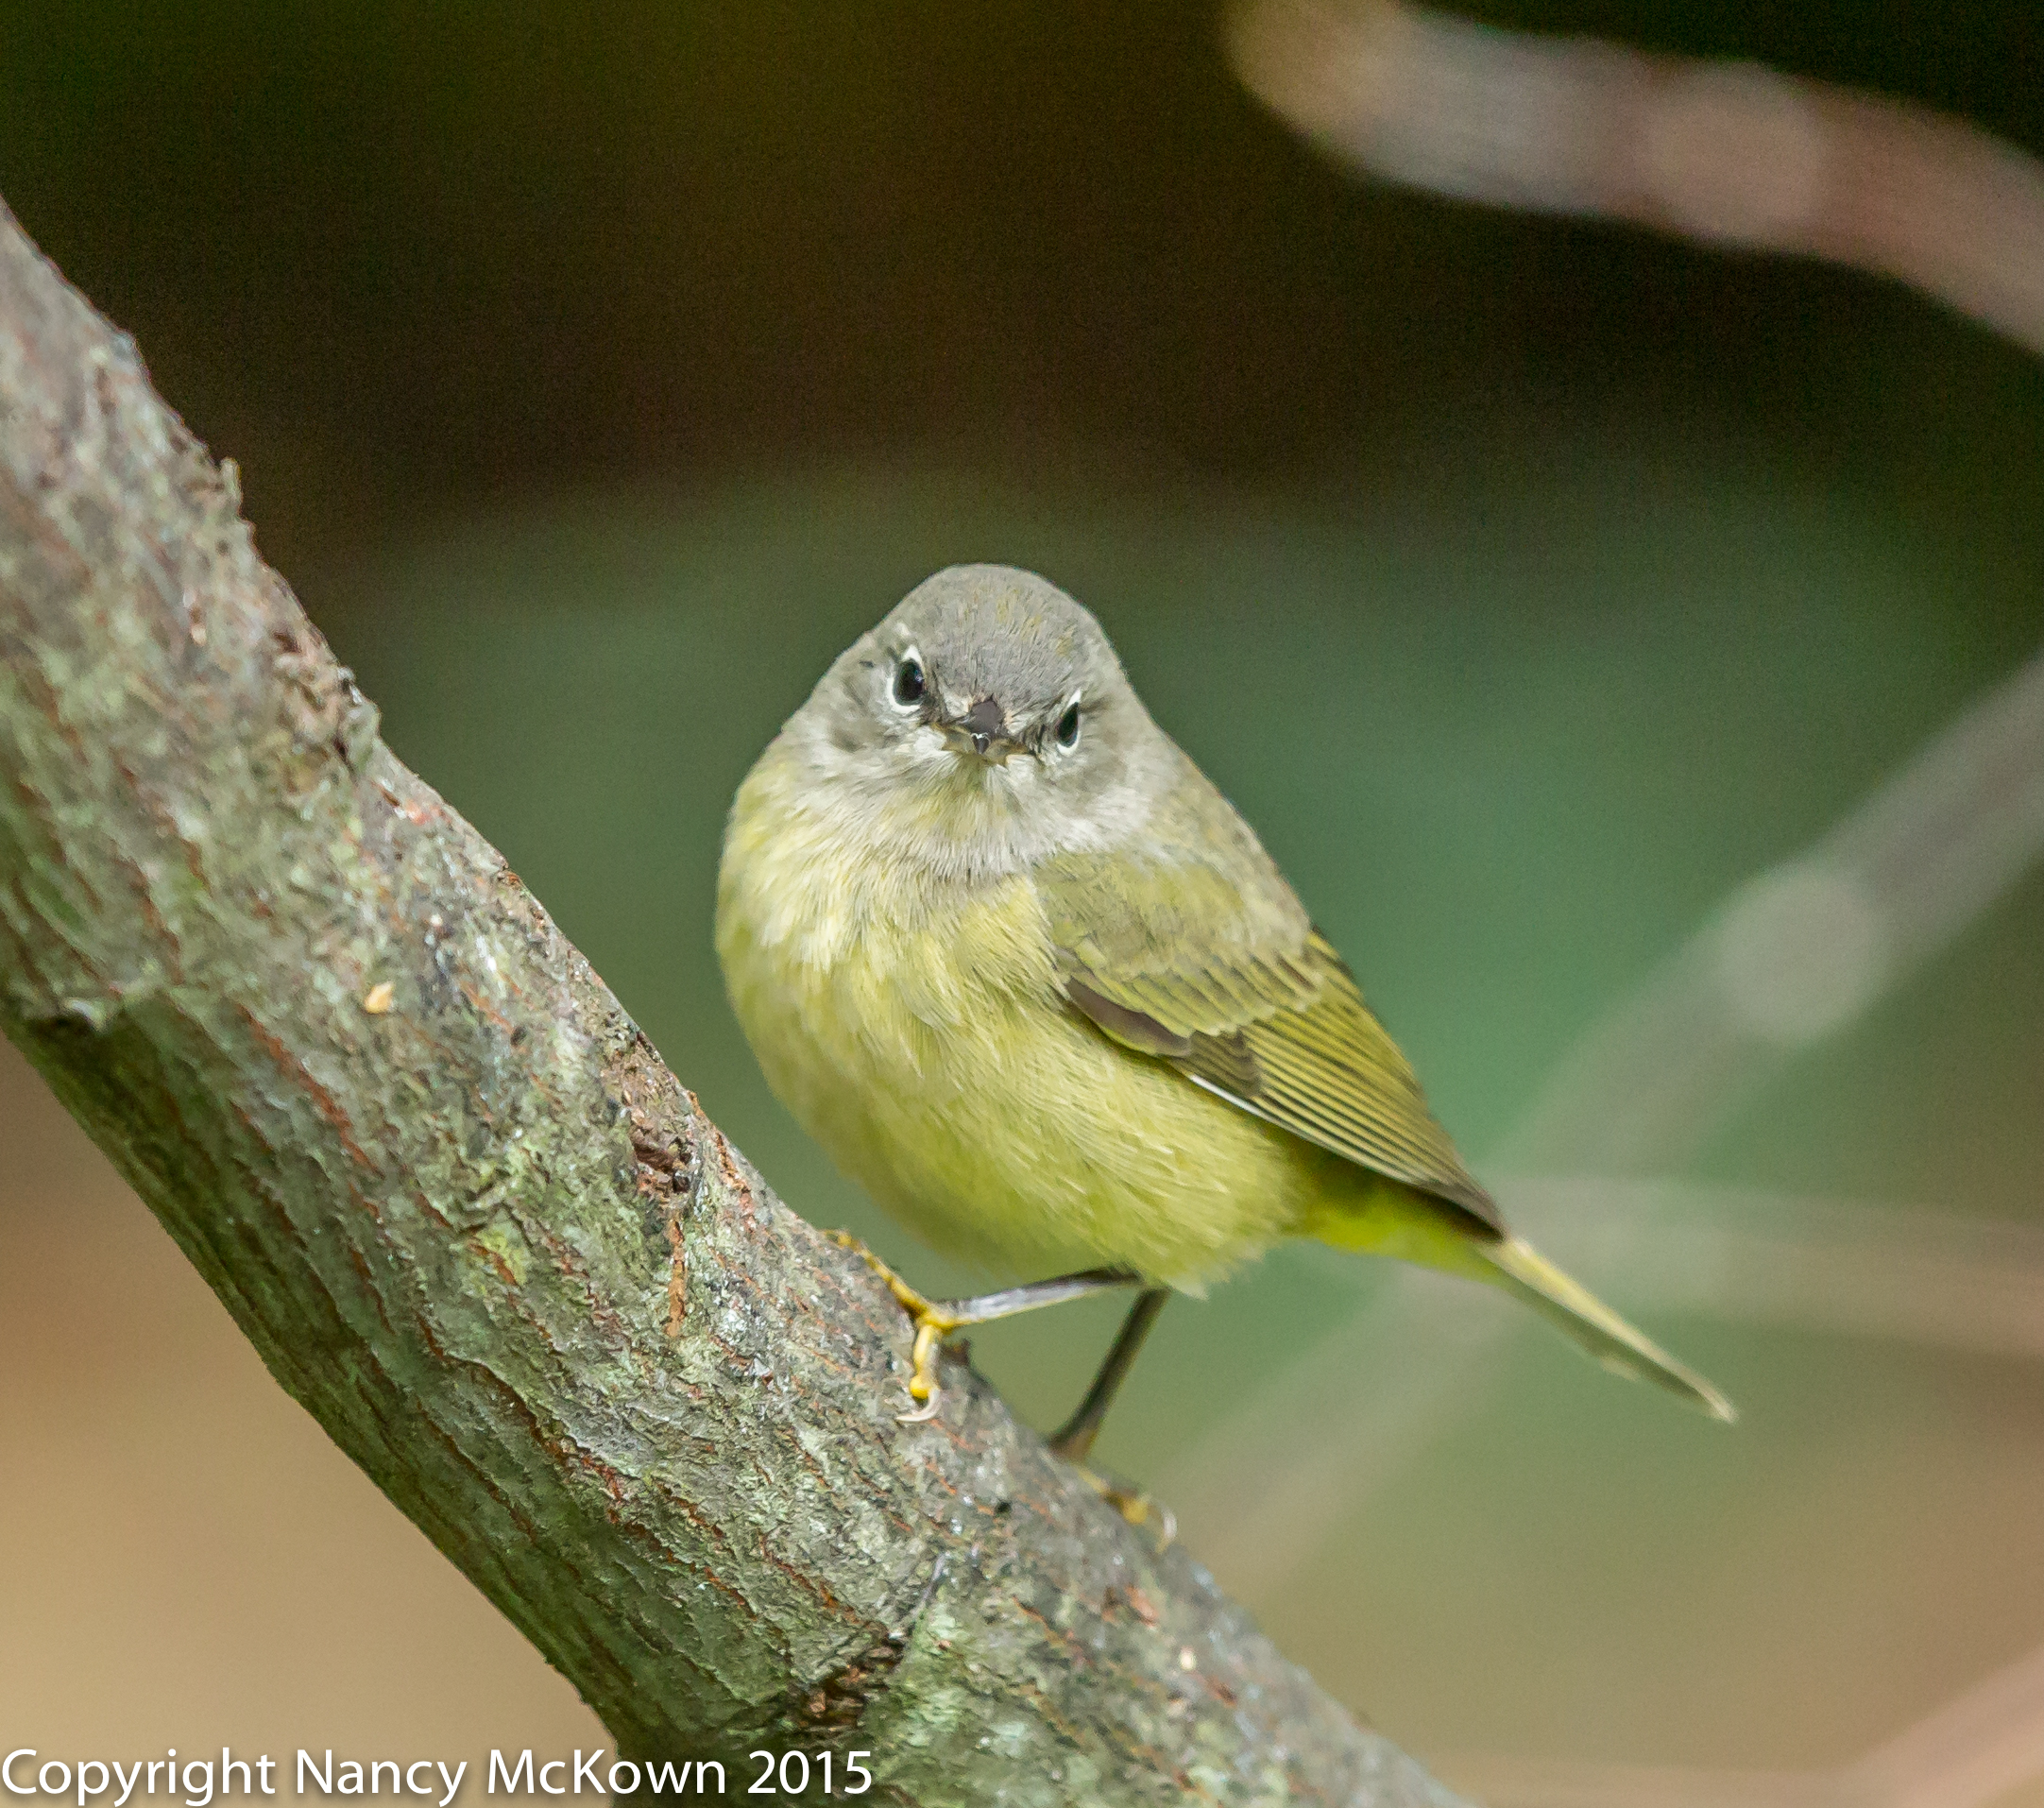
Quite a lot of Feathery Detail
Despite the High ISO Setting.
ISO2500; f/5; 1/500 Second
Protective Underexposure
There are a few tricks and trade offs which allow photographers to keep the ISO low. One popular one is to purposely underexpose and then artificially correct the exposure during raw post processing. This practice is referred to as “protective underexposure”. It’s an effort to “protect” the image from noise damage due to high ISO settings.
I’ve spent many long hours trying to diminish the effects of noise in post processing and I have learned that this strategy most often backfires. In fact, protective underexposure can produce images that contain more distracting noise, despite the lower ISO setting and image torturing you inflict in post processing.
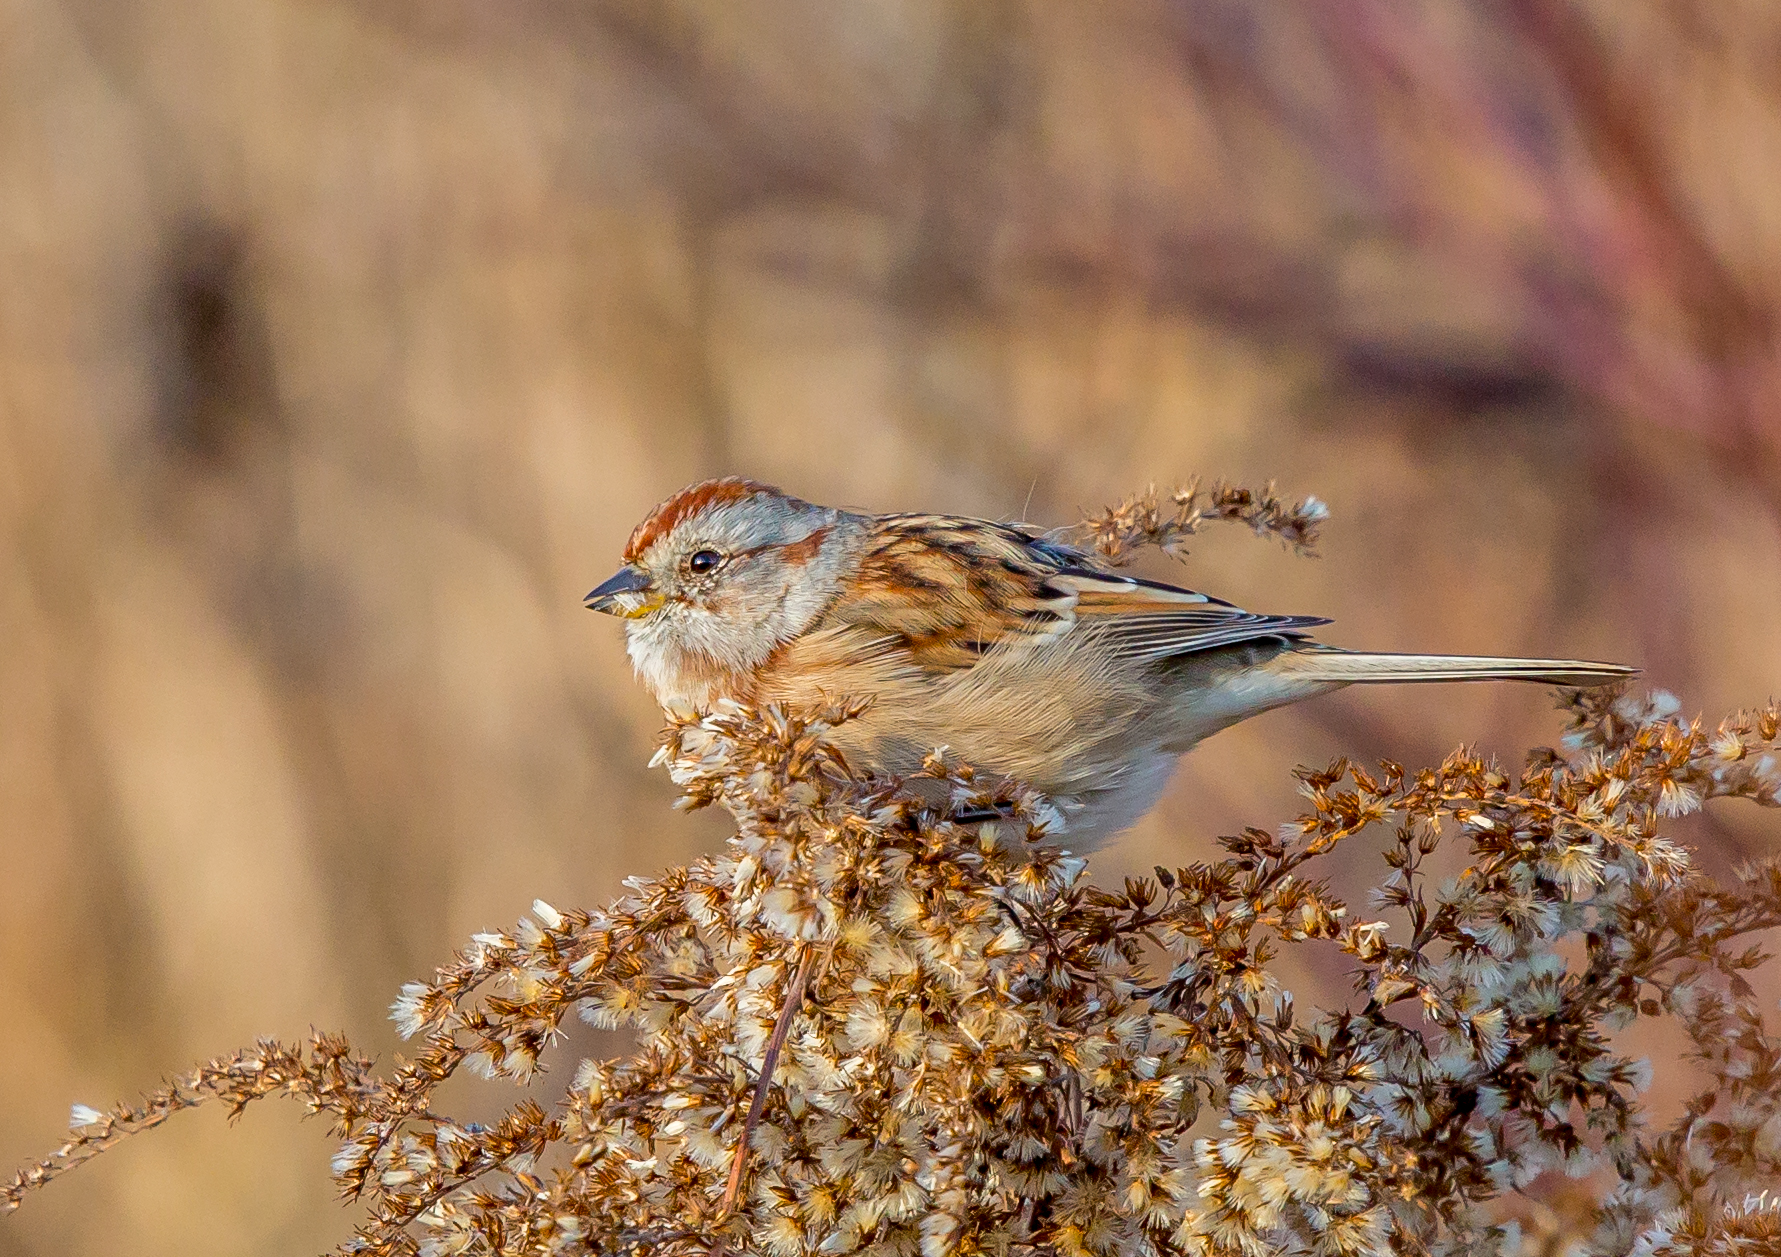
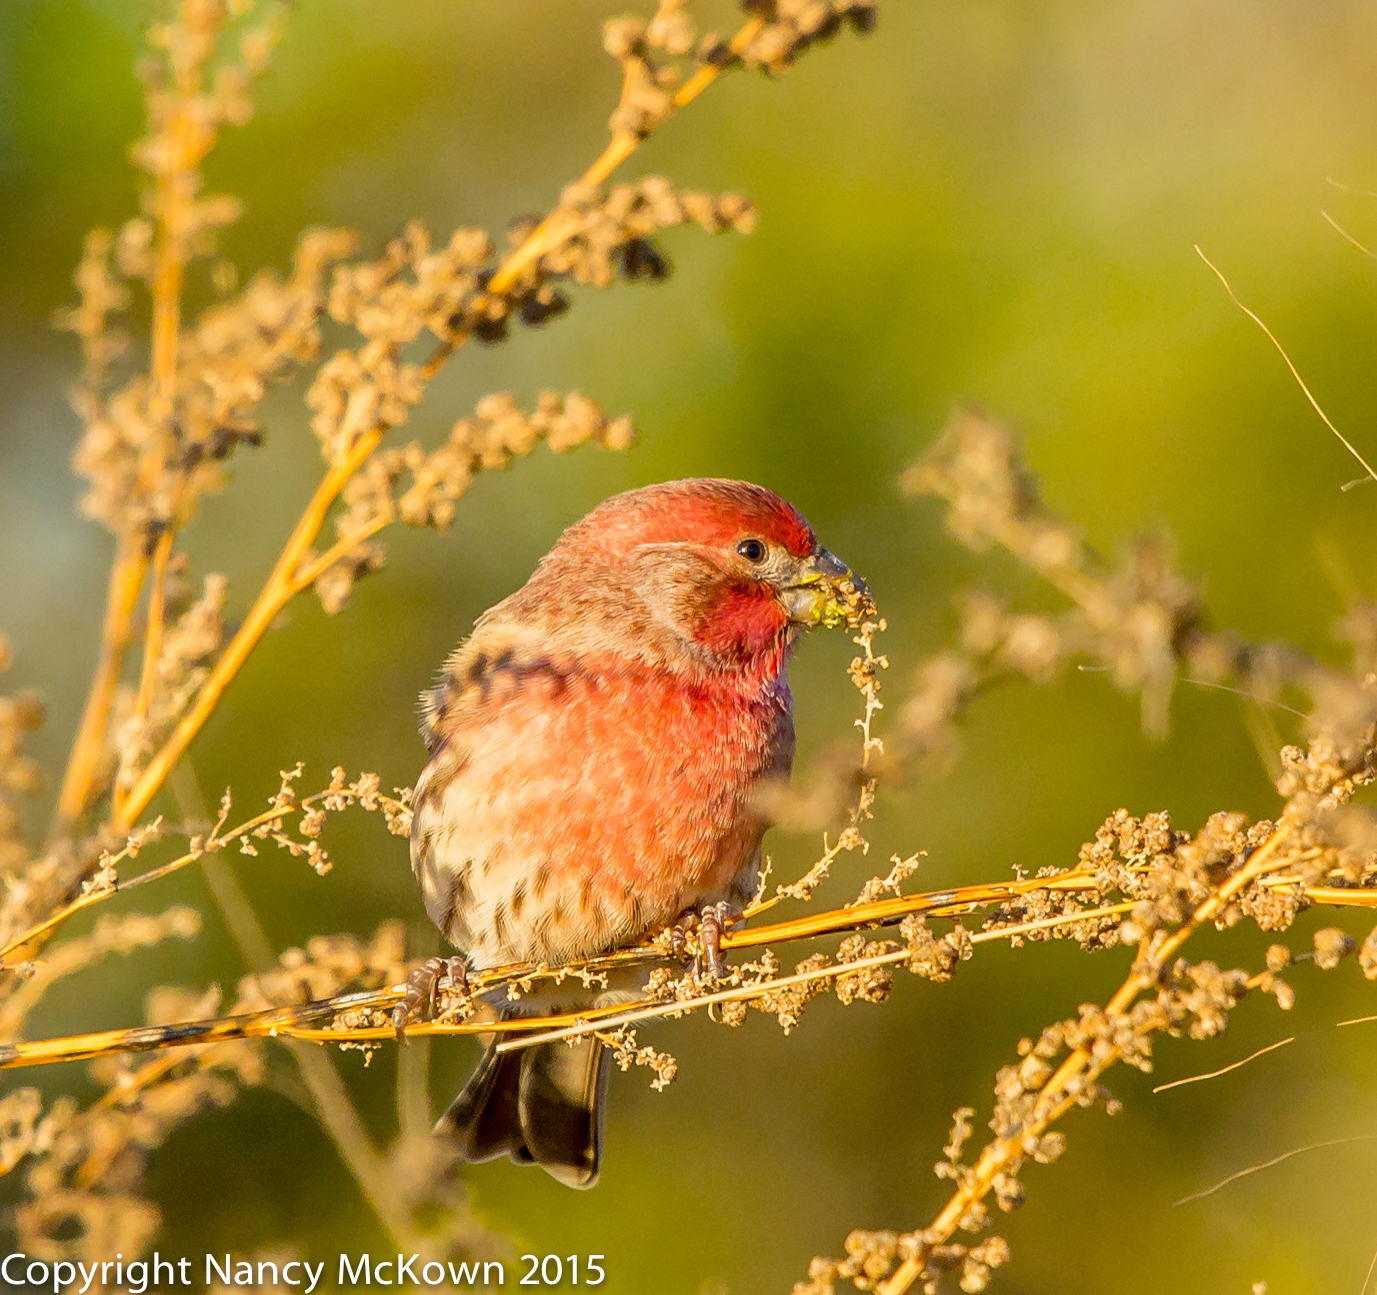
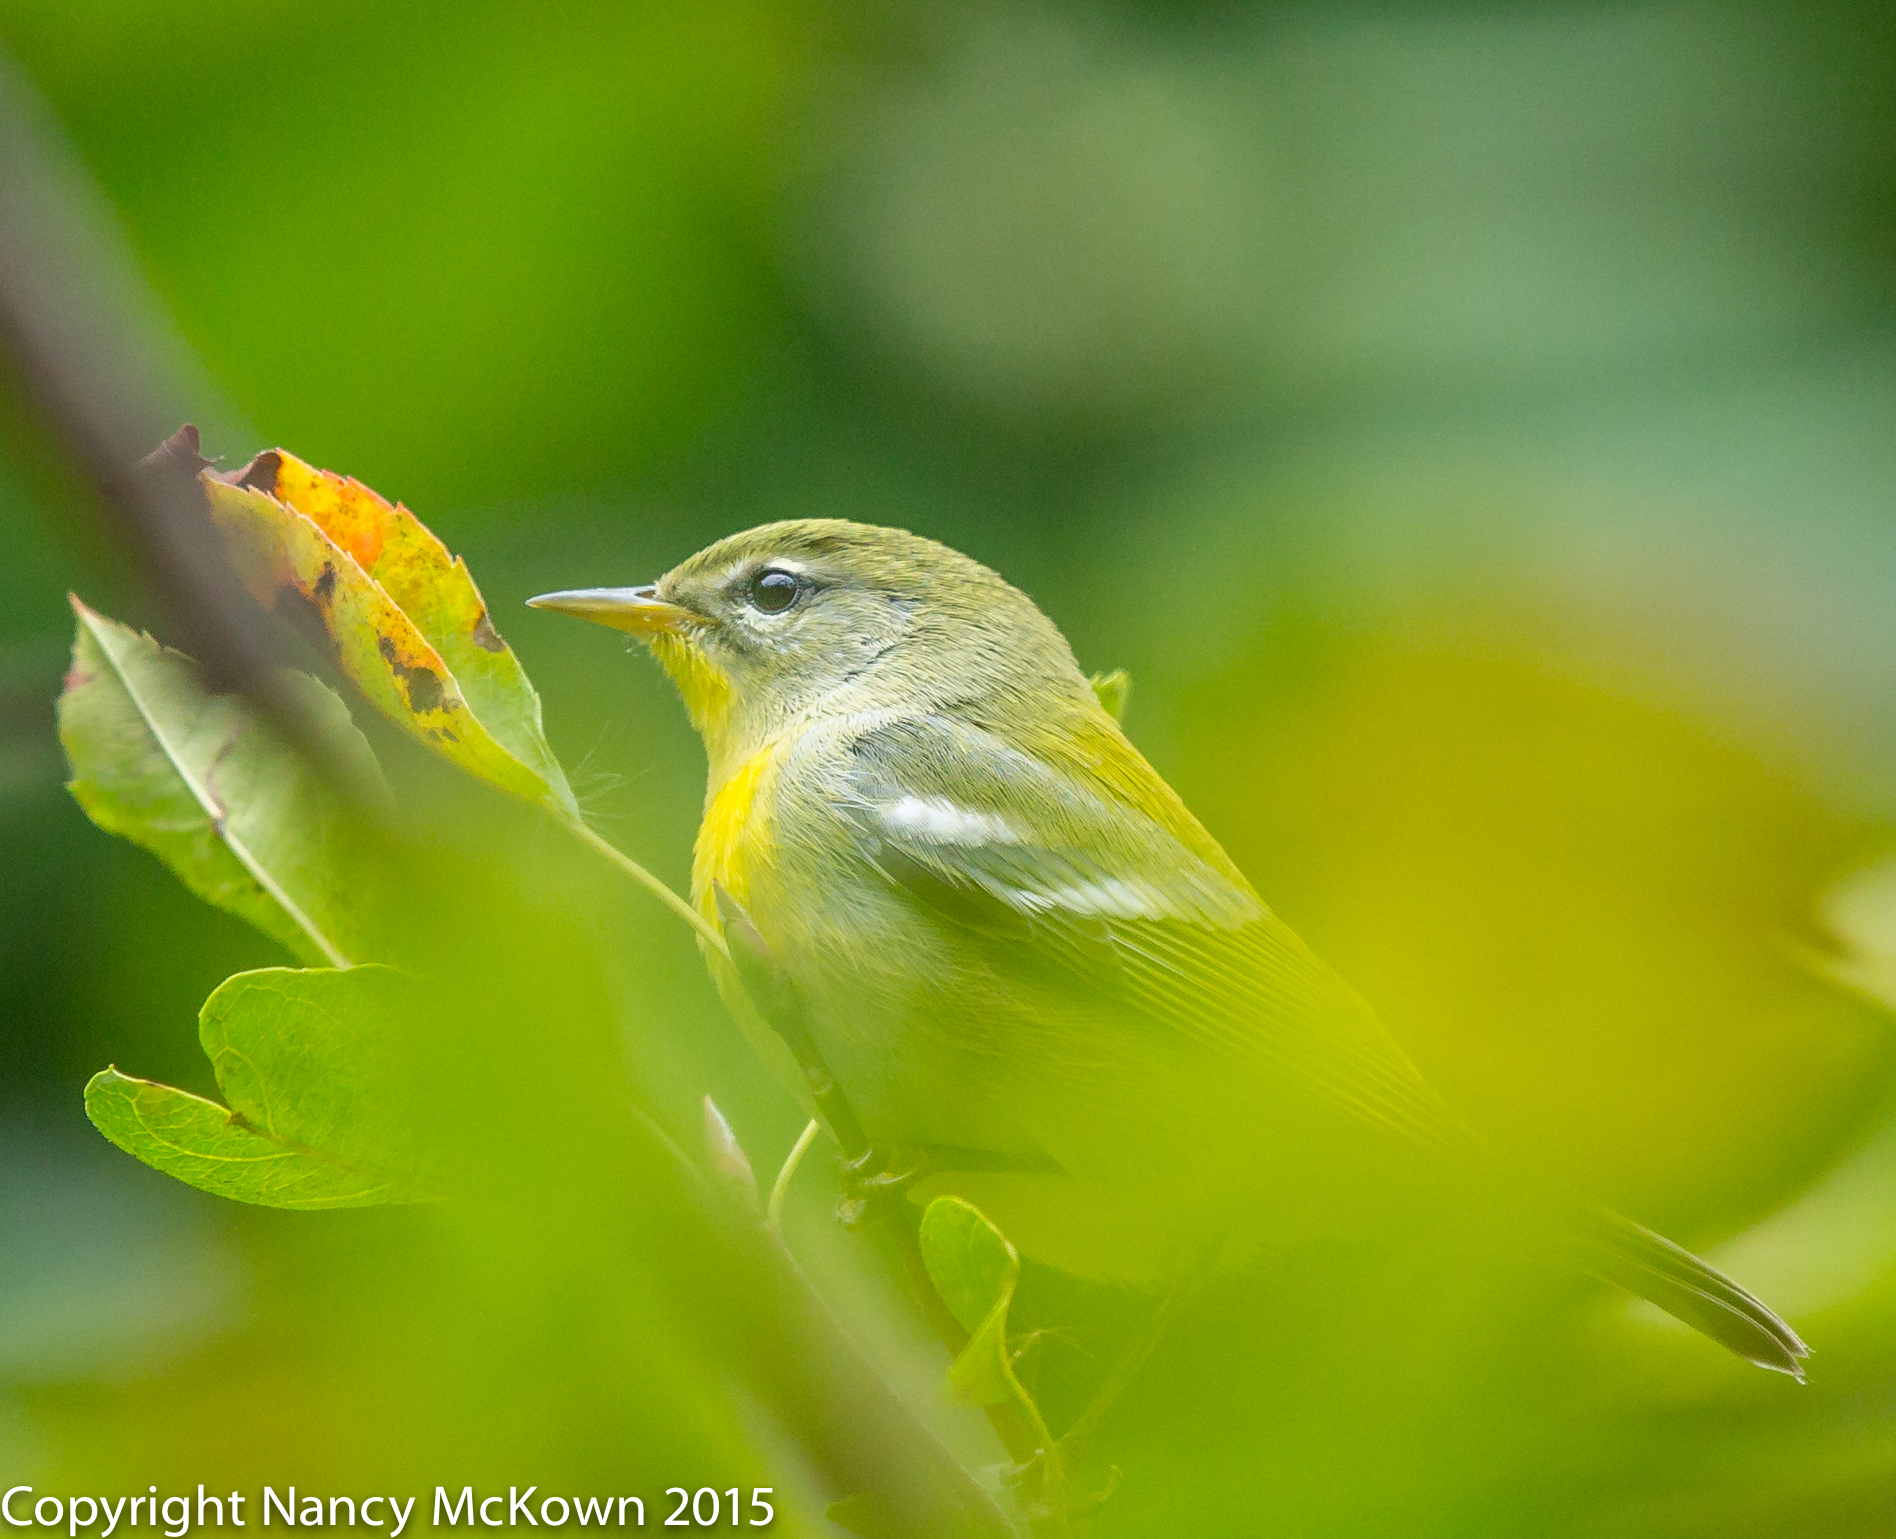
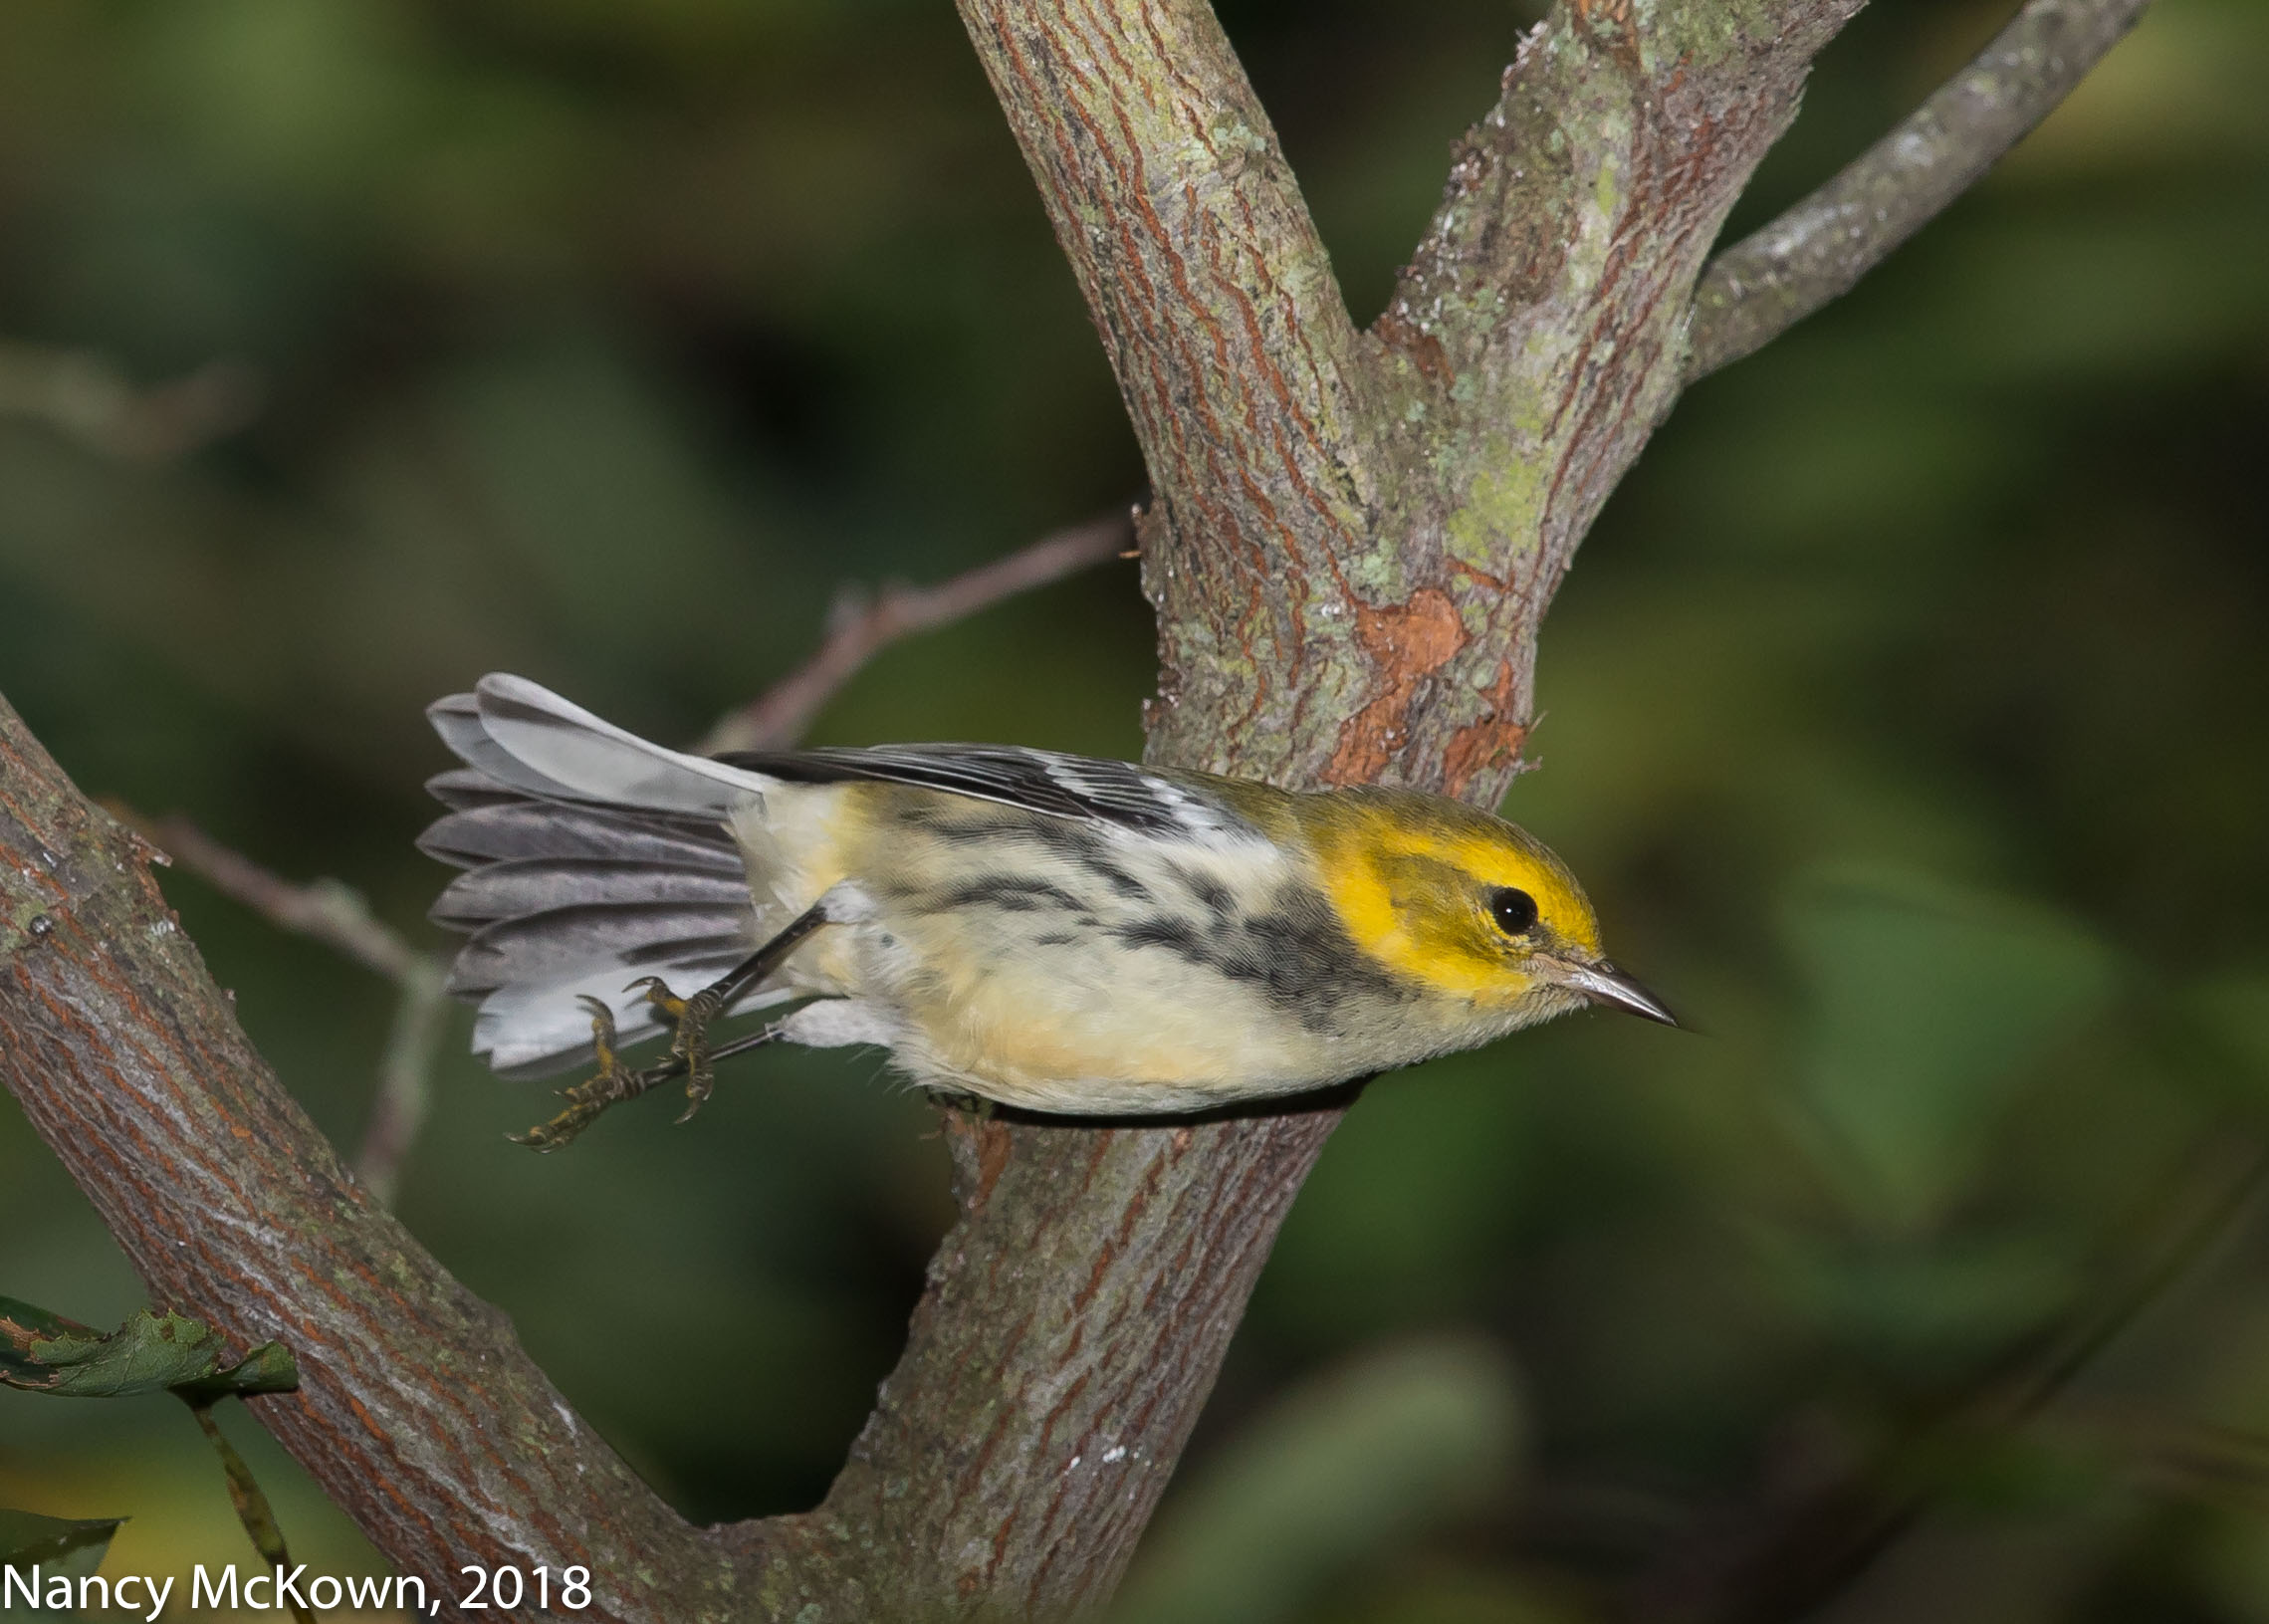
ISO1000; f/5; 1/400 Second
No Substitute for Proper Exposure
When photographers intentionally underexpose during a shoot, they are letting in less light than the conditions call for. The sensor records less data causing color and tone quality to be compromised. Underexposed color looks black. The more they underexpose, the worse it gets.
When they try to fix the underexposure in post processing by lifting brightness into unlit areas, more noise is introduced resulting in less detail. The color and tone data just isn’t there to recover, especially in the dark and shadowy areas.
It’s hard to overestimate the importance of light in photography. Exposing your images properly introduces enough light to allow your camera’s sensor to record the maximum amount of data.
Trust the Sensor
Sometimes correct exposure means taking the ISO high. I trust the engineering that went into the circuitry in and around the sensor of my DSLR camera and try not to handicap it by underexposing.
If the scene is wildly chaotic in terms of light, I figure out what’s important in the scene and expose that portion properly. I watch the histogram for guidance. If it’s predominately pushed to the left, I adjust exposure. The bracketing functions built into the camera help insure that I’ll get it right.
More Time Photographing Birds
I live in a SW Michigan where lake effect cloud cover blocks much of the sun year round. (29% sunshine rate…the percent of non-cloudy sunshine hours during the winter months.- See this link.) The sensor in my camera has proven that it can handle relatively high ISO levels.
Most of my efforts in post processing are spent on noise reduction. I’ve learned over the years that the best way to keep down the noise is to make sure exposure is set correctly in the first place.
See this post to read more about Exposing to the Right – ETTR.
See this post to learn more about noise reduction plugins.
See this post for more information on bracketing.