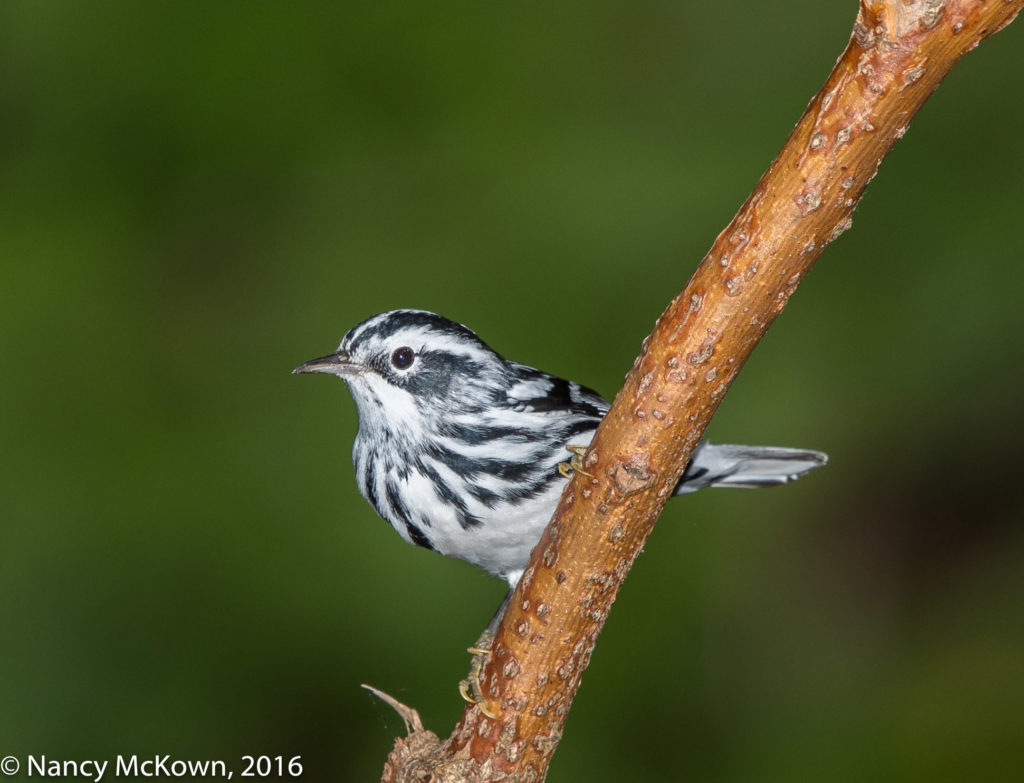
Photographing a Black and White Warbler
I see the boldly striped Black and White Warblers only during migration. They behave more like nuthatch than a warbler, moving up and down tree bark probing for food. Not a lot of warbler color, but distinctive and fun to track with the lens. This little one gave me plenty of time to photograph him because he ignored the camera and proceeded to drink, bathe and preen at the fountain.

ISO400; f/9; 1/250 Second
Watching and Waiting
On slow birding days, I don’t spend all my time watching and waiting for migrating birds. This Fall, I have 2 cameras set up in different rooms. With windows and doors open wide (despite the cold), I can monitor the bird activity while I attend to other chores around the house.
The two camera setups have proven to be a convenient way to either sit there quietly to wait for birds or to get up to do other things without worrying about the cameras. This is true because the heavy and unwieldy gear can be locked down and secured on the tripod supported Gimbal heads.

ISO400; f/9; 1/250 Second
Gimbal Tripod Head Balancing Act
Gimbal Tripod heads are smooth and steady swing mounts designed to fit atop tripods and maneuver long lenses easily and quickly. A Gimbal head will support heavy equipment and enable the photographer to easily move it around horizontally and vertically. This includes the weight of not only the camera and lens, but also the lens hood, the flash and its fresnel extender, battery pack, flash bracket, telephoto extender and various straps.
I use to think the art of balancing the camera rig on the Gimbal tripod head worked like this:
1) Level and secure the tripod.
2) Slide the (Arca-Swiss type) mounting plate (which is attached to the camera’s lens foot) onto the Gimbal head platform until you sense that the center of gravity of the equipment load is balanced.
3) Tighten the horizontal and vertical adjustment knobs.
4) Keep the vertical knob tightened so the lens doesn’t tip too far up or down until you are ready to loosen it to control camera/lens movement and track effectively.
WRONG- at least partly. 8-(
I should not have to do #4….tighten the vertical knob to insure that my rig stays level.
Once the weight of the camera setup is properly balanced, the Gimbal head should stabilize the gear so it flows effortlessly (sideways and up and down-concurrently) with a touch of your hand. Left unattended, the camera and lens should return freely to a level position on its vertical axis. It should not tip up or down when the vertical adjustment knob is loosened.
Achieving the Correct Balance
No matter how much time and effort I put into sliding and shifting the mounting lens plate trying to correctly balance the weight of my rig on the Gimbal head, the equipment setup still tilted (lens forward) with the vertical knob loosened. I simply could NOT equally distribute the weight of my camera equipment on the Gimbal head. Something was wrong.
I called the very helpful sales and service reps at JOBU Design, the manufacturer of the tripod Gimbal heads that I use. They said that the removable lens foot designed for the Canon 500mm 4.0 L II lens was incorrectly placed on the lens. It’s situated too far forward to balance properly. The solution: I would have to purchase and install a lens replacement foot for the Canon 500 f/4 L II lens. Since the JOBU replacement foot does not require a mounting plate, JOBU offered a $30 credit off of the lens replacement foot if I sent back the mounting plate.
I ordered and received the JOBU replacement foot, carefully removed the original lens foot that came with the Canon lens, screwed on the new JOBU foot, and the Gimbal head balancing act was corrected.
NOTE: Not every long lens requires that you replace the lens foot to balance your rig properly on a Gimbal head, but the Canon 300L f/2.8 II lens and the Canon 500L f/4.0 II lenses both do.
BTW…..Just a little irritating to own the top of the line expensive Canon telephoto lenses that come with lens feet that won’t properly balance on a Gimbal head.


