Photographing the Blue Winged Warbler
The last time I photographed a Blue Winged Warbler was in the summer of 2015. I found him preening within his nesting area….a cluster of dense, brambly foliage at the forest edge in the Allegan State Game area. He was a good distance away from the camera, but sedate and cooperative.
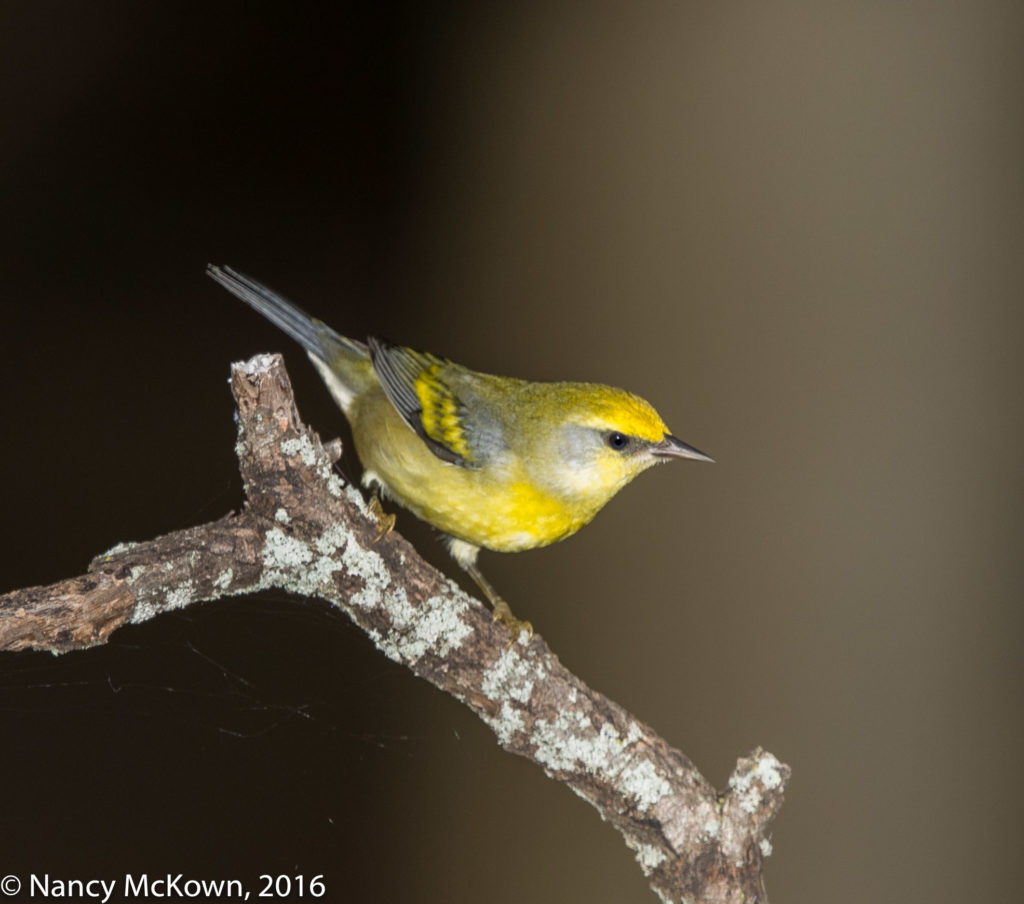
This Fall, a Blue Winged Warbler came to our back yard fountain. It was a rather gloomy day, so I had the flash attached. He perched just for a moment on a lichen covered branch in front of a nut brown tree trunk- making for an image with a rather dark cheerless background. Quite a few other year-round birds were clustered on the water feature at the time, so this warbler flew away without a drink.
I stayed next to the camera hoping he would return, but he didn’t – at least not while I was watching. I had my computer next to me because I wanted to investigate a new type of telephoto flash beam-concentrating fresnel attachment recommended by a friend.

ISO400; f/9; 1/250 Second
Beam Concentrating Fresnels
Ambient light is often not enough – so fill flash is fast becoming an essential tool to photograph birds in my yard.
Beam concentrating fresnels fasten a compact fresnel lens to a traditional flash gun. It is positioned 6″ or so from the light bulb on the flash. The whole shebang is then hoisted on a bracket and secured half way down the lens barrel. The goal: To better illuminate distant subjects by refocusing the broad beam of a flash (that would normally be spread wide and wasted) so the light extends farther with a tighter more spotlighted beam.
The Better Beamer works fine with my 500mm and 300mm telephoto lenses, and provides better long distance light compared with the max zoom setting on my flash. It is mostly trouble free once I take the time to velcro it tightly to the flash head. It even stays put when I rotate the camera from a horizontal to a vertical position.
Better Light Projection For Telephoto Flash
There are, however, frustrating issues that have sent me to the web to look for other solutions. First of all, some of the flash beam is lost because there’s no cover or snoot to wrap around the light to keep it contained while it is being re directed.(How can ETTL measure exposure accurately with all this waste?). The biggest problem is mounting and tear down. Essentially, for $30+ you get a flimsy, awkward piece of equipment that is troublesome to securely fasten to the flash head with velcro. It’s particularly exasperating when a bird is nearby and I’m trying to hurry and get this thing attached to the flash before she flies away.

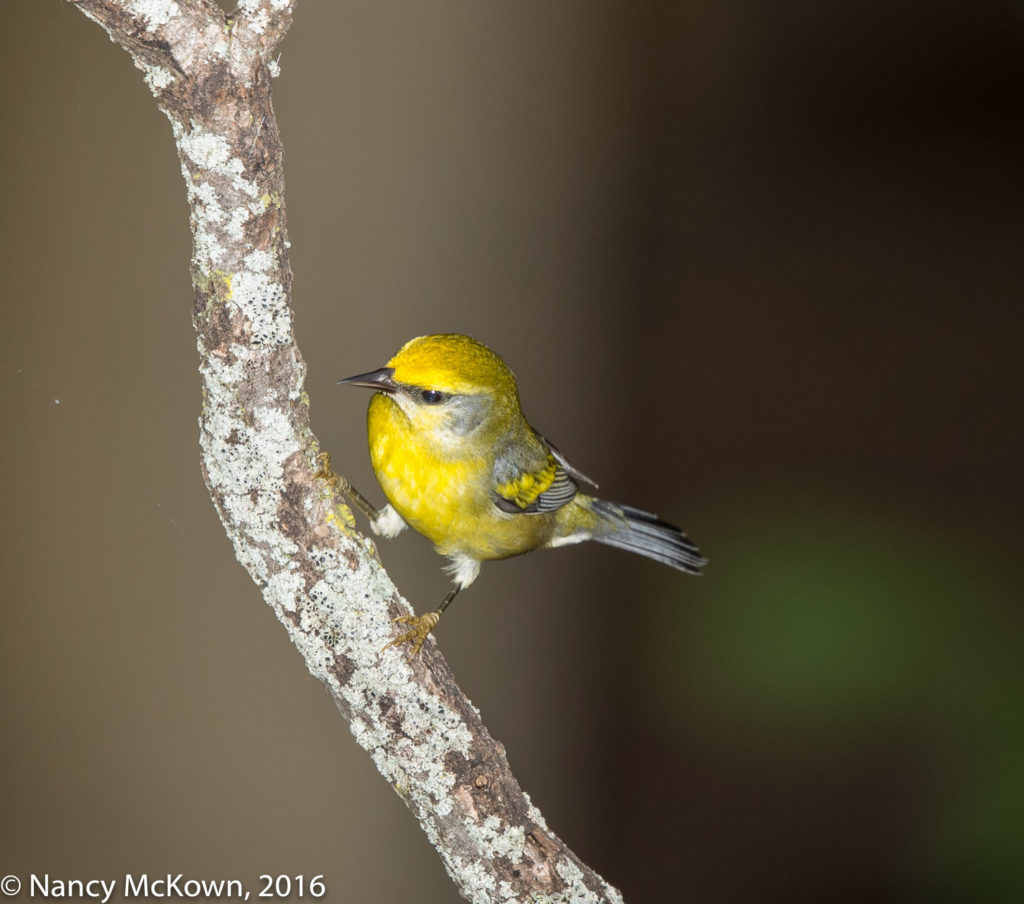
With Light from Telephoto Flash.
ISO400; f/9; 1/250 Second
I started looking for a fresnel device that would change my telephoto flash attaching workflow, one that not only fit tighter to increase the efficiency of the flash blast, but also fasten to the flash gun in a less trembly way.
There are lots of flash altering devices out there… but not many telephoto beam concentrating flash extenders. I found instructions on how to make your own fresnel extender for very little money, but the final product looks much like the Better Beamer with all its wobbly features.
MagBeam
The MagBeam Wildlife Kit was the only fresnel extender that I found that was sturdy and easy to apply. Magnets embedded in the base (wrapped around the flash head) and on the fresnel extender make it effortless to attach. The expandable rubber allows less light leakage. One disadvantage, because it is not flimsy and weighs more than the Better Beamer, the flash head on which it is attached tends to bend a touch downward.
Overall I am pleased because my bird photography setup and teardown routines are much simplified. I wish I had been more investigative and discerning before I bought the Better Beamer.


