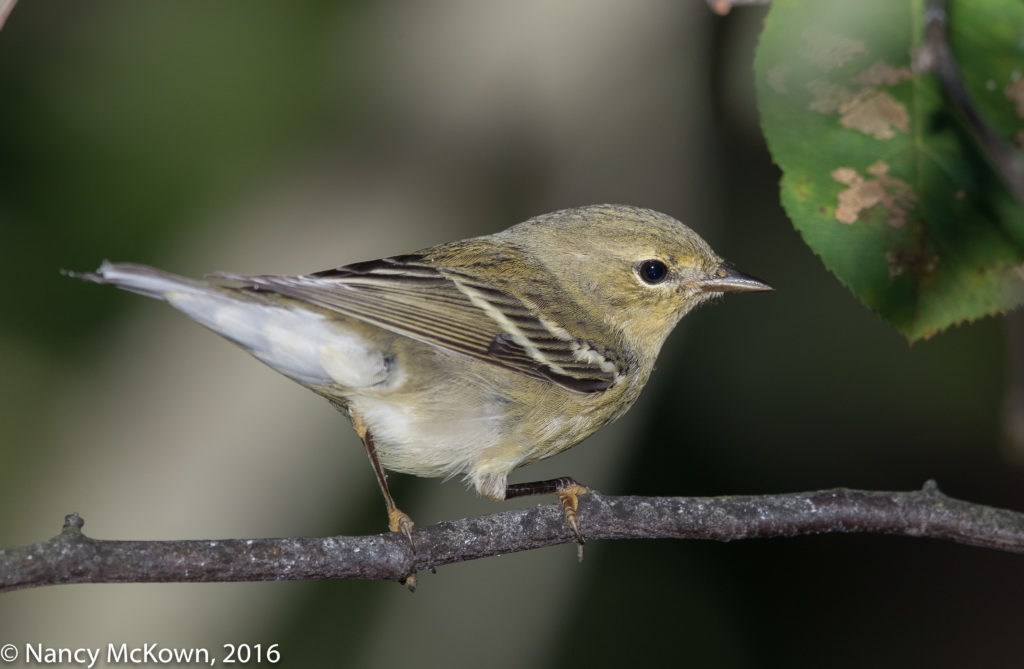
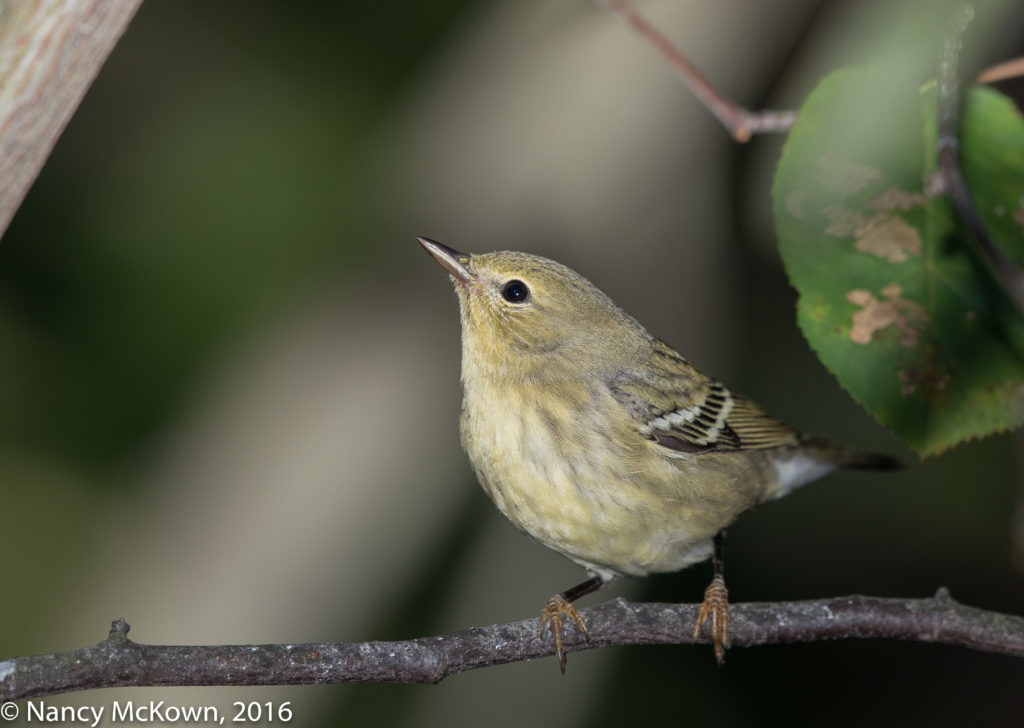
Photographing a Blackpoll Warbler
It’s high noon, and I think I can see warbler-ish movement on the tree branches. Might just be the discordant breezes. Overhead, winds are moving the clouds around every which way, reducing and scattering light. The clouds are numerous enough that my scene changes by the minute….mostly under lit, with some intermittent and dappled brightness. The small patches of light make for uneven, spotty illumination with distracting patterns of shadows and highlights. The ISO reads 8000+, and then a stray sunbeam will penetrate the scene and the ISO drops down to 3200.
A tiny spider flies on his silken trapeze and touches down softly on the lens. One is crawling on my LCD screen. A puff of breath sends him flying.

with Fill flash
ISO400; f7.1; 1/250 Second the Focusing Field
Limiting the Focusing Field
When my bird tracking misses its mark, the lens pans back and tries to focus somewhere in the dim woodsy background. I set the range limiter switch on the lens to restrict the field on which the lens can focus to the area within 3.7 m-10m (or 12.1 ft 32.8 ft.). Much better. Doesn’t waste so much time trying to achieve focus in the dark woods. (NOTE: I usually set no limitation on the lens because I often forget to set it back. By the time I figure out why the lens won’t lock focus, the bird is gone.)
Windblown Cloud Cover
There is no predicting the where and when of windblown cloud cover so I’ve attached the telephoto flash extender. I’d like to move this camera setup completely on to the deck, just to get the lens a little closer to the fountain and the tree branches where a new bird might perch. It certainly would be better distance wise. I’m a good 25 feet from where my tiny avian target might land. Risky though… the birds might consider me too near for comfort and I don’t want to jinx the possibilities.

ISO400; f/7.1; 1/250 Second
Transitioning With the Light
Photographing birds while dealing with extreme changes in lighting is manageable because I switch between telephoto flash when the scene is dark and Auto ISO when the sun’s rays filter through more. If the ISO reading is under 5000 I turn off the flash and shoot with available ambient light. (NOTE: Auto ISO and the previous shutter speed setting kick in the minute the camera does not sense the flash gun.) If low light dominates, as it did when I photographed this Blackpoll Warbler, the flash remains on.
The flash provided ample light so that the camera’s sensor was able to capture the details of the highly branched feather patterns on this little bird. I especially like the first photo (posted above), showing the white downy fluff under the tail feathers.
Avoiding the Look of Flat Light
It’s a simple matter to reach up and turn the flash on and off, as needed. What’s not simple is balancing the light from the flash so the image doesn’t look unnaturally bright in front and too dark in the background.
If the flash head angle is not right, the front lighting on the bird very often looks flat. Flat lighting means that the subject is so evenly illuminated that you see very little contrast and texture in your images. If the shadows and highlights lack variation, the details are less distinct- less alive. Think passport photo.
If you shoot in RAW, a little life can be coaxed into the image in post processing. You do this by boosting the saturation- or fiddling with the picture style to see if you can incorporate enough vibrancy to transform that flat light into something that looks more rounded and shows a broader dynamic range on the histogram.
As always, it’s more productive, creative and satisfying to get the light right in-camera rather then trying to fix problems in post processing.


