


They Come, They Go
The Baltimore Orioles are gone. So are the Hummers, Red-winged Blackbirds, Robins and House Finches. I was so absorbed by the new and fun species coming through that I didn’t notice my summer avian neighbors departing.
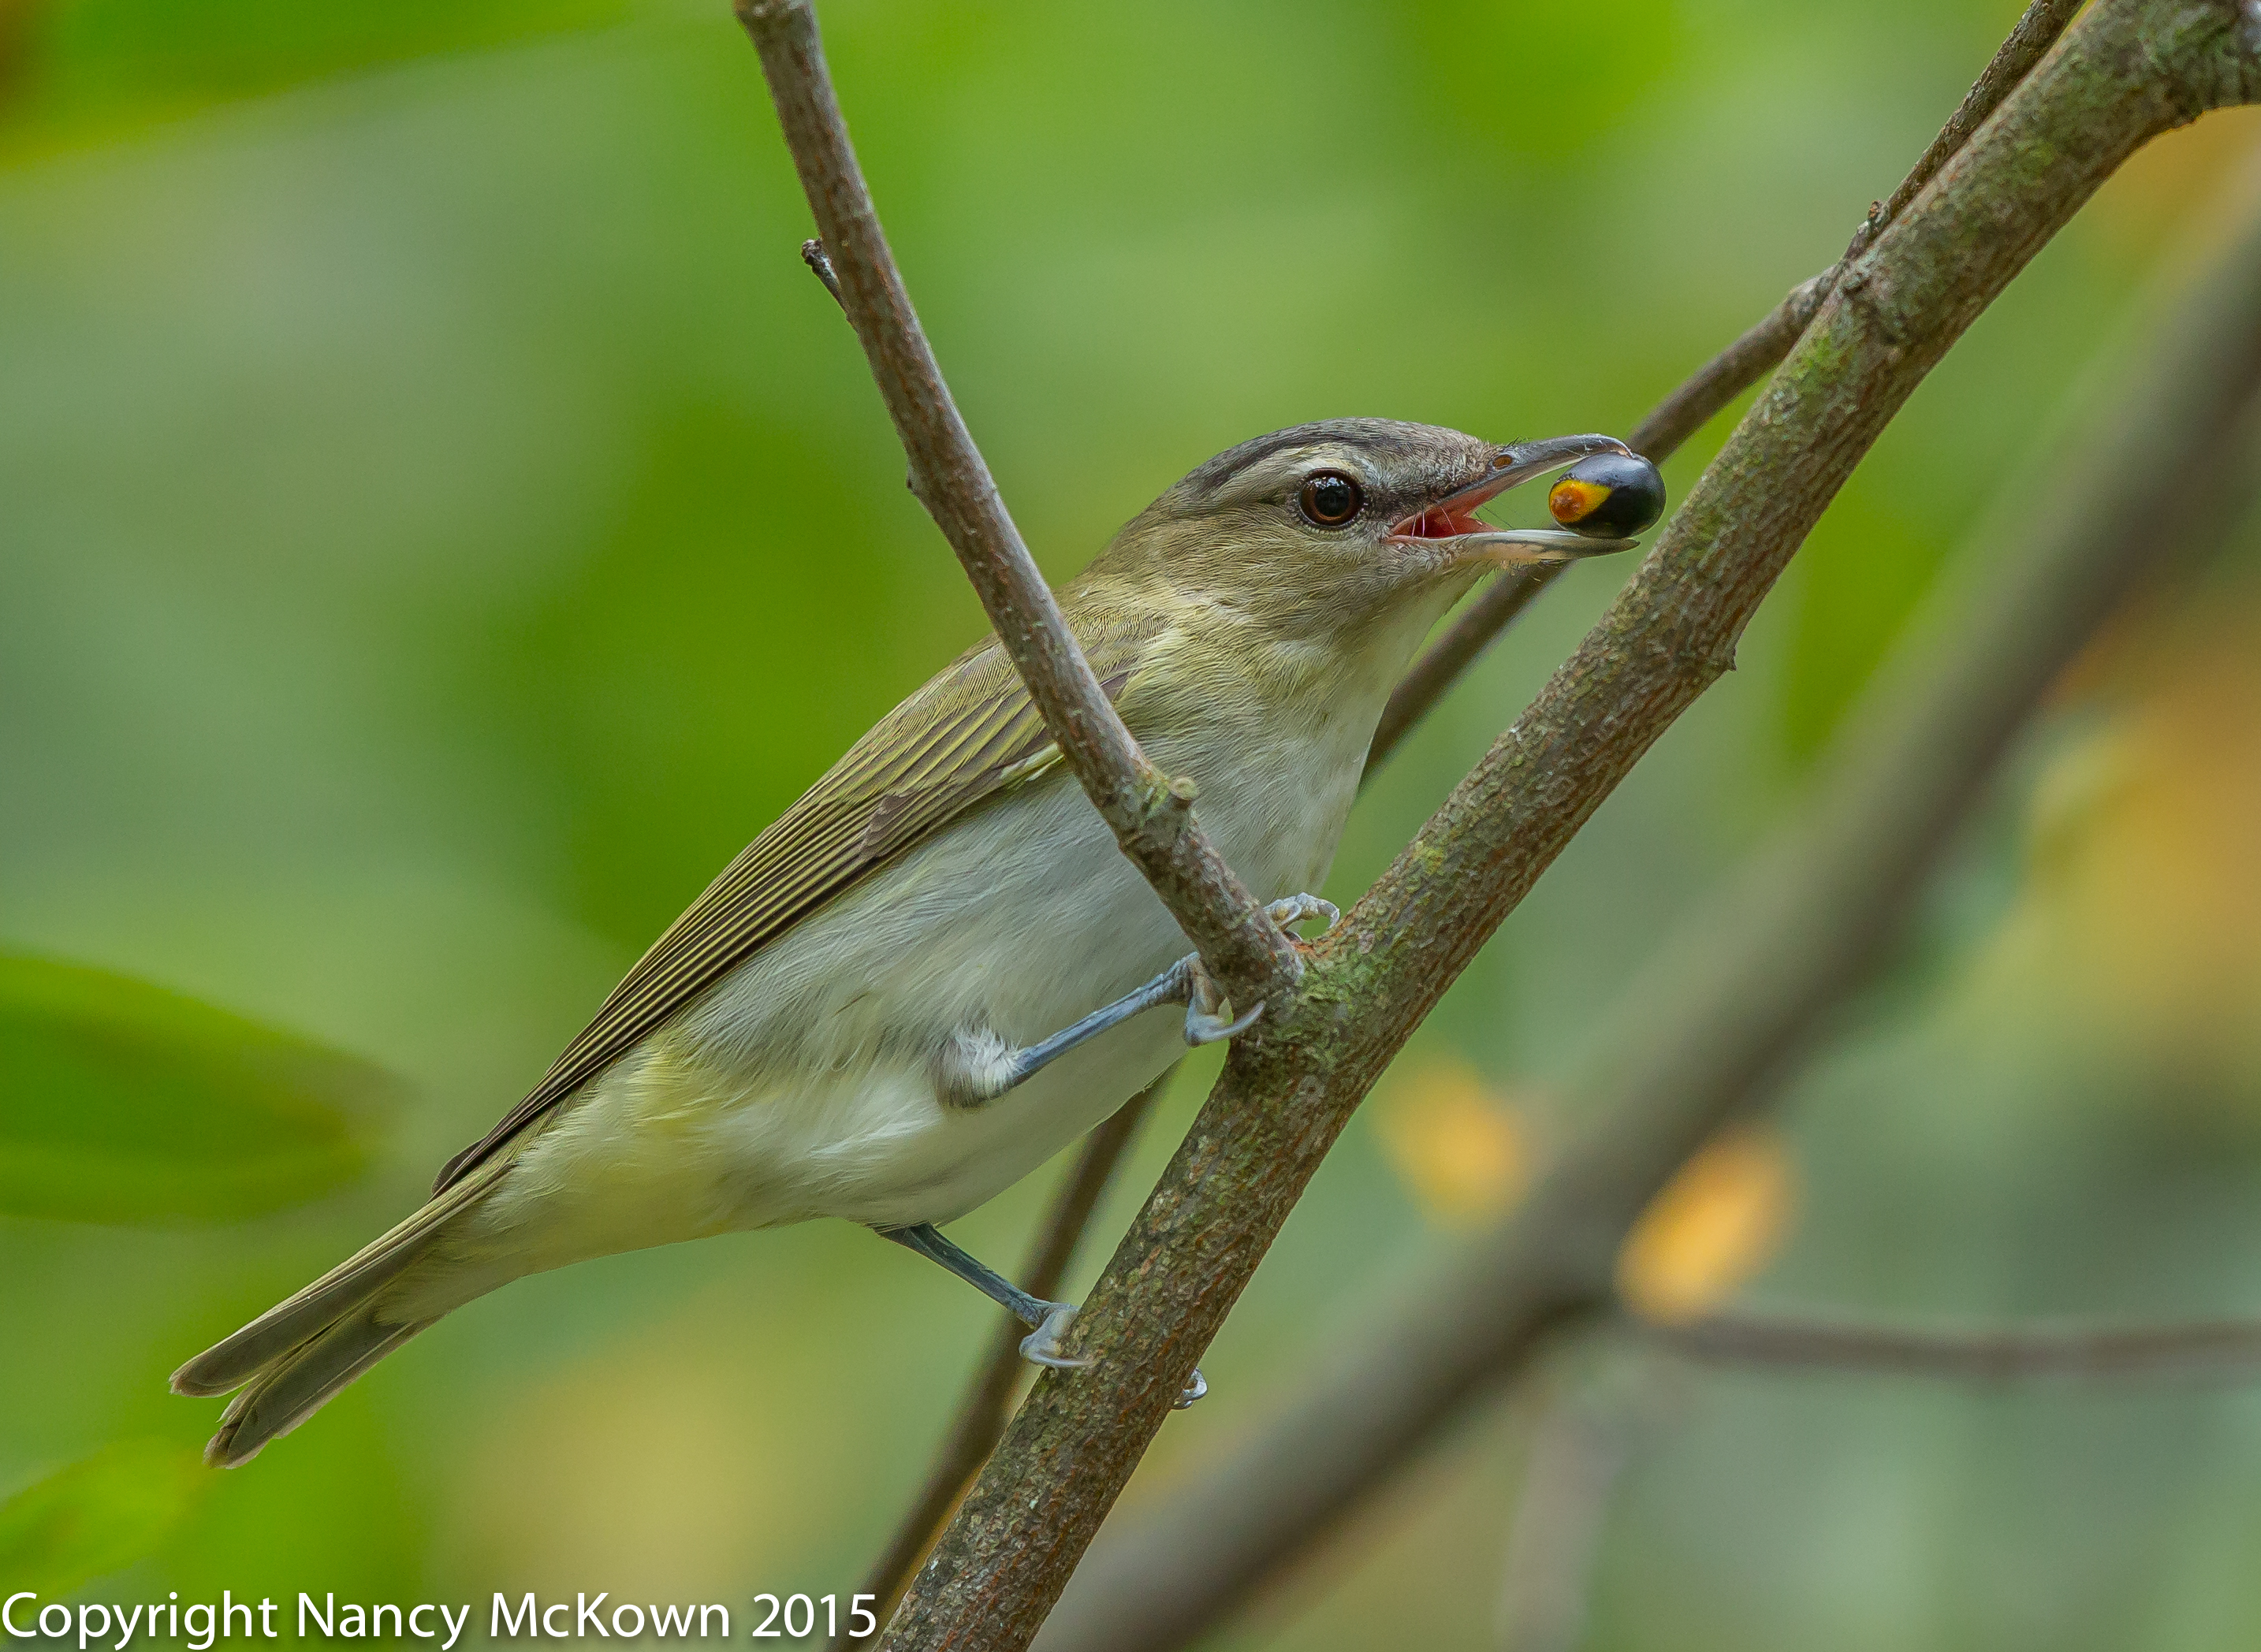
Enough for Me to Make Exposure
Adjustments.
ISO1600; f/4.5; 1/500 Second
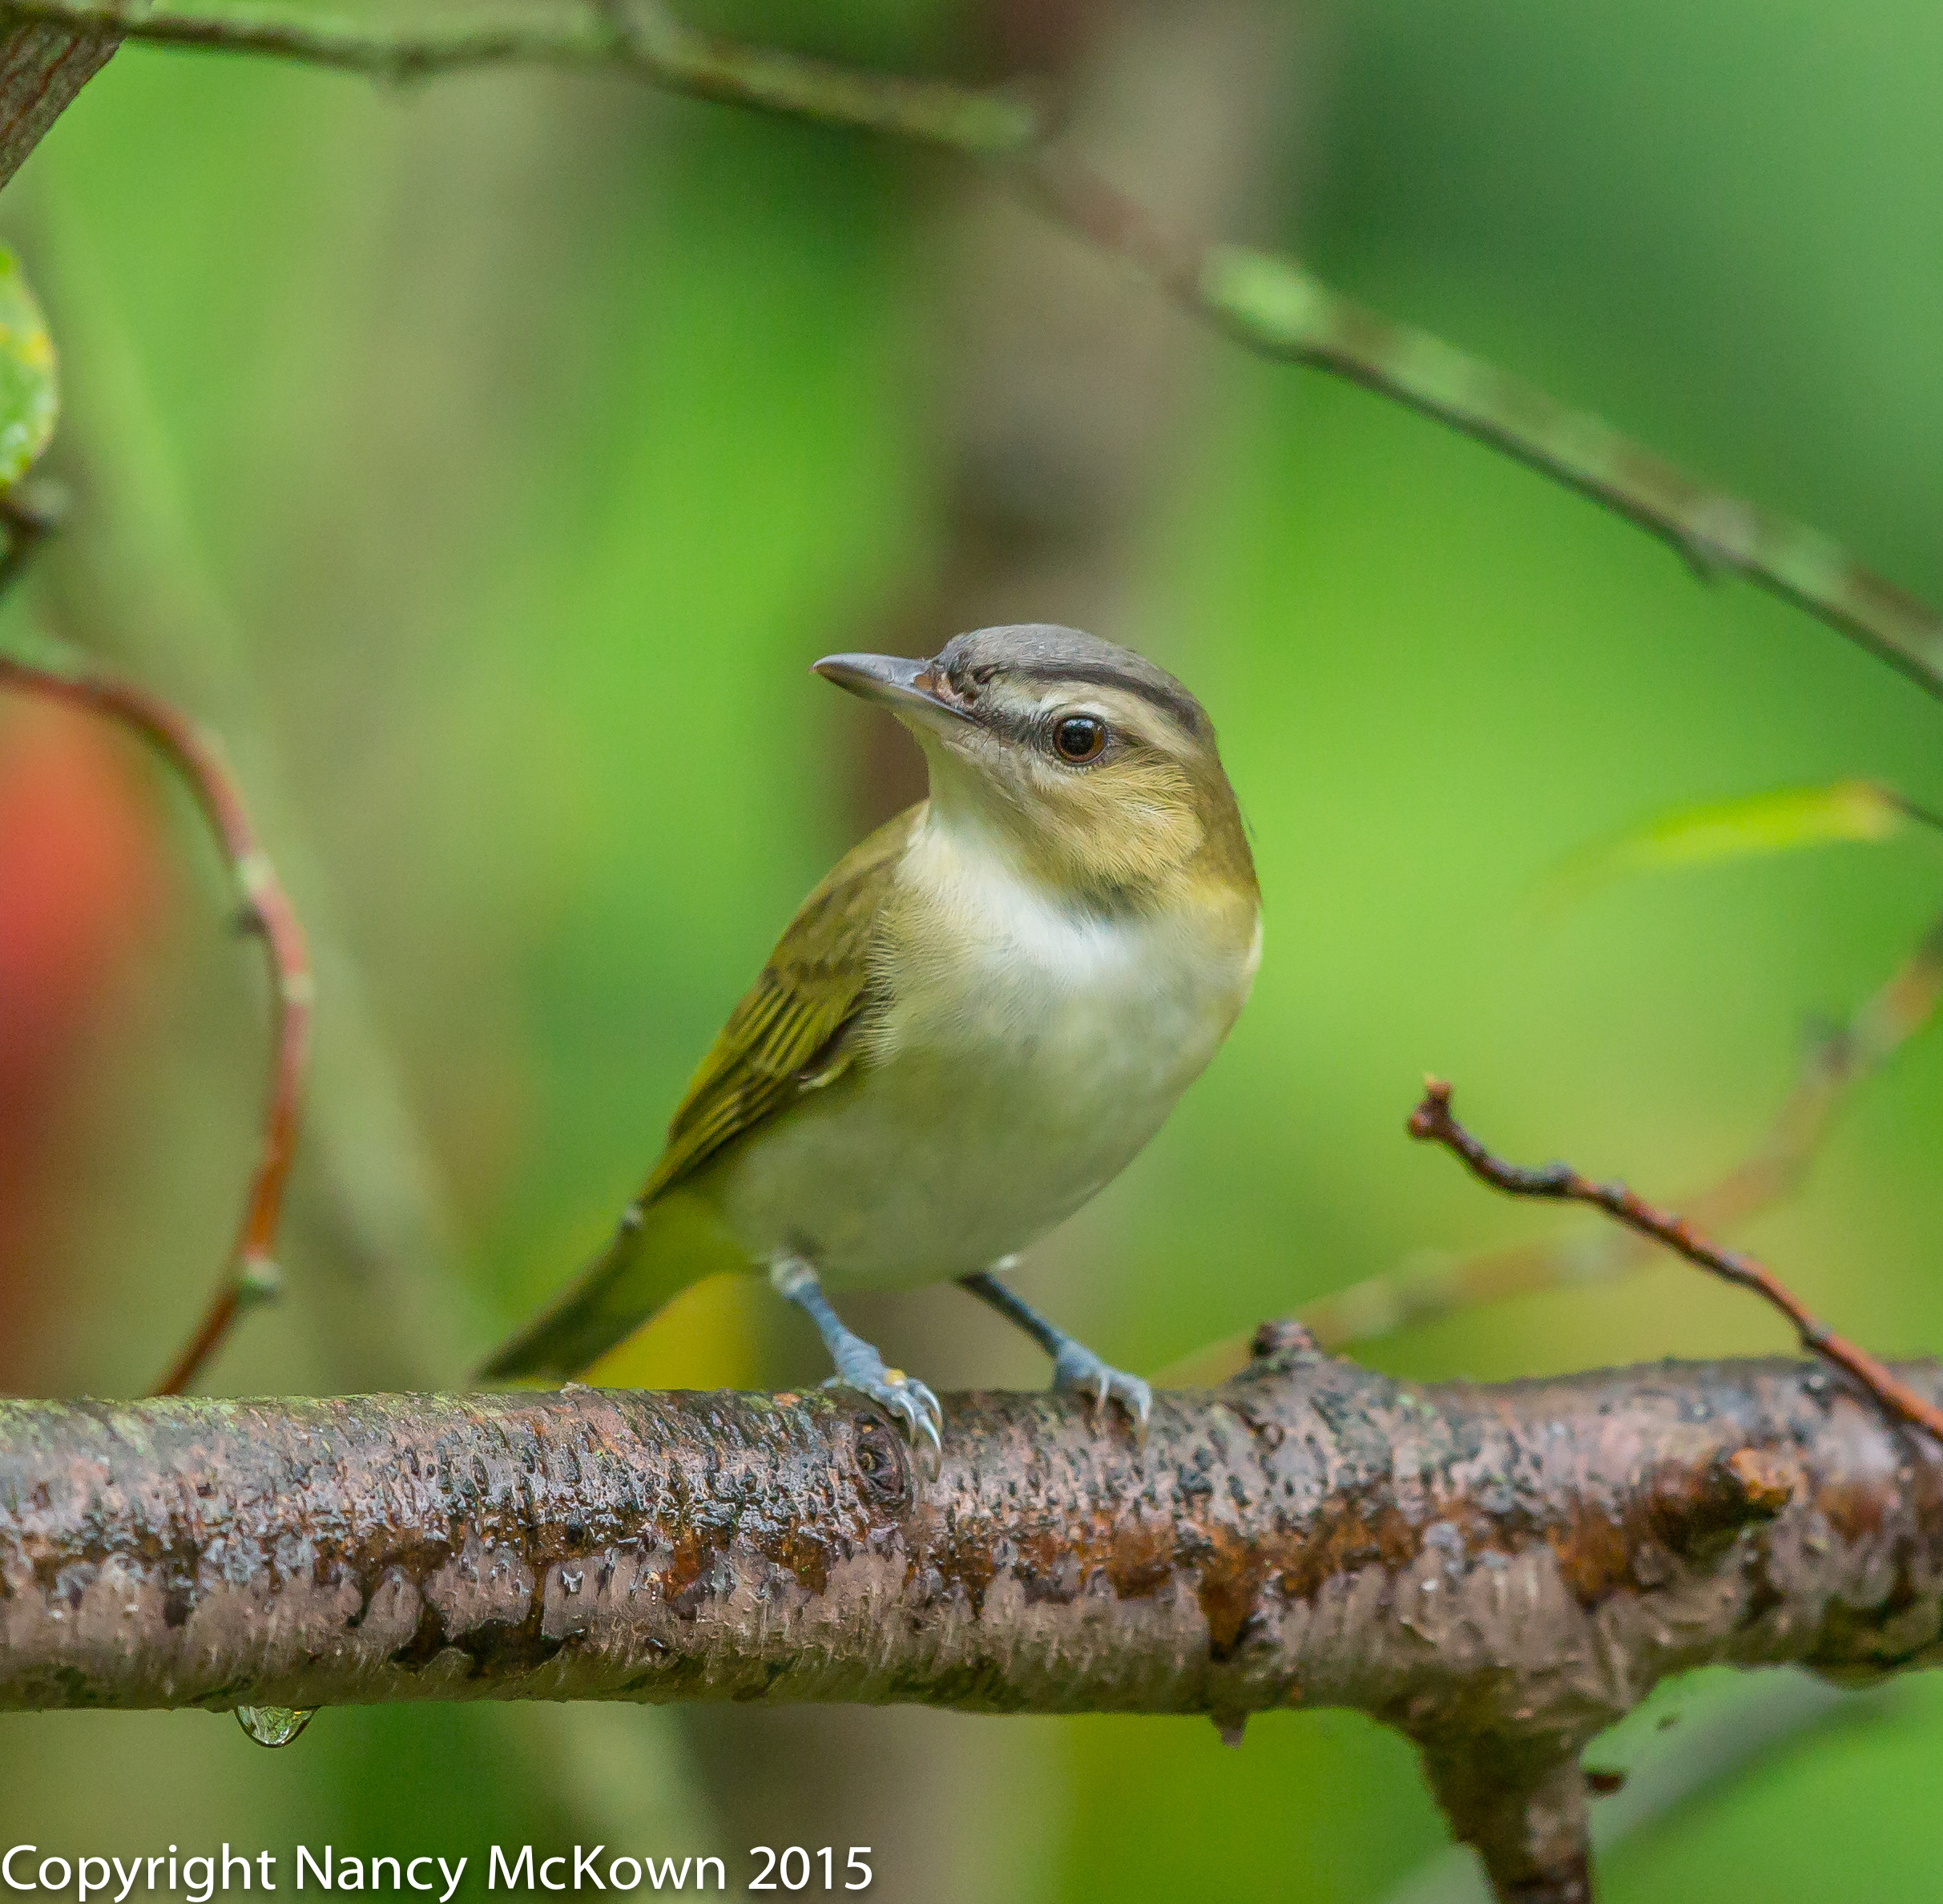
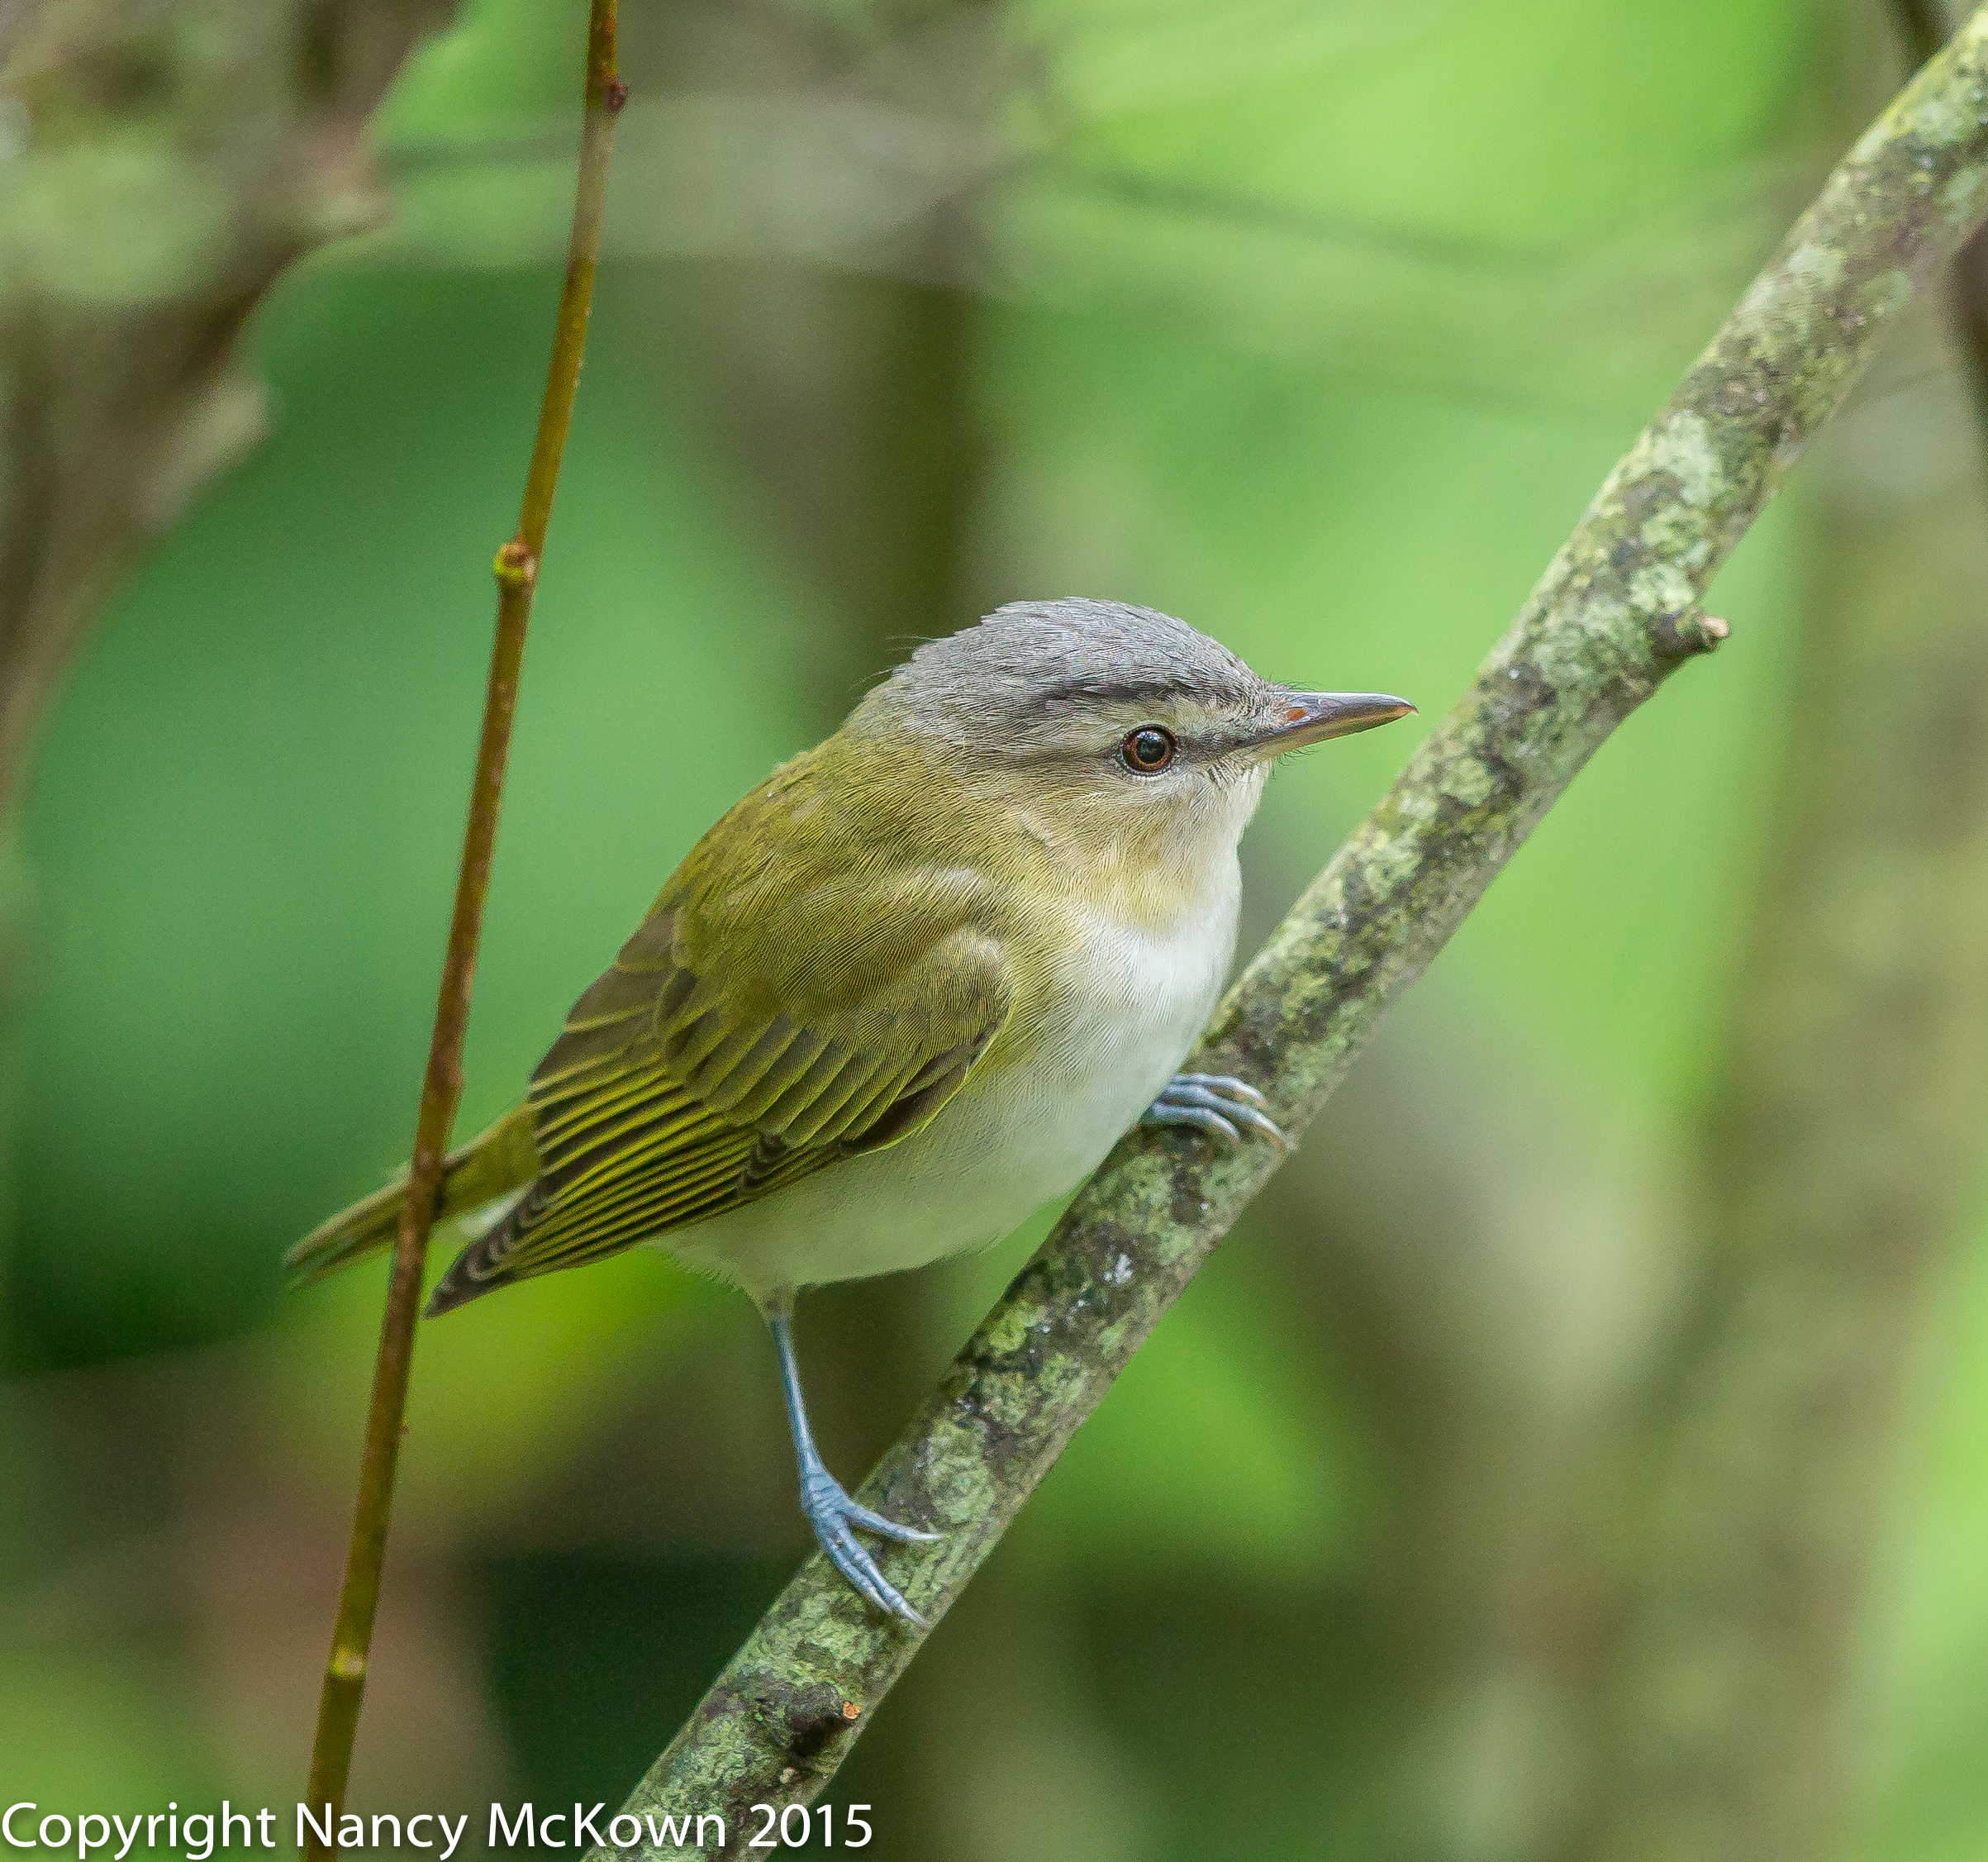
Photographing the Red Eyed Vireo
In the Spring and Fall, quite a few Vireos pass through on their migration path. At first I thought that this rather dull, olive colored Red Eyed Vireo was some kind of warbler, but upon closer inspection of his heavier beak, I knew he wasn’t. His most prominent features are the double white and black eyebrows, the lower black lines intersecting his eyes, and those ruby red irises. His foraging behavior is a little different too. It’s a more relaxed photo shoot because there is hardly any of the warbler-ish chaotic movement in and out of the foliage.
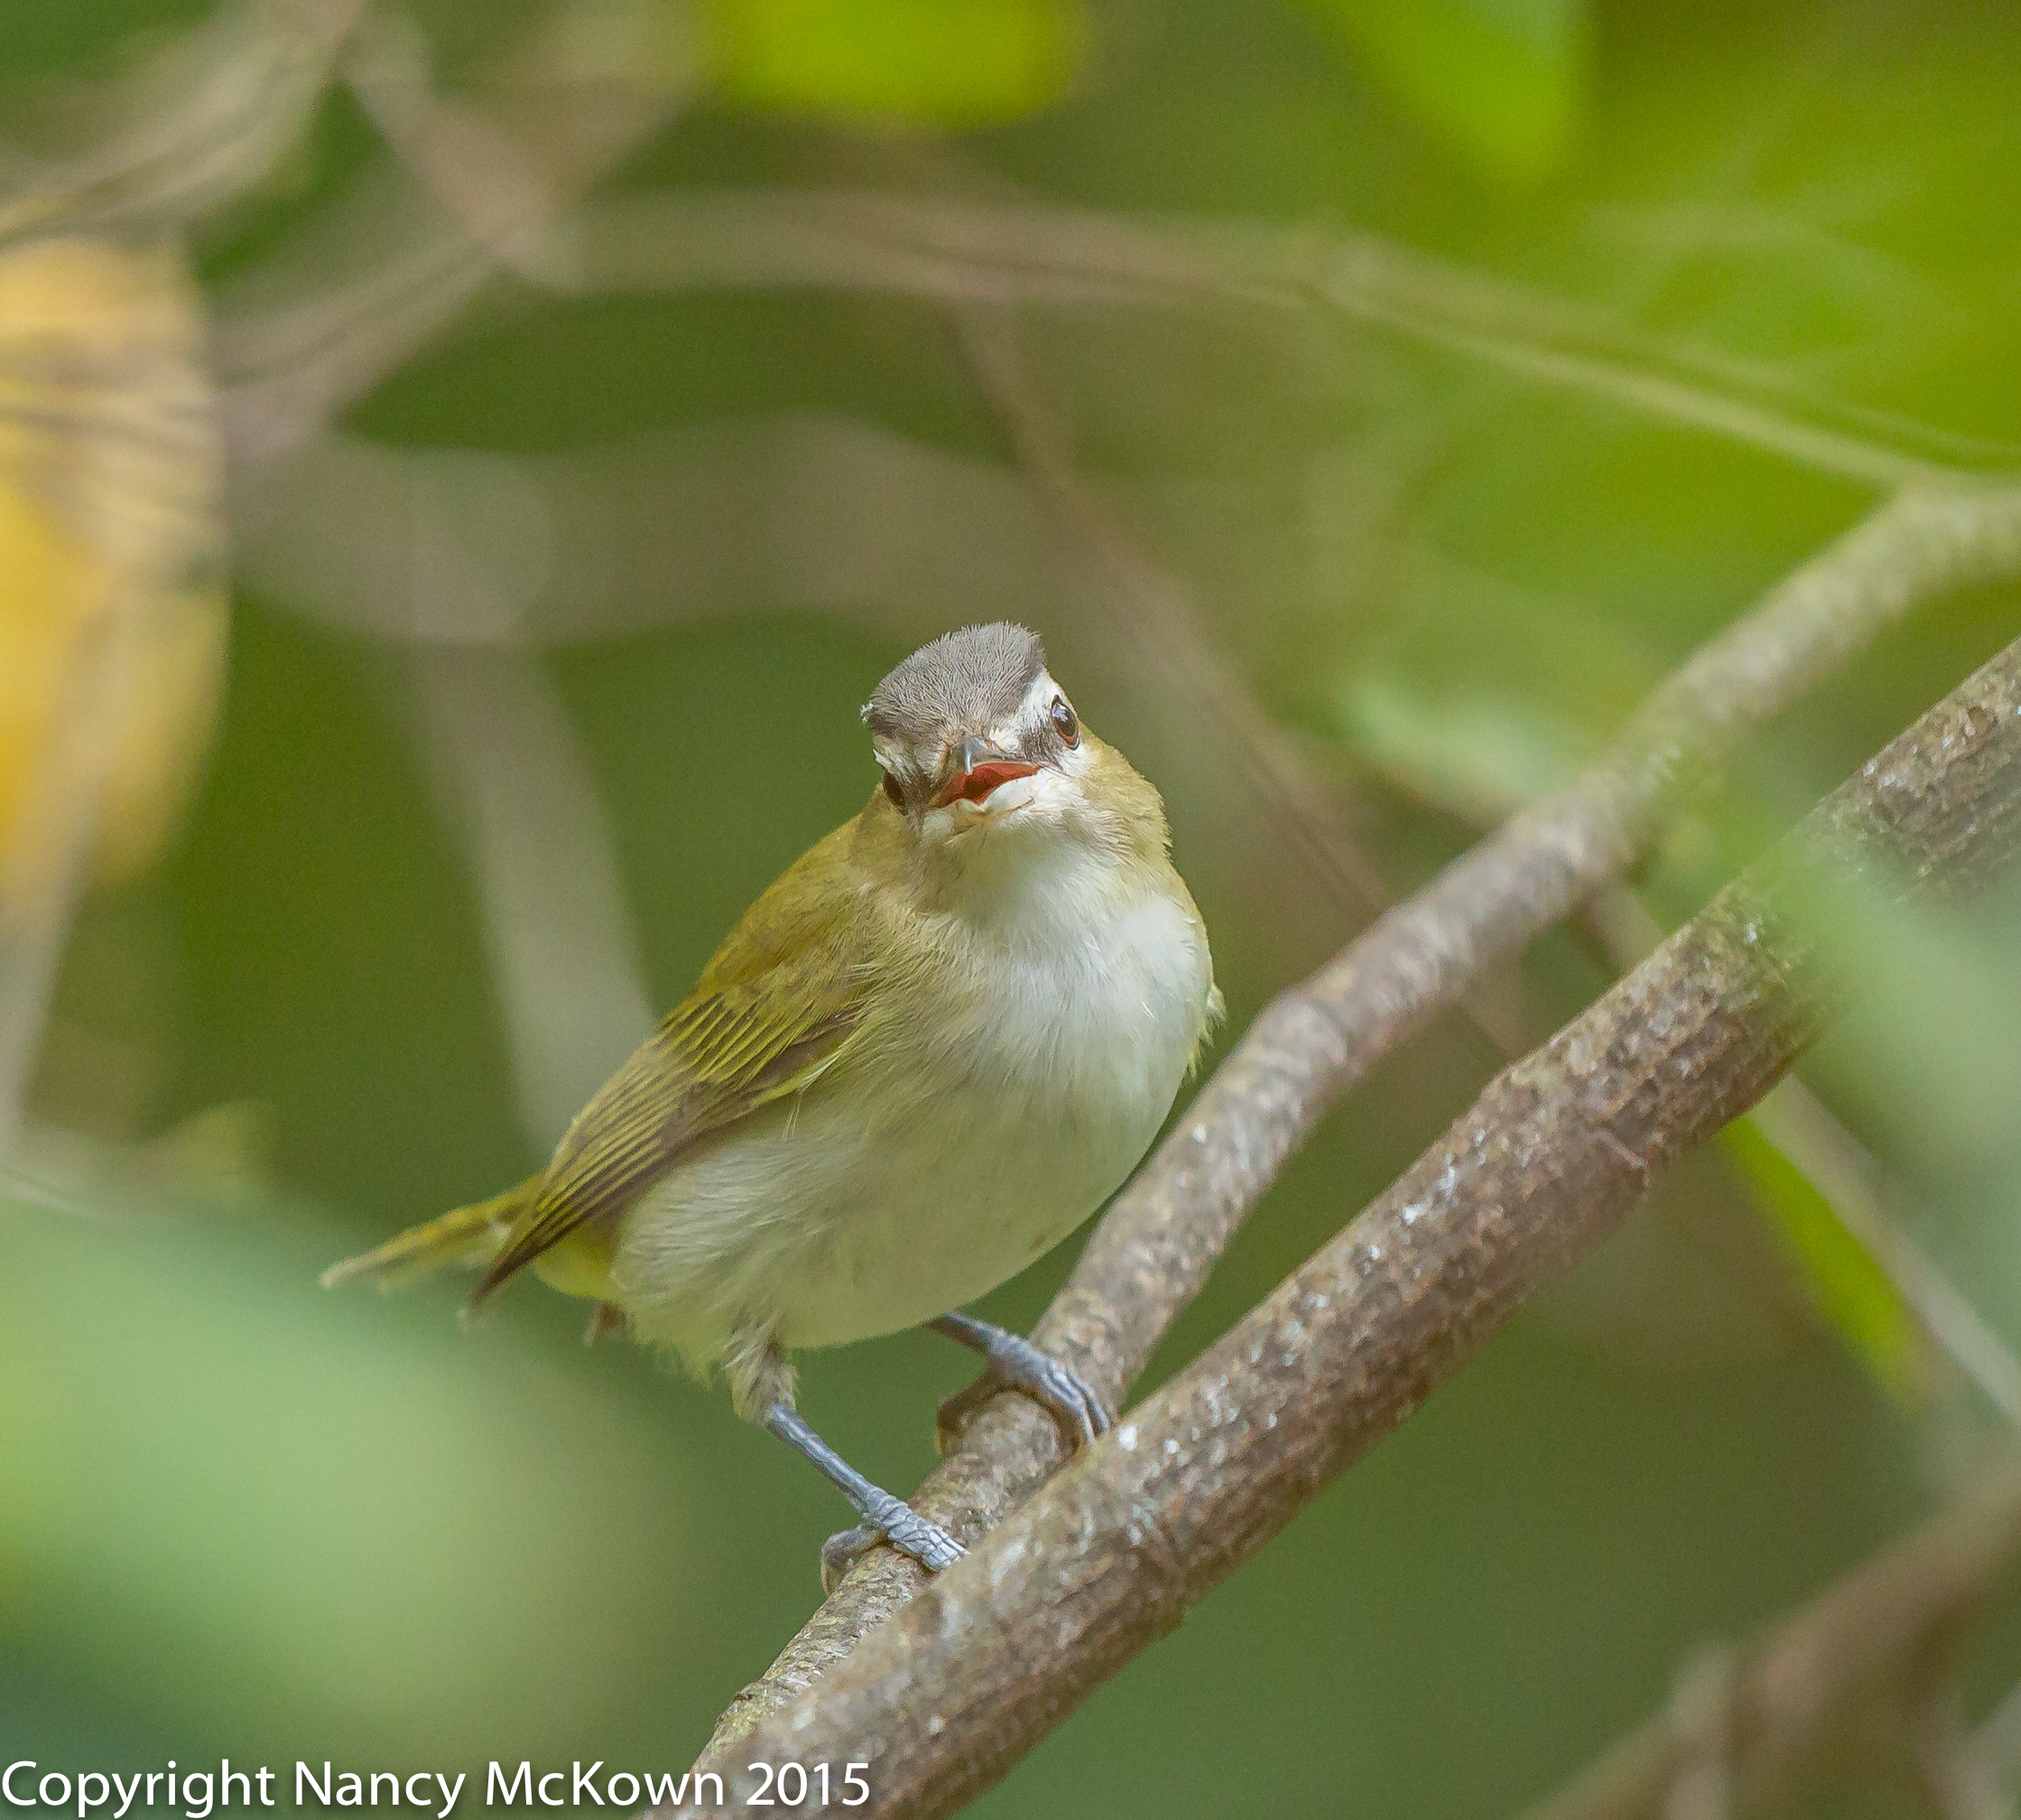
Calling to the Photographer.
ISO2000; f/5; 1/500 Second
Auto ISO
If Web resources can be believed, lots of bird photographers consistently use the Auto ISO settings built into their modern DSLR cameras. Auto ISO lets the camera’s computer automatically calculate (on the fly) the best ISO, given certain maximum and minimum parameters and the other exposure settings. It’s a valuable timesaver because the photographer can let the camera automatically respond to rapidly changing light levels.
For instance, if I’m shooting in “M” – Manual, with Auto ISO engaged, the camera’s computer is making one (ISO) exposure decision for me. (NOTE: It’s not really “Manual”, then, is it– see this post). If I’m shooting in Aperture Preferred or Shutter Preferred, with Auto ISO engaged, the camera is making two exposure decisions for me.
The minimum and maximum ISO ranges that you can tolerate should be based on personal preferences and the noise reduction technology built into your camera’s sensor.
Spot Metering and Auto ISO
Auto ISO is my go to ISO setting when using Manual mode -even if lighting conditions are stable.
I had been using spot metering (along with Auto ISO) in my heavily shaded yard. Spot metering drastically reduces the size of the frame on which the camera calculates exposure. I thought this was a good exposure strategy because birds are tiny and like to hide in the shadows. However, metering these shadows with spot metering usually delivered a very dark exposure reading, causing the Auto ISO to skyrocket to unacceptable levels.
One strategy to keep AUTO ISO from rising too high is to set the camera to Evaluative Metering. The entire frame will then be used to read the light levels (including possible brighter areas away from where the bird is perched). Exposure may then brightened and cause the ISO reading (and consequent noise level on the image) to be reduced. (NOTE: Overall exposure adjustments can then be made in post processing.)
Read this post to learn more about how Evaluative Metering works.