


Better Beamer Telephoto Flash Photography
The purpose of attaching a telephoto flash extender to your flash is to narrow and extend direct illumination– farther than the usual flash blast can provide and powerful enough to brighten subjects at a distance and within the restricted field of vision range of a 300mm-500 mm lens.
Experimenting with Telephoto Flash Photography
For most of my telephoto flash experiments, I set the camera to Manual Mode (M) and my flash to E-TTL. My Canon flashgun has an auto zoom feature. Better Beamer documentation suggests that if you have a zoom feature on your flashgun, set it manually to 50mm focal length.
In E-TTL mode, my Canon 580EX Speedlight flash with Better Beamer attached will work with any auto mode (P, Av, Tv,) or Manual (M)on a Canon DSLR camera to make exposure calculations. The quality of light and the distance between lens and subject change often in bird photography, so I let E-TTL and the camera do the exposure calculations and adjust the flash exposure compensation (FEC) accordingly. NOTE: My Canon DSLR cameras are often set to Auto ISO. When I attach a flash and turn it on, the ISO resets from Auto ISO to ISO 400.

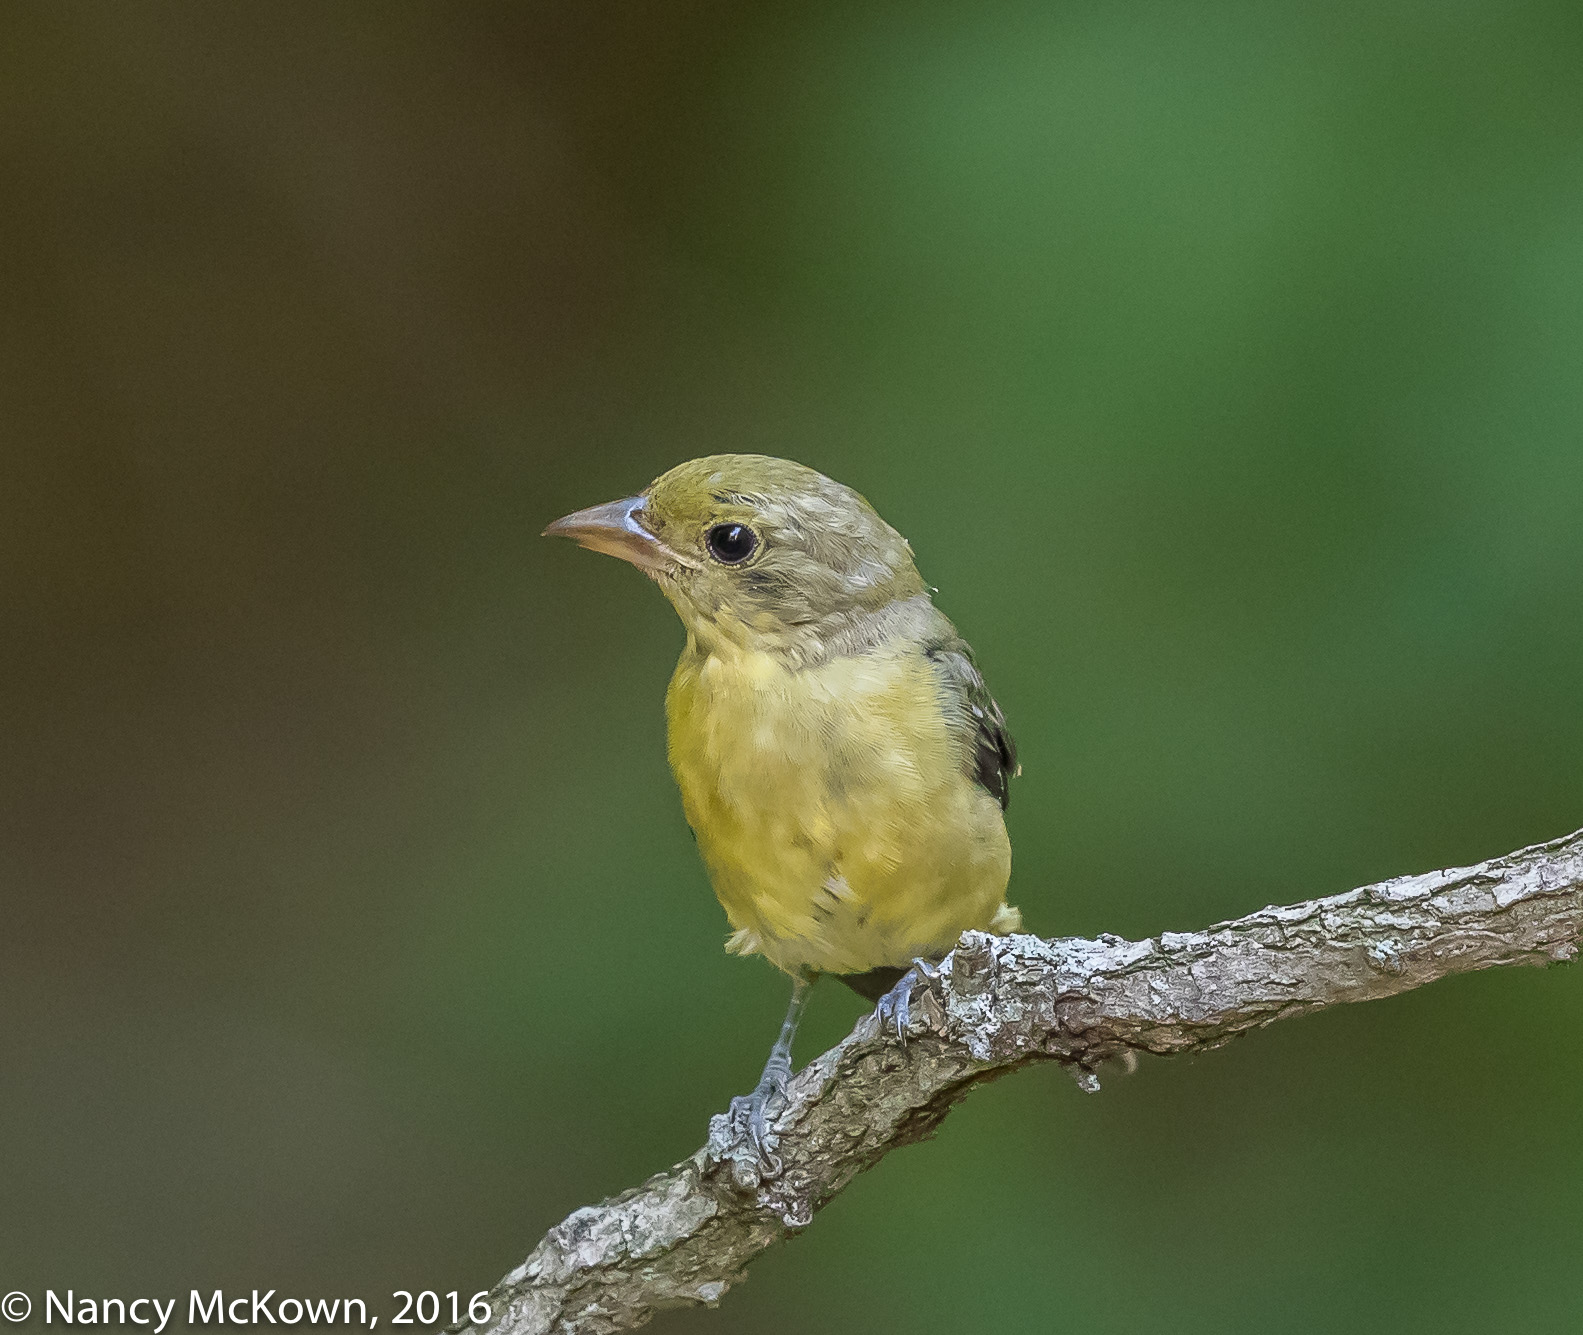
With Flash Enhancement.
Light not well balanced.
Foreground effectively illuminated, but
Background somewhat underexposed
ISO400; f/5.6; 1/250 Second
Observations
Fine Tuning the Light From A Telephoto Flash
Depending on the ambient light, the flash can send a powerful blast or just enough to fill the shadows. The photographer controls the intensity and distribution of the blast by adjusting the flash exposure compensation dial (FEC) on either the flash unit or the DSLR camera. If the distance between the bird and the lens is close, it is often necessary to tone down the flash output to avoid the look of a harsh blast. If the distance between the lens and bird is farther away, I compensate by setting the FEC (+) to deliver a more powerful surge. If backlighting is excessive, a flash can help compensate to make the light look more evenly distributed.
Most often, I begin with -1 FEC. Finding the sweet spot (the look of well balanced light in foreground and background) for birds perched at different distances from the lens takes time.
ISO5000; f/5.6; 1/250 Second. Flash did NOT fire
Pupil Catchlight and Red Eye
Red eye/blue eye (light of flash reflecting back from the subject’s pupils) is a problem in flash photography. I do try to depress the shutter only when the bird is not looking directly at the camera, but often there is evidence of blue eye that has to be corrected in post processing. (NOTE: This is true even with the bracket lifting the flash above the camera.) In addition, I occasionally have to spend time in post processing making the catchlight in the birds’ eyes look more natural.
Histogram When Using a Flash
One of the most helpful tools to measure the impact of the flash adjustment is the histogram on the camera’s LCD screen. The histogram is an information graph that maps dark to light…and lets you see how the camera is reading exposure. You will be able to check for brightness values and have a visual of whether you are underexposing (left side of histogram) or overexposing (right side of histogram).
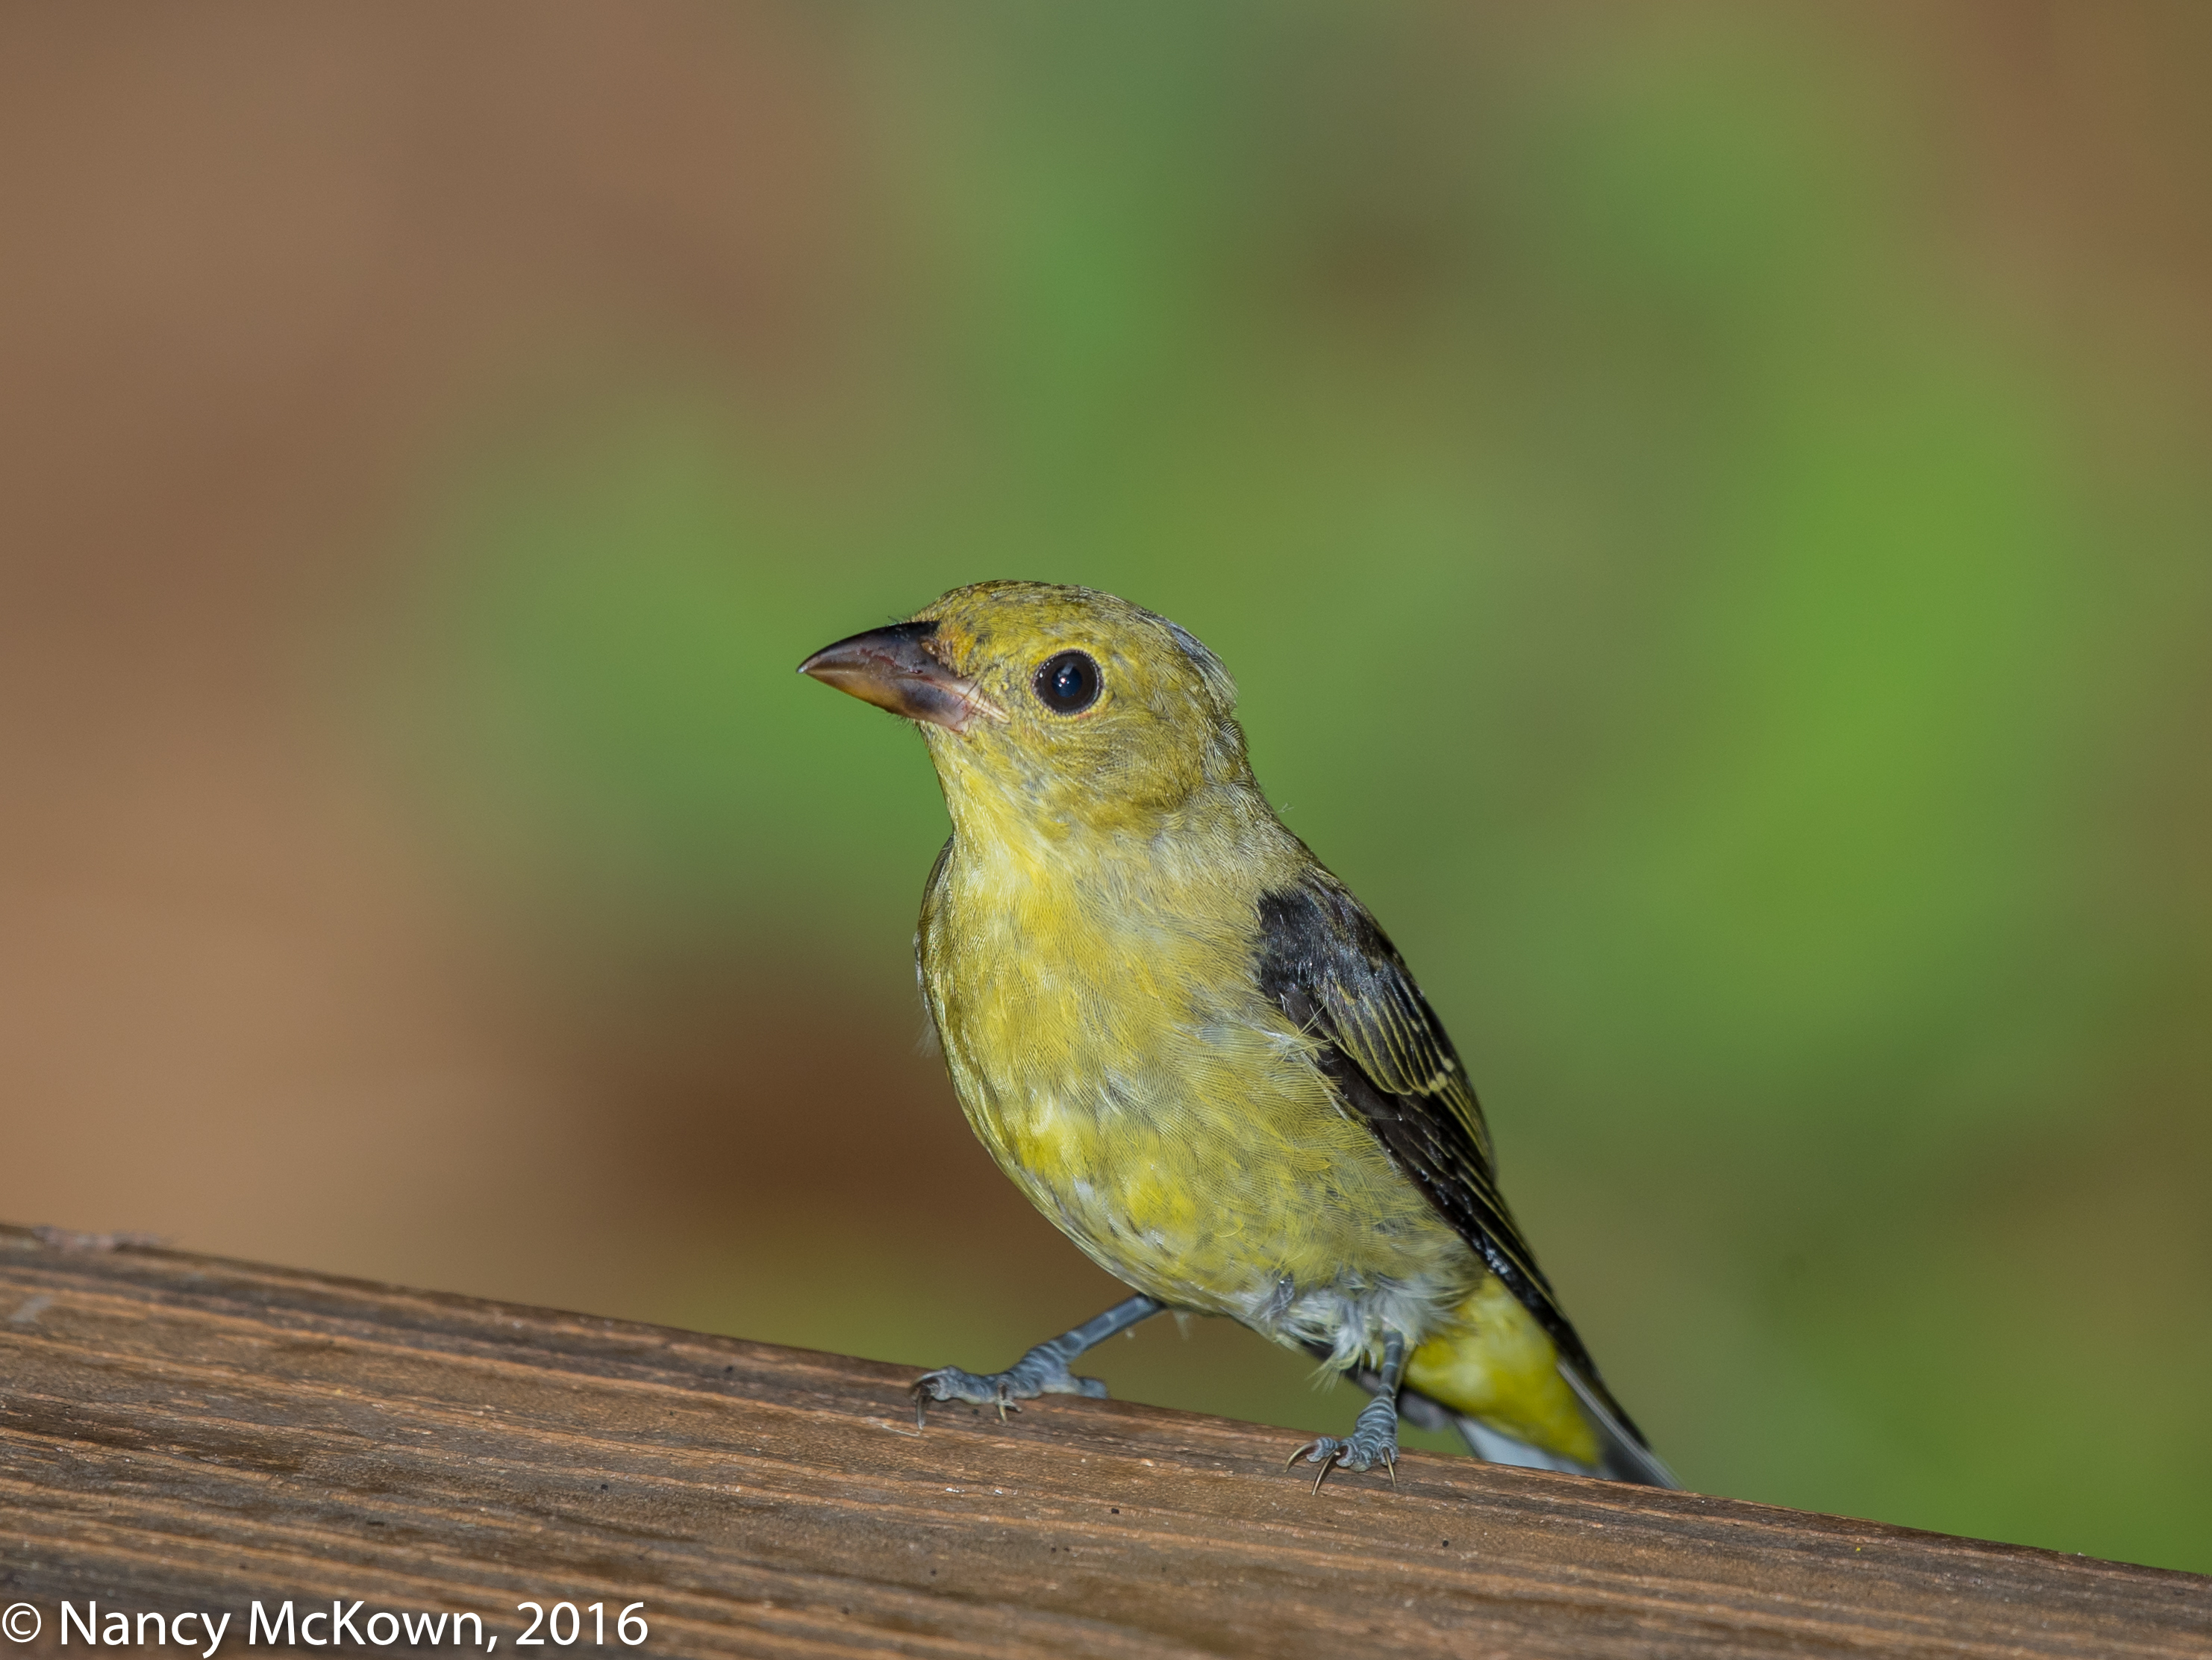
well balanced telephoto flash
ISO400; f/6.3; 1/250 Second
ISO Considerations
I often have to make a quick assessment of available ambient light and the camera sensor’s ability to deliver a sharp image-without the help of a flash. To keep the ISO lower, I could underexpose and then artificially brighten in post processing, but this tactic introduces more noise resulting in less detail, especially in the darker areas. When the light is very low (as is often the case in a shaded yard) and the ISO is reading in the 8000+ ISO range, taking the shot using a Better Beamer telephoto flash extender is often the only acceptable alternative.
The second photo (above) of the female Scarlet Tanager was taken without flash…using a much wider aperture (f/5.6) and slower shutter speed (1/250 second) than I normally use in bird photography. The 5000 ISO shows some noise, but after post processing, I think the clarity and noise levels are acceptable.
Proper Depth of Field
In low light, I often have to widen the aperture to get proper exposure readings. With a flash attached to the camera, I have much more control over how I set the aperture and consequently, am able to achieve enough depth of field to get all of my image in focus.
Color Differences
The color and quality of light is ever changing… depending on the light source (or combination of light sources) atmospheric conditions, time of day, diffusive impact of clouds, rain and fog, and most importantly, the potency and the directionality of the light. Combining flash with ambient light often introduces unnatural tones of color in all or part of the image. If you shoot in RAW, this can be corrected in post processing.
In low light situations, a telephoto flash will most certainly bring out more detail and color information in the bird images.
Flash Power Recycling Requirements
I take a lot of shots when I am photographing birds and both my cameras react quickly and efficiently. However, bursting is not practical with a flash attached because the flash unit can not keep up. My Canon 580 EX automatically shuts down if it gets too hot to prevent damage to the unit. This often means a lot fewer photos and possible lost opportunities.
NOTE: The recycle time was so slow on my Canon 580 EX flash gun that I had to attach an additional compact battery pack (adds 8 batteries) to speed up flash recycling.
NOTE: If the flash does not have sufficient time to recycle (or goes into auto shutdown mode) before the next shot, I often keep shooting. The shutter will revert out of max flash sync speed to the shutter speed previously set on the camera. I preset the shutter to 1/350 second in Manual mode just in case the flash does not fire. I consider this to be a more reliable bird photography shutter speed for sharp photos (on a tripod) then the 1/250 second max flash sync speed.
Warning!
Sometimes you just need to take a break and walk away from your tripod mounted gear. Please be aware that flash gun with a fresnel extender set up on a tripod and pointed toward direct sunlight will get very hot, very quickly and may damage the flash unit and the camera (and possibly much more).
Flash as A Necessary Tool
Overall, I was reminded of how gratifying and comparatively effortless it is to work with adequate natural light. I’m also thankful for a responsive light sensor on my DSLRs that delivers quality images in relatively low light.
The goal of attaching a speed light with flash extender is to shed directed, intense and metered light on your distant subject and still maintain a natural look in low light environments. For the longest time, I have snobbishly shunned telephoto flash bird photography. But I was too hasty and missed far too many bird photographs, especially those warblers who so commonly hide in the shadows or under foliage. It is time for me to forget the arrogance and figure out how in low light situations I am going to balance ambient and flash light to get the best natural looking bird photos that I can.
At least now when I get up on a dark dreary morning, there’s hope. 8-}
Nancy,
Love your blog. Check it daily.
Check out Glenn’s video . He’s helped me a lot.
https://m.youtube.com/watch?v=Ta5So4NI4mk
Good luck!
Mike
Thank you Mike. I appreciate you reading my blog.
I’m a big fan of Glenn Bartley, but I had not seen the video you referenced on bird flash photography. Thank you for sending me the link.