Monthly Archives: February 2017

Photographing An Eastern Screech Owl – Experimenting With Video – Part III

Photographing An Eastern Screech Owl

I have been photographing this little Eastern Screech Owl on and off for more than 4 weeks now and have been unable to capture him as he flies out of his box for his evening hunting excursions.

He exits his box at twilight, quickly, unpredictably, and without fanfare. I ready the camera and 500mm lens by connecting the shutter remote and locking focus. The flash is the main source of light, with some ambient light enhancement.

At the ready with the shutter half pressed, I’ve tried over and over to anticipate when he will make his speedy departure. No luck. I end up with images showing a whole body motion blur, streaking from the 3″ entrance/exit hole to the edge of the frame.

Eastern Screech Owl
Eastern Screech Owl, Looking Back
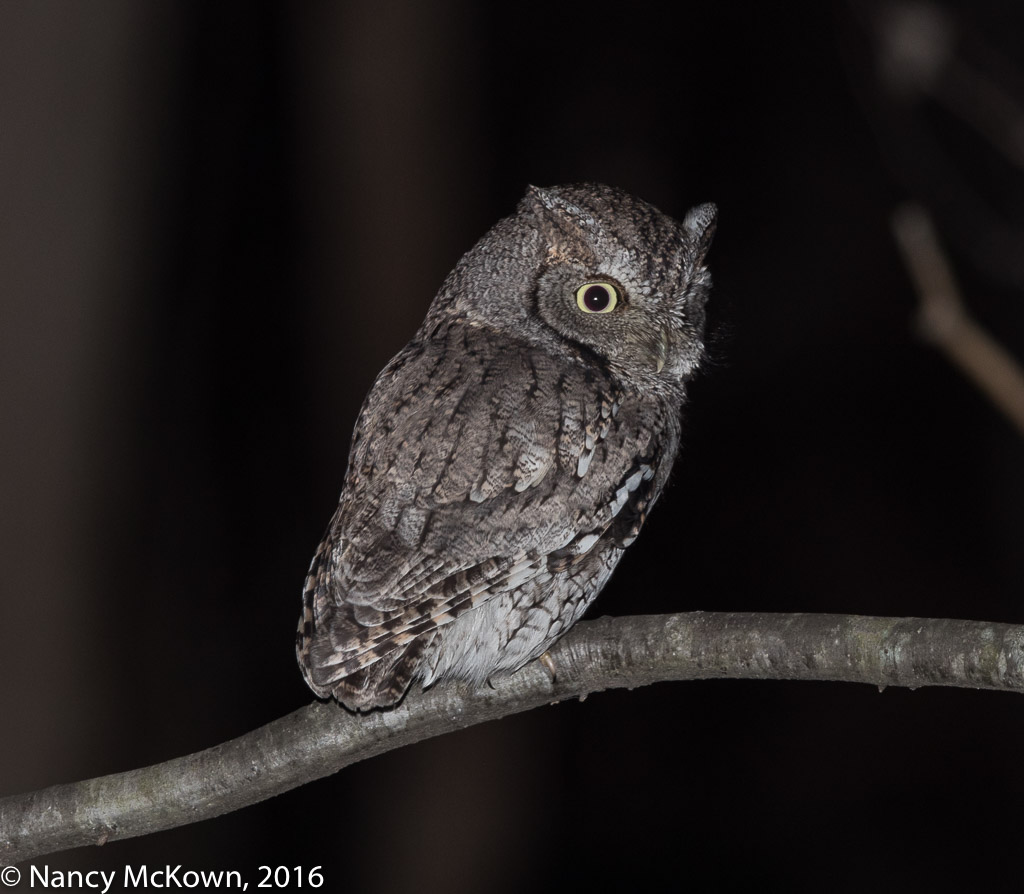
At Me In the Misty Rain.
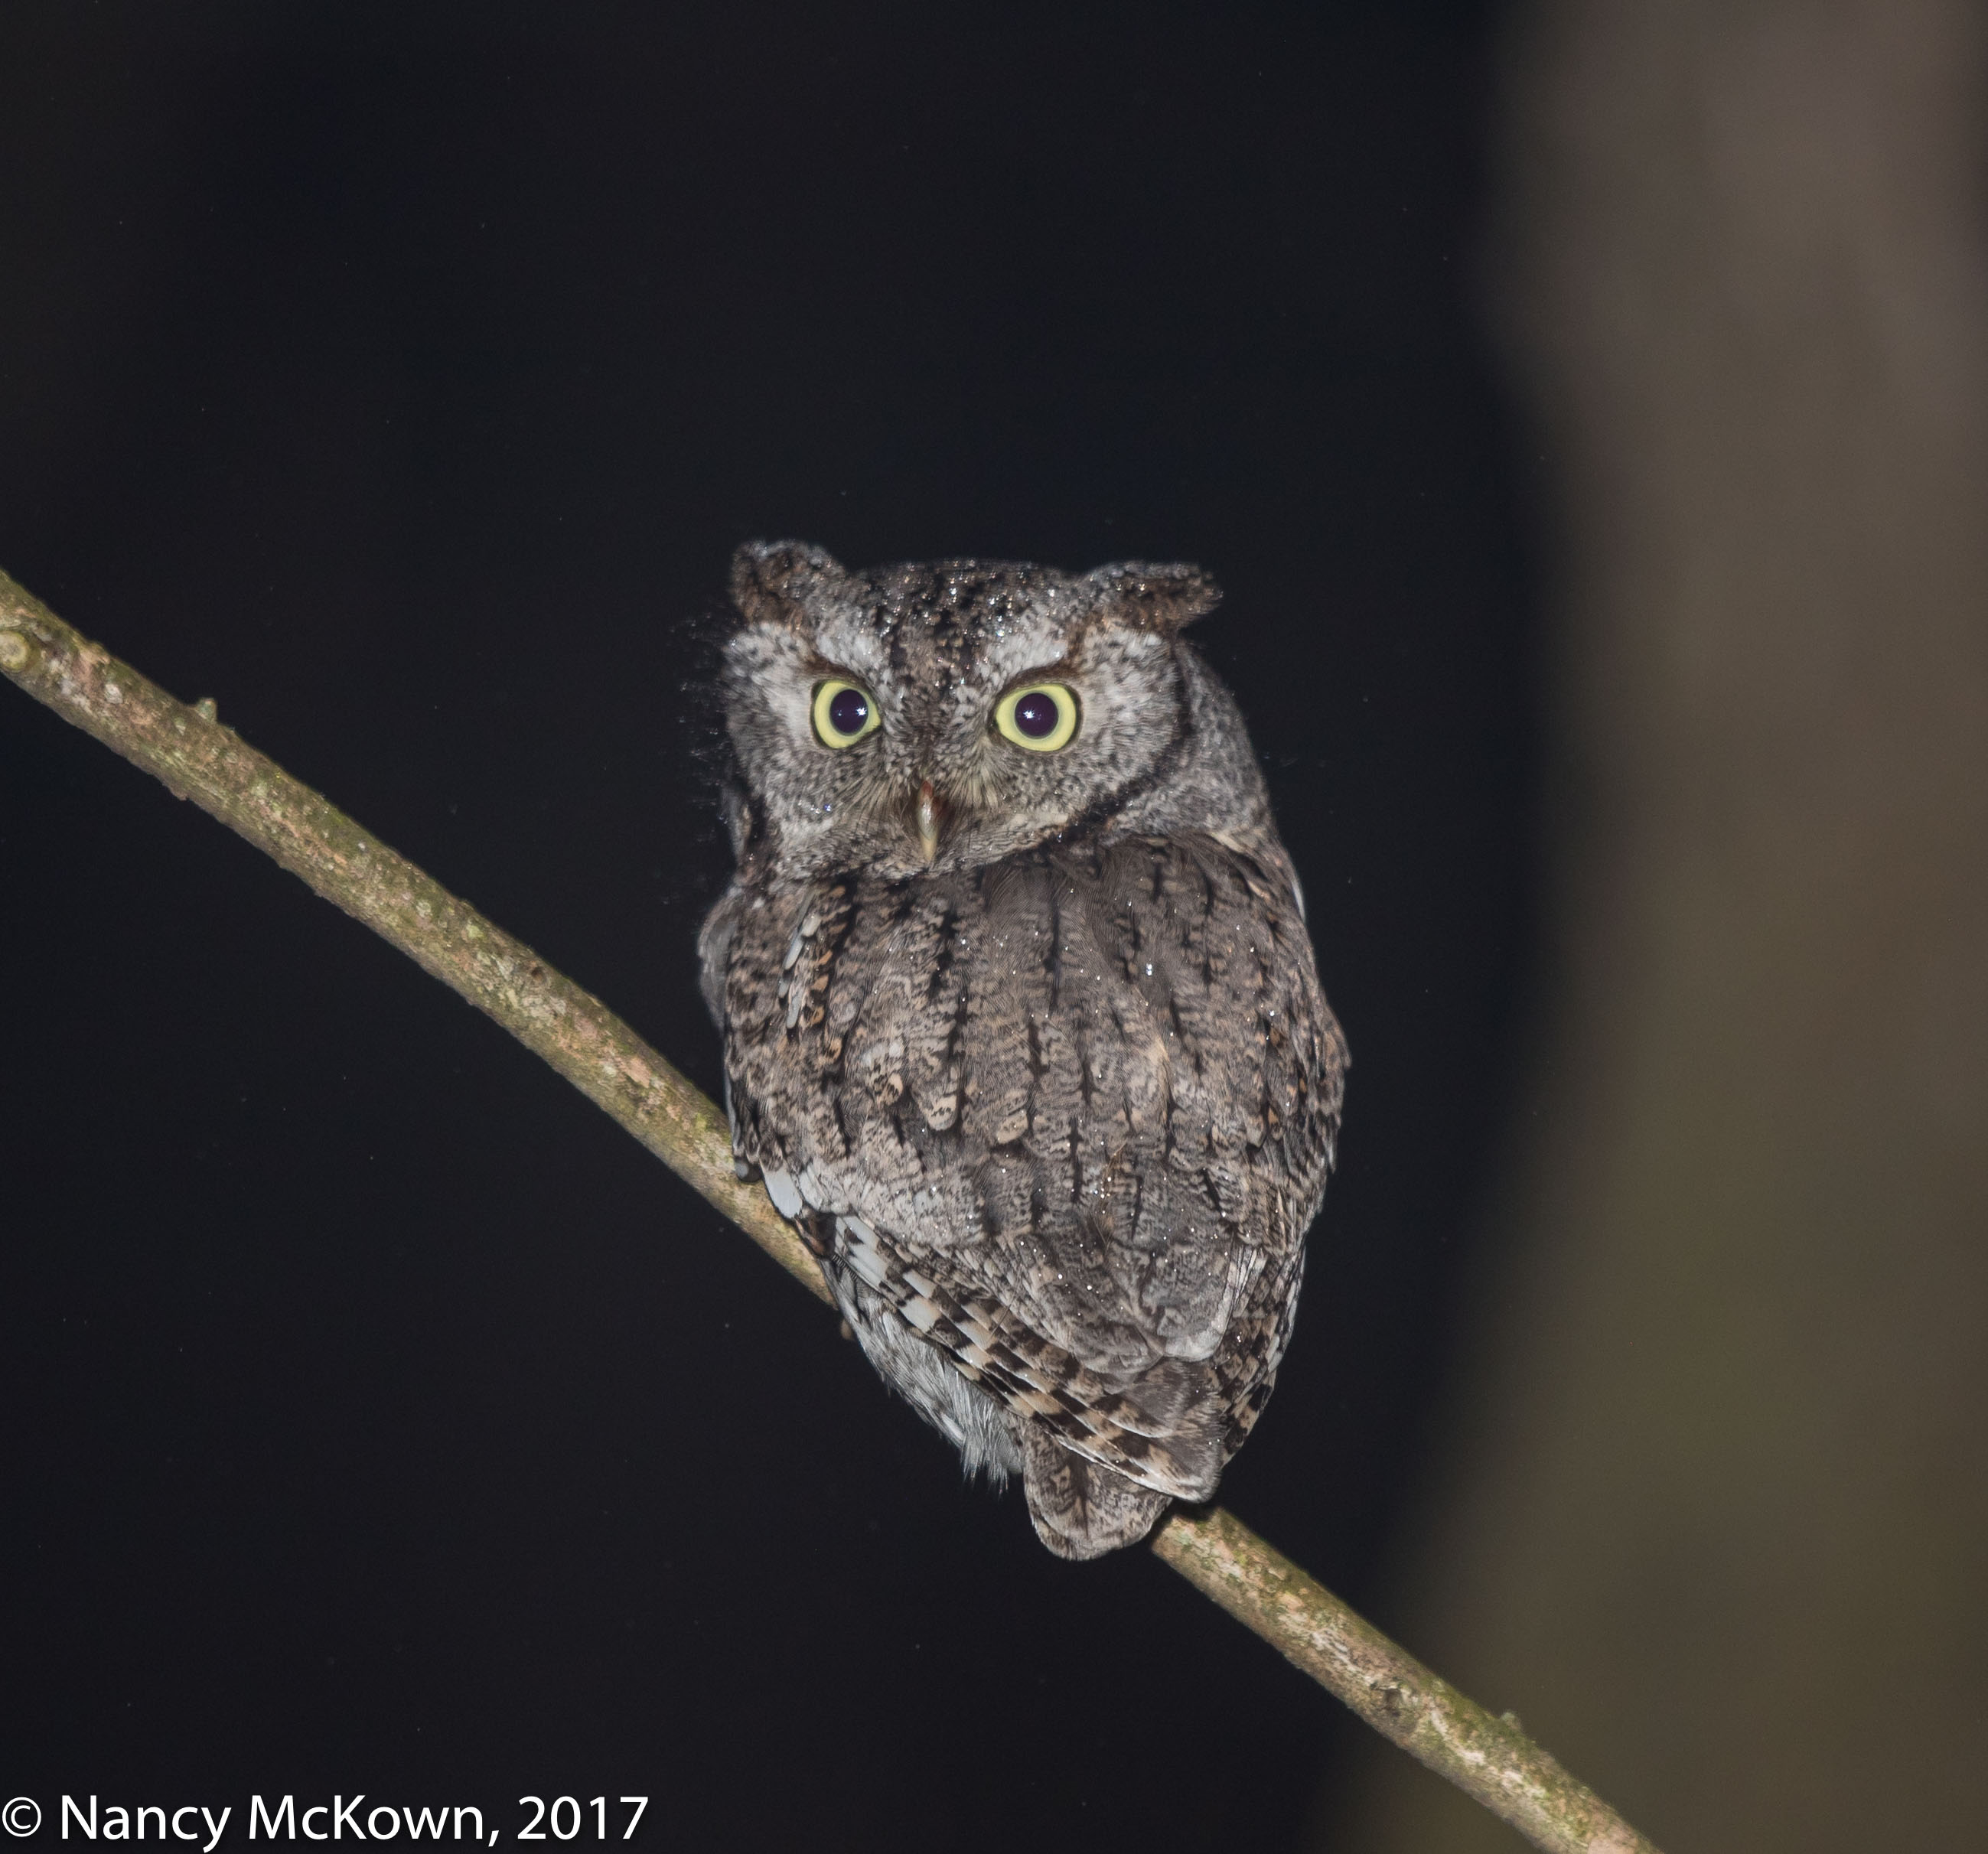
Is That Blood on his Upper Beak?
Camera set to Program Autoexposure
Mode (P). Please Note Program
Mode’s Unaltered Exposure Settings
ISO400; f/4; 1/60th second

Experimenting With Video

In bright daylight, I can set the camera to burst (up to 14 frames per second) and easily capture flying birds with an ultra fast shutter speed. But owls are nocturnal creatures and my flash gun would never be able to keep up with the camera’s fast bursting. In addition, the flash gun is set at the max sync speed of 1/250 second and will not freeze the action with E-TTL II metering a combination of flash and ambient light.

What if I was to video the Screech Owl exiting his box and then slow down the video in post processing? From there, it might be possible to extract a single captured frame from within that video file.

The video functions on both of my DSLR cameras are unexplored territory for me. Time to learn something new.

Video and Program (P) Auto Exposure Mode

Rather than experimenting with the DSLR video function in Manual (M) mode, I set the camera to Program (P) autoexposure mode. In Program mode, the camera automatically makes all the exposure decisions, like it does in Auto (A) mode, but it doesn’t prevent the photographer from changing those settings. If the photographer alters one of the many settings originally set by Program mode, (ISO, picture style, white balance, aperture, etc) the camera will compensate on-the-fly, re-metering light levels and making the necessary exposure adjustments. Program mode does this by changing the variables that the photographer did not change, taking into account all resources available, including flash settings (not useful in video) and type/focal length of lens. (NOTE: You can even influence how the camera changes exposure parameters in P mode by  fiddling with AEC or changing the light metering mode.)

My First Videos

I started out my DSLR video training one evening by producing a couple 2-3 minute videos. (Seemed like an eternity when I was filming). Filming conditions: Cloud-covered twilight, steady rain, 40 degrees, a bit foggy, window open, portable heater going in the background. (NOTE: I do not own video or studio lights.)

As with most learning endeavors, the more I read the manual and the more I practice, the better I get. I found that one of the most useful controls for video was the Q button (Quick Control) on the back of Canon DSLR cameras. It gave me access (in real time) to all sorts of video related functions, including Auto Focus, Frame Rate/Image Size/Compression, Audio Input Control, Headphone Volume, White Balance, Picture Style, and Auto Lighting Optimization.

Watch the Owl Exit in Slo-Mo

The 34 second slow-motion video of the owl flying out of his owl house is below. I slowed down this video clip 50%. (NOTE: The original video was close to 3 minutes long, however, my web hosting server has file size limitations. I had to reduce the length, resolution and quality of this video and eliminate all sound in order to get the file size small enough to upload it to my website.)


Pre-video preparation included the following:

  • Load a fully charged battery.
  • Insert the fast, high capacity memory card.
  • Set the video mode. The camera manual advises that 120fps in 1080p mode is best for slow-mo playback, and it did do a good job, allowing me to see fairly sharp individual frames despite the low light. (NOTE: Be sure you understand the options available in your DSLR for max video size and max video time.)
  • Review web resources for DSLR video advice.

Live View

Once I put the camera in video mode, the viewfinder shut down. I had to control the settings via Live View from the LCD screen. Live View on the new Canon 1 DX Mark II camera is crystal clear and very agile. I can pin-point focus by using the touch screen (even at the edge of the frame), dial to loop through exposure settings, white balance, etc., and watch the LCD screen to see how my changes impact the picture quality in real time.

Post video production was done with I-Movie on my Mac Pro. Thus far, I have been unable to grab what I consider to be a high quality frame from the videos I shot. I will continue to try.

There is so much more to learn. Next time I will experiment with video with the camera in Manual (M) Mode.

Photographing Pied Billed Grebes and Face Recognition Software

Photographing Pied-Billed Grebes

Pied Billed Grebes are water birds easily identifiable by their black chin and white, chicken-like, thick black ringed bills. Commonly referred to as little submarines, their quick and nimble diving behaviors allow them to rapidly disappear when threatened.

Photo of Pied-billed Grebe
Pied billed Grebe
ISO400; f/6.3; 1/800 Second

Elusive Diving Birds

I have never seen this bird flying, tending a nest, or venturing up on land. Last Spring, I found two promising locations near a local pond, visited both every day, and readied my camera whenever I spotted a Grebe. My goals were challenging: 1) Avoid the brown gunky look of dead vegetation floating in the pond water; 2) Capture a take off or landing shot of this water bird; and 3) Photograph one or two baby Grebe chicks with their parent(s).

Not much luck. When I did see a Grebe swimming toward the camera in open water, I was barely able to press the shutter (set for high speed continuous shooting mode) before he suddenly plunged under water, only to surface again clear across the pond.

Photo of Pied-billed Grebe
Pied-billed Grebe
ISO100; f/5.6; 1/500 Second

Intelligent Tracking and Recognition

Look at that face! I was surprised to see little square boxes in the camera’s viewfinder indicating that the camera had found and classified a round shape with 2 eyes as a face and was trying to prioritize focus and exposure by tracking that face. (NOTE: I had turned on facial detection for a family event I was photographing the week before.)

Face detection in DSLR cameras is mostly designed to recognize human faces, but many mammals and birds have faces that contain the same basic attributes as humans. This technology searches for facial key points like facial outlines, eyebrows, eyes, nose, ears, chin, and mouth.

Facial Detection Auto Mode

With facial detection engaged, Canon’s “intelligent focusing system” will search for face(s) and, once found, will track and prioritize certain focusing and metering functions on those face(s).

  • Some of the more advanced camera systems allow you to “confirm” the face rectangle(s) upon which focusing and metering will occur.
  • The need to use AE focus lock and AEC will probably be reduced since the camera will automatically meter and focus on the faces it finds.
  • Since the face detection system algorithms are programmed to follow the faces around, it is logical that the focus points previously set on the camera will not engage while facial recognition is operational.

Bird Recognition Built into Cameras

Face detection included in most modern smart phone and DSLR cameras is not face recognition. Face recognition goes beyond detecting by registering human face information and matching that info to a database of faces to specifically ID individuals.

The Merlin Bird ID app, published by the Cornell Lab of Ornithology, incorporates a bird ID process and a database of bird photos and characteristics to help the user identify birds. You simply upload a photo of the bird you want to ID and answer a few questions.

Bird recognition systems built right into the camera or lens can not be far away. 😎

Photographing Downy Woodpeckers – Thoughts About Web Predators

Photographing Downy Woodpeckers

I think Downy Woodpeckers are one of the loveliest year-round residents in our yard. They are as numerous and predictable as Mourning Doves in Southwest Michigan. The ones around us have become acclimated to the camera and appear tolerant and watchful when I come around.

Like most birds, Downy Woodpeckers spend more time looking up toward the skies in search of predators than they do watching  me.  When they sense danger, most other birds quickly scatter, but Downy Woodpeckers often hide in what appears to be plain sight, hoping to camouflage themselves by being silent and motionless until the danger passes.

Photo of Downy Woodpecker
Downy Woodpecker
ISO1600; f/7.1; 1/250 Second

Little Drummers

Downy Woodpeckers are not much bigger than the other familiar song birds at the feeders (titmice, chickadees, nuthatches). A small patch of red on the back of the head distinguishes the Downy male from the female. Their bills are straight and sharp, but do not look oversized on their faces like the beaks on larger woodpeckers do. In the winter you can often hear them excavating tree trunks and branches probing for deeply embedded insects and larvae. As Spring approaches they will drum more to communicate and entice partners.

Sharing Bird Photos

I love the challenge of photographing birds and publishing my experiences on a weekly web blog. Where else can photographers connect and share their work with so many people all over the world? Best of all, it gets me out to explore nature with my camera.

Anyone who maintains a blog knows that concealed naysayers and marauders come with the web publishing territory. Putting my images (good and bad) out there also makes me vulnerable to everything from condescending feedback to outright thievery.

Photo of Downy Woodpecker
Downy Woodpecker
ISO1600; f/71; 1/250 Second

Pilfering Images

The web is a treasure trove of art that is technically easy to snatch…and apparently lots of thieves do so without a care. I was not surprised to learn that some individuals are illegally stealing my images and posting them elsewhere on the web without permission.

Google Analytics has web diagnostic programs that provide a multitude of reports about how my site appeals to readers. It calculates how many people visit my site, for how long, and from whence they come. However, Google Analytics does not spotlight web pilfering. To find out if your web images are being used for unauthorized purposes, tools like “Google Image Search” and “TinEye.com” are available. You simply upload an image and these tools will point to where else that image can be found on the web.

What to Do

One of the the most logical ways to foil attempts of thieves to sell hard copies of copyrighted images is to reduce the size of the image file to 1020×800 pixels, at 200 PPI resolution. The photo still looks decently clear and large on the web, but can not be used to print images larger that 4″x4″ or 5″x4″. This also has the added benefit of reducing site load times. This strategy won’t do much to thwart those individuals who want to display your images on a website or use them as a model for their art work.

If you wish to read more on this topic, this link provides excellent information: “What to Do If Your Photographs are Stolen” by KeriLynn Engel.

Note: I don’t actively market my photographs, so I always appreciate it when artists contact me to ask for permission to use one of my bird images. My fee for a one-time use non-exclusive license is $15.00 per image for reproduction up to 5″x 7″.

Photographing An Eastern Screech Owl – Part II

Photographing an Eastern Screech Owl

He’s back!

Photographing this little Eastern Screech Owl intrigues me. He is keenly adapted to flying and hunting under the cover of darkness. Light and opportunity rarely allow for night time bird photography, so I was very excited to be able to capture sharp images of him.

For the photos in this post, our resident owl did not fly off into the darkness like he usually does, but instead perched on a nearby unobstructed, camera level tree branch. It was very dark, but a low beam flashlight illuminating the branch on which he perched allowed enough light for the camera to calculate exposure (with E-TTL II Flash) and the lens to auto focus. His head and body were facing away from the camera, but when he turned to look back at me with those remarkable eyes, I was lucky enough to get two full body shots. He flew off to parts unknown seconds later.

NOTES: This owl’s raised tufts of feathers where his ears should be look very distinctive, but do not function as ears or horns. The Horned Lark is another bird species with conspicuous ear tufts. The Snowy Owl that I photographed in the Allegan State Game Area did not have noticable ear tufts.

Eastern Screech Owl
Eastern Screech Owl
Out of His Owl Box.
FEC set to -1.
ISO400; f/9; 1/250 Second

Night Time Photography Considerations:

  • Flash Failure!  My Canon 580 EX II, purchased in 2008, was no longer communicating efficiently with the camera. It operated erratically and seemed to burst without regard to the E-TTL II exposure calculations issued from the camera. (NOTE: This is probably the first time I have relied on this flash to provide more than fill to existing ambient light.) I can not be without an E-TTL II flash gun, especially when photographing nocturnal owls. I bought a new Canon 600 RT Flash Unit.
  • The camera was set to Manual Mode and the new flash to E-TTL II so that the camera would calculate the burst needed based on the exposure settings I chose. I toned down this burst by setting the flash exposure compensation (FEC) to -1. It turned out to be a good place to start.
  • The open window through which the camera points is not far from the furnace PVC exhaust vent pipe. On cold windy days, the discharge turns into a floating mist that obstructs my image making. Easy fix…bundle up and turn the furnace way down.
  • Fresnel flash extenders are intended to direct light more efficiently onto distant subjects. For this shoot, the tele flash extender was too close, causing the owl to be “spotlighted” or partially lit around the center of the frame, leaving extremities of his body and his nearby surroundings insufficiently illuminated. I removed the fresnel flash tele extender and set the flash to its 200mm max zoom. The flash beam was wider and more on target. The new extended zoom flash capability on the Canon 600 RT II doesn’t eliminate the need for a fresnel flash extender for bird photography, but you can get by without it when the subjects are in fairly close proximity to the flash. (NOTE: On my old flash -580 EX II -the max zoom setting was 105mm.)
Eastern Screech Owl
Eastern Screech Owl
Out of his box for the Night.
Flash Exposure Compensation -1
ISO400; f/9; 1/250 Second

Next Challenge

As night approaches, the owl is clearly more visible and alert. He looks as though his feet are perched on the opening of his owl house giving his head maximum freedom to look around. I have been trying to capture a shot of him at take-off, right as he exits his box, but I have been unable to do so because he jets out of there in the blink of an eye. The minuscule lag time between when I see him exit the box and when I press the shutter is long enough to miss the shot, even when I pre-focus by pressing the shutter release half way.

I need strategies to get exit shots. NOTE: I’ve been considering setting up a few low lights, using my camera’s video function and then processing that video in slow motion. It might work on those days that he exits at twilight when there is still a touch of ambient light. This of course assumes that this little Eastern Screech Owl decides to stick around.  More to come……