A Slow Winter Season, So Far
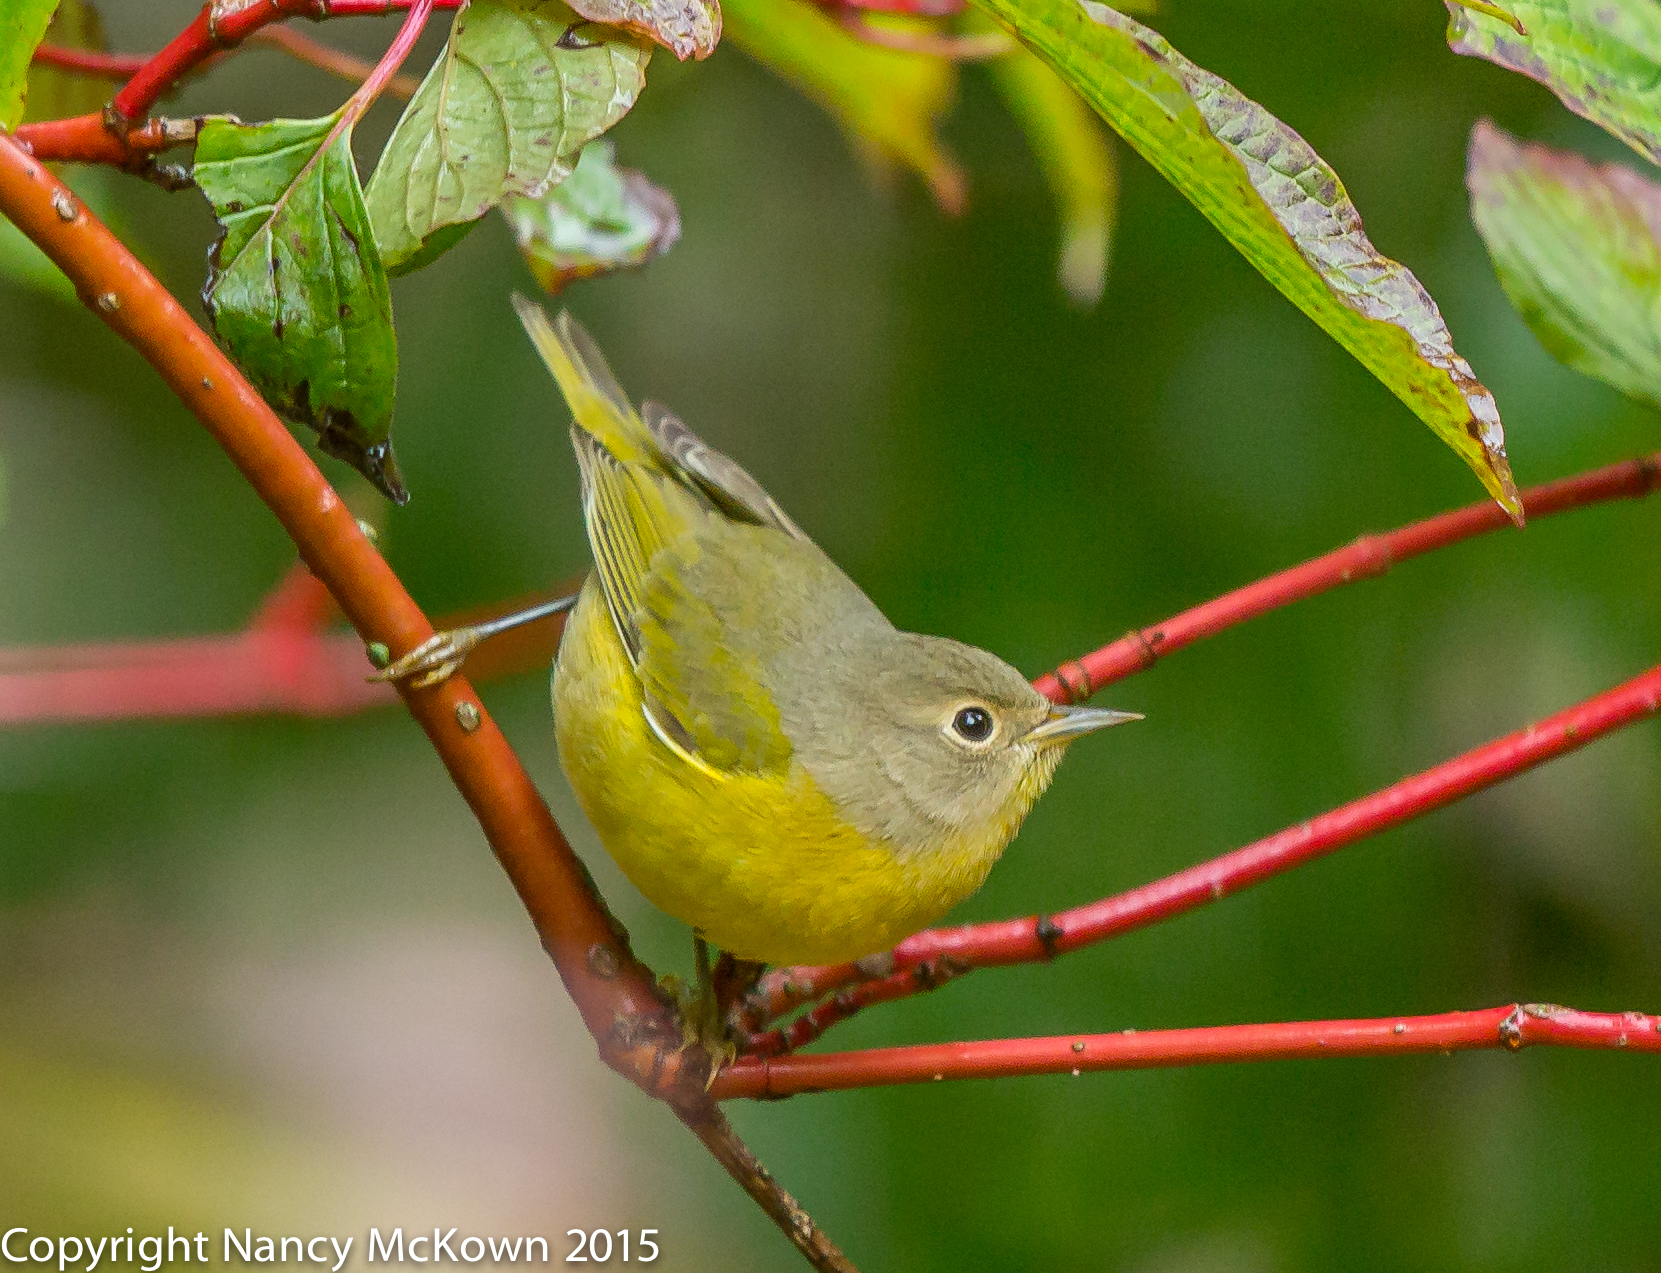
So far, January, 2016 has been cloudy, comparatively warm, and sadly disappointing as far as bird photography goes. I know they are out there, so I still have high hopes of capturing a few birds in their winter habitat. Until then, I will tap into my portfolio of bird photographs from sunnier, more productive photo shoots. The images below were taken in Southern California in February, 2015.
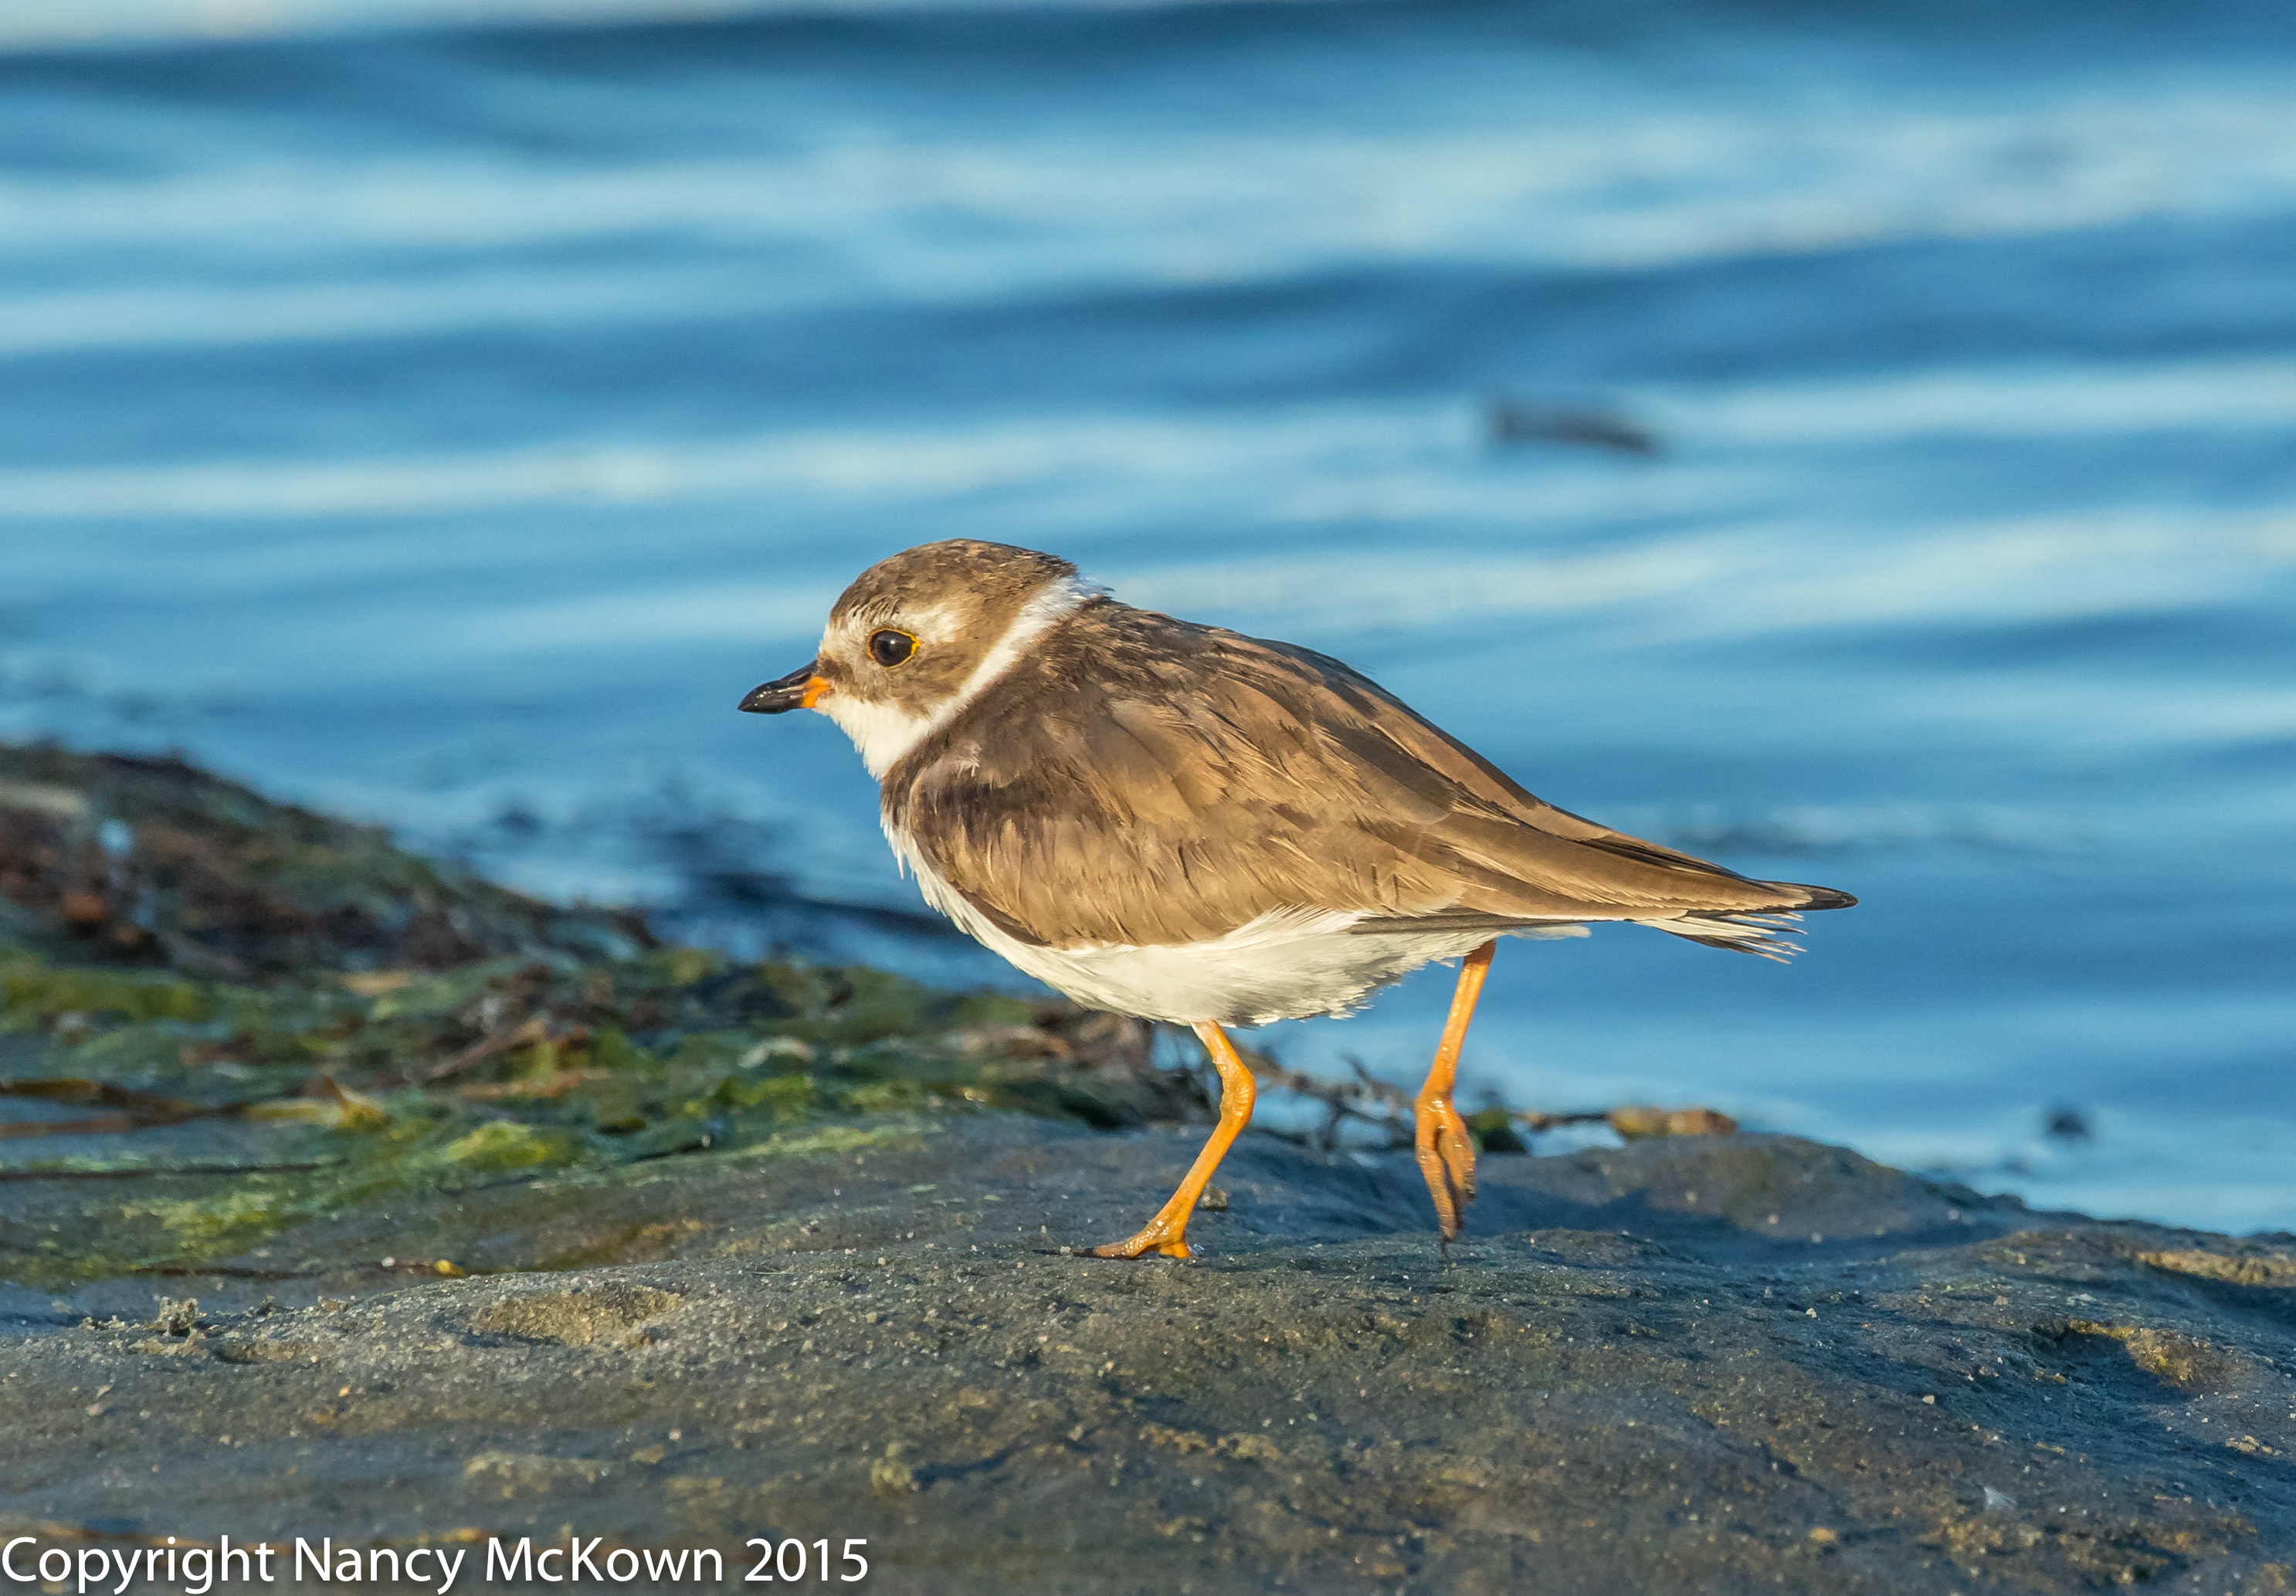
Semi Palmated Plovers
On a Beach exhibiting a Wide
Dynamic Range.
ISO800; f/6.3; 1/2000 Second
Photographing Semi Palmated Plovers
The Semi Palmated Plovers are the tiniest birds foraging for food on the Southern California shoreline. These shorebirds are compact, fast and handsome as they skitter about rummaging for insects, crustaceans, and worms in the mudflats. Come Spring, most of them will begin their migrational trek to nest in the northern arctic and subarctic regions.
Semi Palmated Plovers are reminiscent of Killdeer because they lead predators away from the nest with a “broken wing” display. Their young are precocial — able to walk away from the nest shortly after hatching and feed themselves. (Press this link to read more about Killdeer.)
These birds allowed me to get close with the camera…..up to a point. Once I tip-toed too close for comfort, the whole group jetted off to forage a few yards ahead on the beach. The light was good, considering it was mid-morning and the slippery wet beach sand was highly reflective. I still was able to pick up a wide variety of dark and light colors as I framed the images.
What the Sensor Can Do
Modern, sophisticated digital camera sensors are remarkable inventions and the quality images they produce have convinced millions of photographers to abandon film. To better appreciate the capacity of these little imaging chips, and their recording limitations, it’s a good idea to better understand the concept of “dynamic range”.
Dynamic Range
We have a few musicians in my family, so when I think about dynamic range, I think about how it is used to define and measure (in decibels) the quietest sound to the loudest sound that can be recorded. If you hear music that does not vary in amplitude, it is said to have a small dynamic range. A wide mix of soft and loud sounds in a piece of music has a wide dynamic range.
In digital photography, dynamic range defines how much dark and light variation your sensor can capture in a scene. The range of this variation (tonal range) is illustrated by the camera’s histogram on a 0-256 scale. It displays the darkest part of the photo (on the left commencing with 0 on the histogram) and the lightest part of the photo (on the right ending with 256 on the histogram).
If some of the dark and light details in your captured image overflow past one or both of the extremes on the histogram (0 or 256), the camera’s sensor is not capable of reading or recording those details. Consequently you will see a lot of washed out whites or black blobs in your images. (NOTE: The highlight and shadow recovery tools available in post processing may be able to recover a little more variation detail beyond what appears on the histogram.

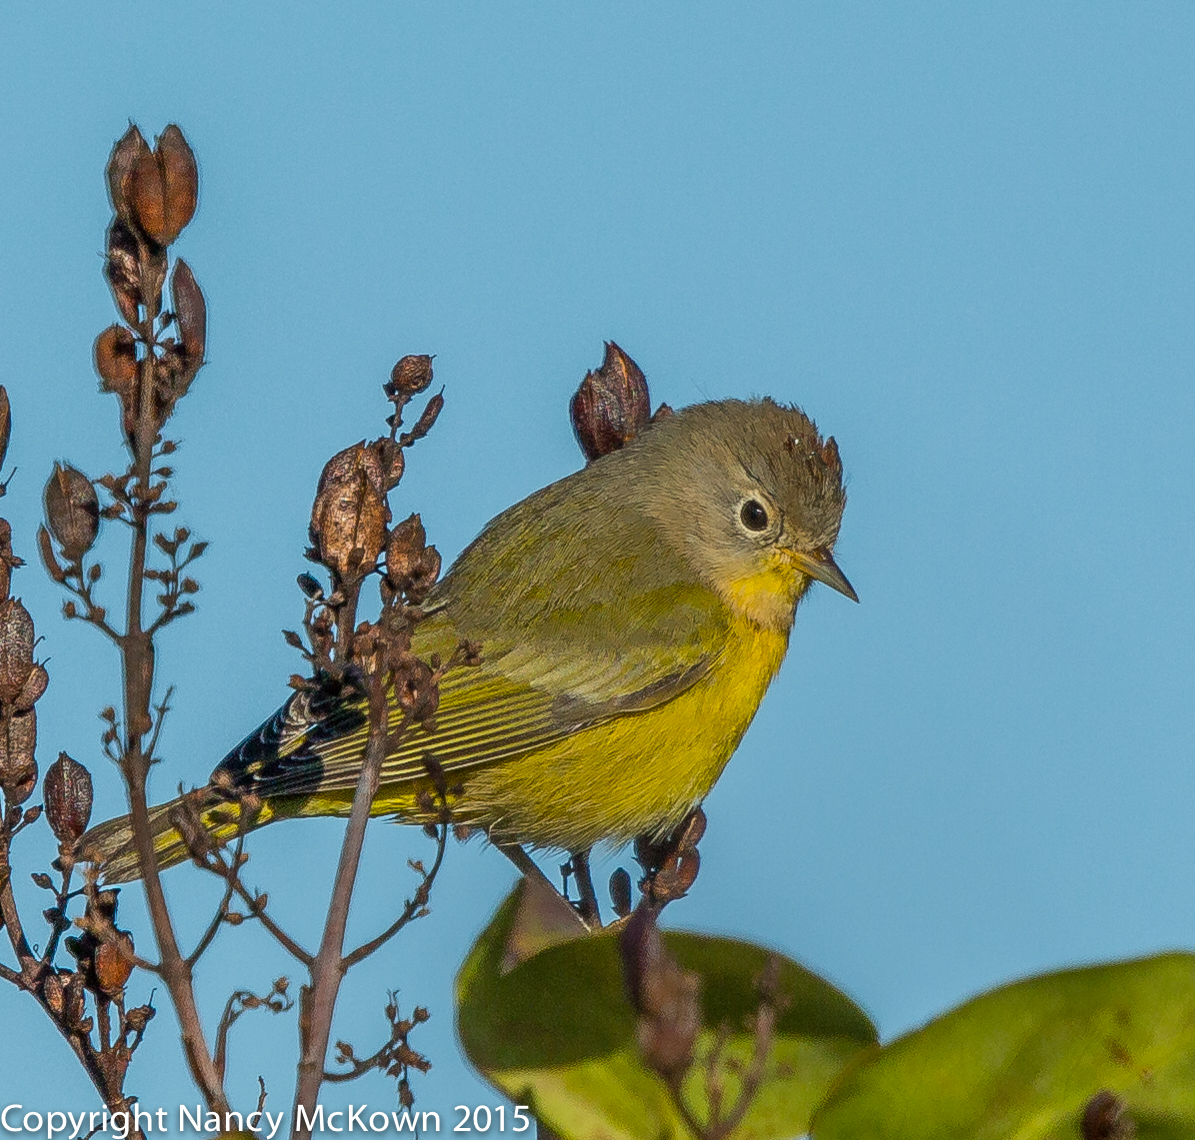
ISO1250; f/6.3; 1/2000 Second
High dynamic range images are those with a wide range of tones and whose tonal values reside within the confines of the histogram. If everything in the image has the same brightness, it is said to have low dynamic range.
Controlling Dynamic Range
If the dark and/or light tonal intensities are reading beyond the range of the sensor, you may be able adjust exposure and capture more detail. I usually reduce exposure to insure that I don’t clip the highlights. NOTE: Human eyes are capable of seeing a wider dynamic range then a camera sensor can “see”. It’s a good idea to check the histogram often to see if the dynamic range of your scene that seems OK to your eyes is within the sensor’s confines.
Controlling dynamic range is also possible through the use of a graduated neutral density filter. These filters progressively darken the area of the brightest parts of the scene – like the sky – and thus reduce the range of brightness. Consequently, the sensor can read more detail in the shadows and low light areas.
HDR Solutions
Another way to enhance tonal richness within the dynamic range scale is by using HDR. A High Dynamic Range photo is a compilation of exposures of a static subject. The HDR function allows the photographer to capture more detail on both ends of the 0-256 tonal range spectrum by combining 2 or 3 or even 4 images. A HDR algorithm incorporated in the camera’s software (or post processing software) pulls the images together into one.
Differences in Camera Sensors
Camera sensors differ as to how much dynamic range they can capture. (NOTE: The dynamic range of the Canon sensors installed in its professional cameras is not as highly rated as Nikon’s sensors, manufactured by Sony). The tonal value limitations of sensors are most evident at the darkest and brightest areas of the image. In general, the bigger the sensor and the bigger its pixels, the more light that can be gathered and the more highlight and shadow detail that can be distinguished.
Read Your Histogram
Train yourself to regularly read the histogram on the back of your camera, and take those extra shots if you need to get a wider spread of tonal values. You will become a more insightful photographer if you do.
To read more about Histograms, press this link.