A Most Dangerous Time for Birds
The birds in our Certified Wildlife Habitat® are mostly “Temperate Altricial Birds”. They are helpless, naked, and dependent after hatching…..not unlike human newborns. When these fledglings finally do leave the nest, they stay hidden in the brush as best they can, peck at an insect once in a while, remain motionless when threatened, and depend on the parent to stuff food in their faces. Soon enough, the parents have to stop feeding them in order to direct resources to the new nestlings or to migration readiness. The fledglings must then survive on their own.

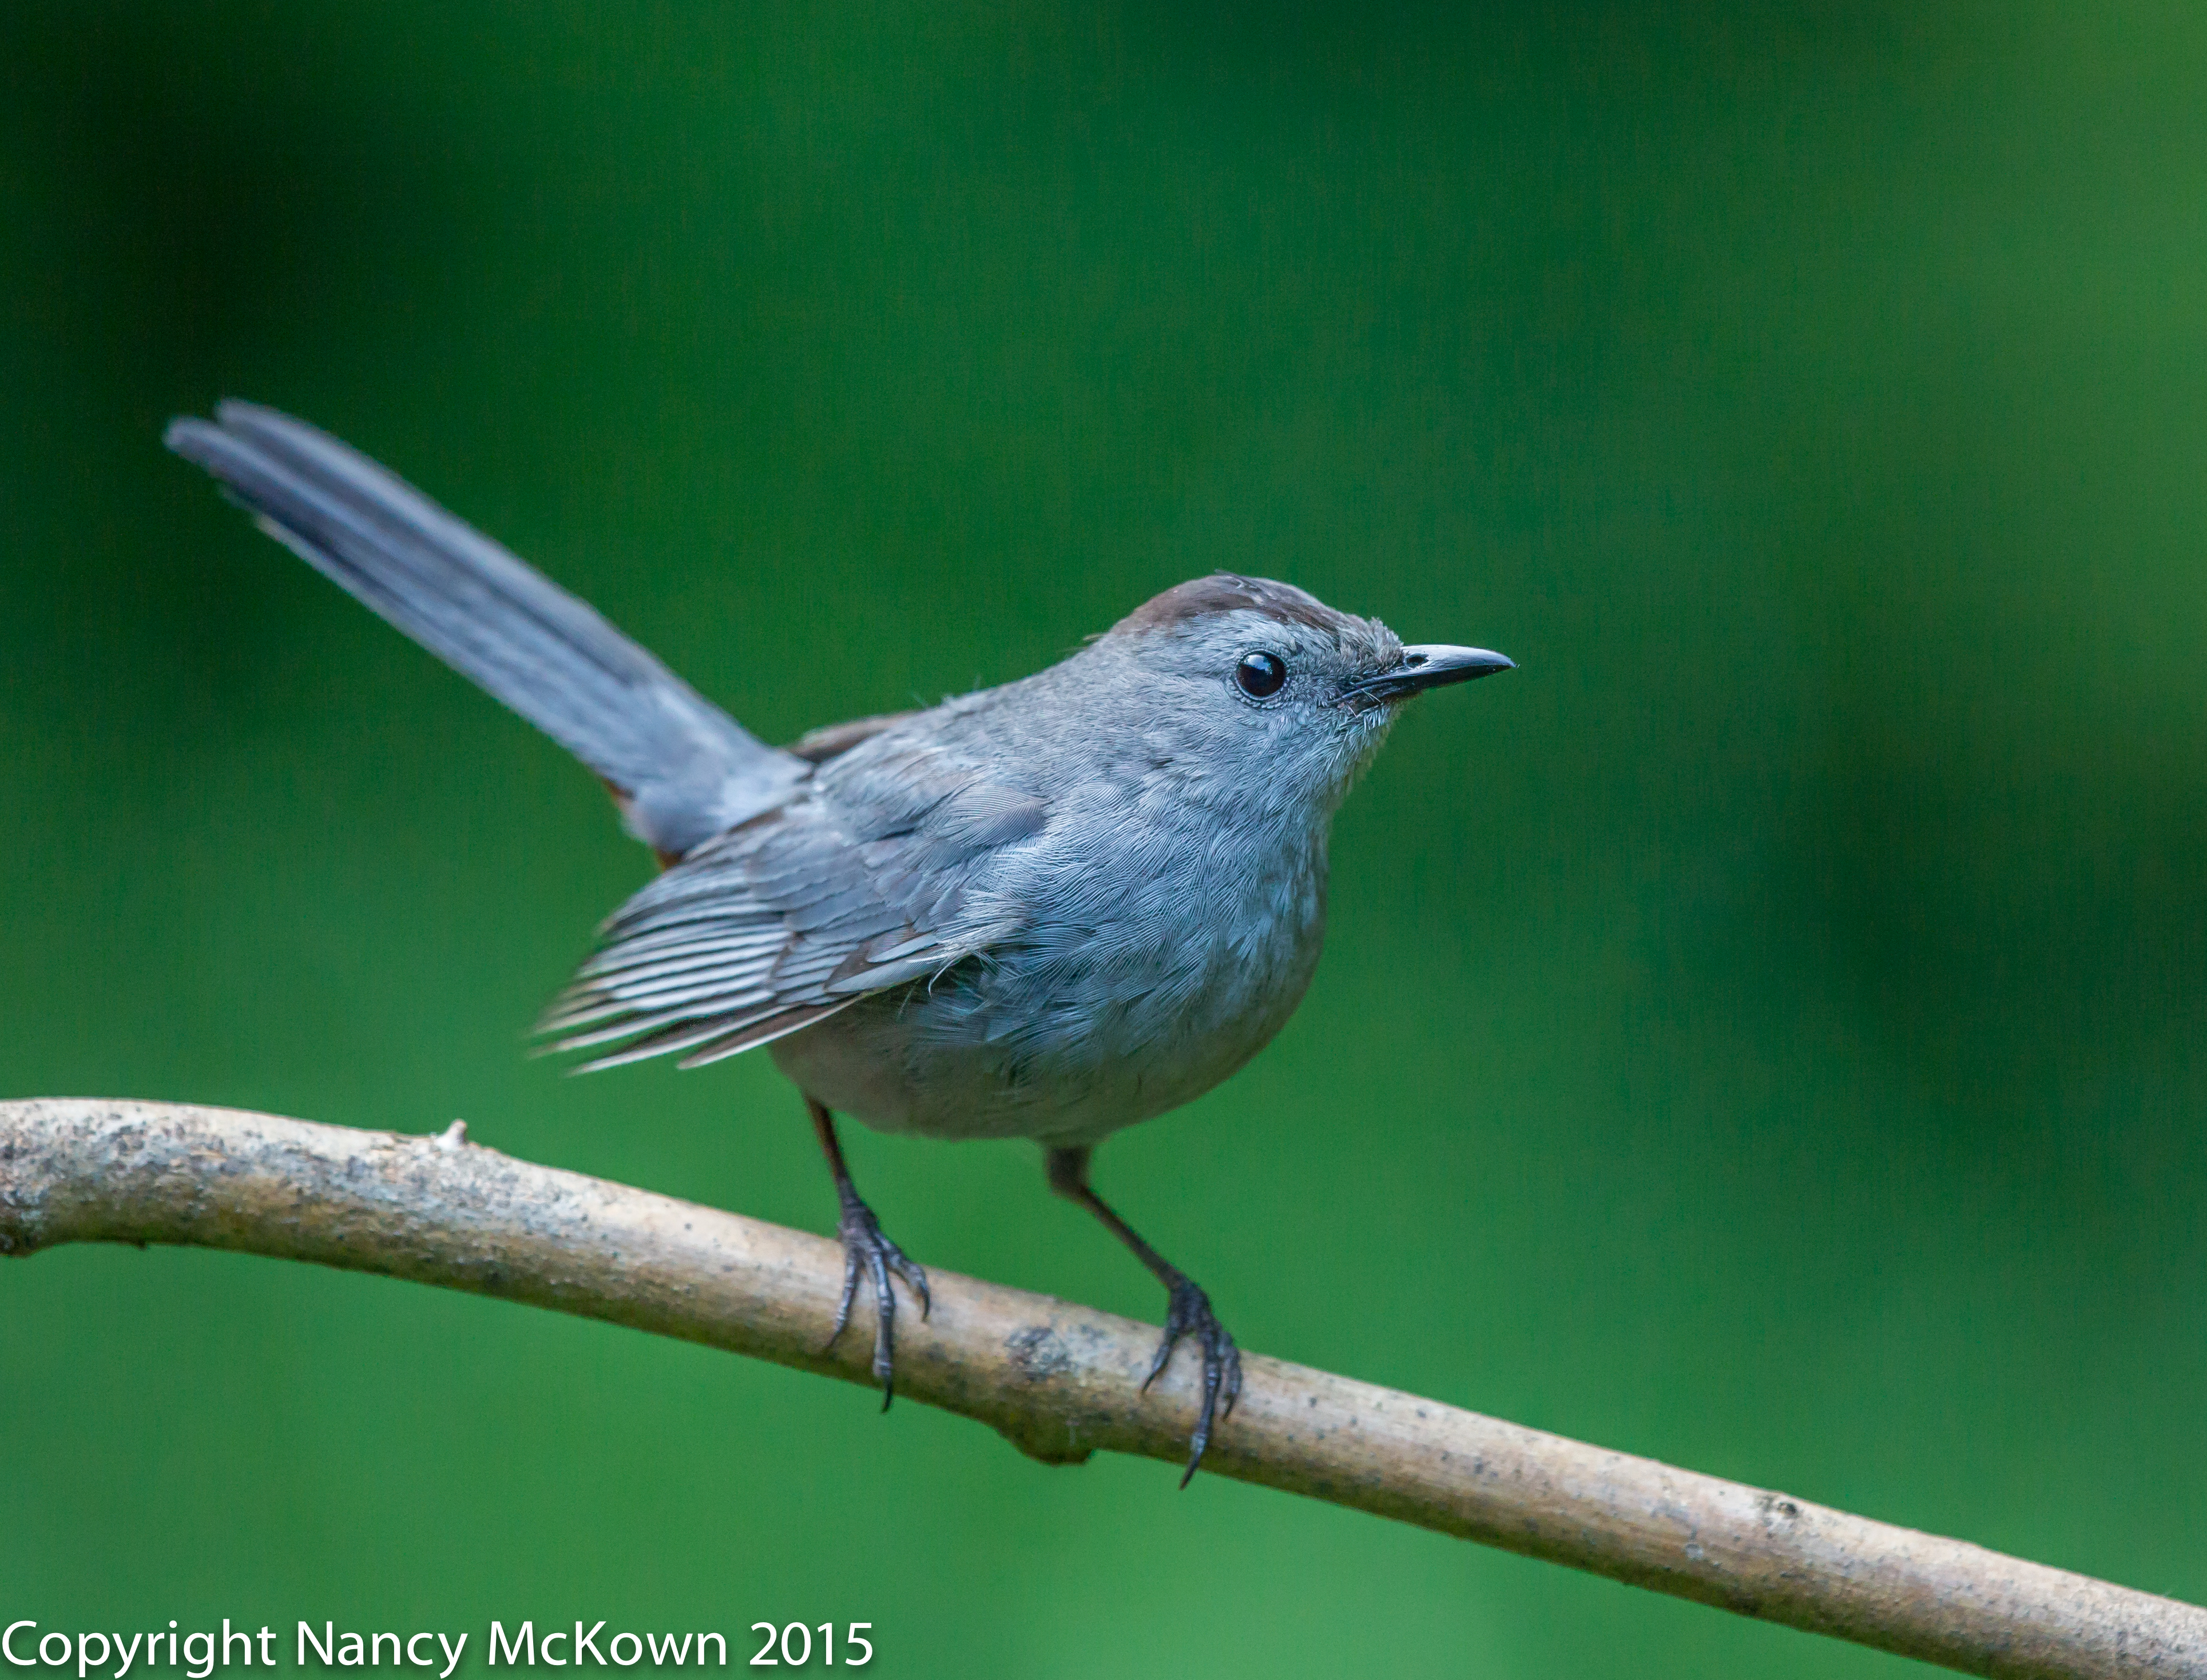
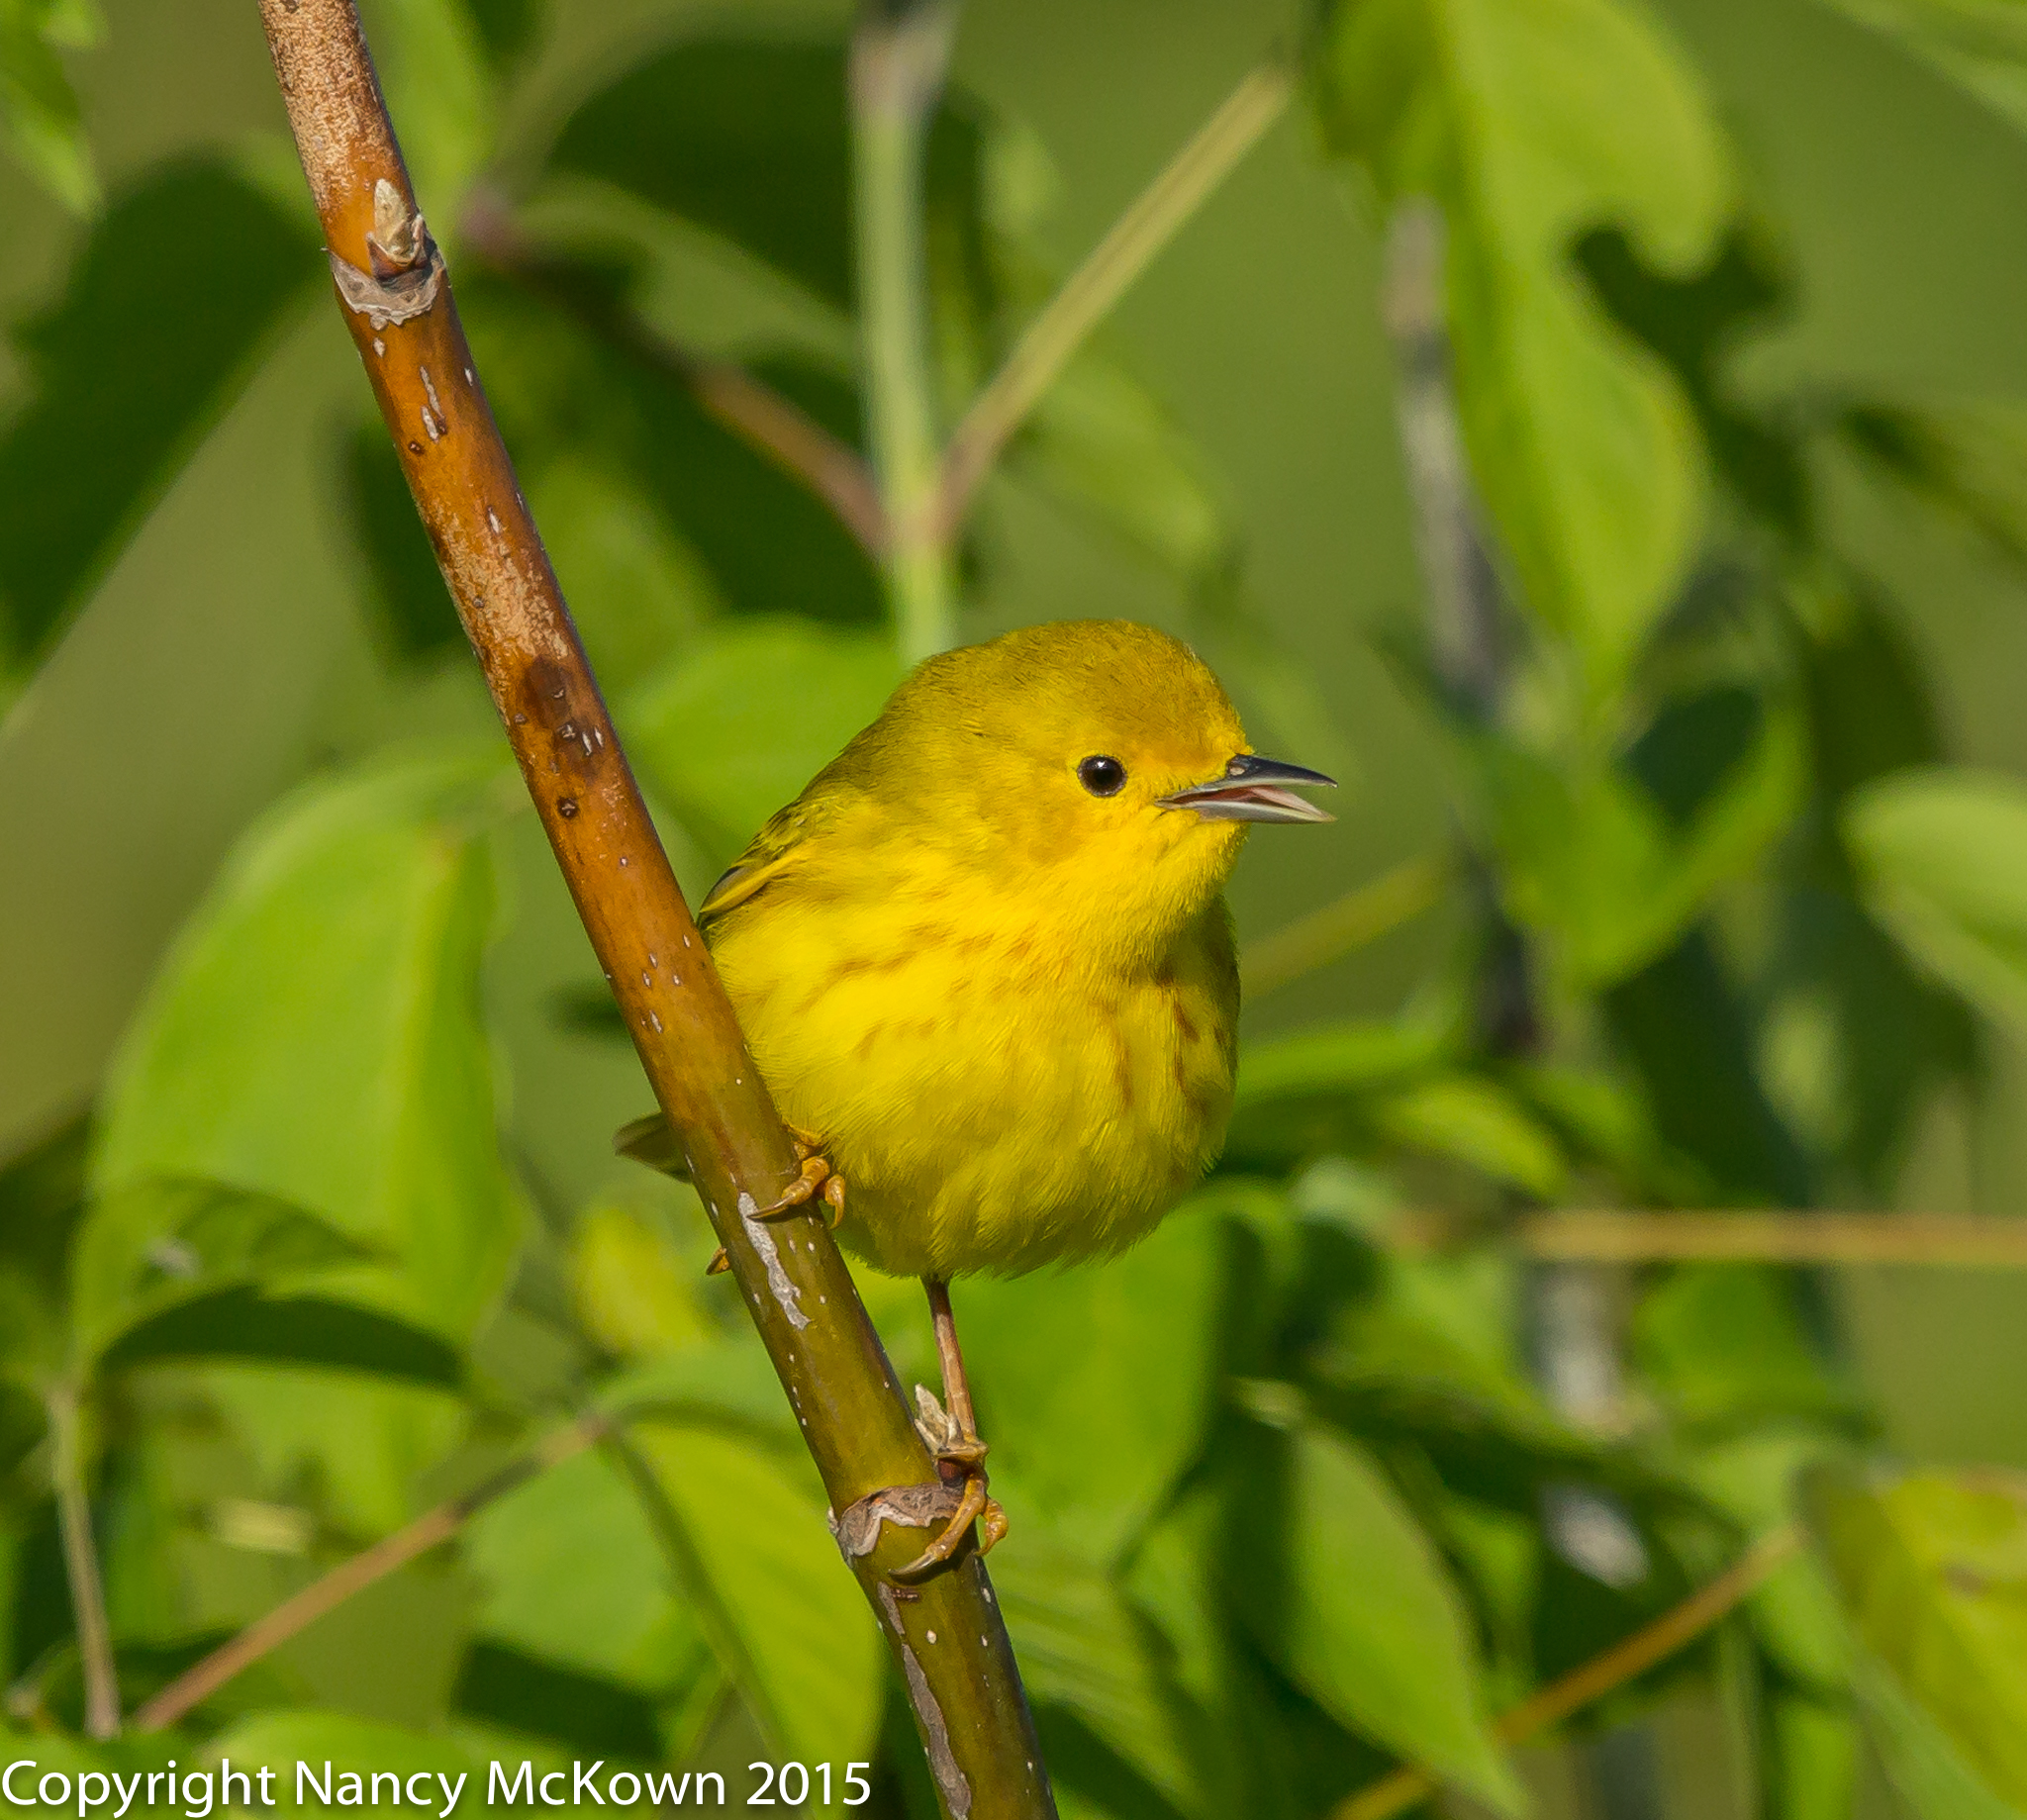
looking very new.
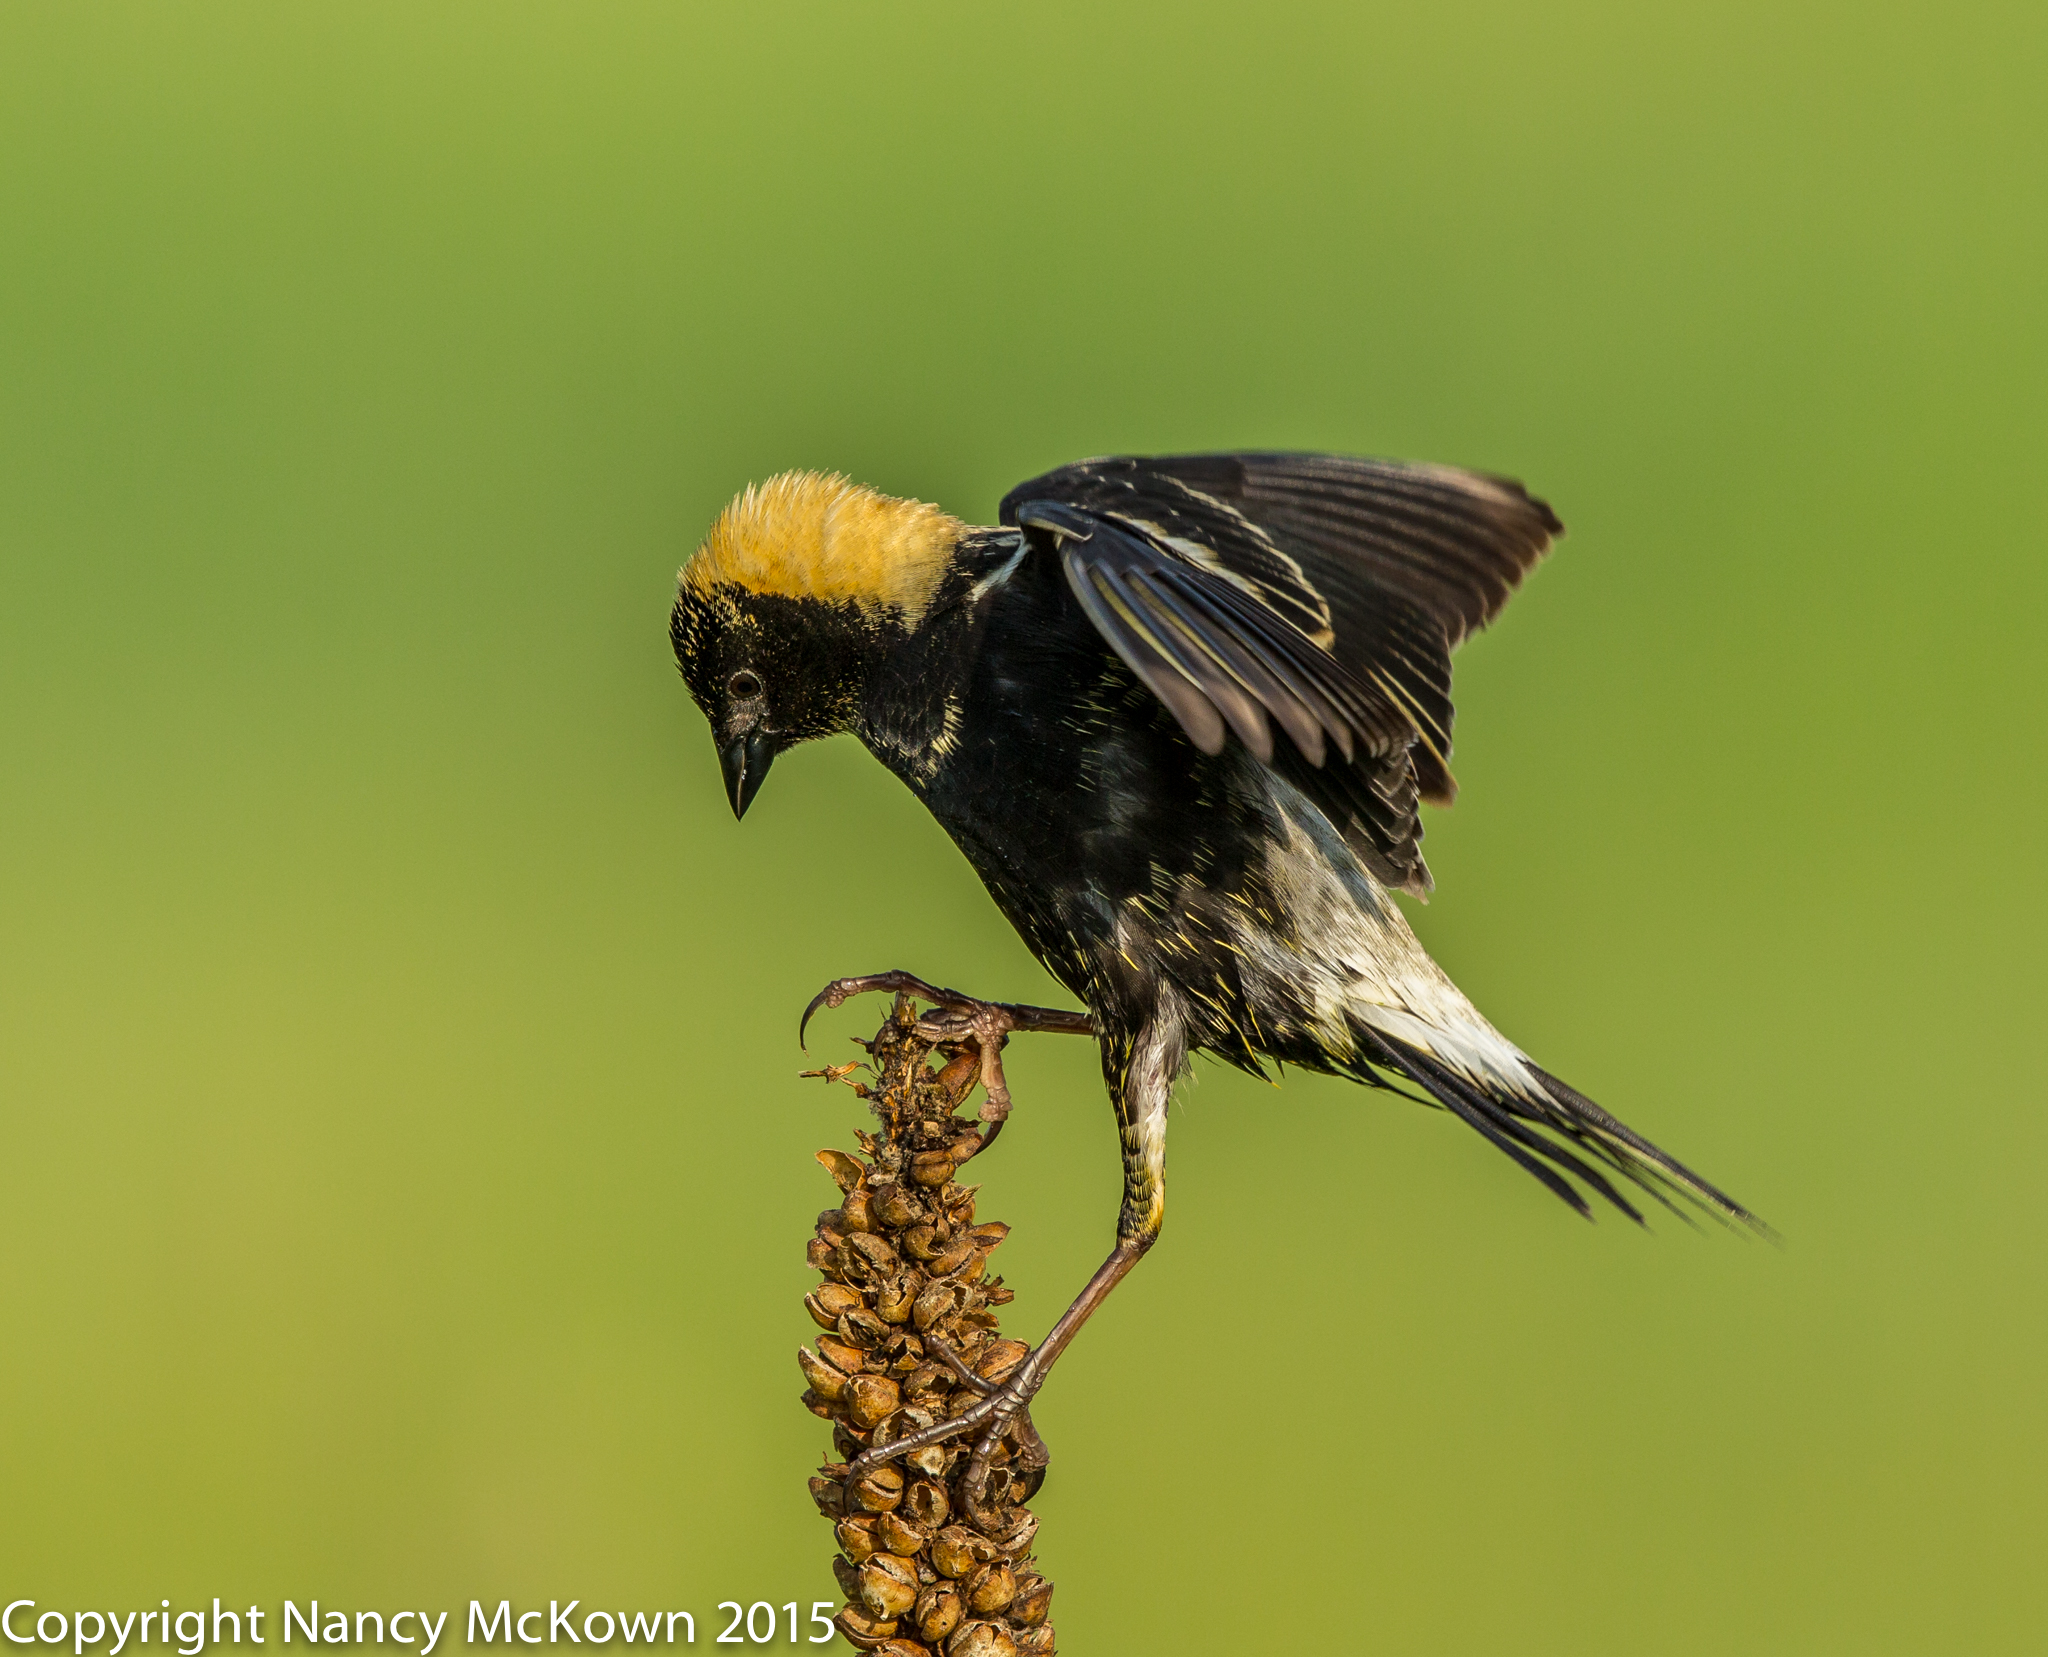
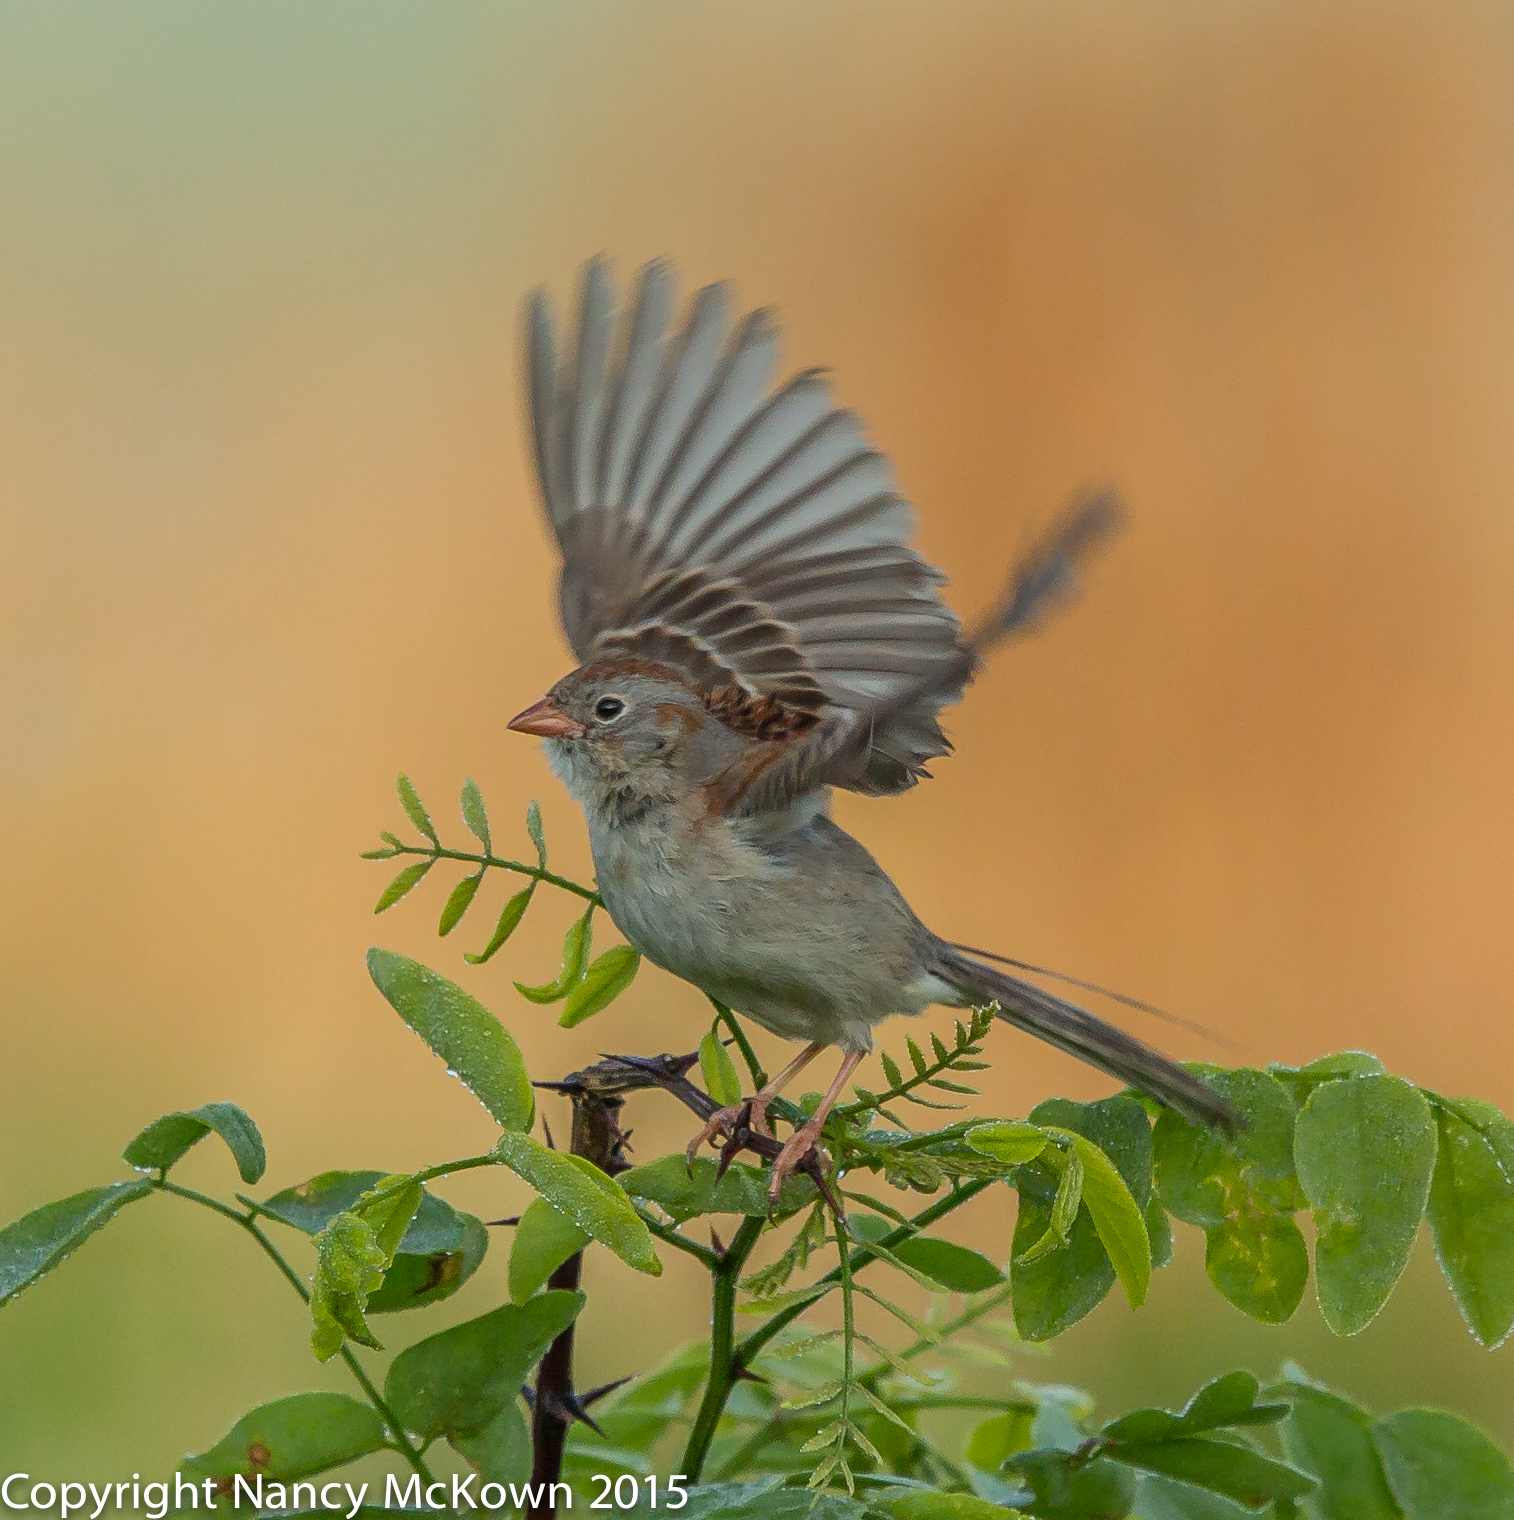
ISO800; f/8; 1/1000 Second
NOTE: Altricial means requiring nourishment. Altricial birds are very different than “precocial” baby chicks; those who hatch from their protein rich eggs in a more developed fledgling state. Precocial baby chicks are mobile almost immediately, feed on their own and are not waited on in the nest. Quite a different set of responsibilities for the parents.

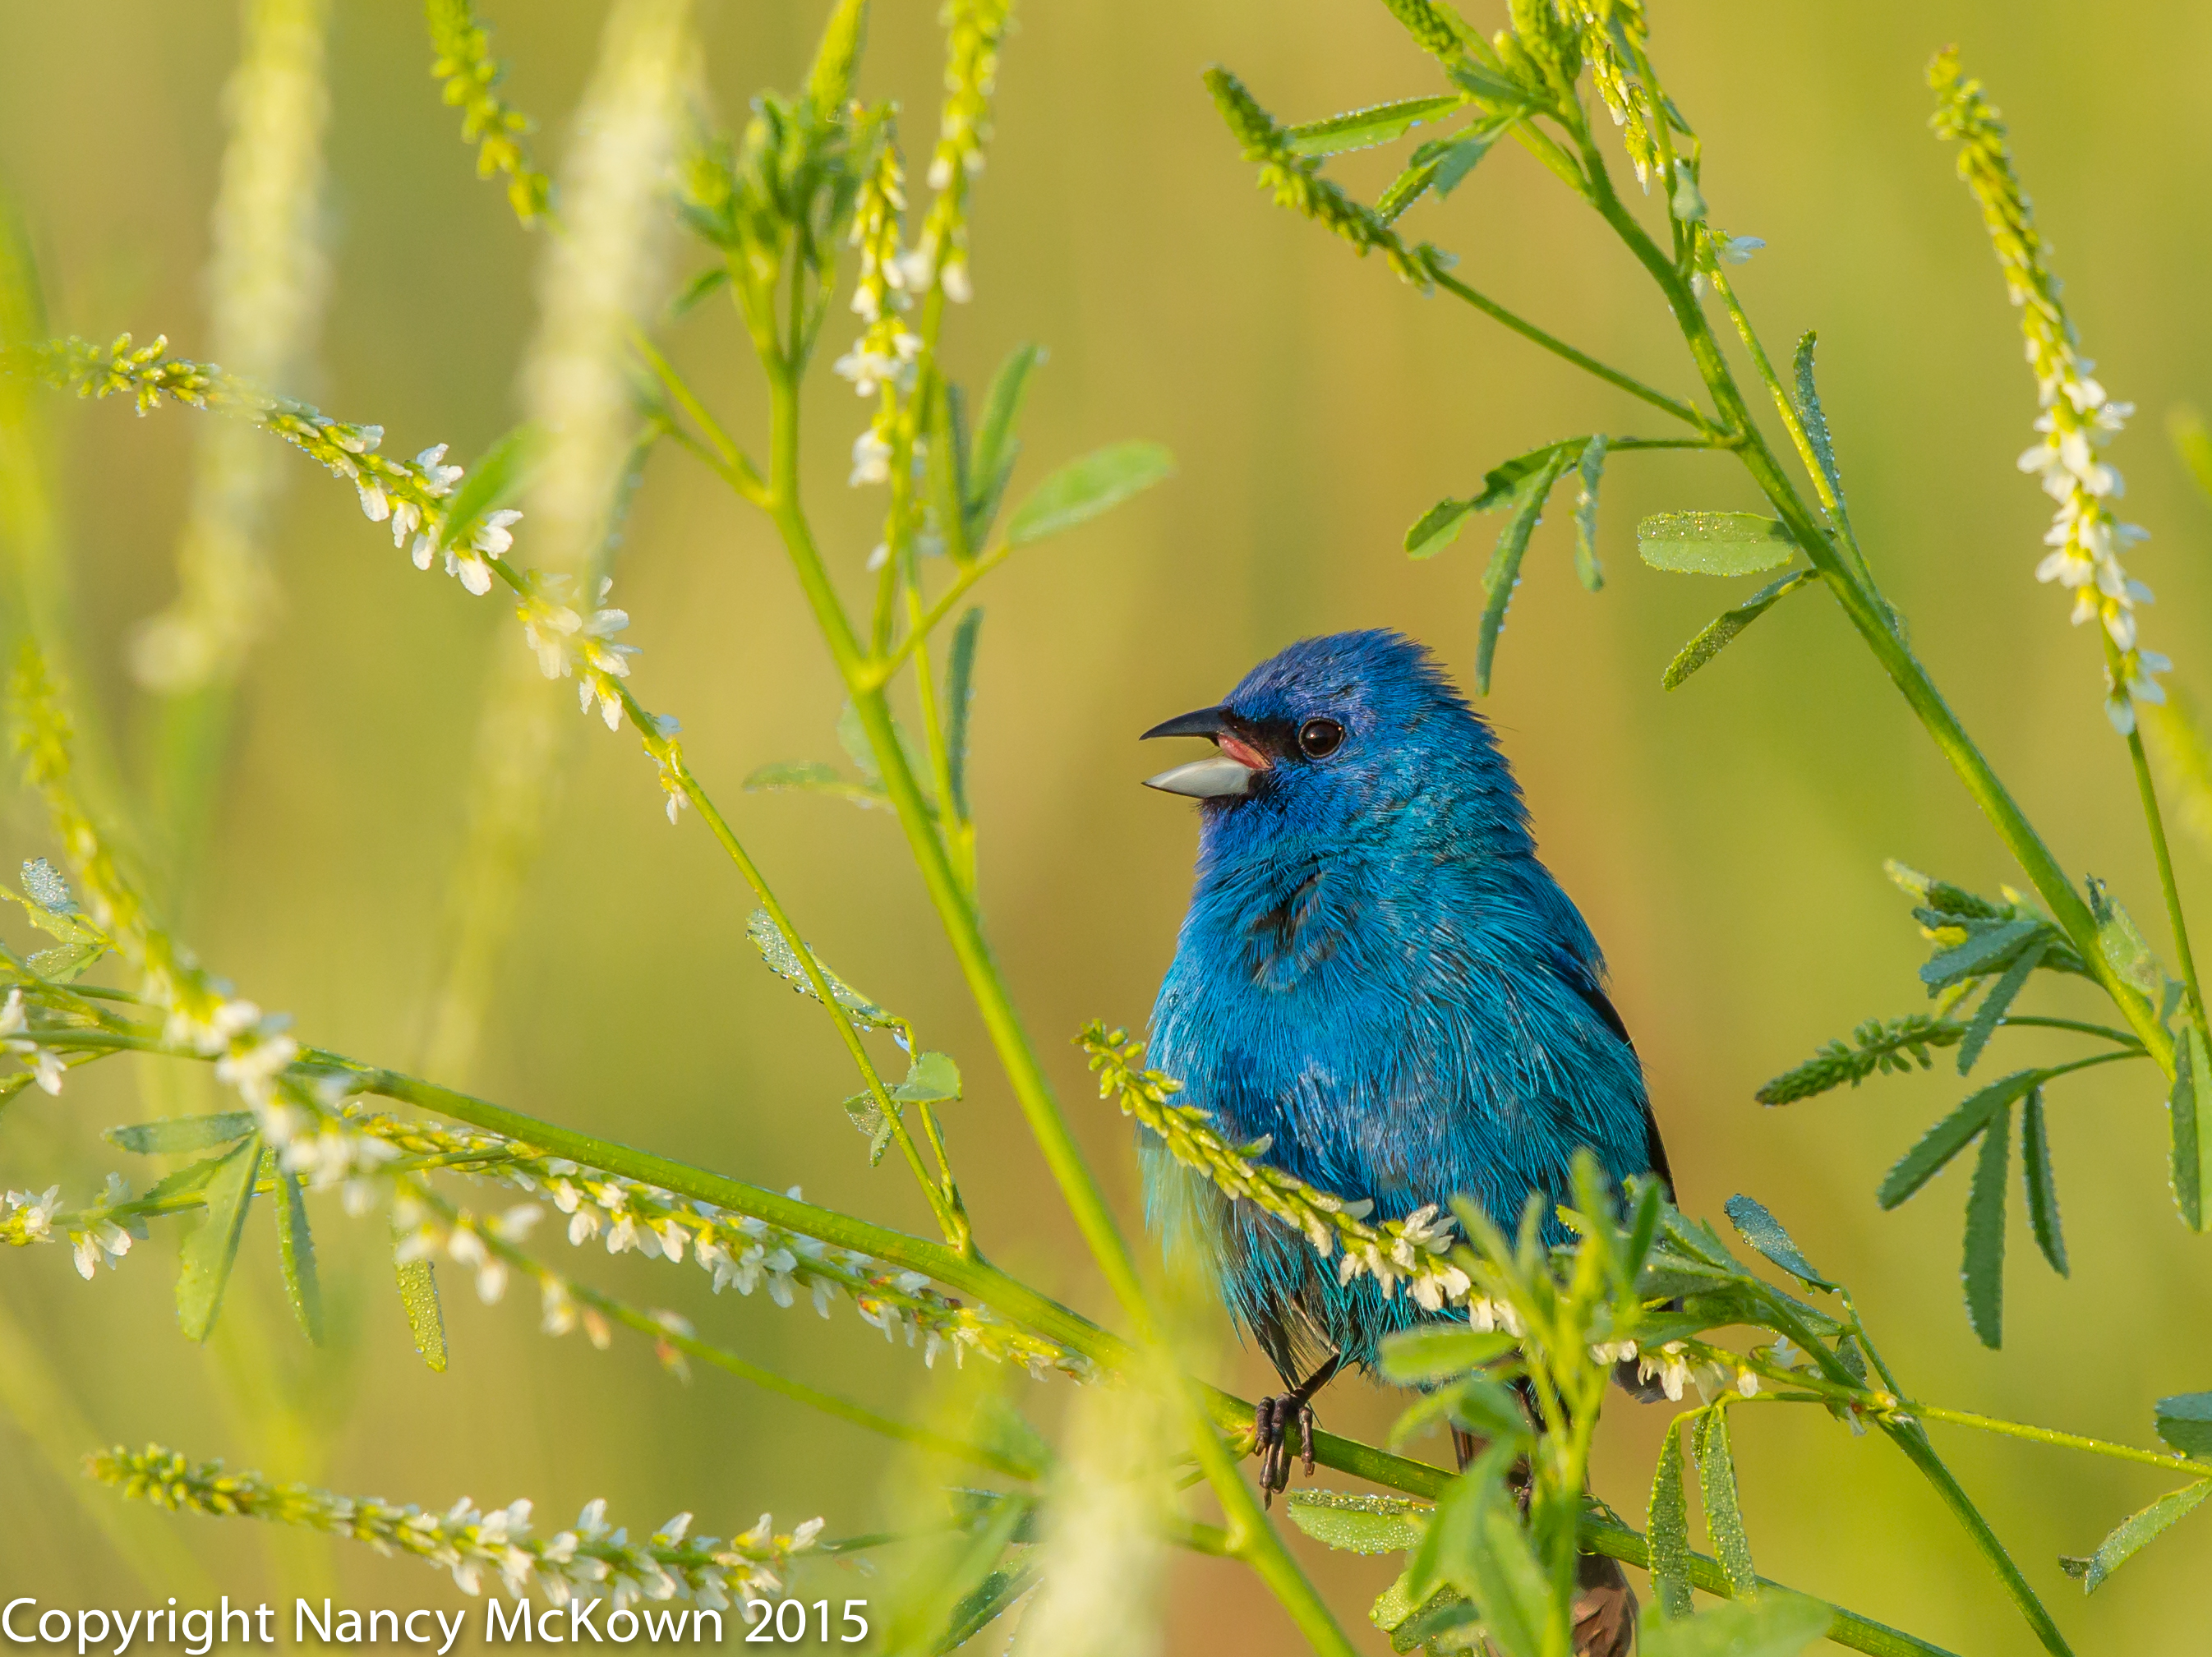
vulnerable and watching for a parent.
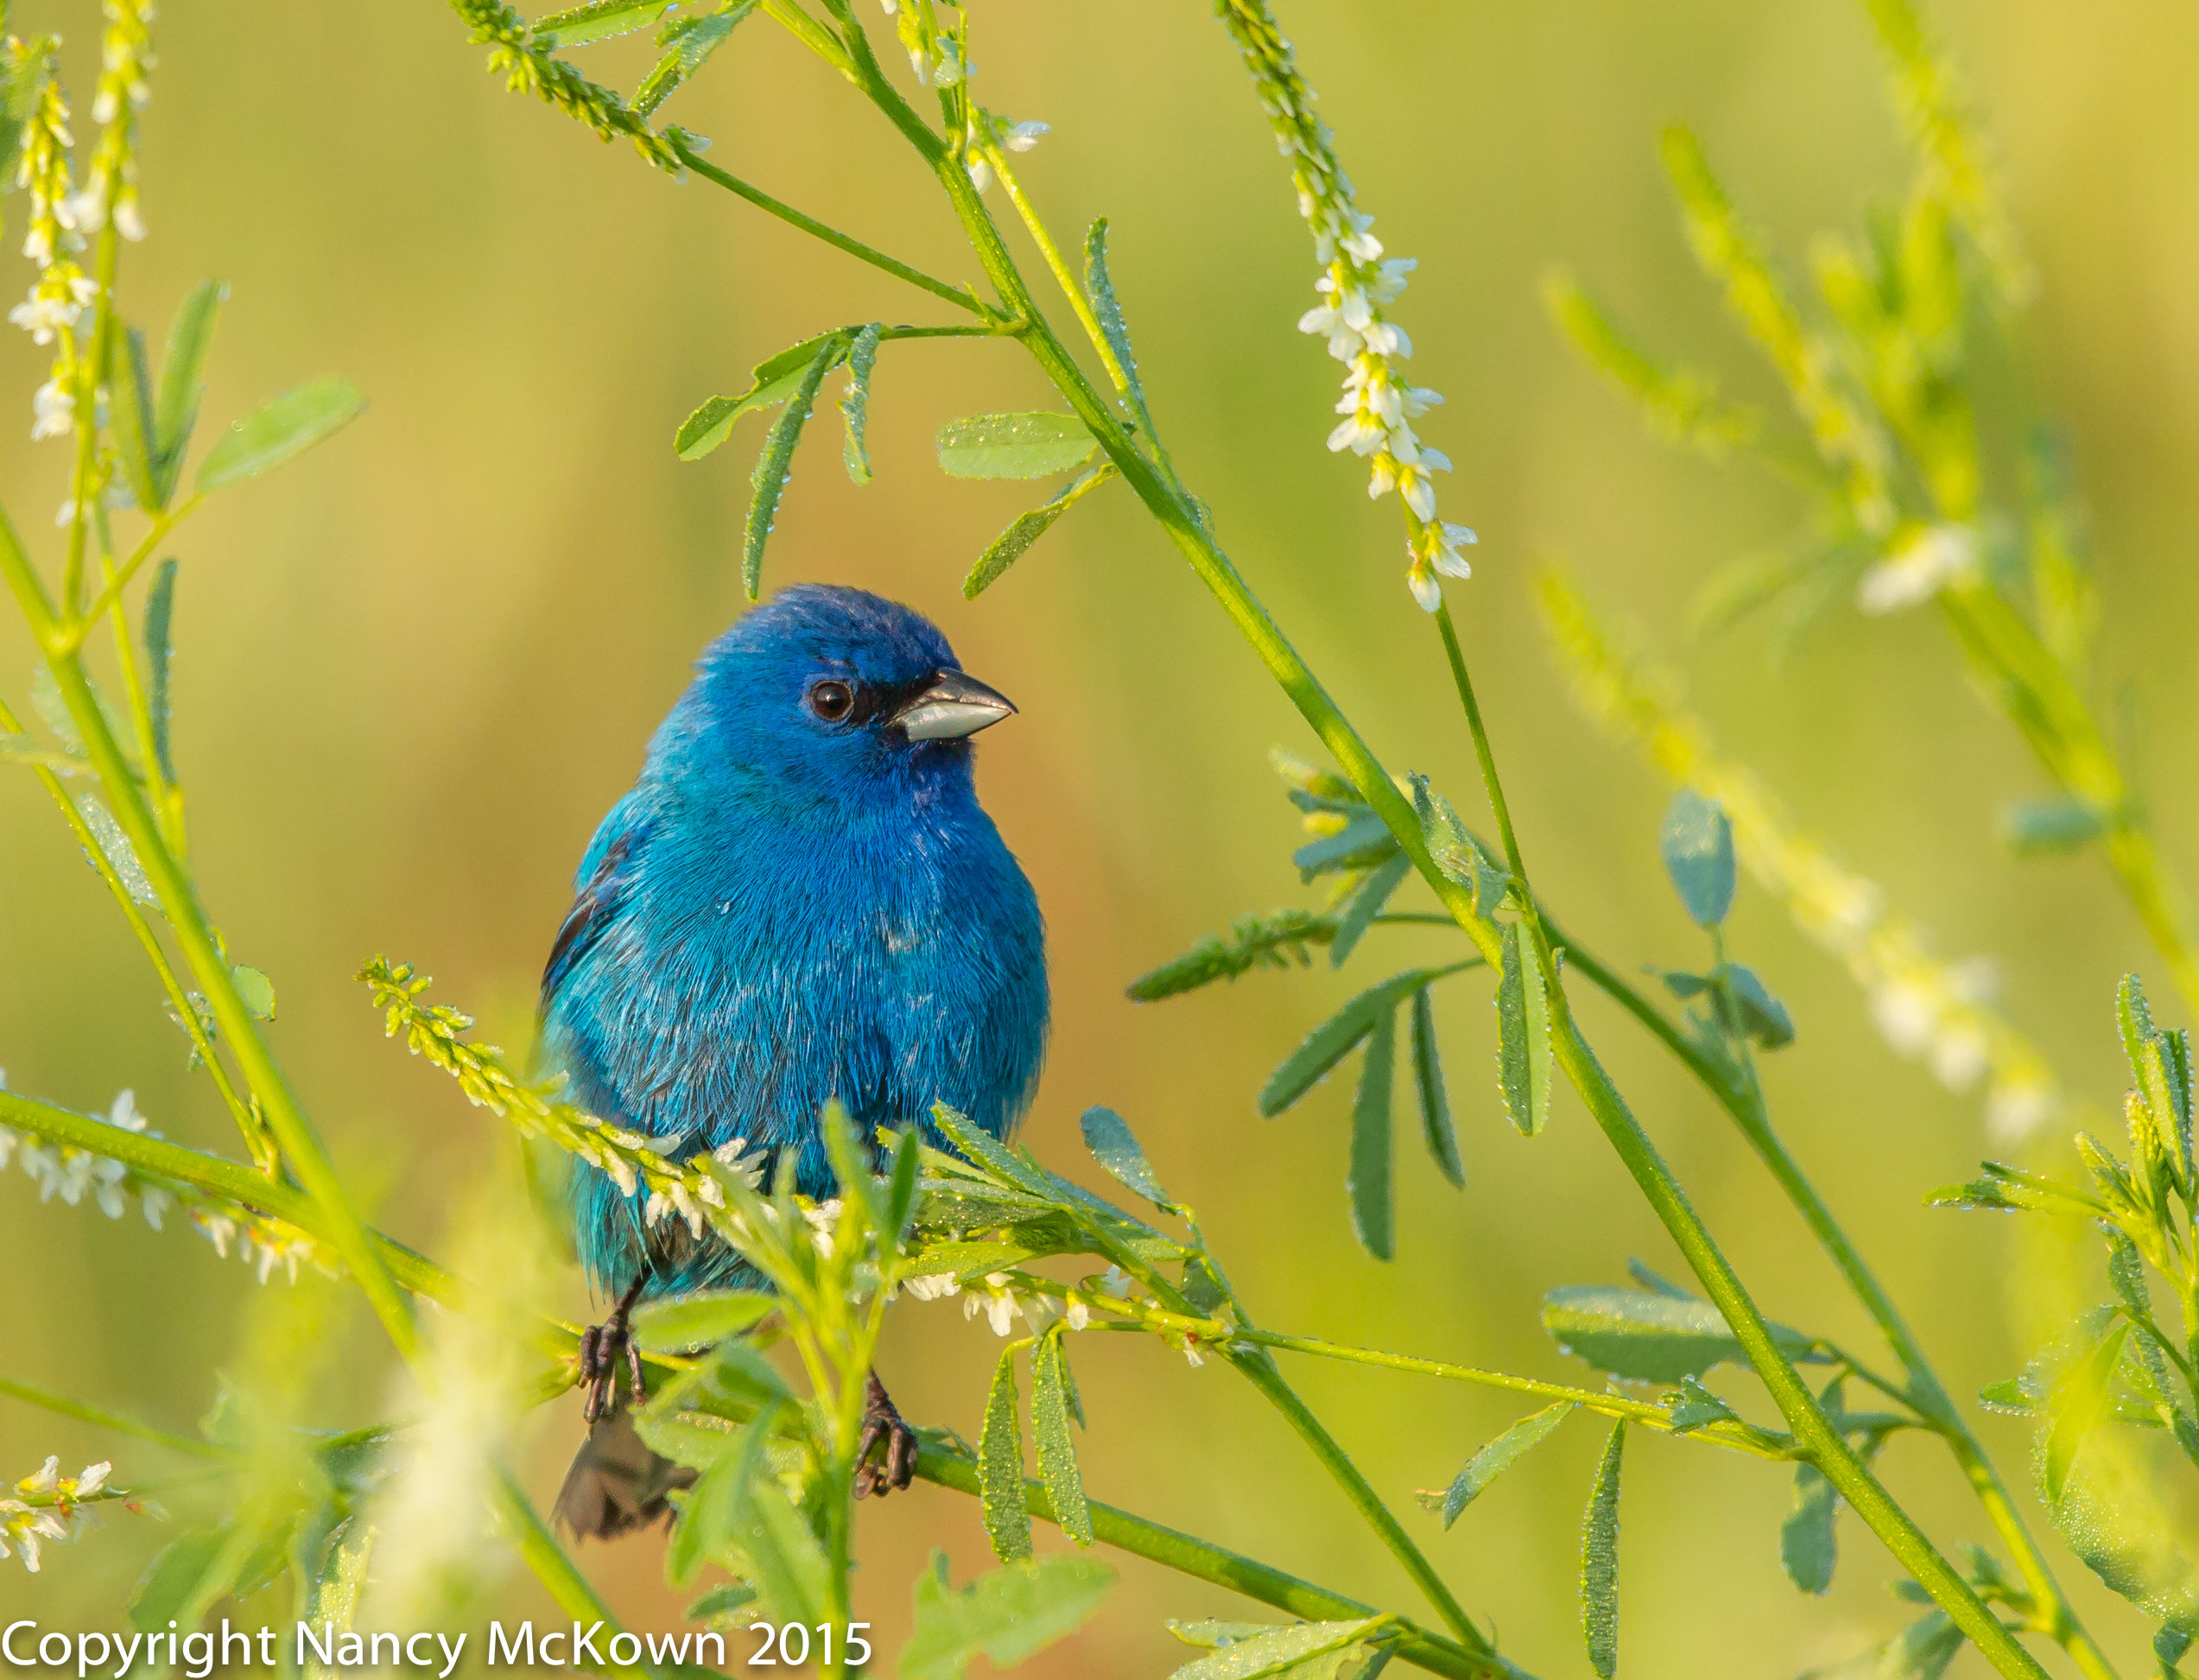
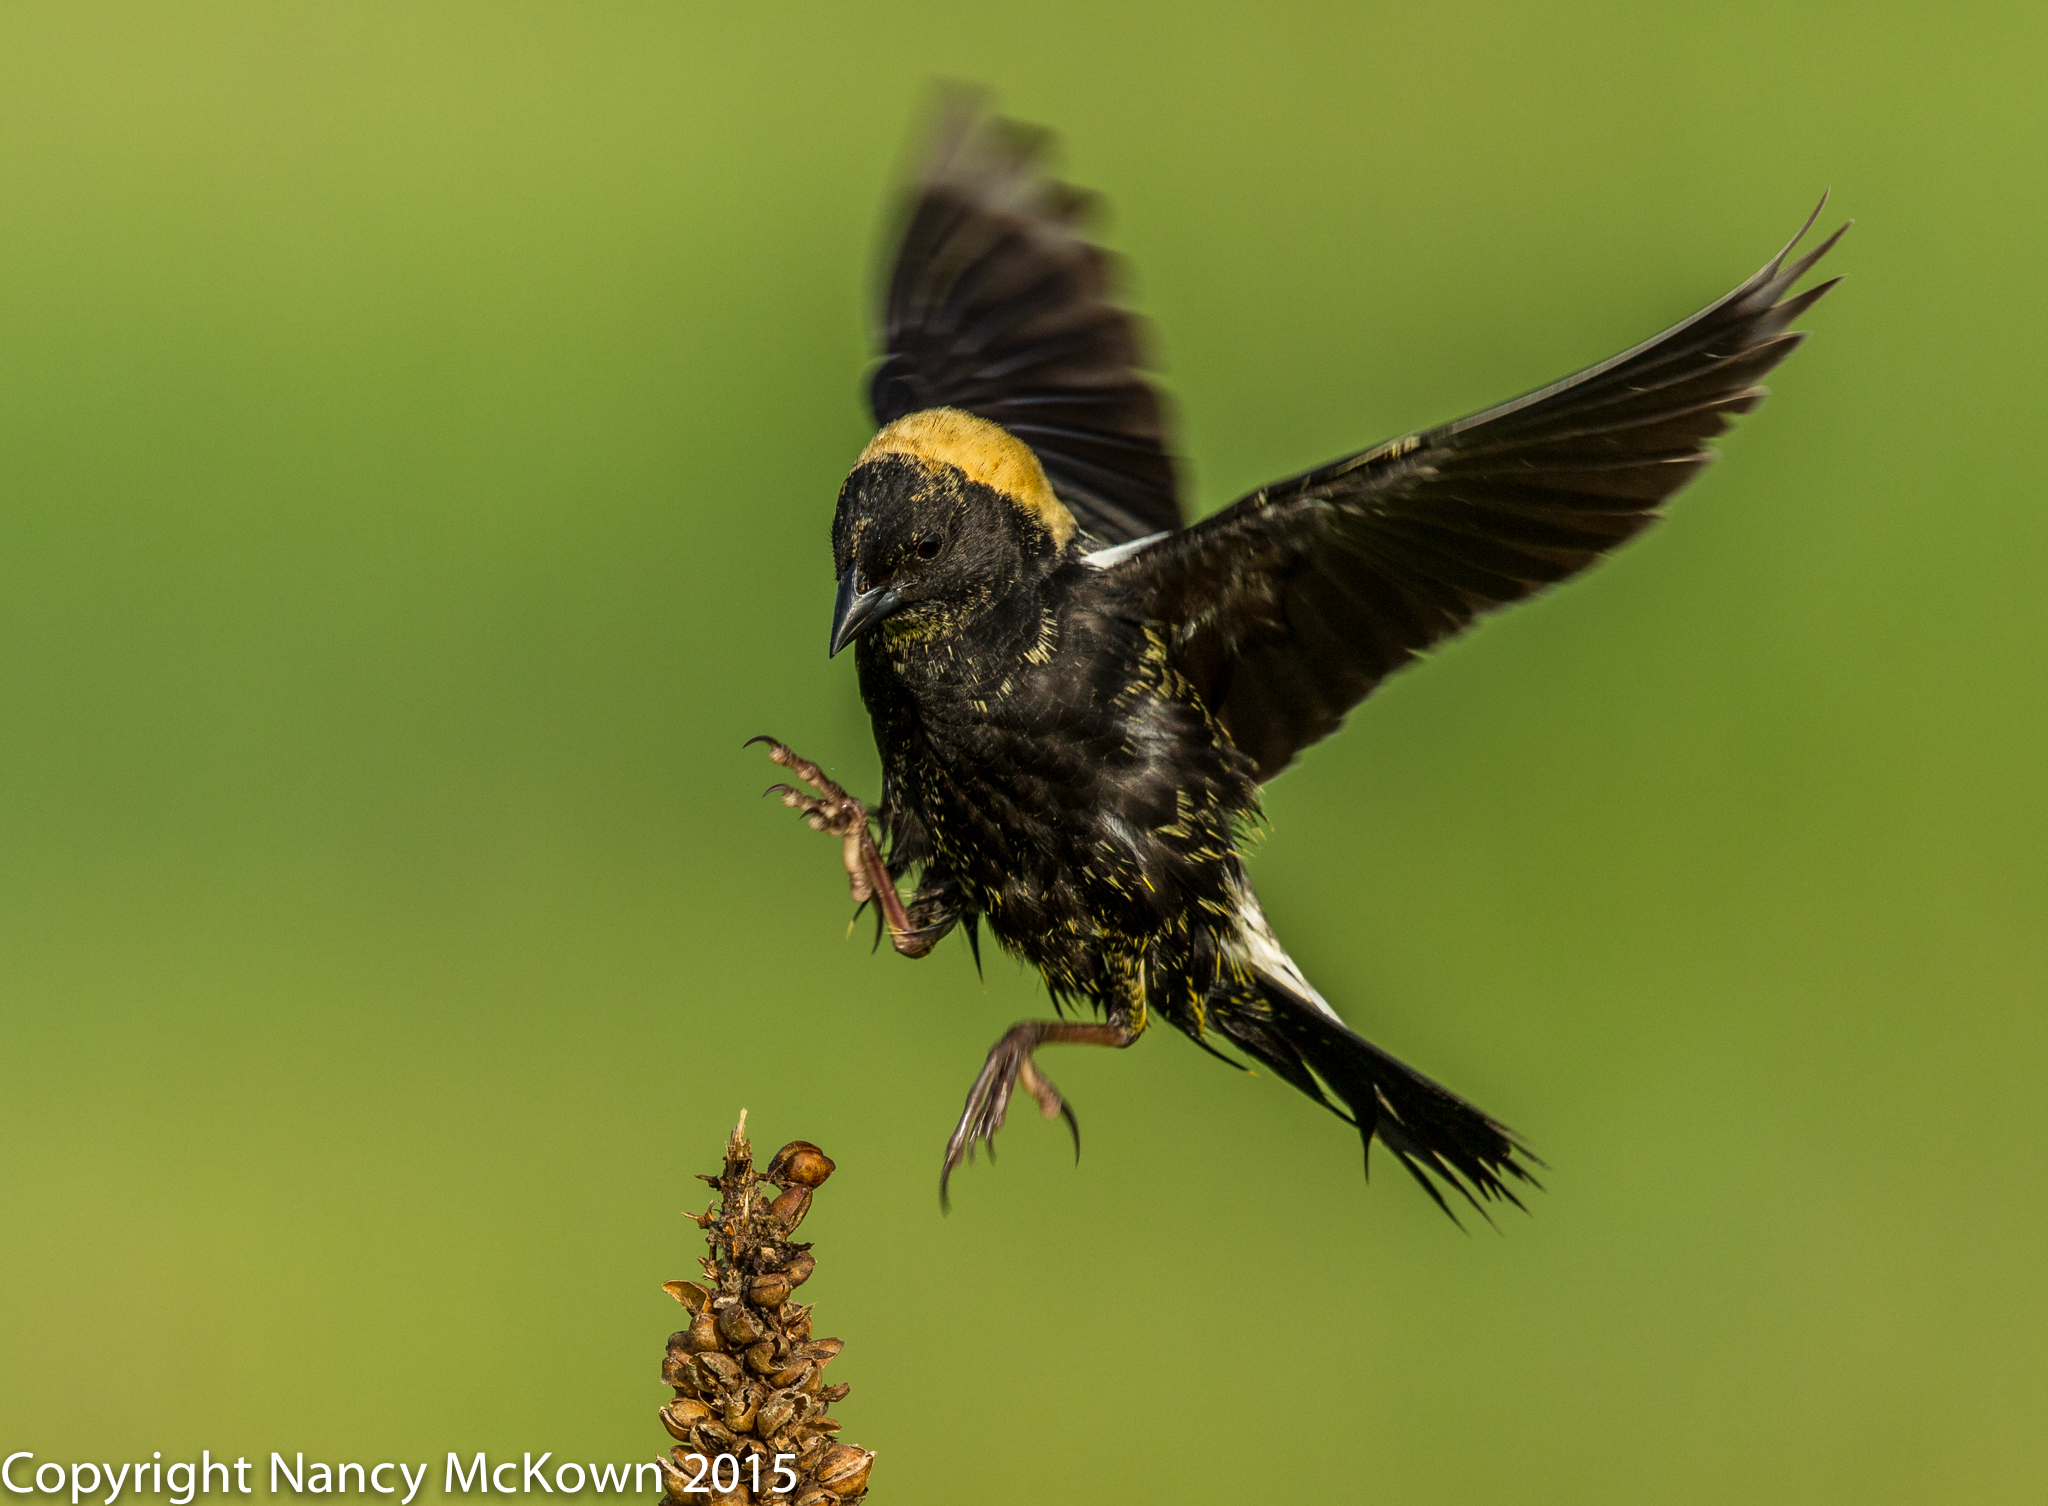
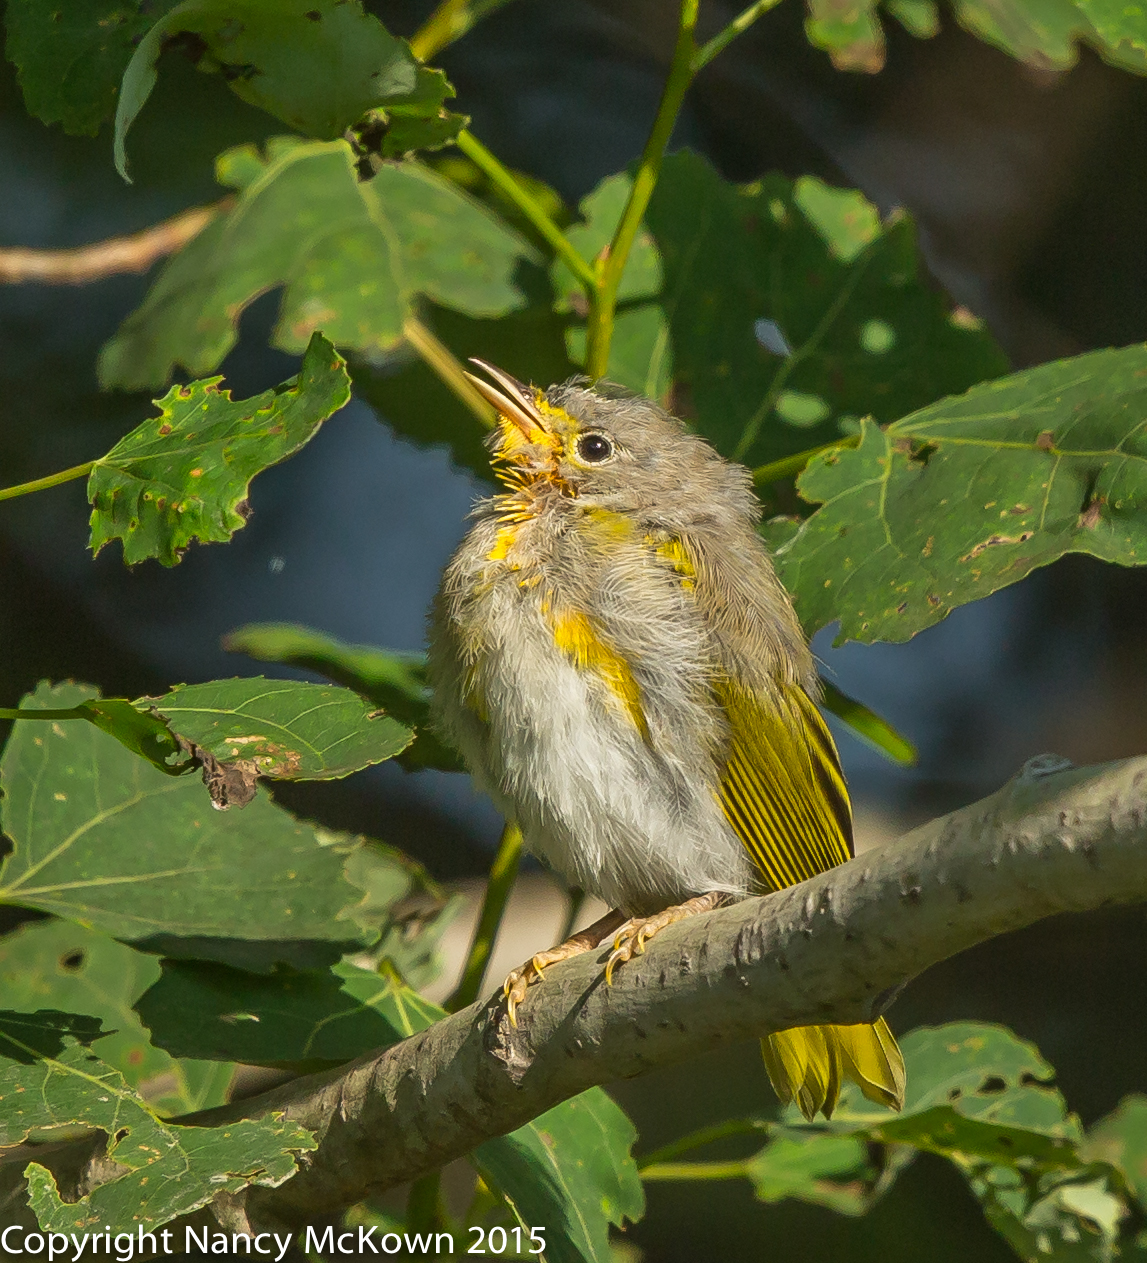
This Little Bird is Perched Out in the Open,
Making Him an Easy Target for Predators.
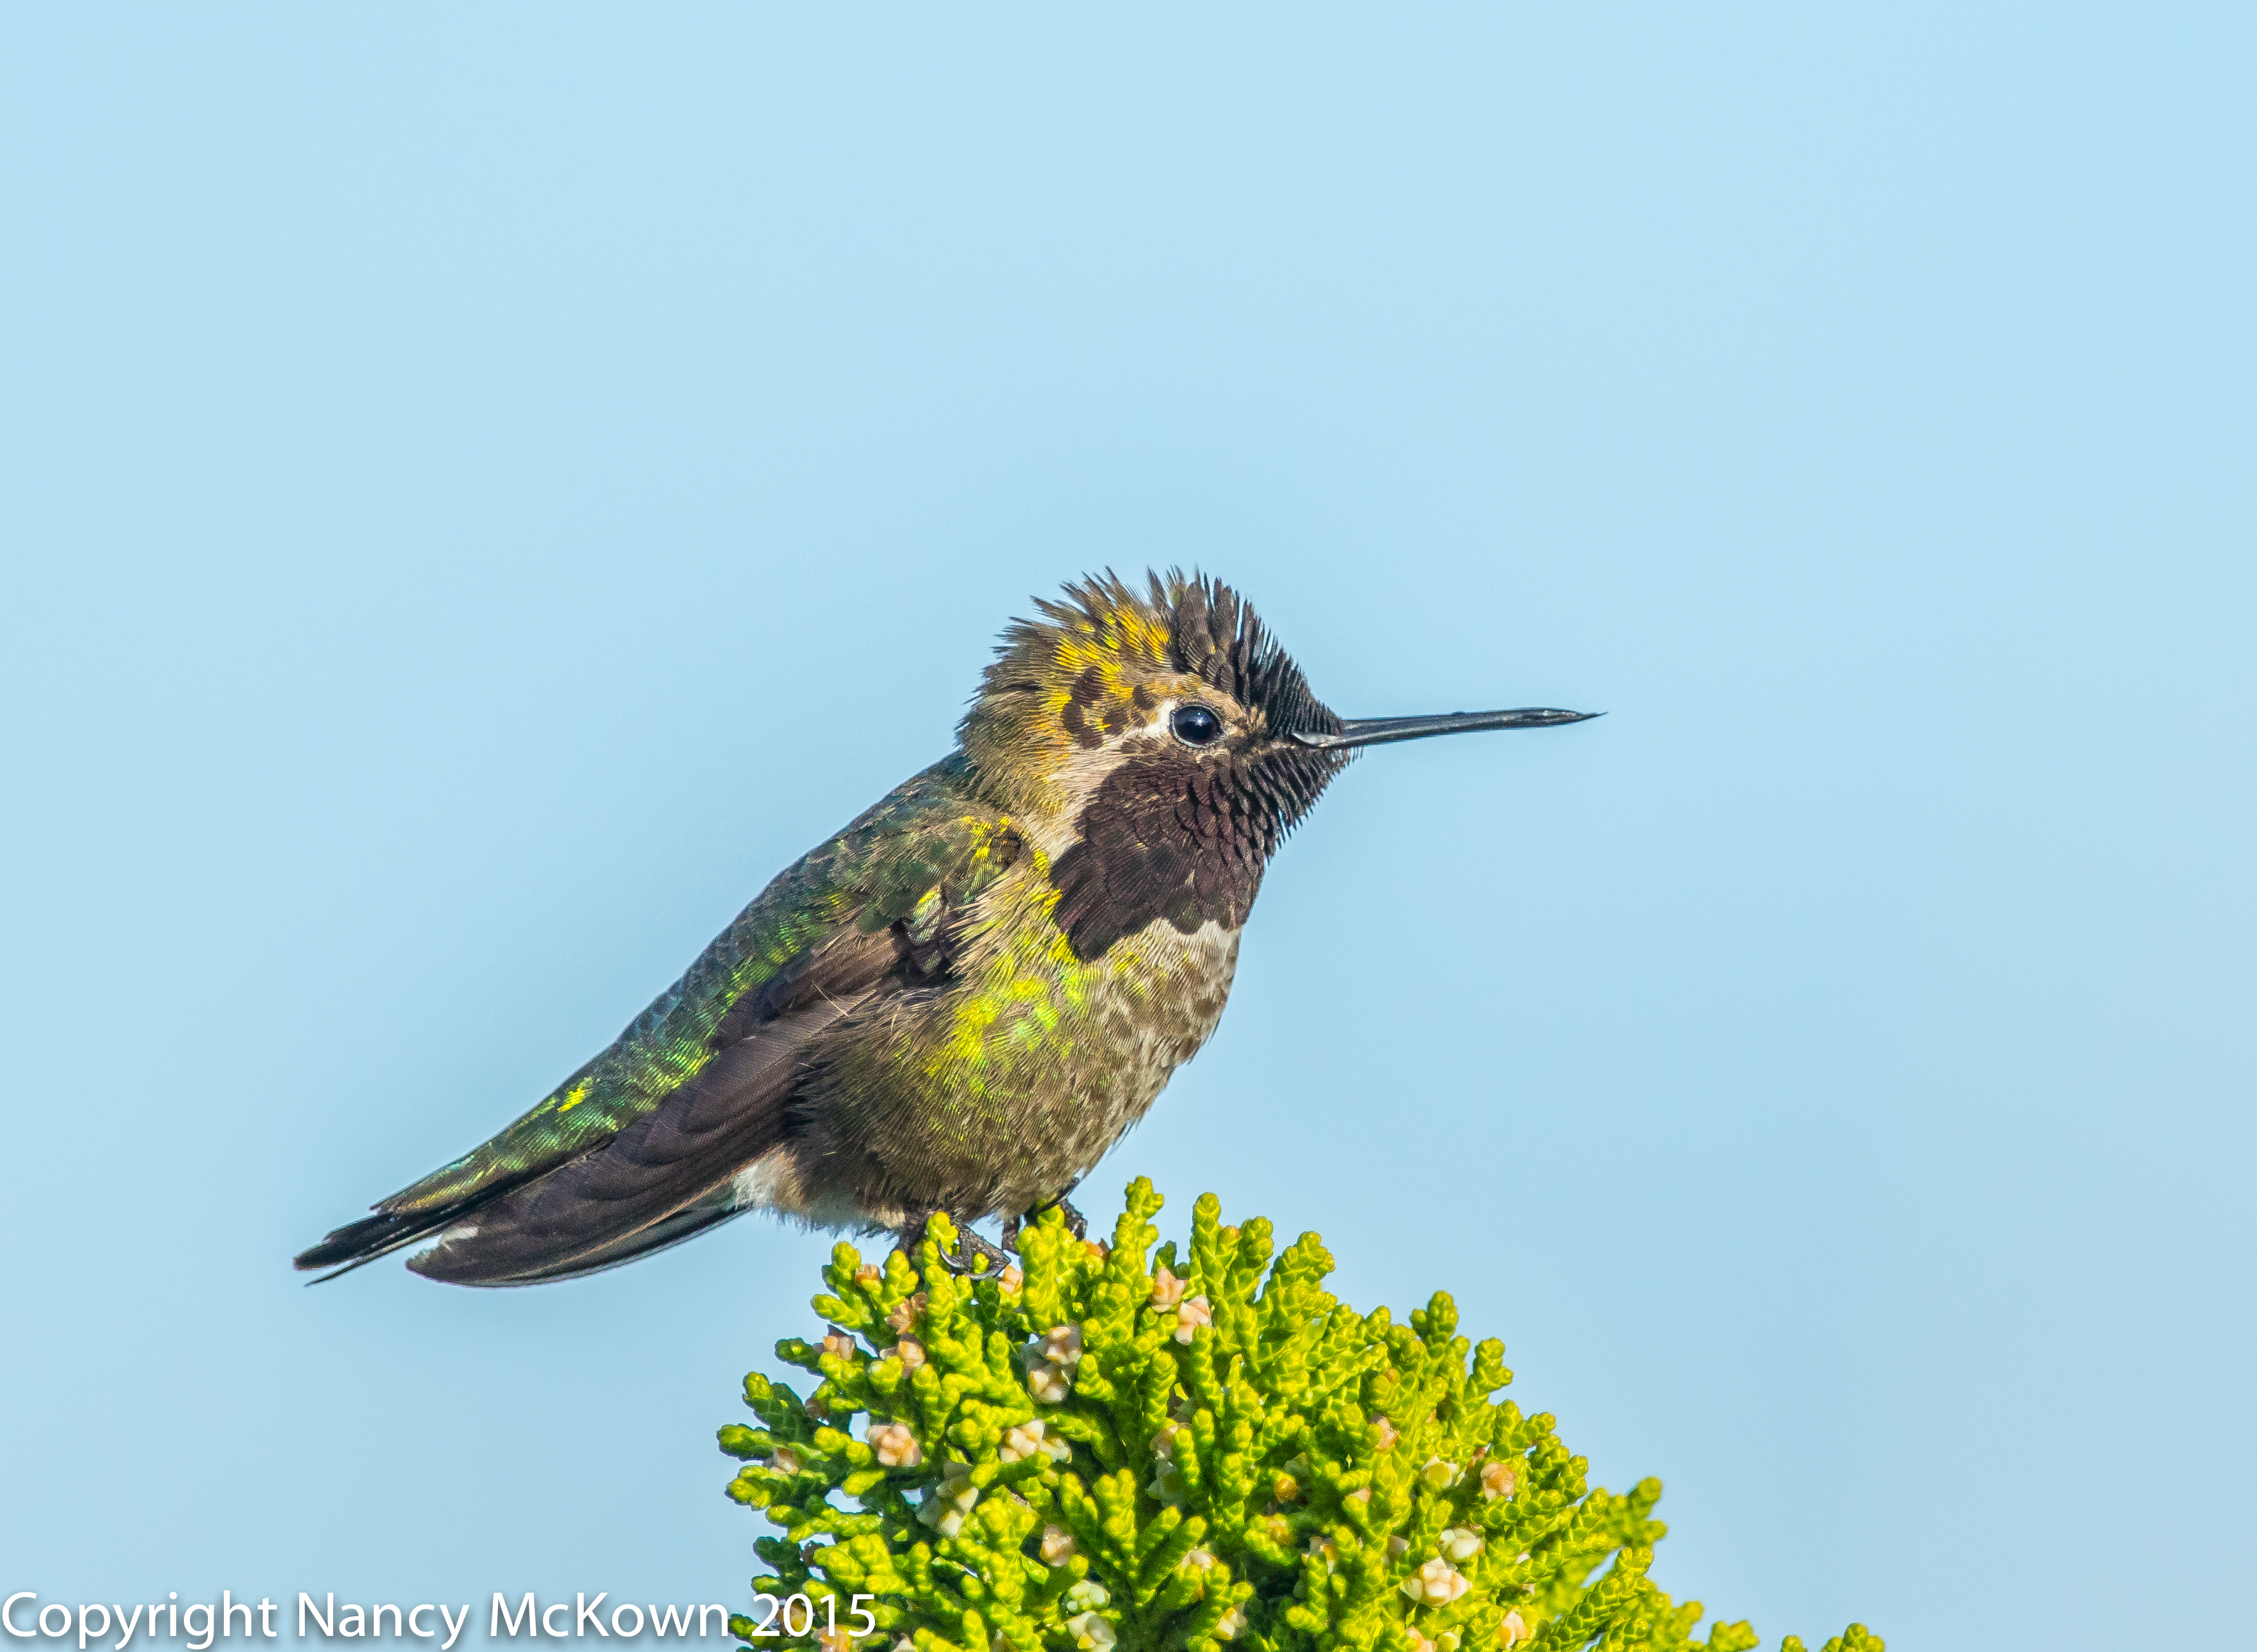
ISO1250; f/11; 1/1000 Second

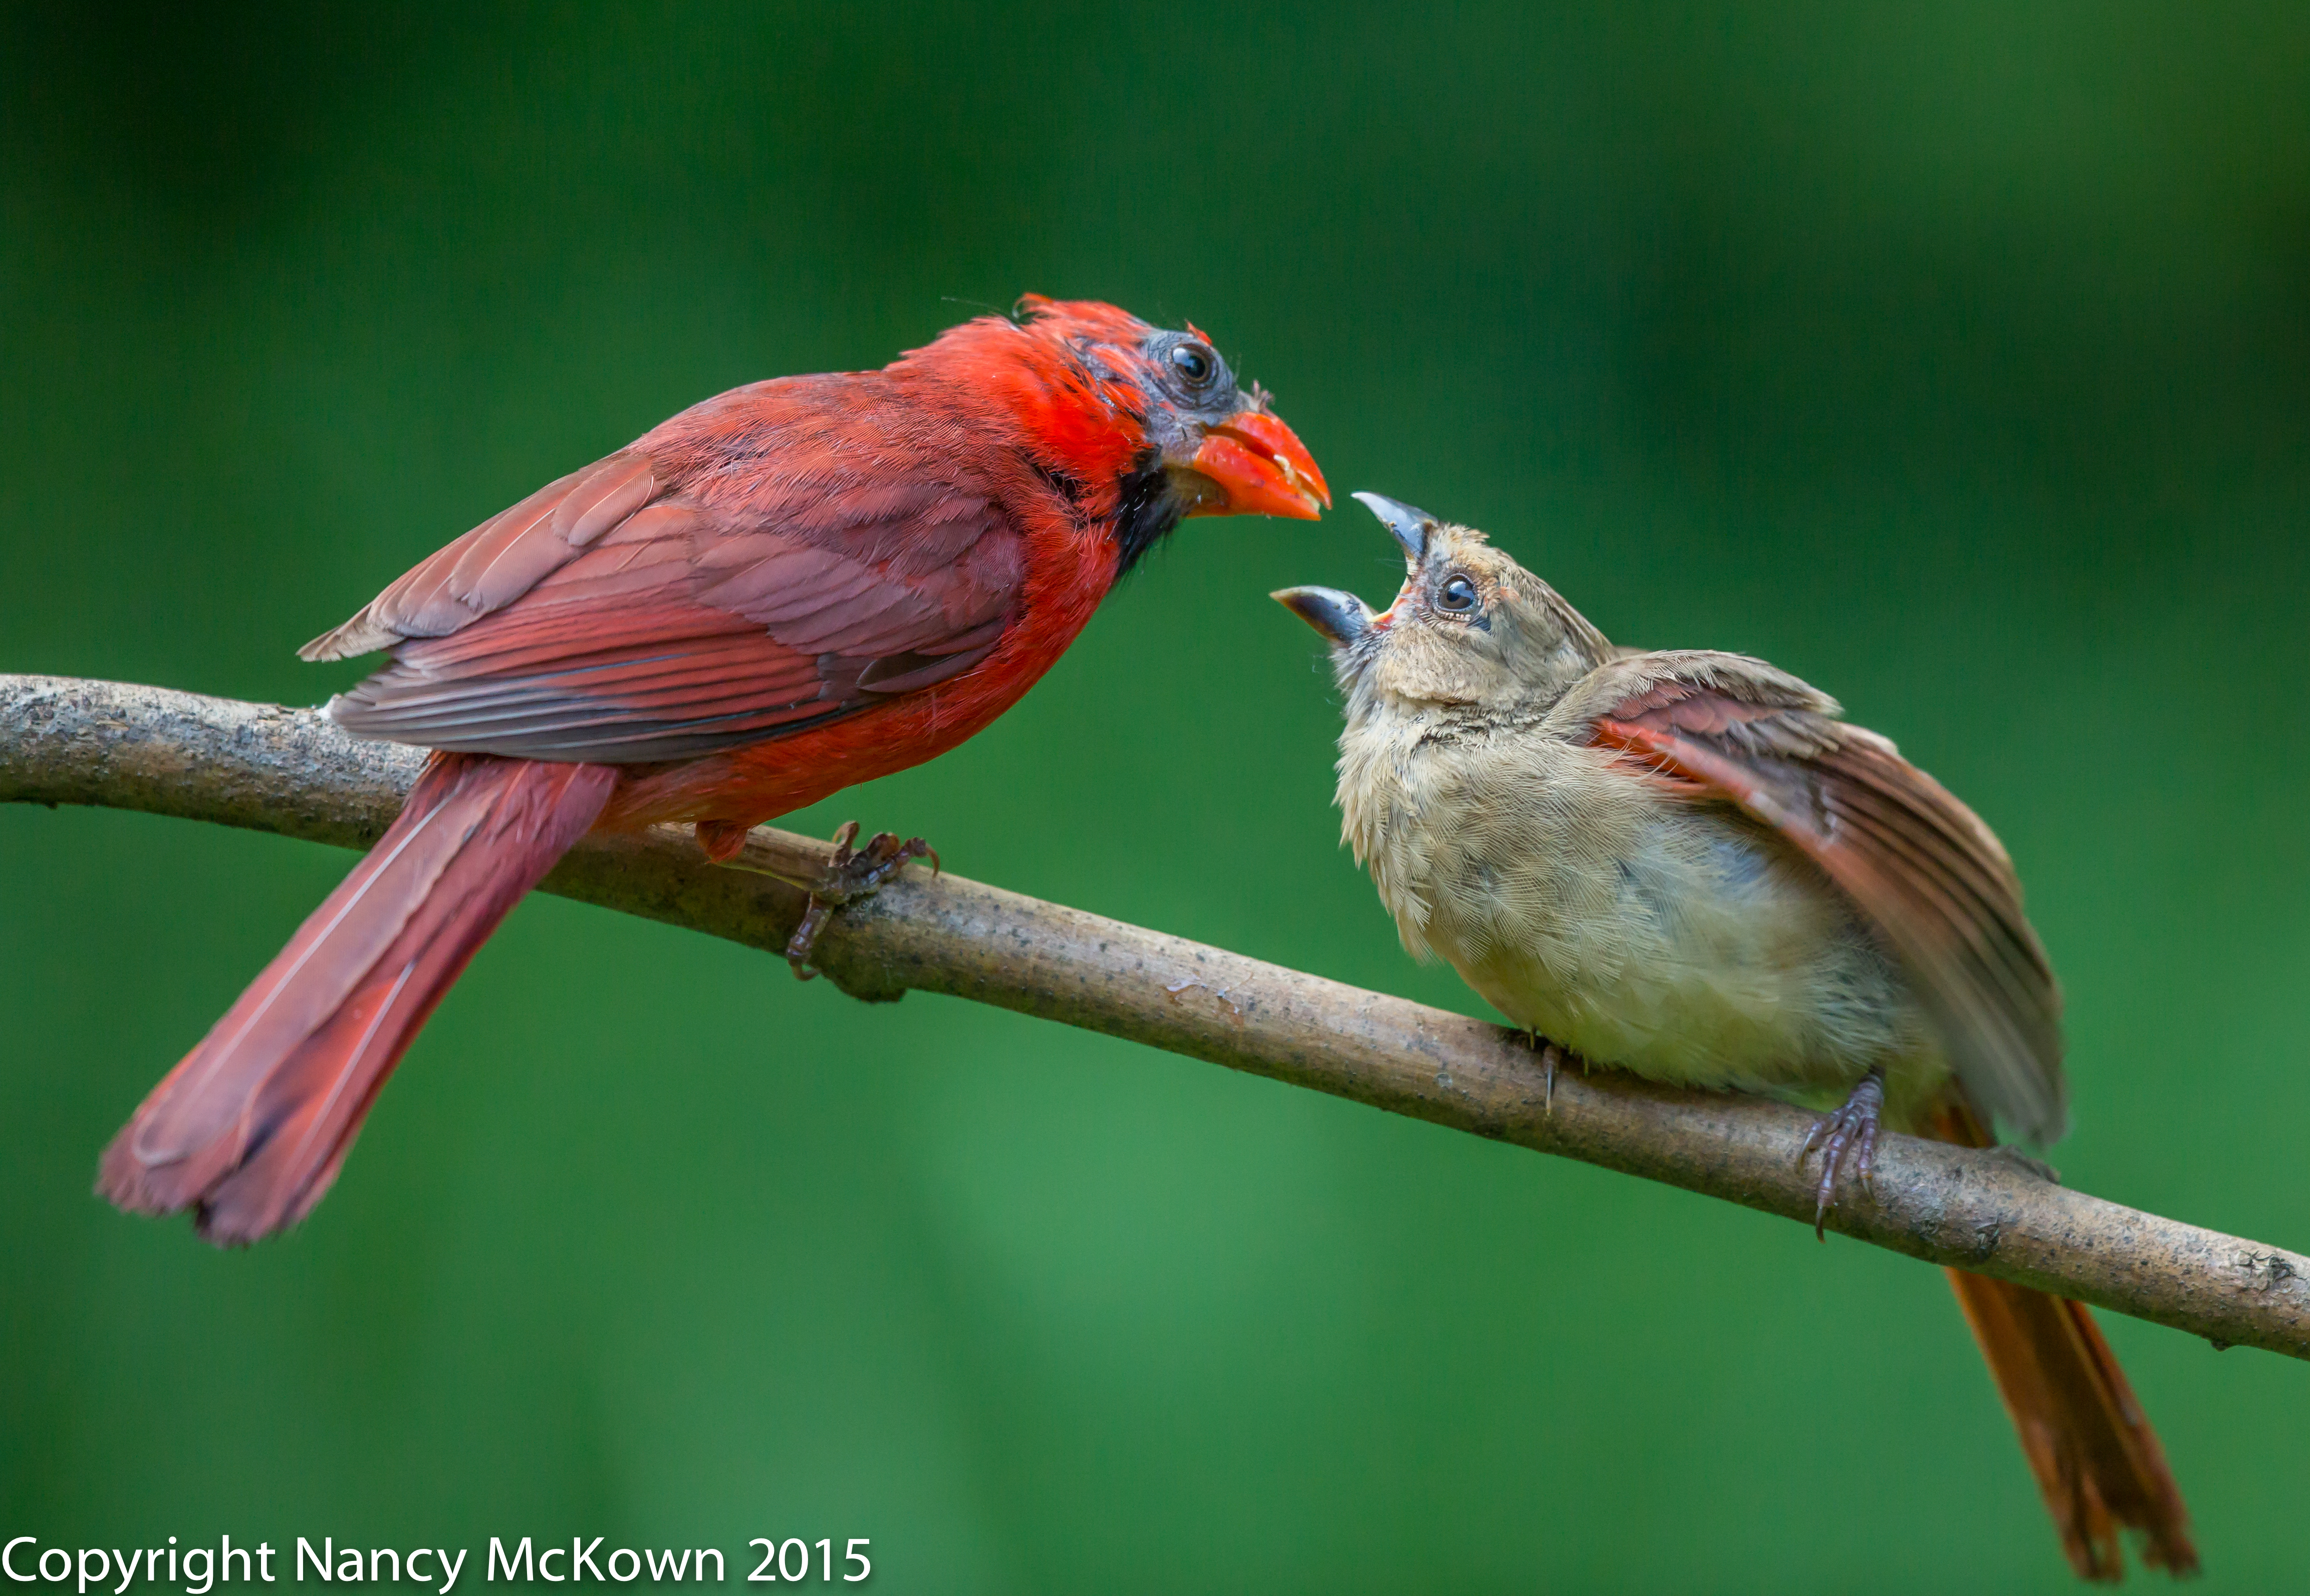
Fledging. Sometimes the Only Way to ID a Young Fledging
is to get lucky and photograph it with a parent.
ISO1600; f/8; 1/1000 second
Achieving Self Sufficiency
Fledglings face what is probably the most dangerous part of their lives. They are too big to remain inconspicuous in the nest. Their survival depends on the number of predators nearby, the weather, rate of growth and overall strength, and how competent they are at learning to forage for food and hide from danger.
It’s fascinating to watch and photograph these young birds as they beg for food and work to strengthen their flight feathers. Some of these photos show chicks that look extremely vulnerable, while others show fledglings that are clearly on their way to self sufficiency.
Young birds have to mature fast. Migration is just around the corner.
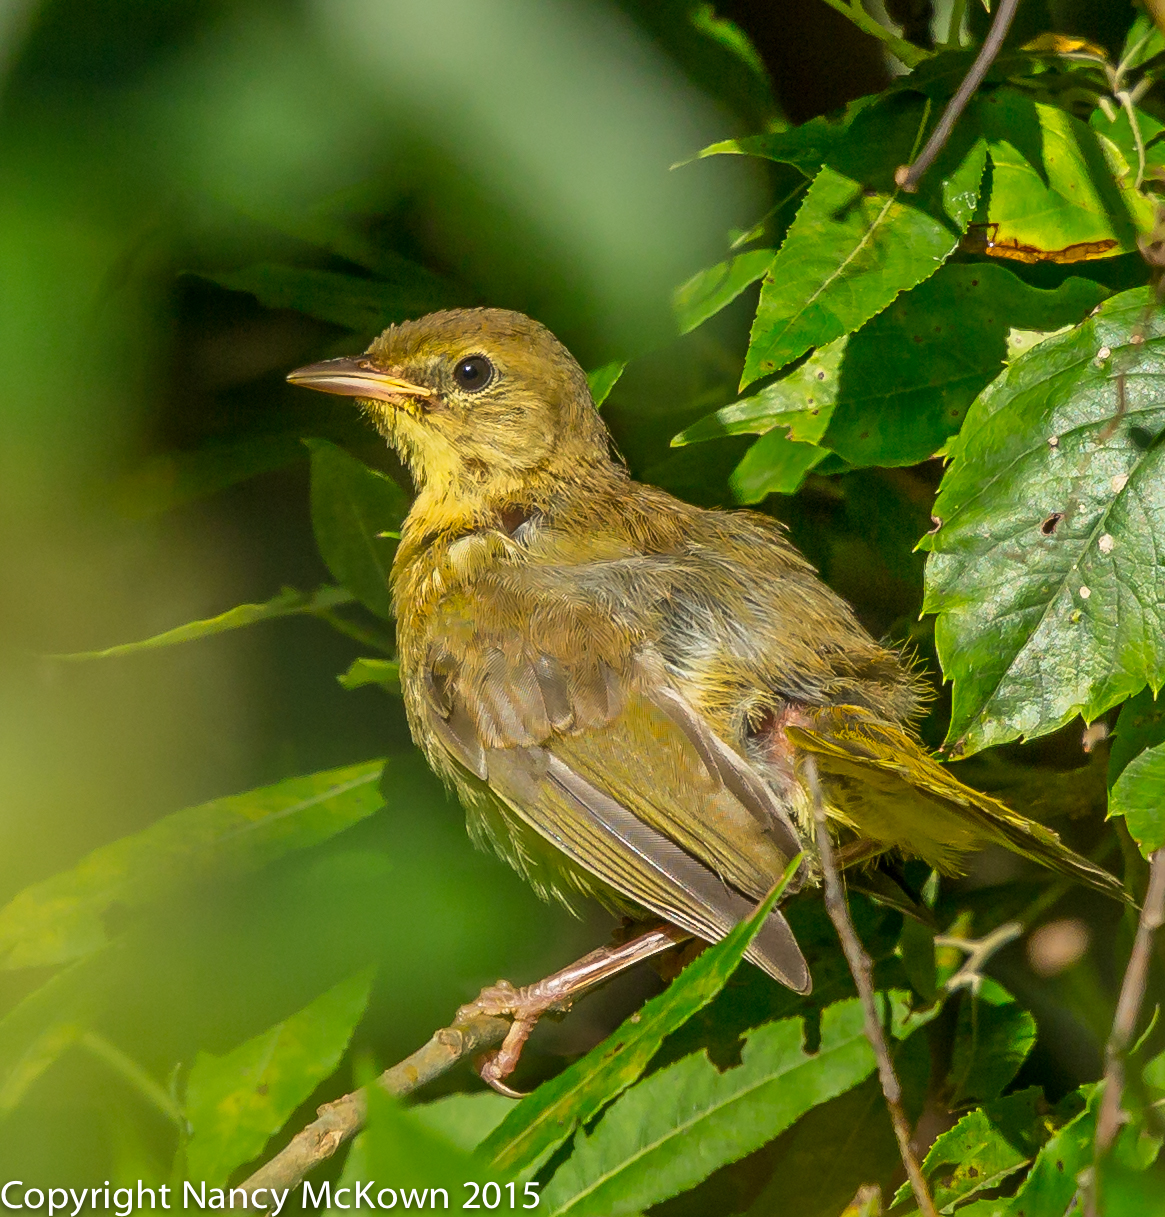
Warbler.
ISO1000; f/8; 1/1250 Second

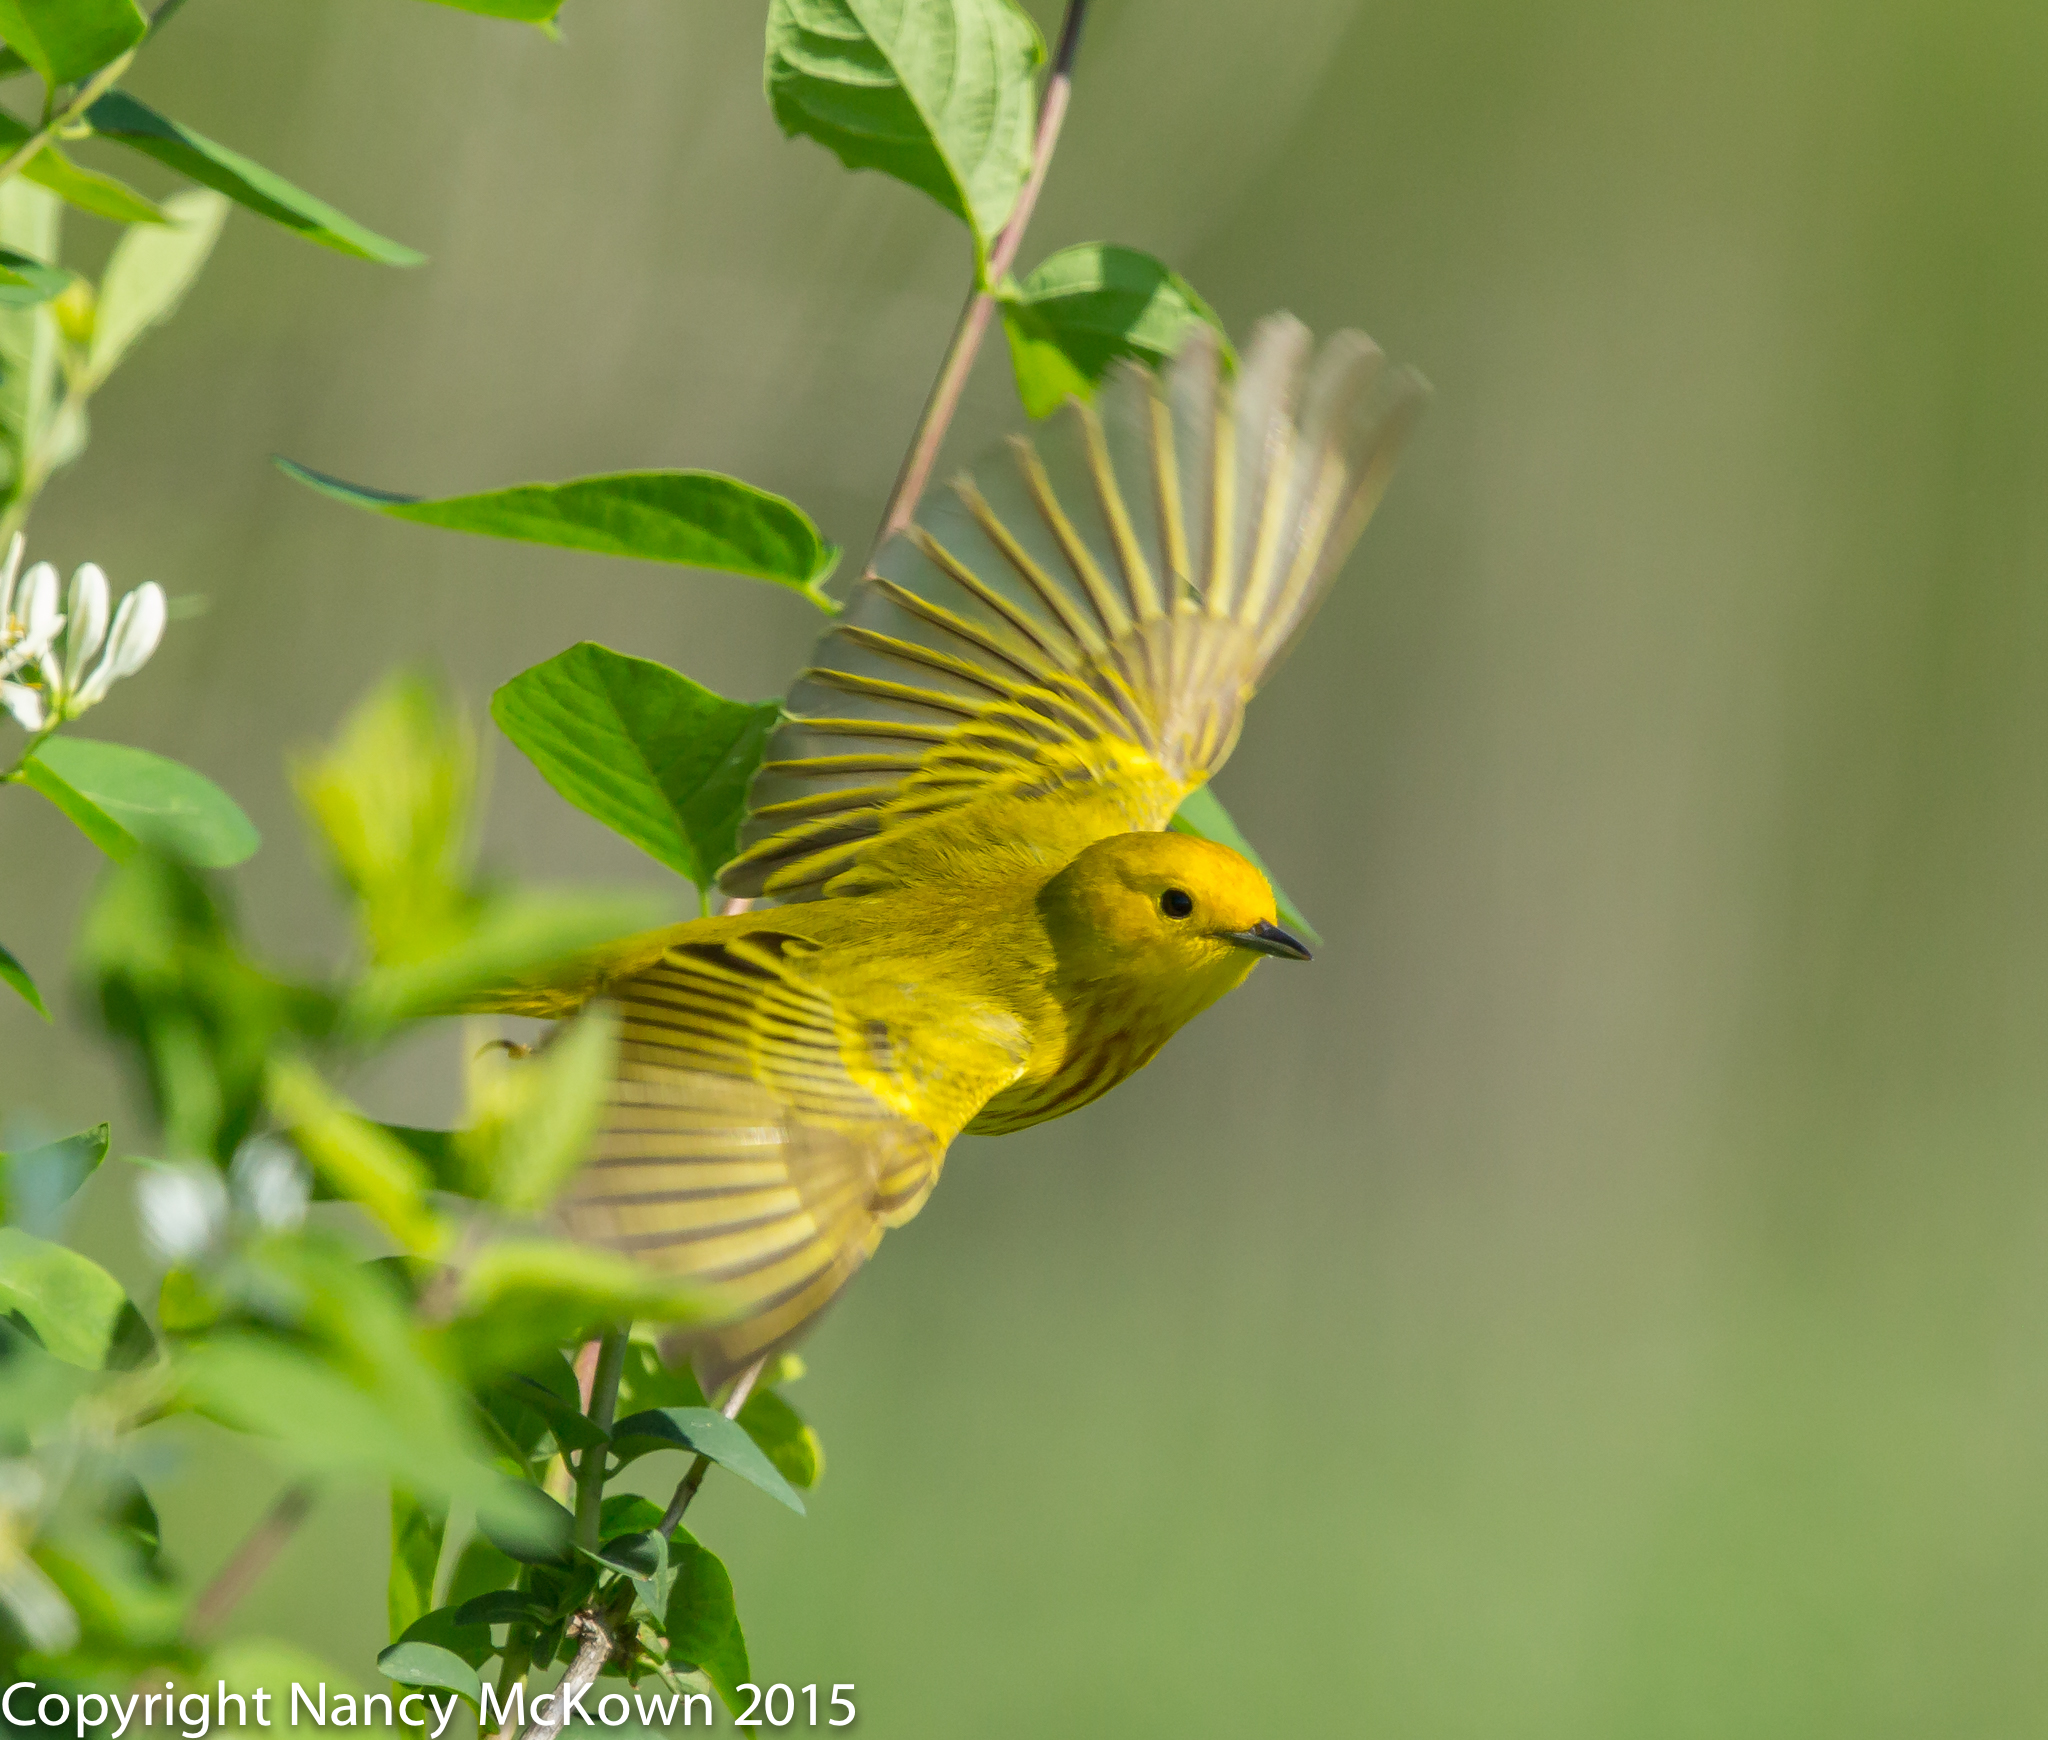
ISO2500; f/8; 1/1250 Second
Young Birds are So Cute and Fluffy, But…..
For the birds’ safety, it’s prudent to keep your distance when photographing young birds. I do not search out or photograph birds still in the nest. When photographing birds that have flown the nest, I generally use my longest lens and stay hidden in my car or behind a blind. Young birds are rarely alone, and I don’t want to frighten them or their caretakers away.
As you can see from the photos, I found most of these fledglings hidden within dense foliage. I stayed in my car, rested the camera on the door window and maneuvered my long lens as best I could to get past the greenery and lock focus on the birds.
The Experts at Whatbird.com
It may be easy (and amusing) to recognize that a bird is young by its looks and behavior, but it is often difficult for me to identify the species of a young fledgling, especially if it’s a warbler. Young birds can look very different than the adults of the species. It helps if I look around to see if I can spot a caregiver and protector- and then photograph and ID that bird. I upload the photos to WhatBird.com for definitive ID before posting.
An excellent article on Fledging survival can be found at this link.