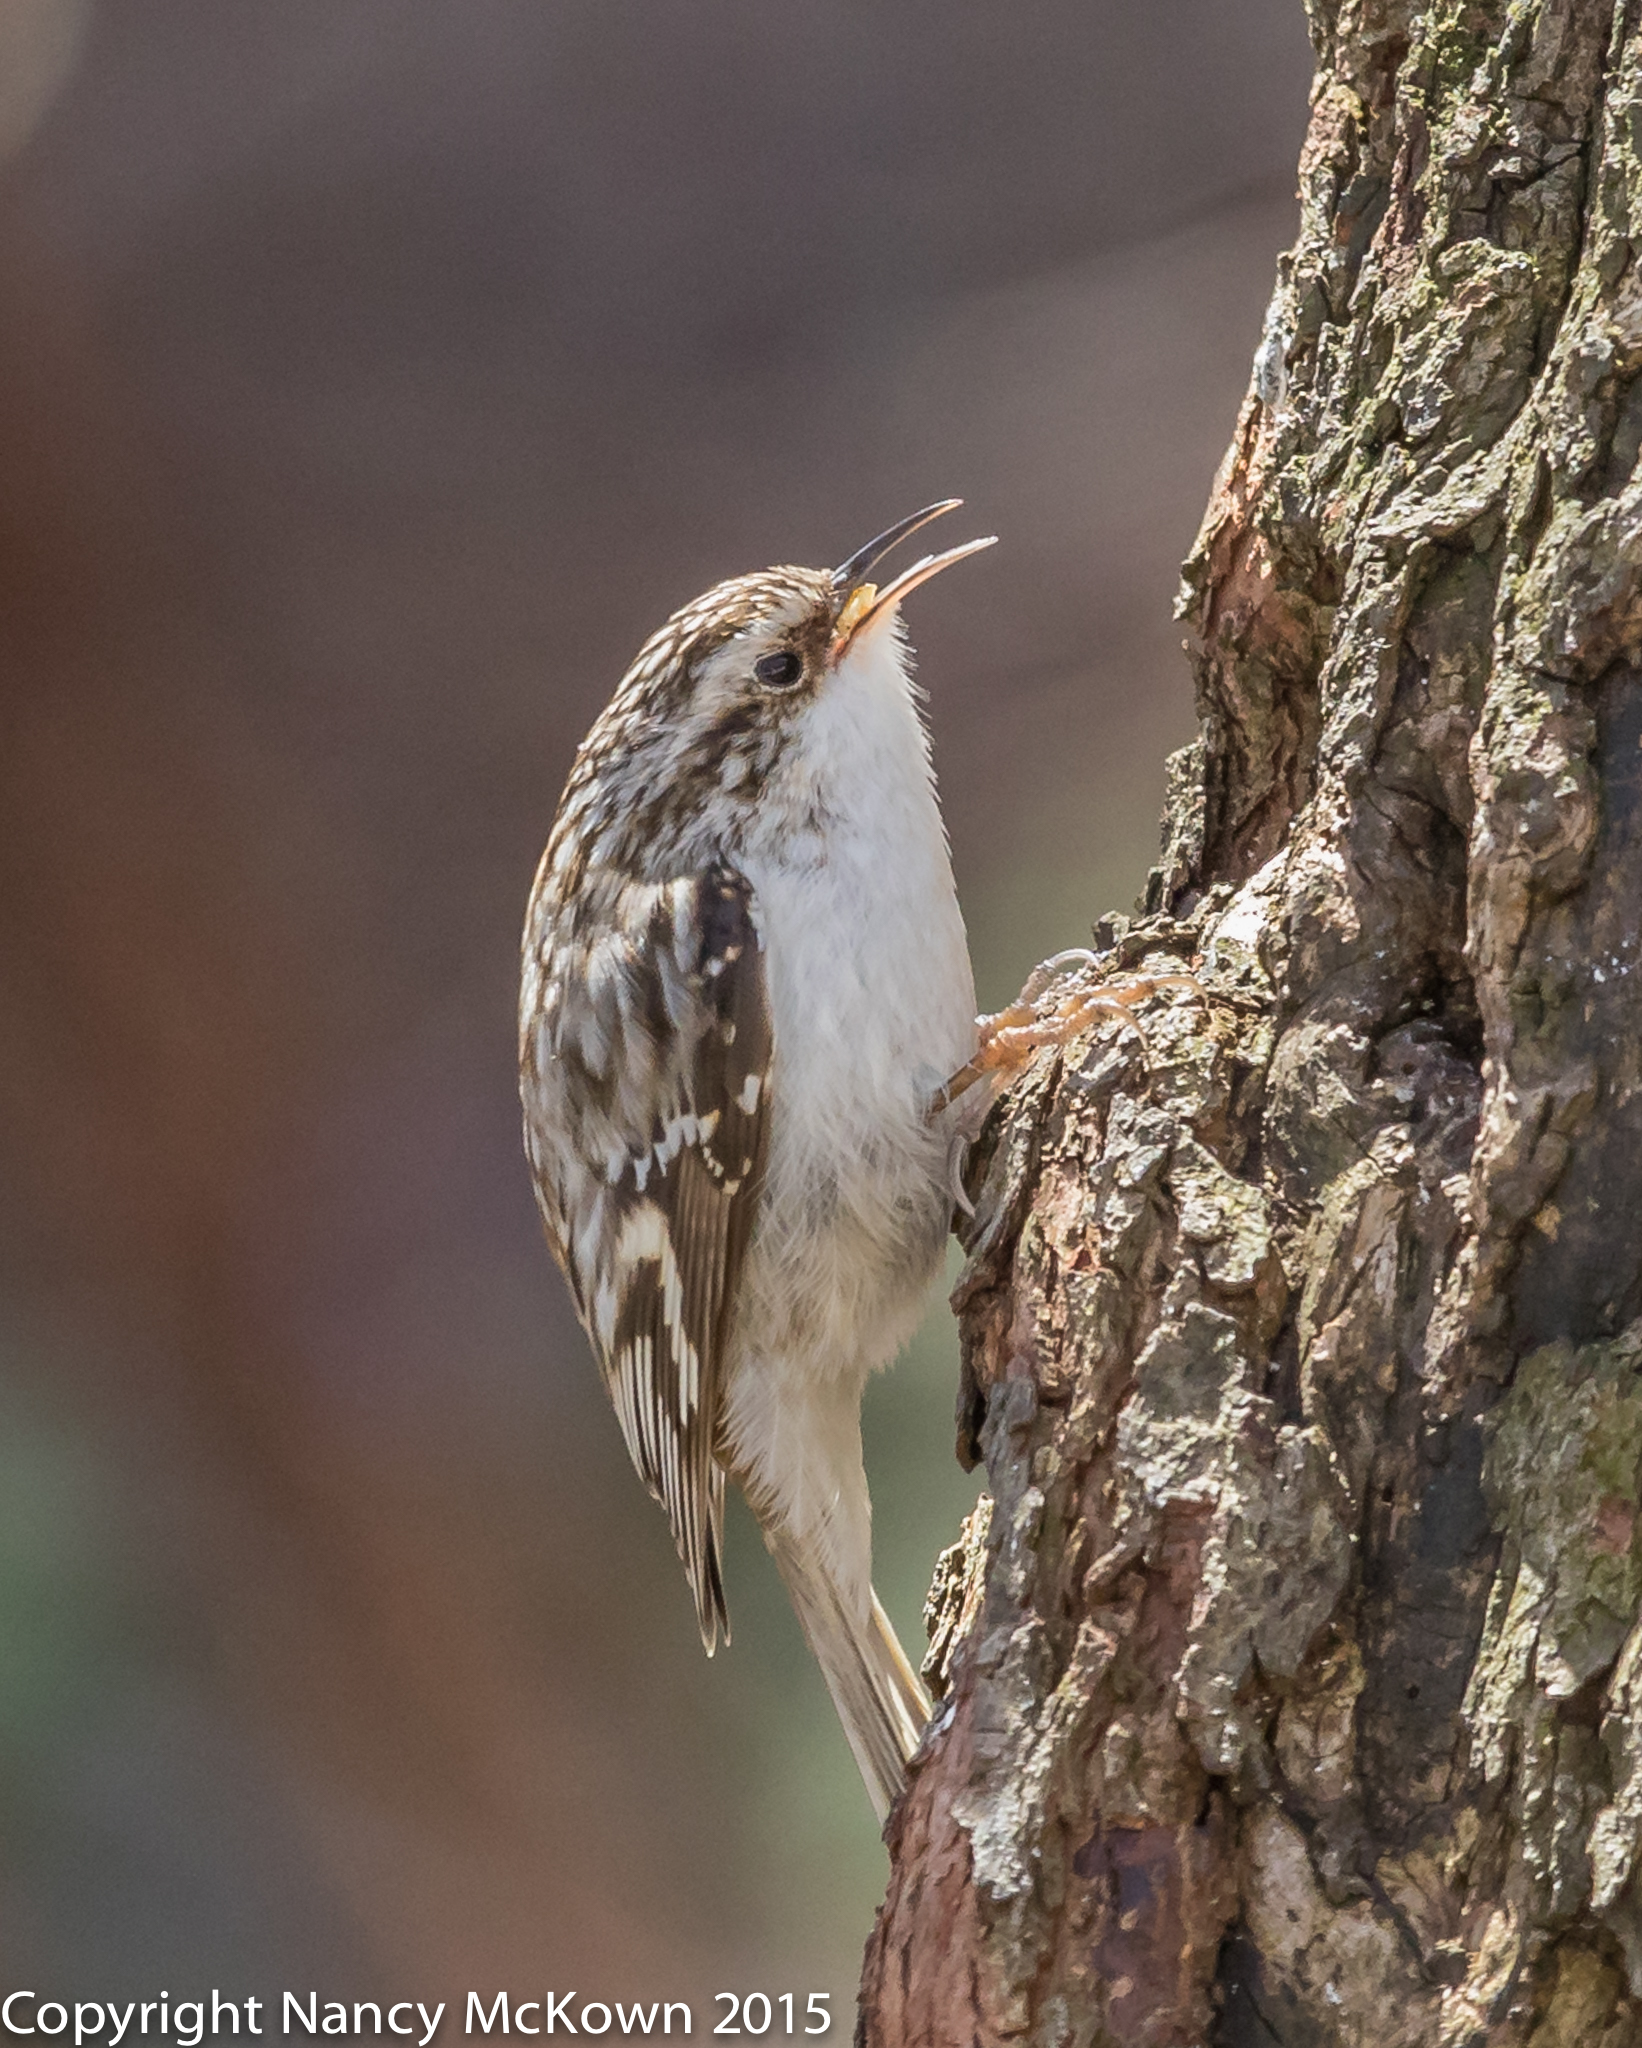
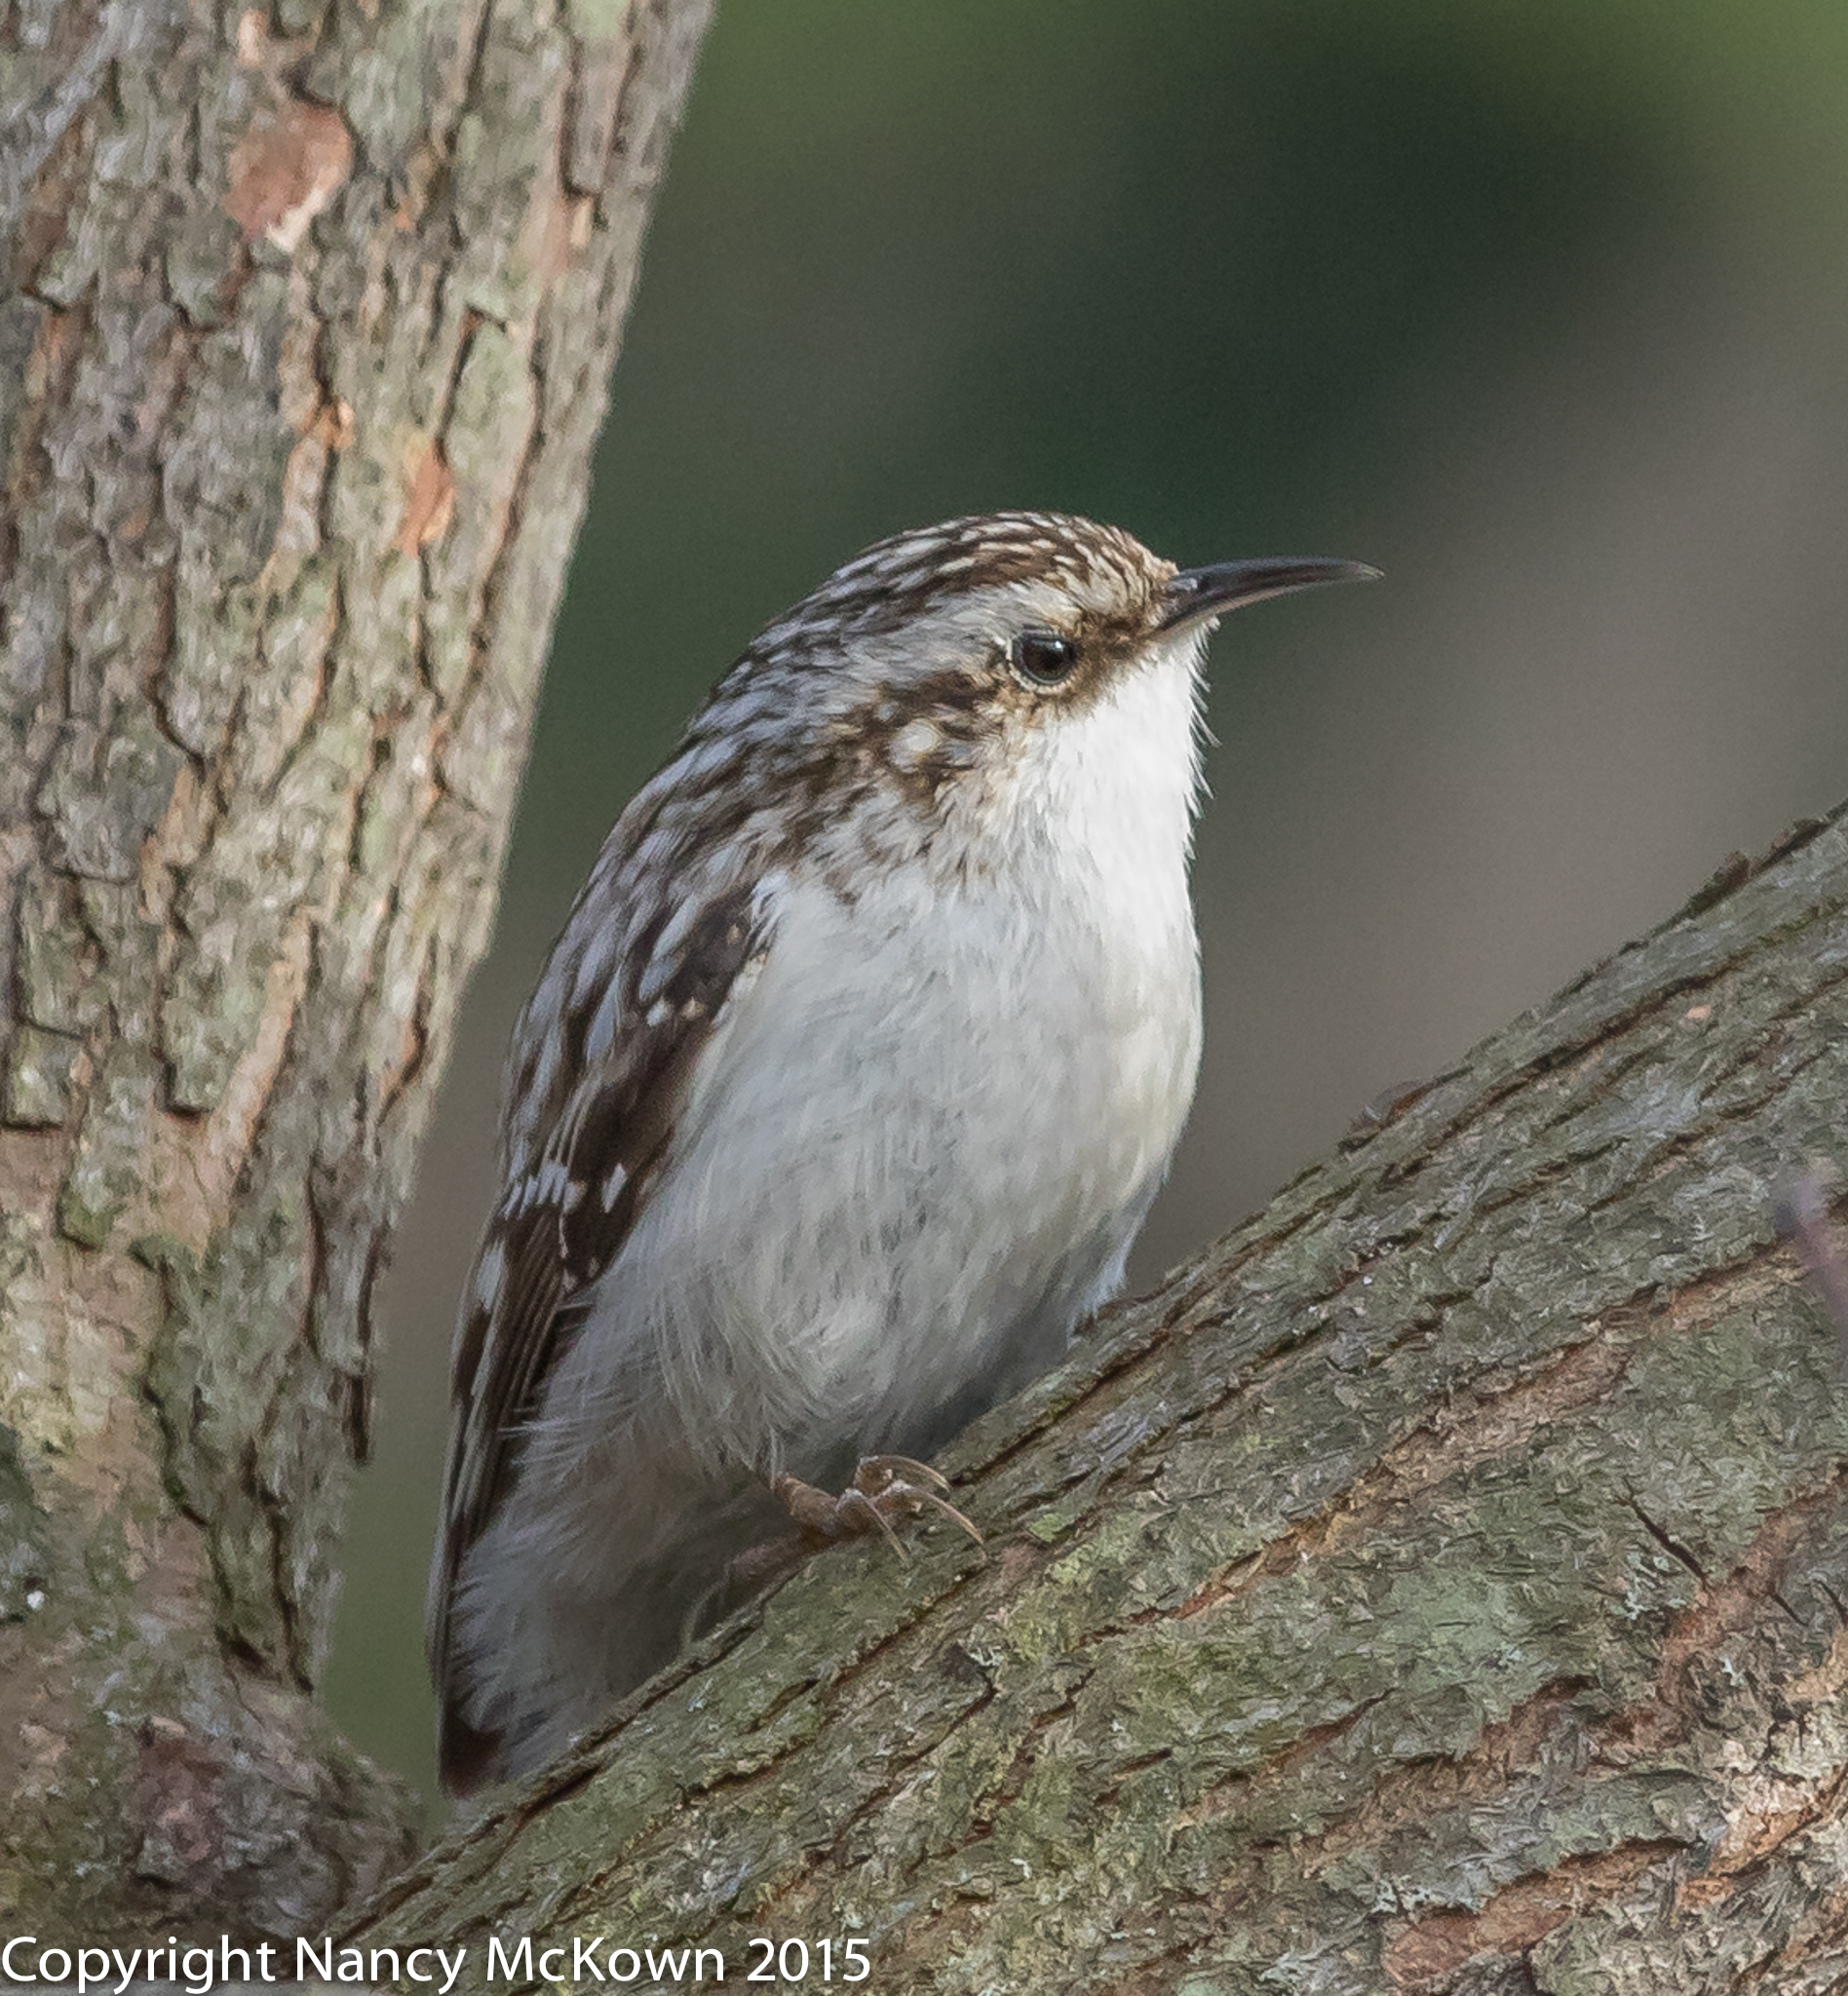
The Brown Creeper is a tiny and well camouflaged tree clinging bird whose spotted upper parts blend very well with the dark bark of most trees. Long, stiff tail feathers and huge feet and claws (relative to its size) allow these little birds to spiral up and down trees hunting for spiders, insects, eggs and pupae. Their long beaks (thin and curved) easily reach deep into crevices in the tree bark.
It’s difficult to track these little birds with a lens because they move in and out of view so fast. This Brown Creeper was foraging for food on a tree very close to the camera. I was able to photograph him when he stopped long enough to wrestle a tiny bit of insect egg out from under the tree bark and then swallow it. (See photos below.)
Brown Creeper ISO640; f/5; 1/1000 SecondBrown Creeper, Successfully Swallowing Insect Egg that he Burrowed Out from Beneath the Bark. ISO640; f/5; 1/1000 Second
When Birds Come Close to the Camera
I know I’m always writing about the need for MORE focal length to capture good photos of those far off birds. However, at the other end of the spectrum, I’m often amazed at just how close I can be to small birds with my Canon 500mm, f/4L II IS USM super long telephoto lens and still achieve focus. It is true that most birds are too cautious to come that close to my camera. However, sitting in my library waiting for new spring birds, windows open, 2 cameras on tripods at the ready, a small bird (chickadee size) can come as close as 3.7 m (12.14 ft) and the lens will still lock focus. A small bird, like the Brown Creeper, fills the frame nicely at that close distance. (Note: The 3 position focus limiter which allows you to restrict the focus “hunt” to only close subjects and improve focus lock times proves to be very helpful when birds are in close range. Read more at this post.)
Brown Creeper Taking a Rare Break. ISO1250; f/5; 1/800 Second.
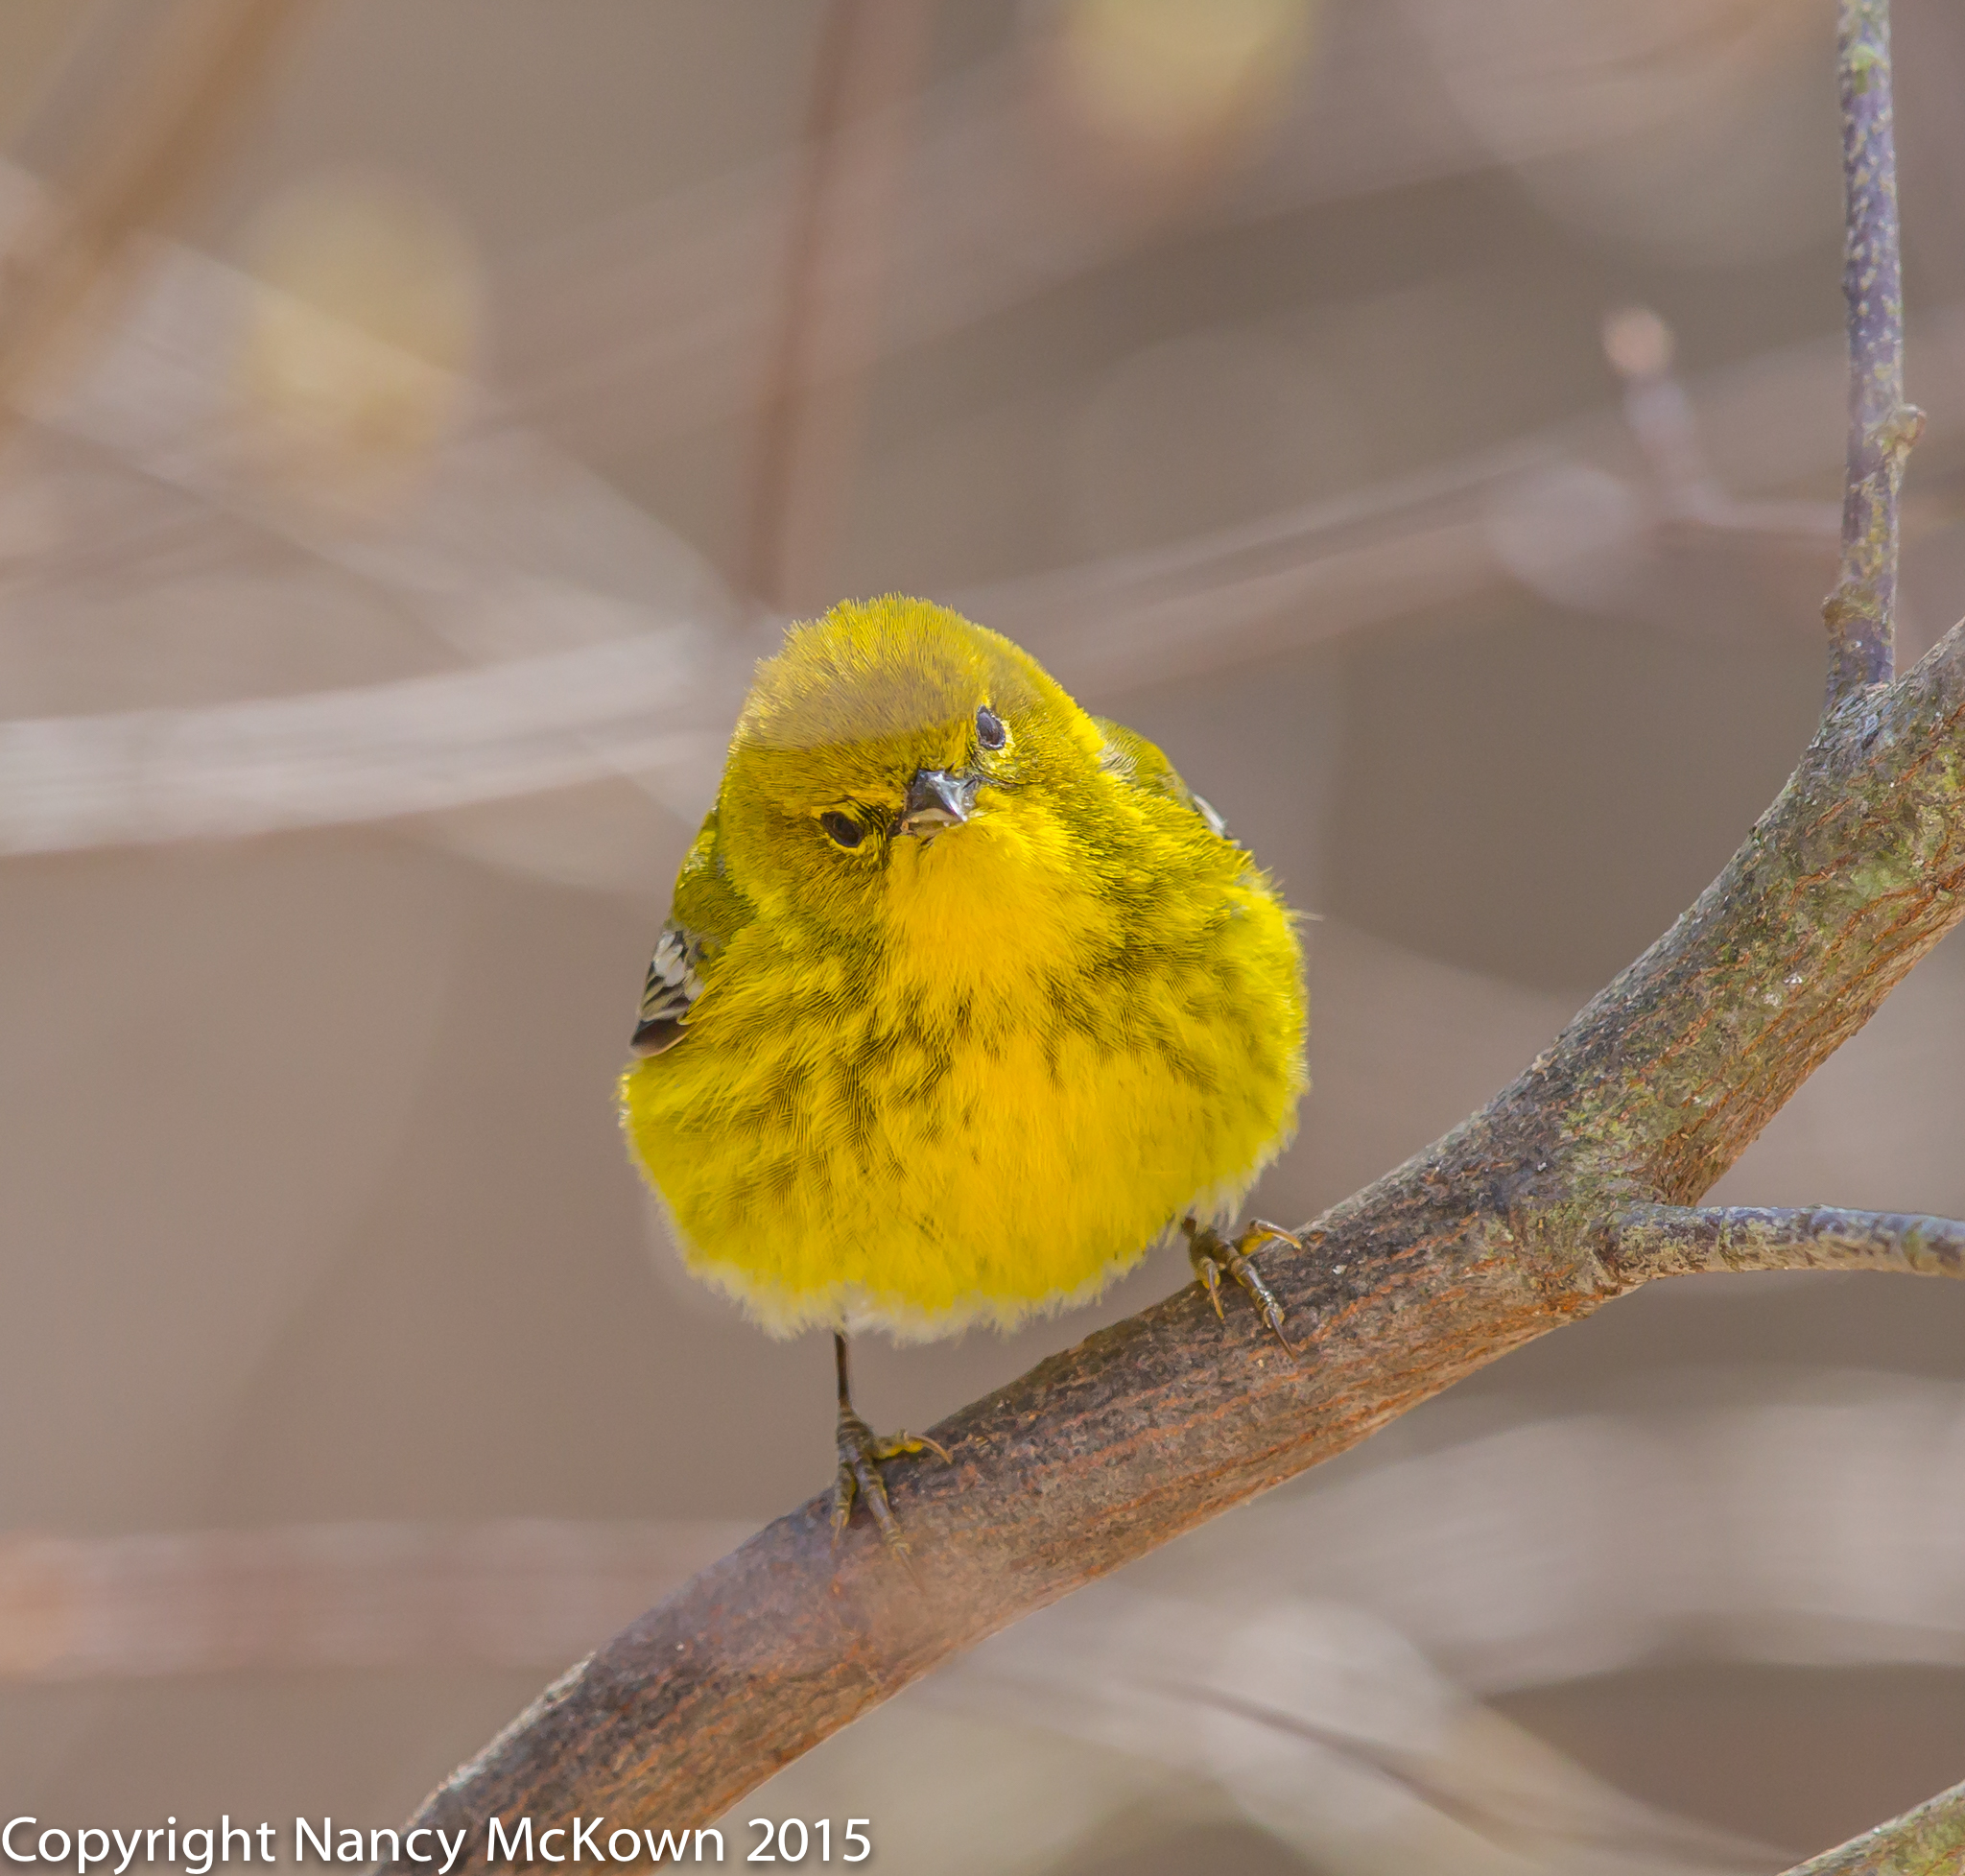
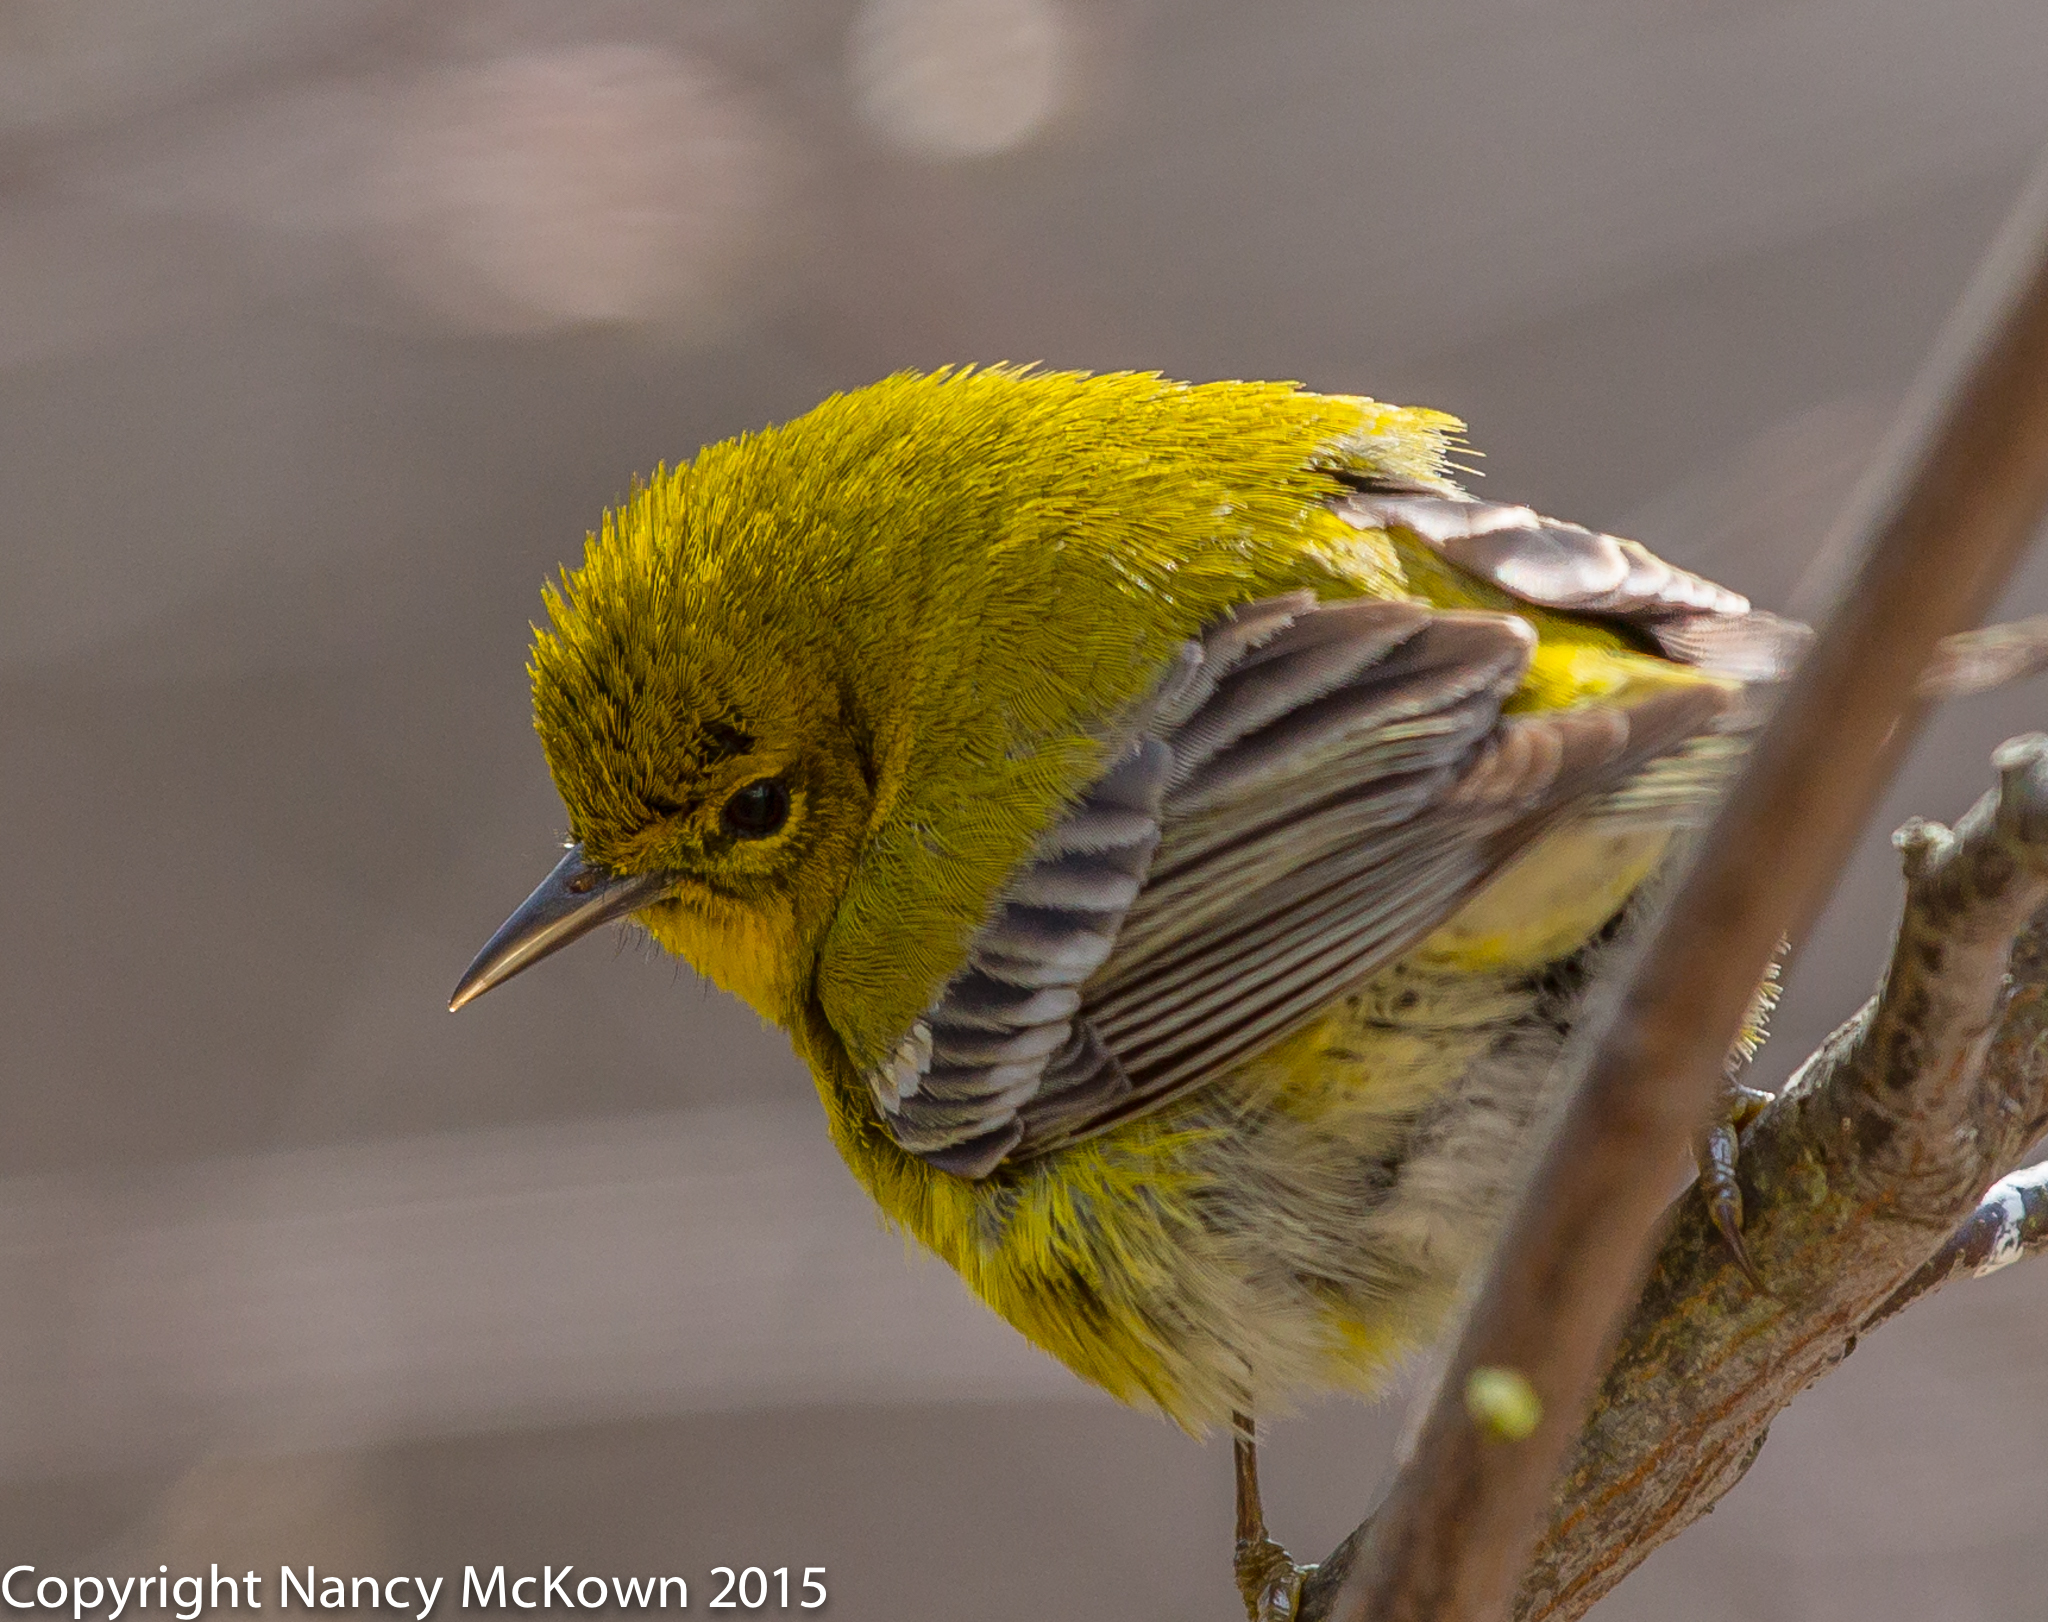
Pine Warbler looking Back at the Camera. ISO1000; f/6; 1/1000 Second
The mounds of snow and ice are gone, preventing the squirrels from leaping onto the bird feeders (for the most part). Newly formed buds on the trees are small and do not obstruct my camera’s line of view. The windows are washed and cranked open as much as the temperatures will allow. I have hauled up my photographer’s blind from the basement and set it up on the porch overlooking the feeders.
I am waiting and hoping that some new and unusual spring migrating birds will pass through and grace me with an appearance -and (of course) perch in the unobstructed trees closest to our library windows or porch. I had tremendous luck in my own yard last fall, so my expectations are skyhigh that if I sit and wait by my library windows long enough, I will see and photograph some new birds. (See this post about last Fall’s activity.)
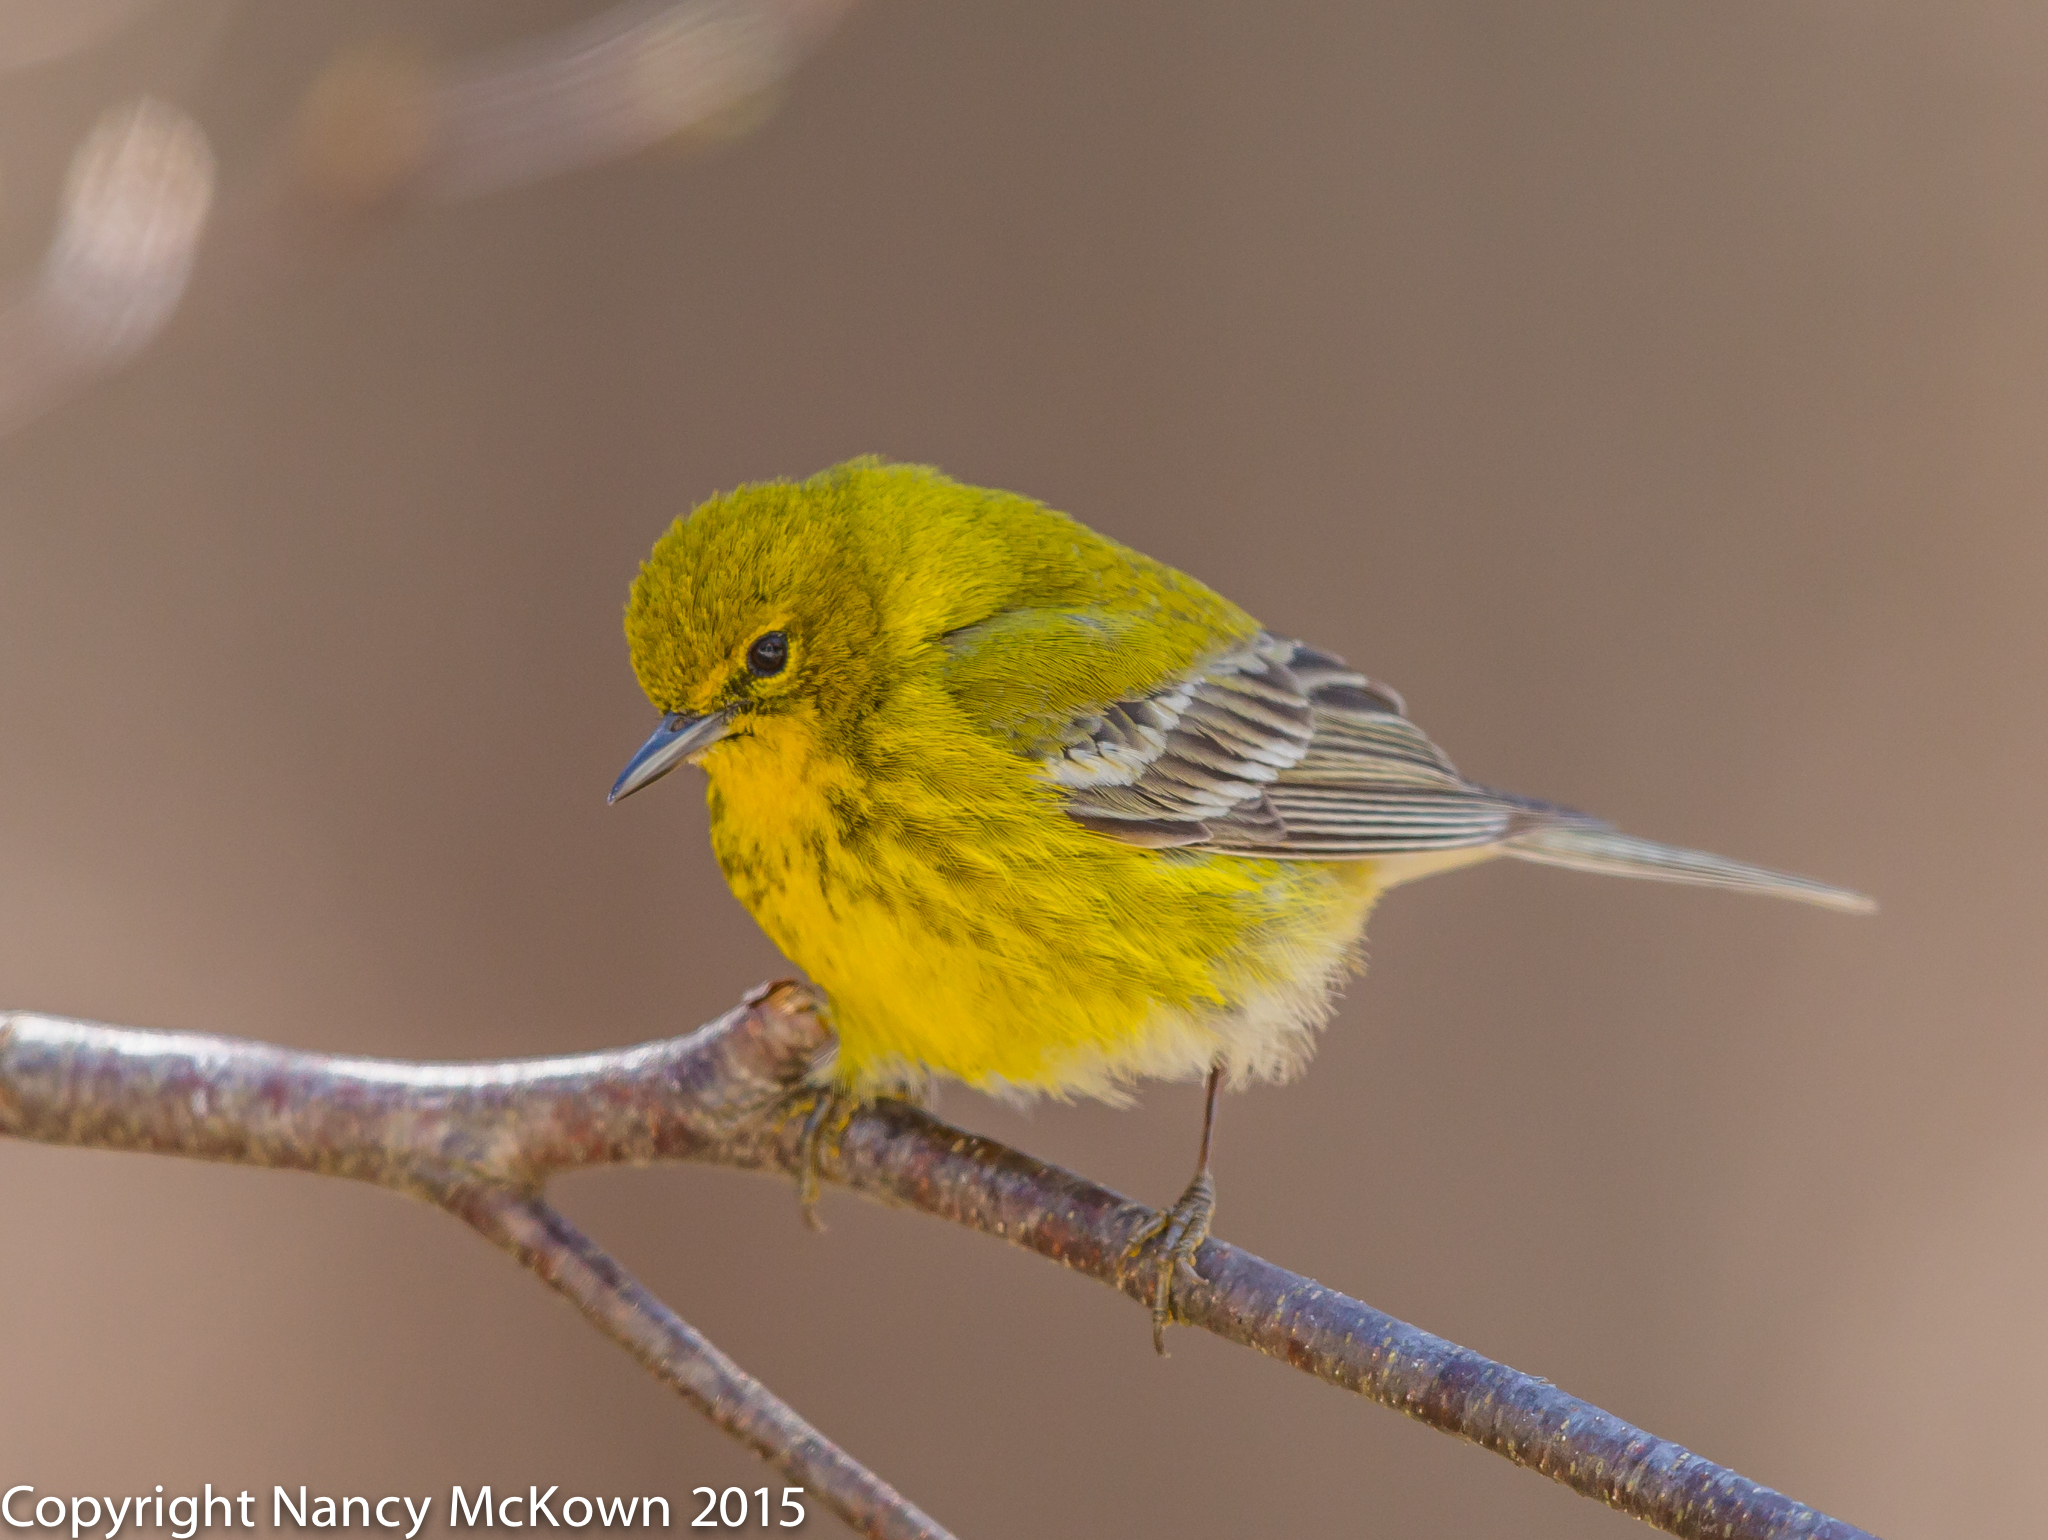
Close up of Pine Warbler ISO 800; f/5.6; 1/1250 Second
Cameras Ready
I watch over two cameras set up on tripods in our library; The 5D Mark III, attached to the 500 mm lens and the 7D Mark II, attached to the 300mm lens. The platform and suet feeders are full, bringing in lots of activity from the usual visitors (Cardinals, House Finches, Chickadees, Titmice, Mourning Doves, Juncos, various Woodpeckers, and Nuthatches.) I’m hoping that migrating warblers and other unusual transients will notice heavy bird activity and want to join in for a meal.
Migratory Birds Photographed So Far
So far this Spring, I’ve seen and photographed the following migratory birds: Red winged Blackbirds, Gold Finches, Cowbirds, House Finches, Purple Finches, Pine Siskins, Cedar Waxwings, Eastern and Western Meadowlarks, Ruby Crowned Kinglets, field and song sparrows, unusual sparrows like the Towhee and Vesper Sparrow, and even a Wilson’s Snipe.
By far the most exciting photography challenge this Spring was when a bright and bold male Pine Warbler came down to feast on suet. This warbler species is one of the few that visits feeders. Thinking that this would be my only chance, I photographed almost every single sighting, mostly him clinging to a suet feeder. After a hundred or so shots, I was more calculated, keeping the windows open and watching and waiting for him to land on a natural perch with a pleasing background.
Patience and perseverance most certainly brings success to photographers.
The Pine Warbler stayed little more than a day, and I have several hundred photographs. Still, I keep looking, hoping to see him again.
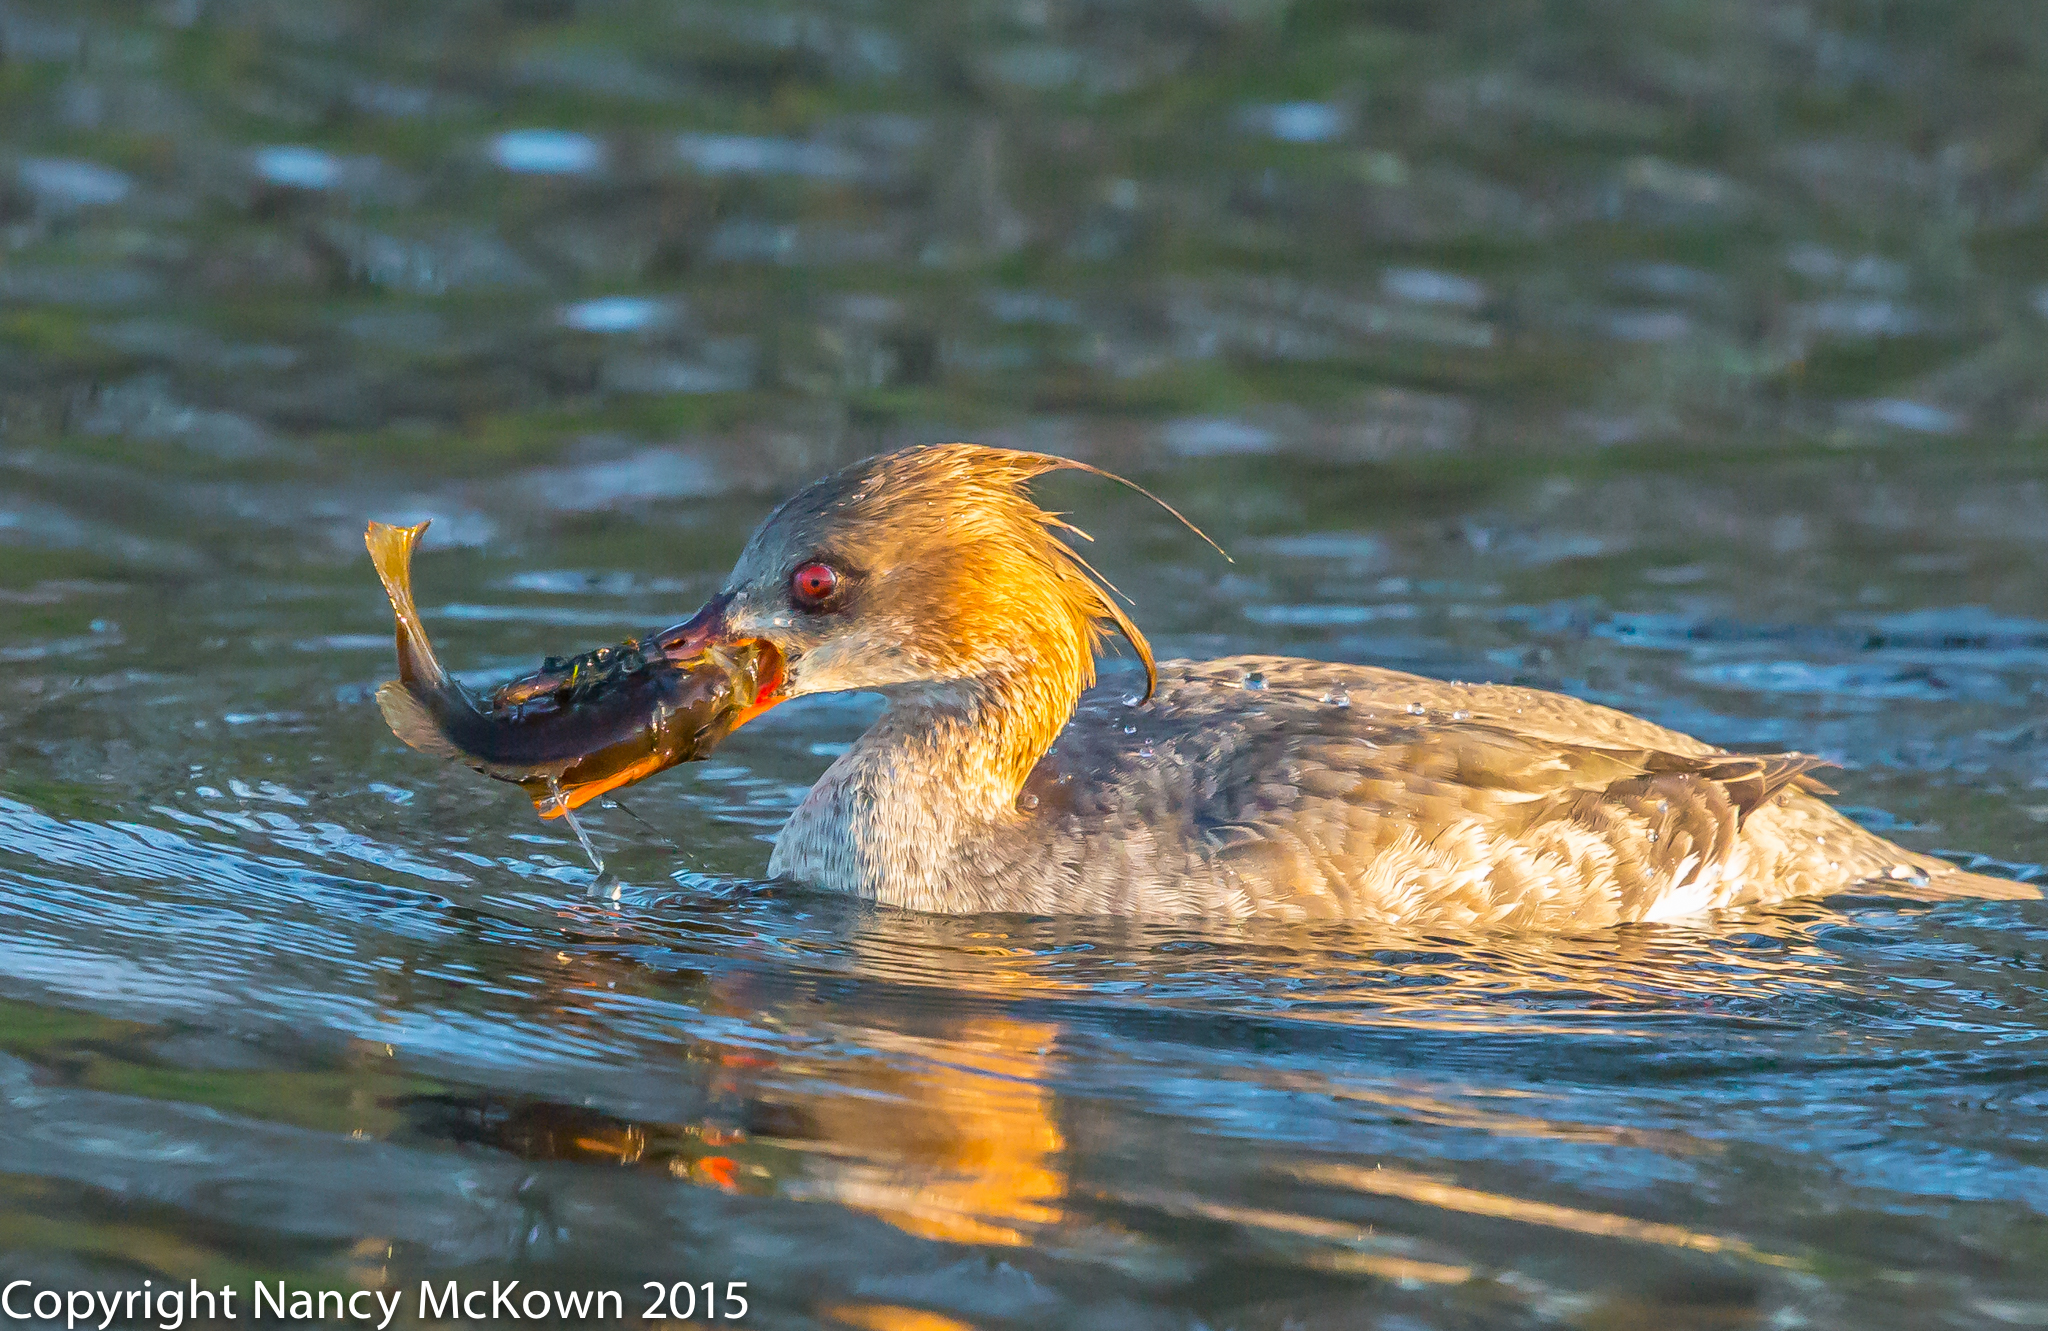
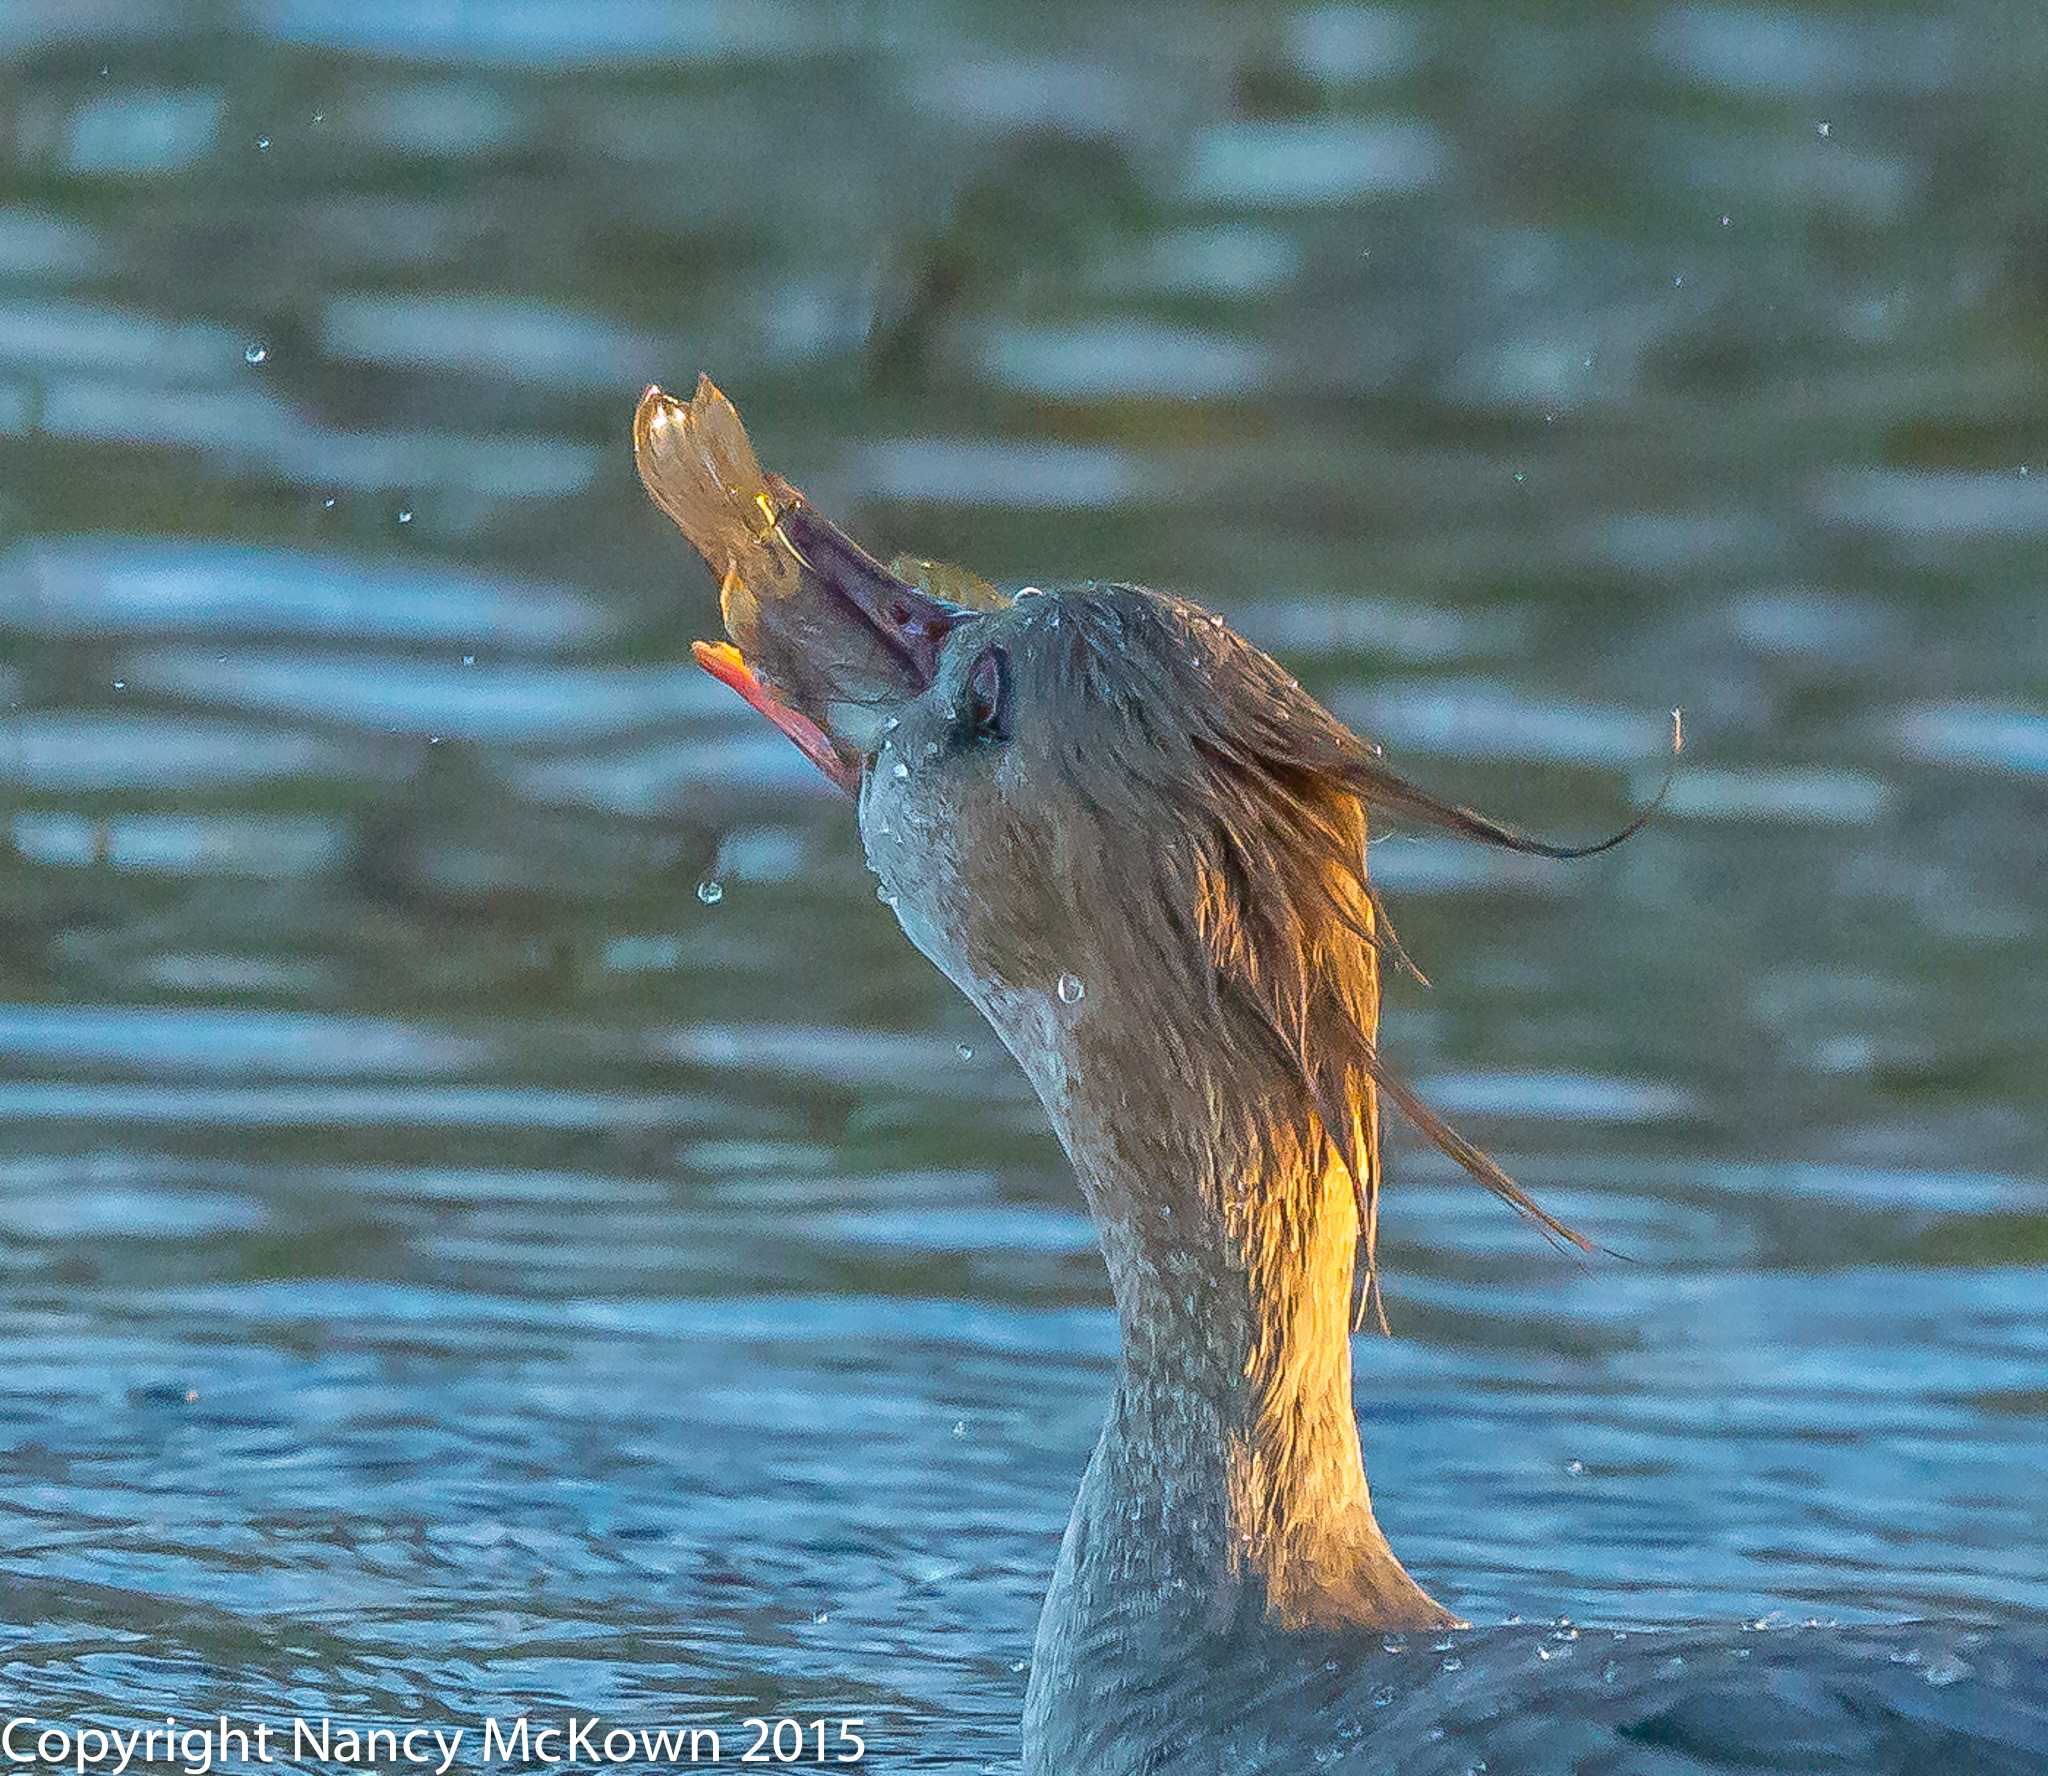
The photo below was shot early in the morning, before the sun had a chance to spread its light into the dark shadows of this local church pond. This female Red Breasted Merganser had just captured a sunfish almost as big as her head, and was holding on tight with her sharp serrated beak. The sunfish was not about to submit without a fight, and the Merganser swam in wide circles as she tried to position it so she could safely swallow it whole.
Female Red Breasted Merganser trying to Swallow a Sunfish. ISO 8000; f/8; 1/2000 second
With all this fast and frantic activity, I didn’t dare lower my shutter speed below 1/2000 second. The 500mm lens with 1.4 extender delivers a very shallow depth of field, so I preset the aperture at f/8. The auto ISO evaluated the light and responded to these exposure parameters with an ISO of 8000! A very high ISO – yet the clarity the 5D Mark III sensor (22.3 MP) delivered in this low light was good. I am happy with the results.
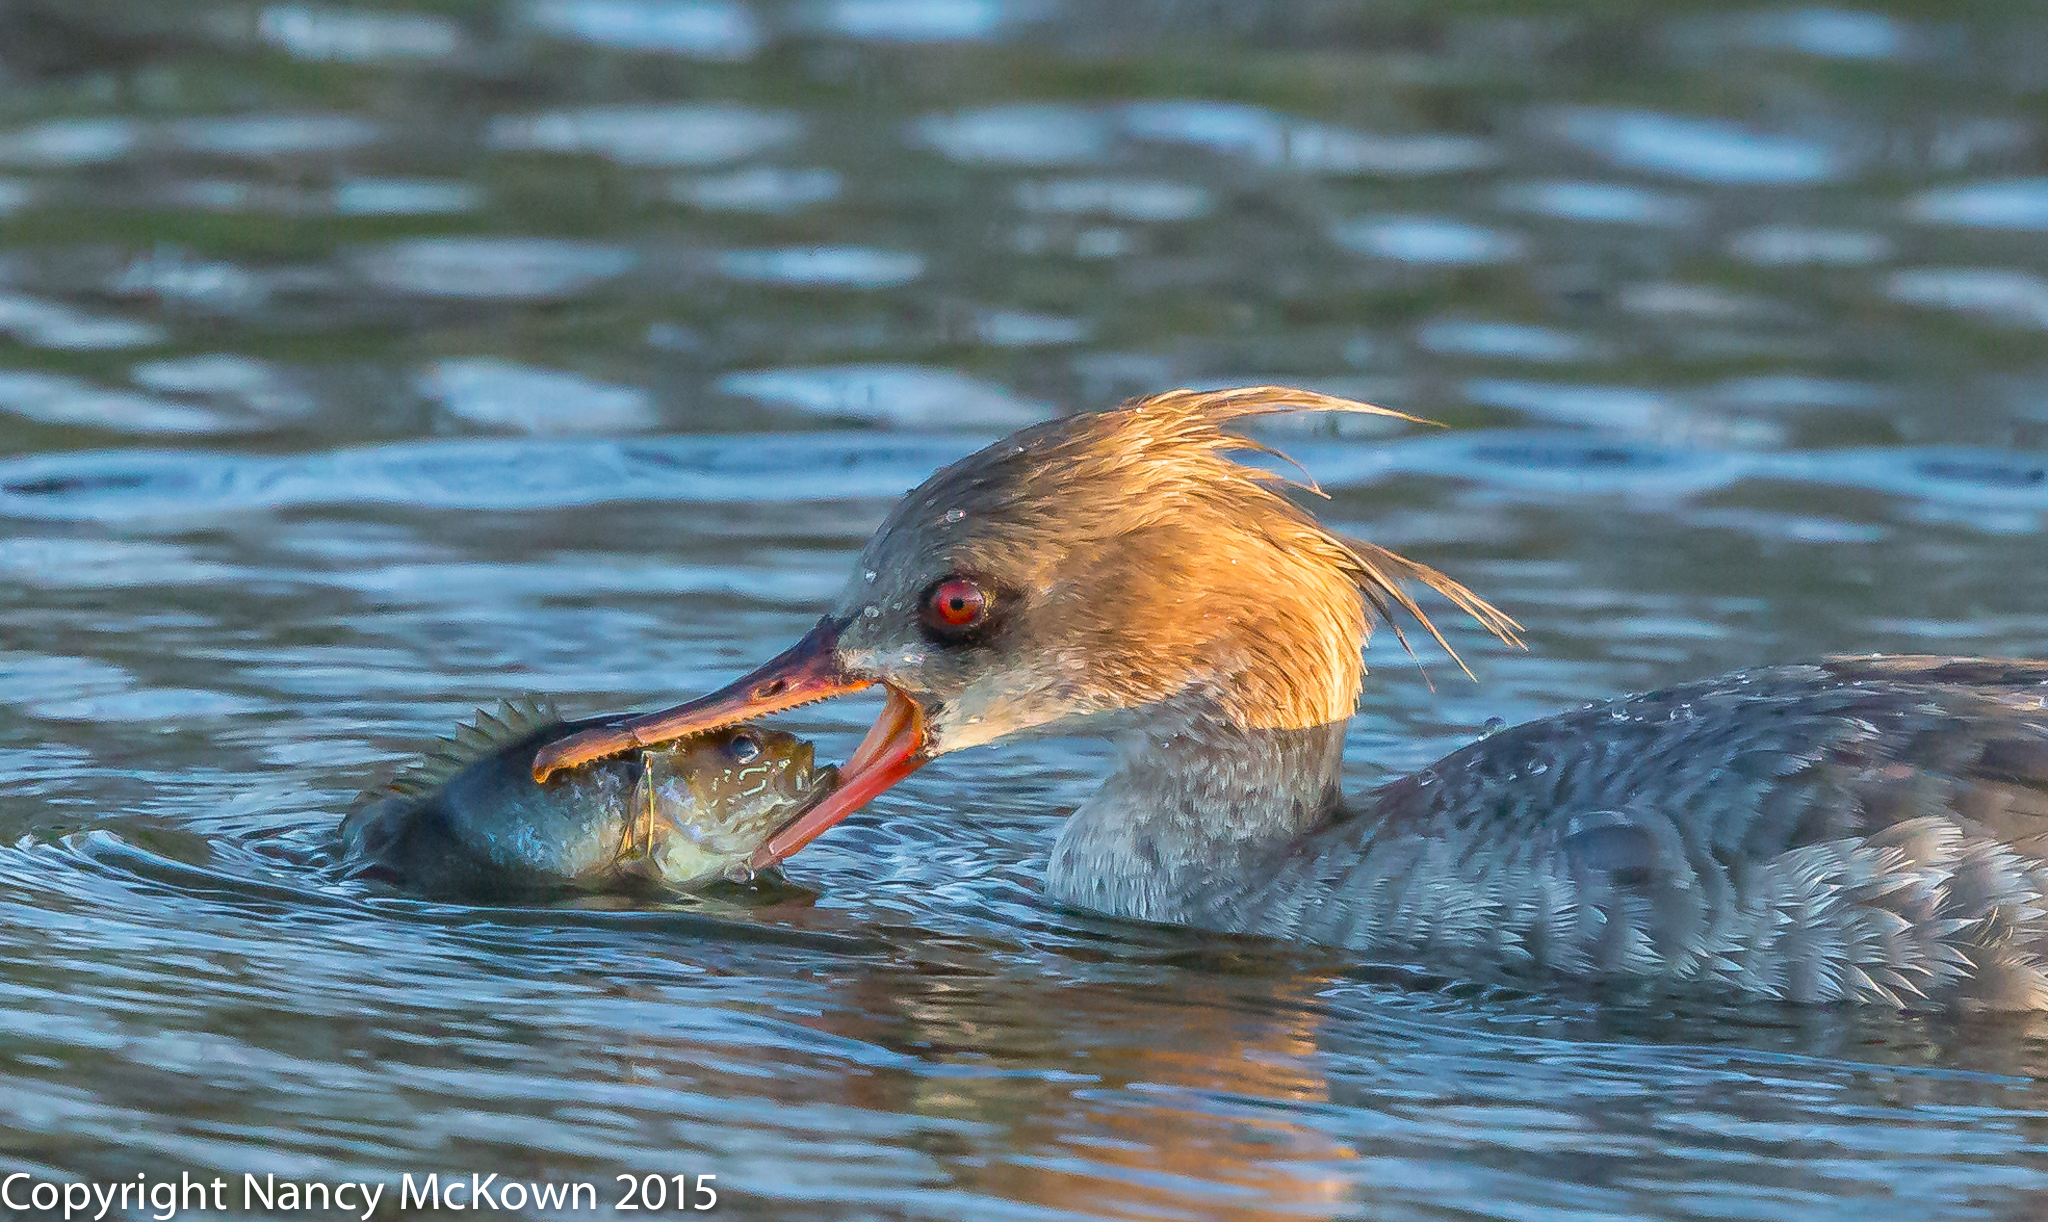
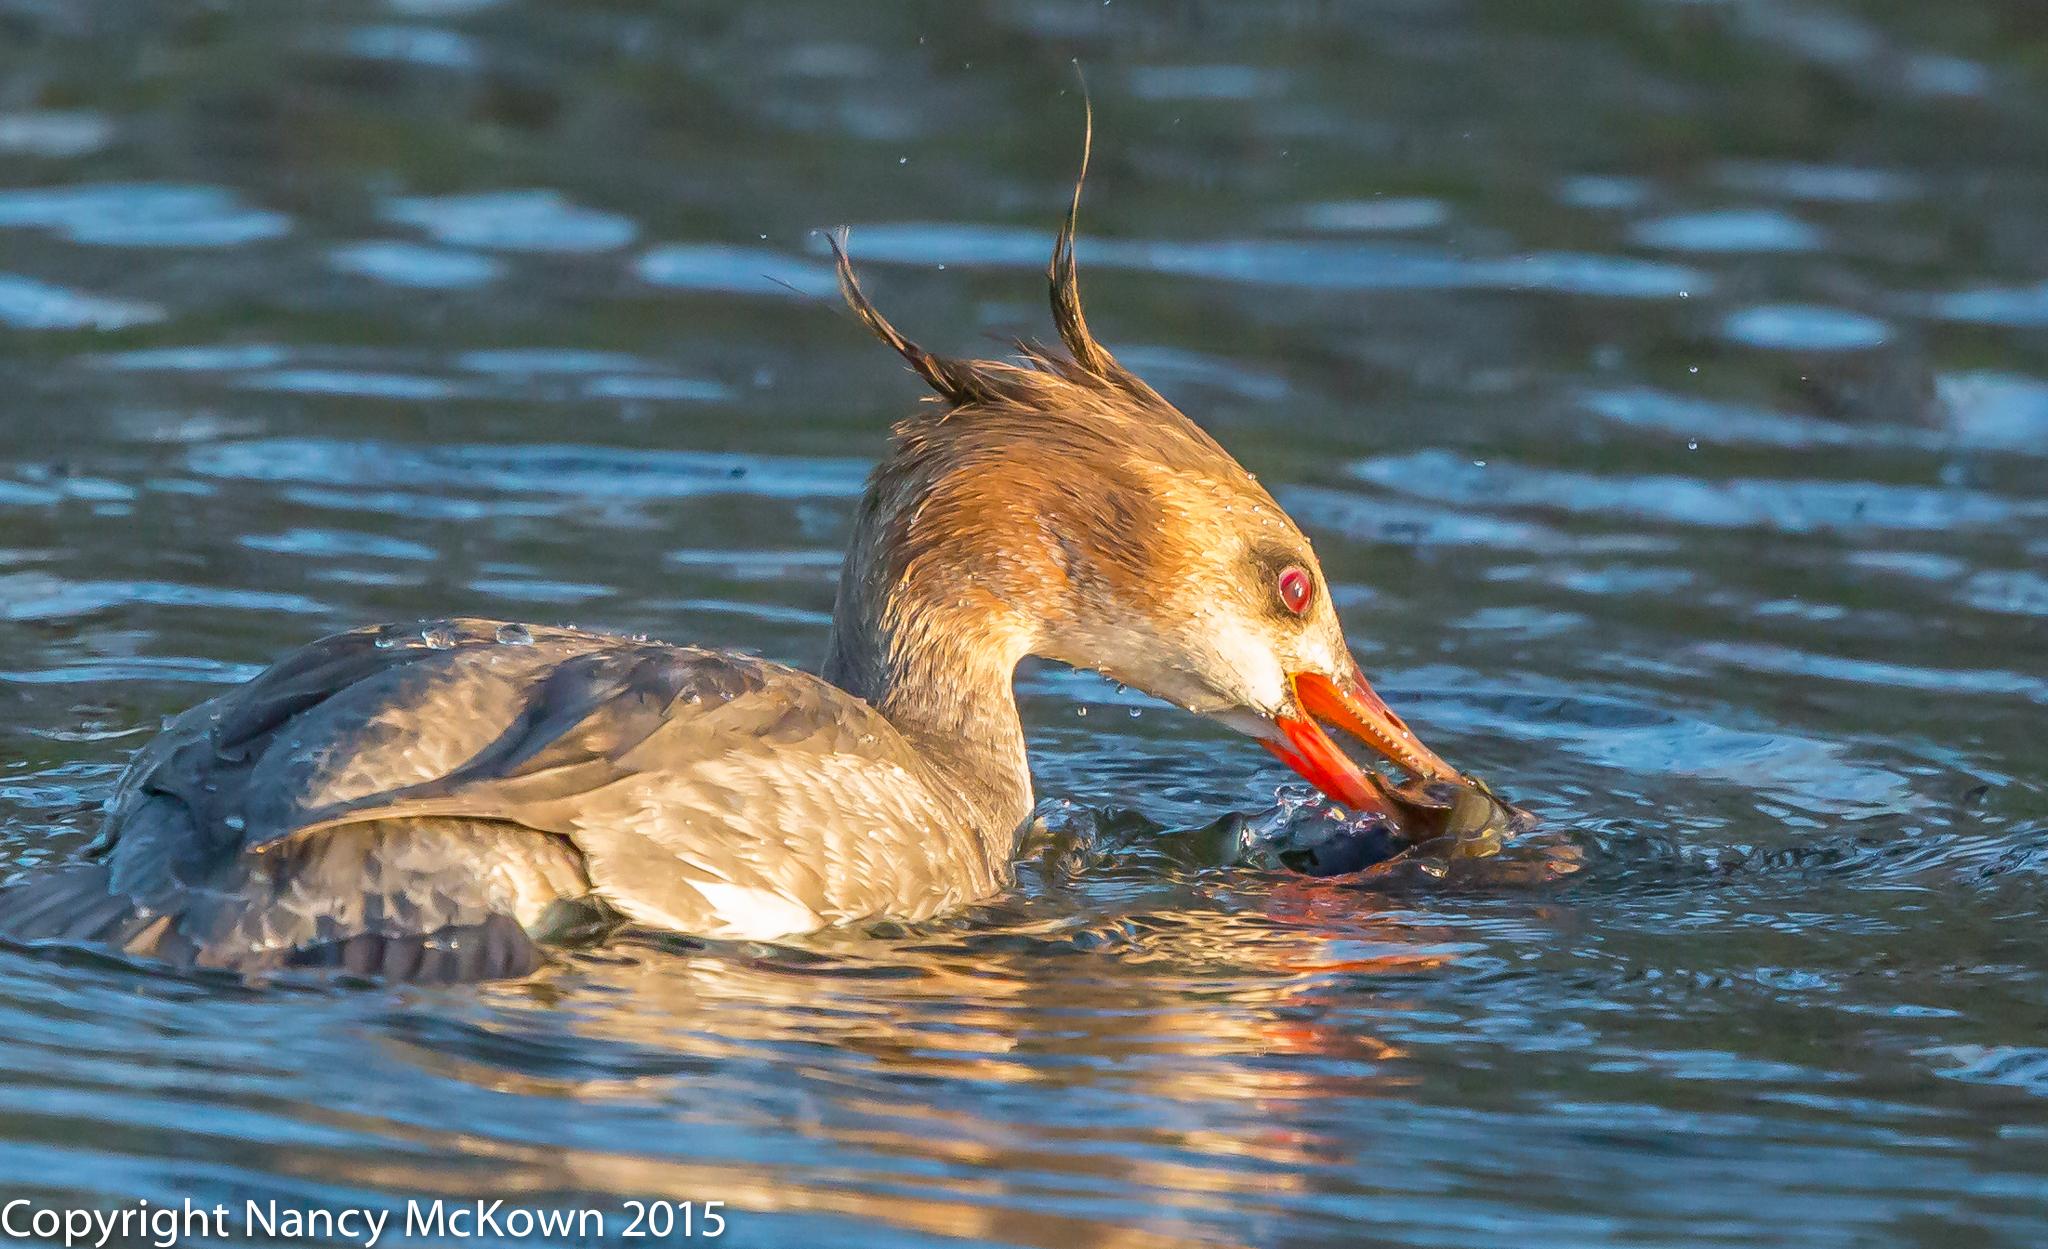
NOTE: The Merganser did eventually manage to swallow the fish (see photos below).
DSLR Megapixel Race
Canon has introduced two new 50.6 megapixel full frame DSLR cameras- (5DS R and 5DS). It’s an effort to move closer to the detail and quality produced by a medium format camera sensor. Somewhere in the mix of sensor size, pixel size, pixel density and software processing algorithms, the design engineers still can not devise a DSLR sensor (36 x 24 mm) that has both exceptional low light performance and 50 megapixel detail. In both of these new cameras, the sensor’s light gathering potential is sacrificed to bump up the megapixel count.
In this photo, the Merganser turned toward the sun as she wrestled with the sunfish, lowering the ISO. ISO6400; f/8; 1/2000 Second
Advantages of Monster Megapixels
The main advantage of having a DSLR camera with densely packed megapixels is that you can capture an enormous amount of detail. The 50.6 cameras would definitely appeal to specialized markets; those photographers who crave detail and are equipped to incorporate artificial light when needed to keep ISO levels low.
Distance between the lens and subject would be less of an issue because the high megapixel count would give photographers more freedom to crop (in post processing) without denigrating the image too much.
Photographers would be able to print super sized, high quality enlargements never before possible from a DSLR camera.
The new Canon DSLR cameras include new in-camera cropped shooting modes. (Note: I bought a cropped sensor camera – a 7D Mark II – to get the extra reach. See this post.) These settings cut back on the megapixel count (the 1.3x crop produces 30MP images, while the 1.6x crop produces 19MP images) and consequently take a small toll on resolution. Photographers benefit from the extra lens reach that cropped sensors provide and possibly better burst rates than the advertised 5 frames per second.
Drawbacks of Monster Megapixels
The main disadvantage for photographers who rely on natural light is the mediocre low light performance of the new Canon 5DS cameras. (ISO recommended range = 100-6400) My guess is that the light gathering potential of the new sensor could never produce the low light quality achieved by the 22.3MG sensor in the Canon 5D Mark III, once I strayed above ISO 1000 or so.
Photographers would not be able to see the high level of detail on most computer monitors.
The size of the files is huge. The smallest part of a digital image is a pixel -one dot of information- measured in PPI (PIXELS PER INCH). A megapixel is approximately a million pixels. Currently, my full sensor 22.3 MG 5DMark III DSLR camera exports images that take up massive amounts of hard drive space. You must ask yourself: Do you have the computer processing power and the hard drive storage needed to process 50.6 million pixels per photo?
Despite the in-camera Digit 6 processor improvements and USB 3 port, the new 5 DS cameras will use more power and take longer to process, store and transfer all that data. (Amazingly, these cameras are still capable of shooting 5 fps continuous shooting. NOTE: Canon 5D Mark III is not much more….burst rate = 6 fps.)
Bigger compact flash and SD memory cards to accommodate the massive storage requirements will set photographers back a bit. At this writing, a SanDisk 128GB Extreme Pro CompactFlash Card, with UDMA 7 Speed Up To 160MB/s, costs $467.00
The Merganser about to swallow the sunfish whole. I set the shutter speed a little higher in this photo, raising the ISO to 10,000. ISO 10000; f/8; 1/2500 Second
Photographers Who Rely Exclusively on Natural Light
For a bird photographer living in cloudy SW Michigan and reliant on natural light, one of the major draws of a well balanced full frame sensor is its superior low light performance. As much as I try to wait for bright sunny days before I take my camera out, inevitably the clouds creep in or birds I want to photograph perch in the shadows. I need a CMOS sensor that delivers outstanding detail and excellent low light performance.
If you wish to read about the technical aspects of higher megapixel sensors – there is lots of info on the web. Unless money is not an issue, I recommend that you take the time to learn about how sensors work and use that knowledge to figure out what camera works best for you.
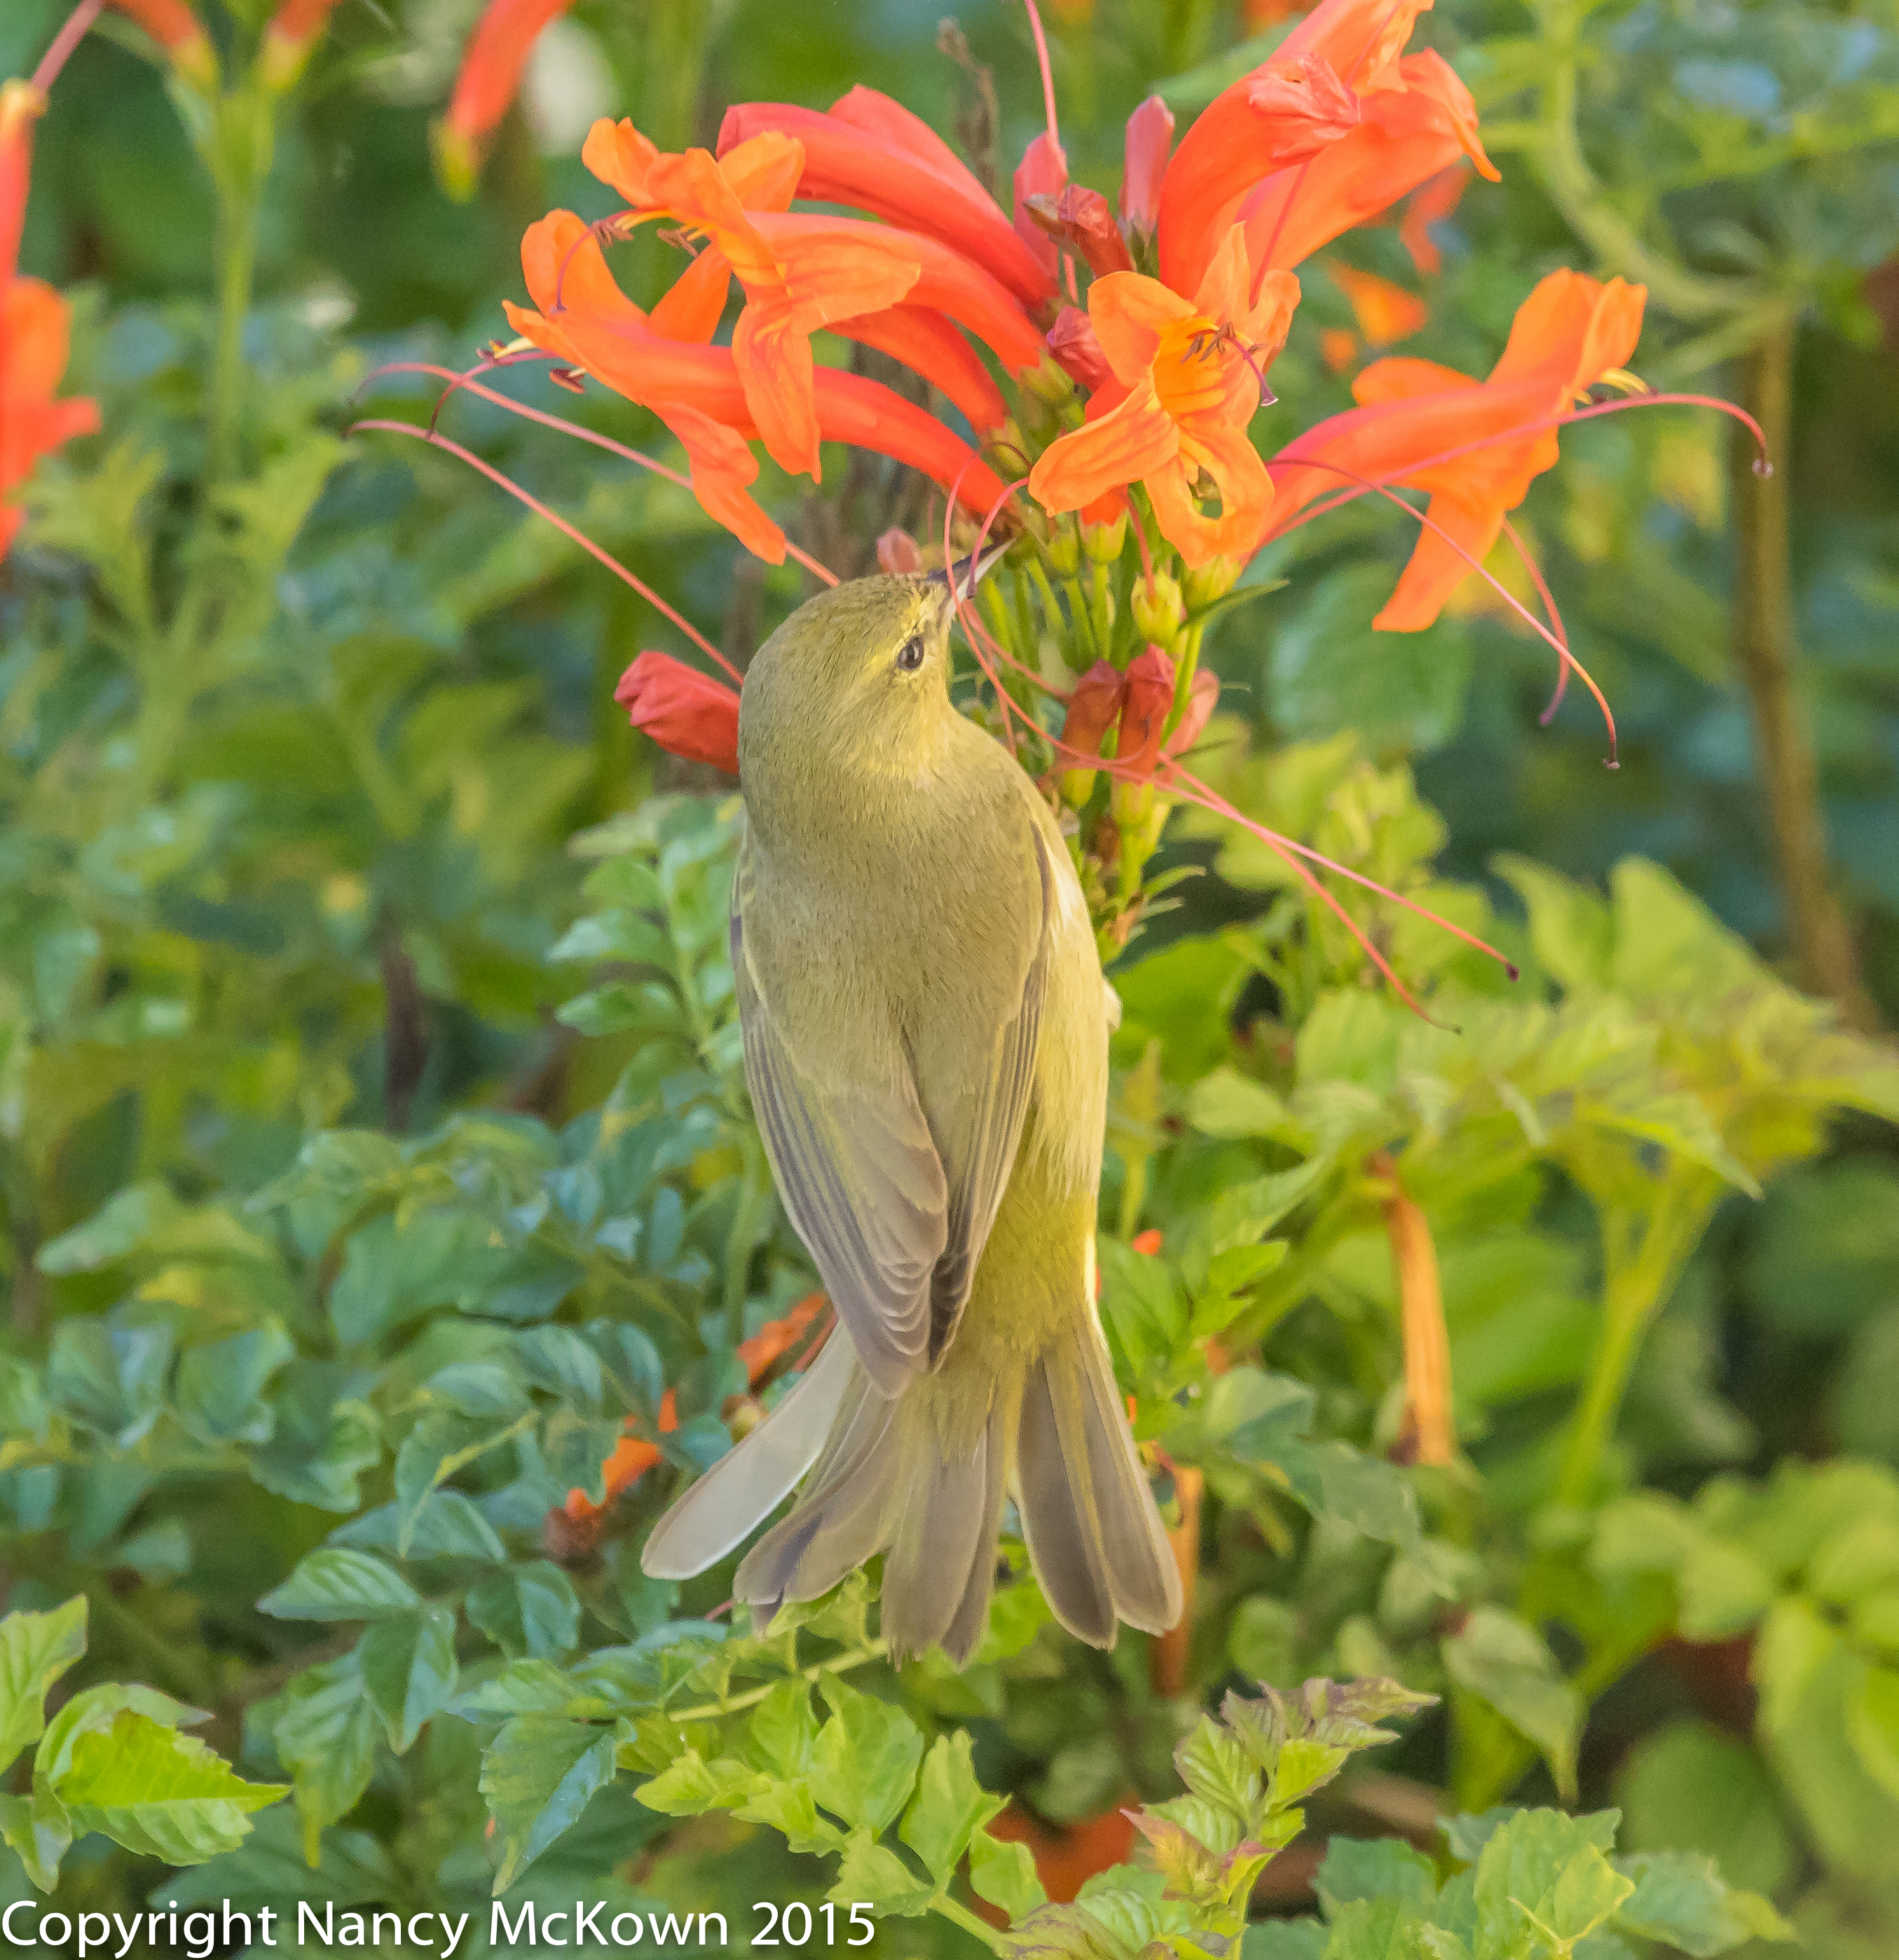
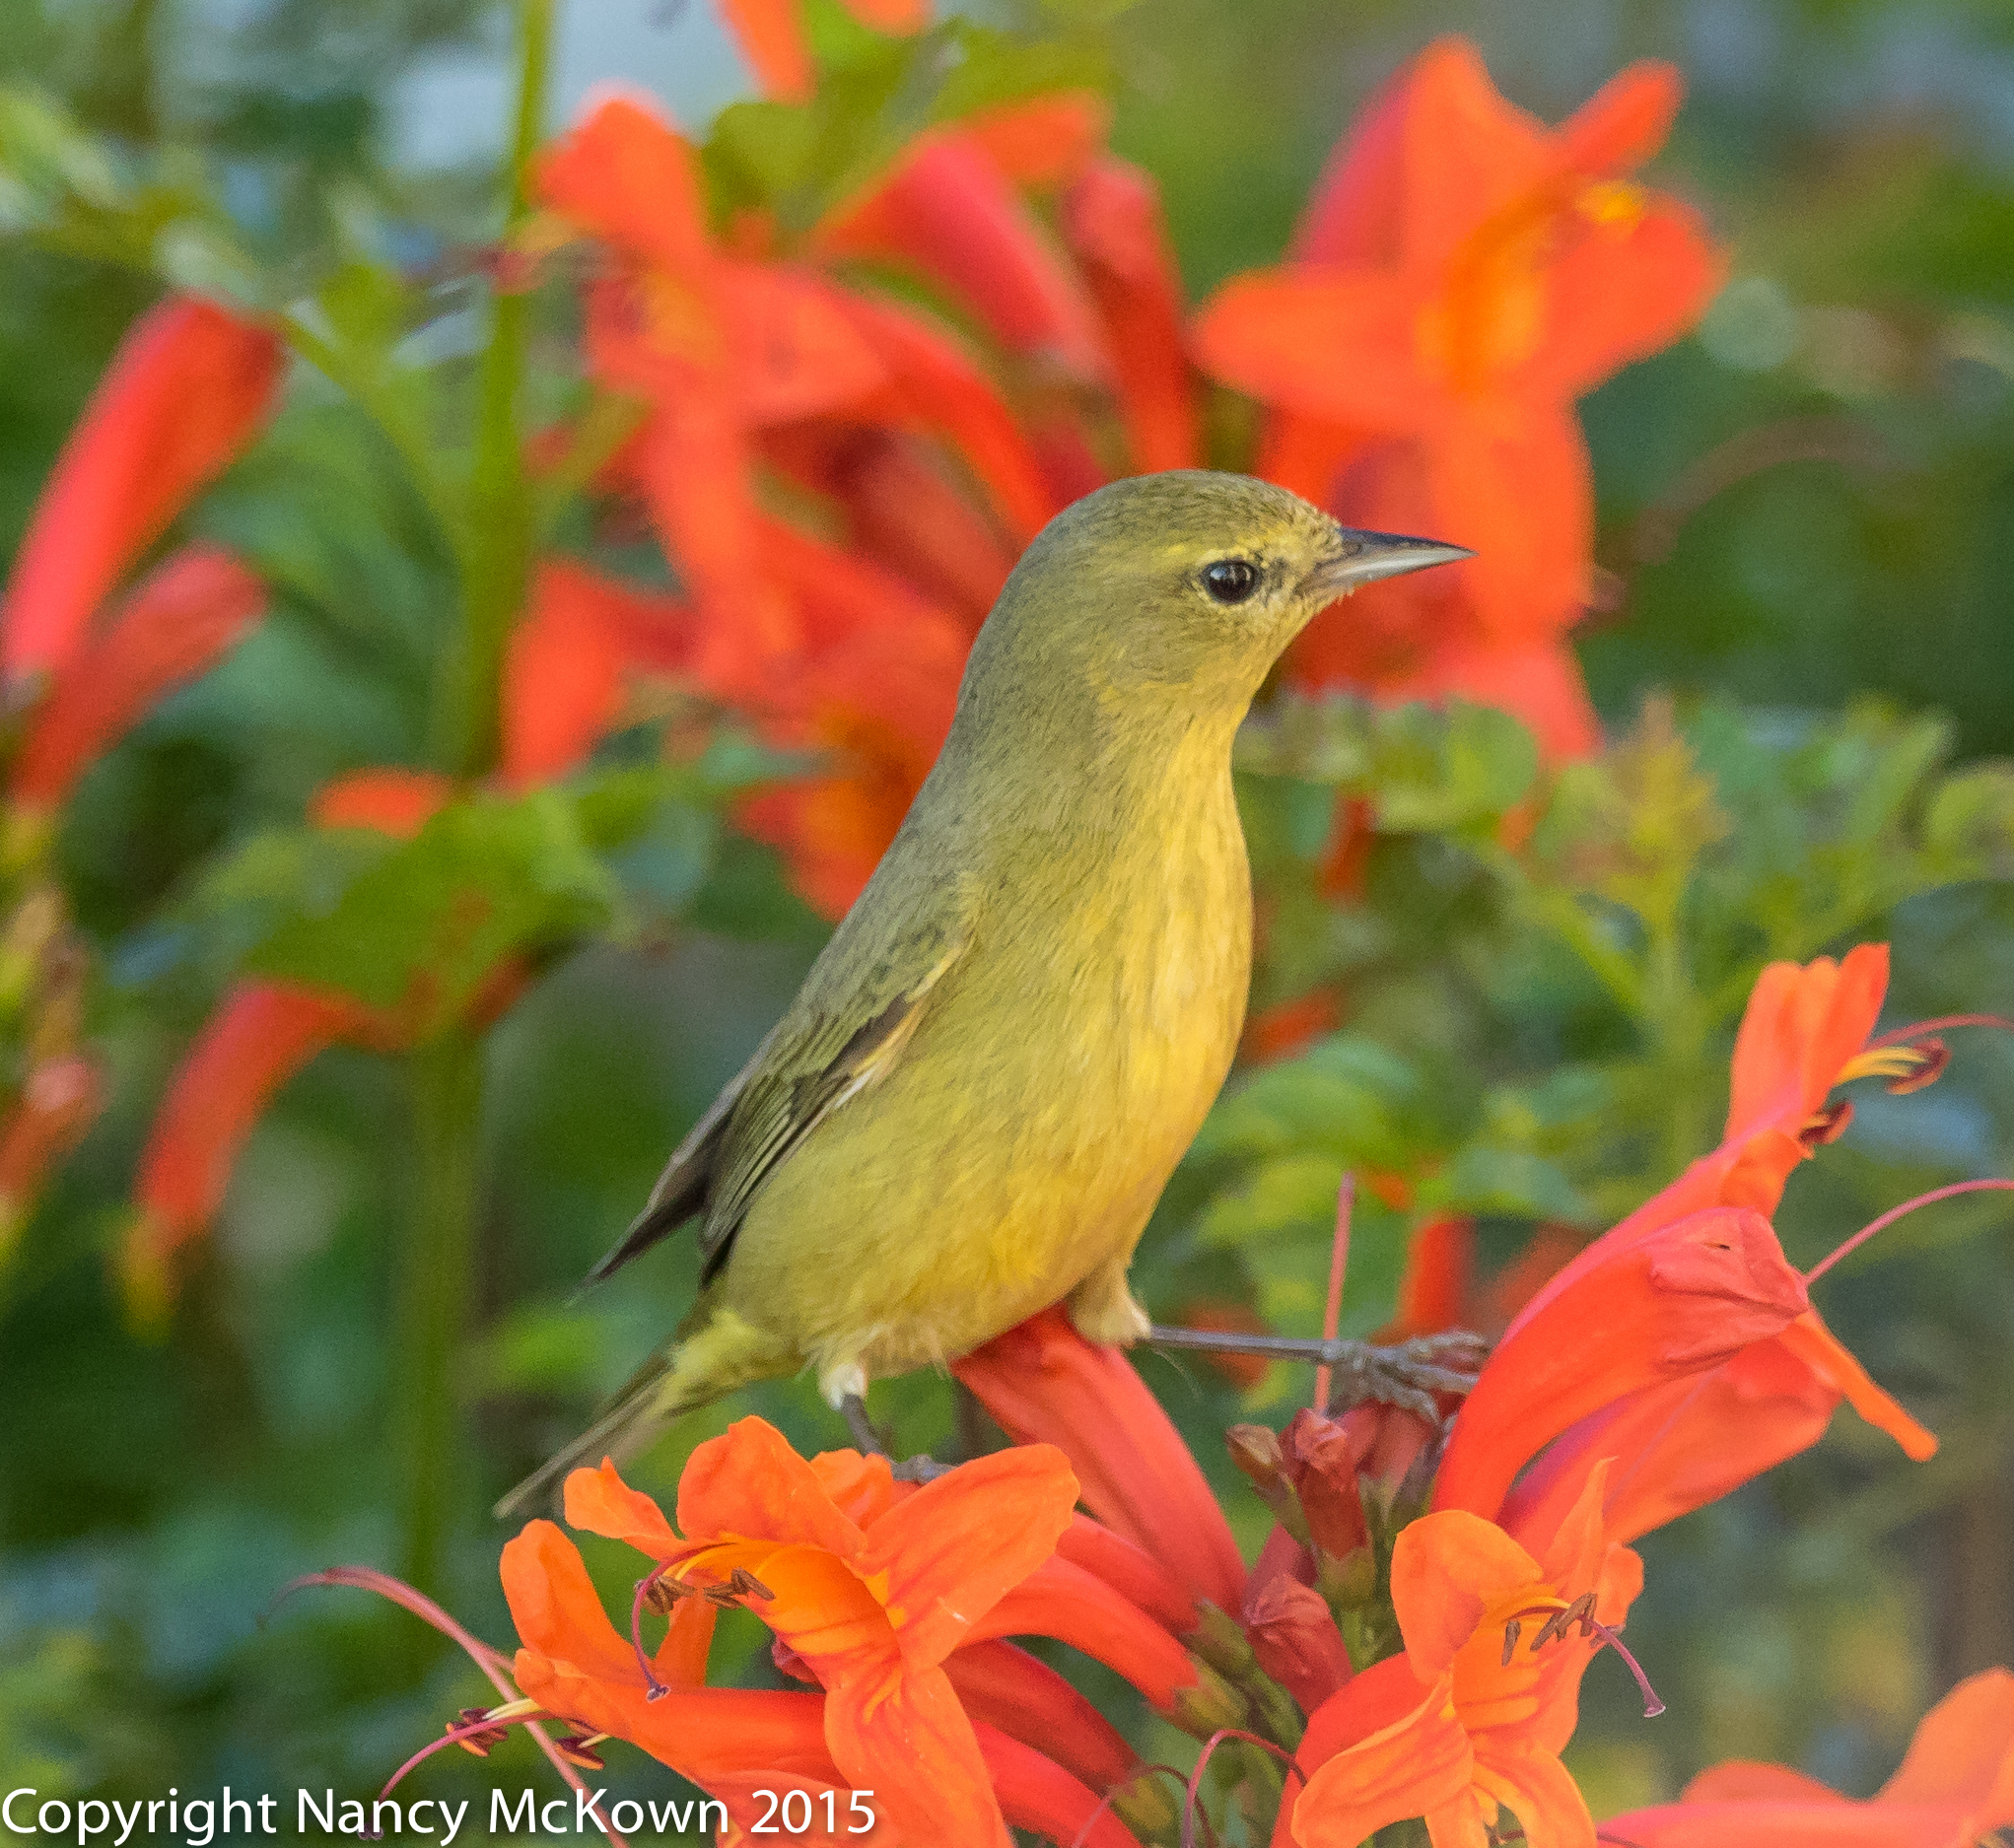
Orange Crowned Warbler ISO 1250; f/5; 1/800 Second
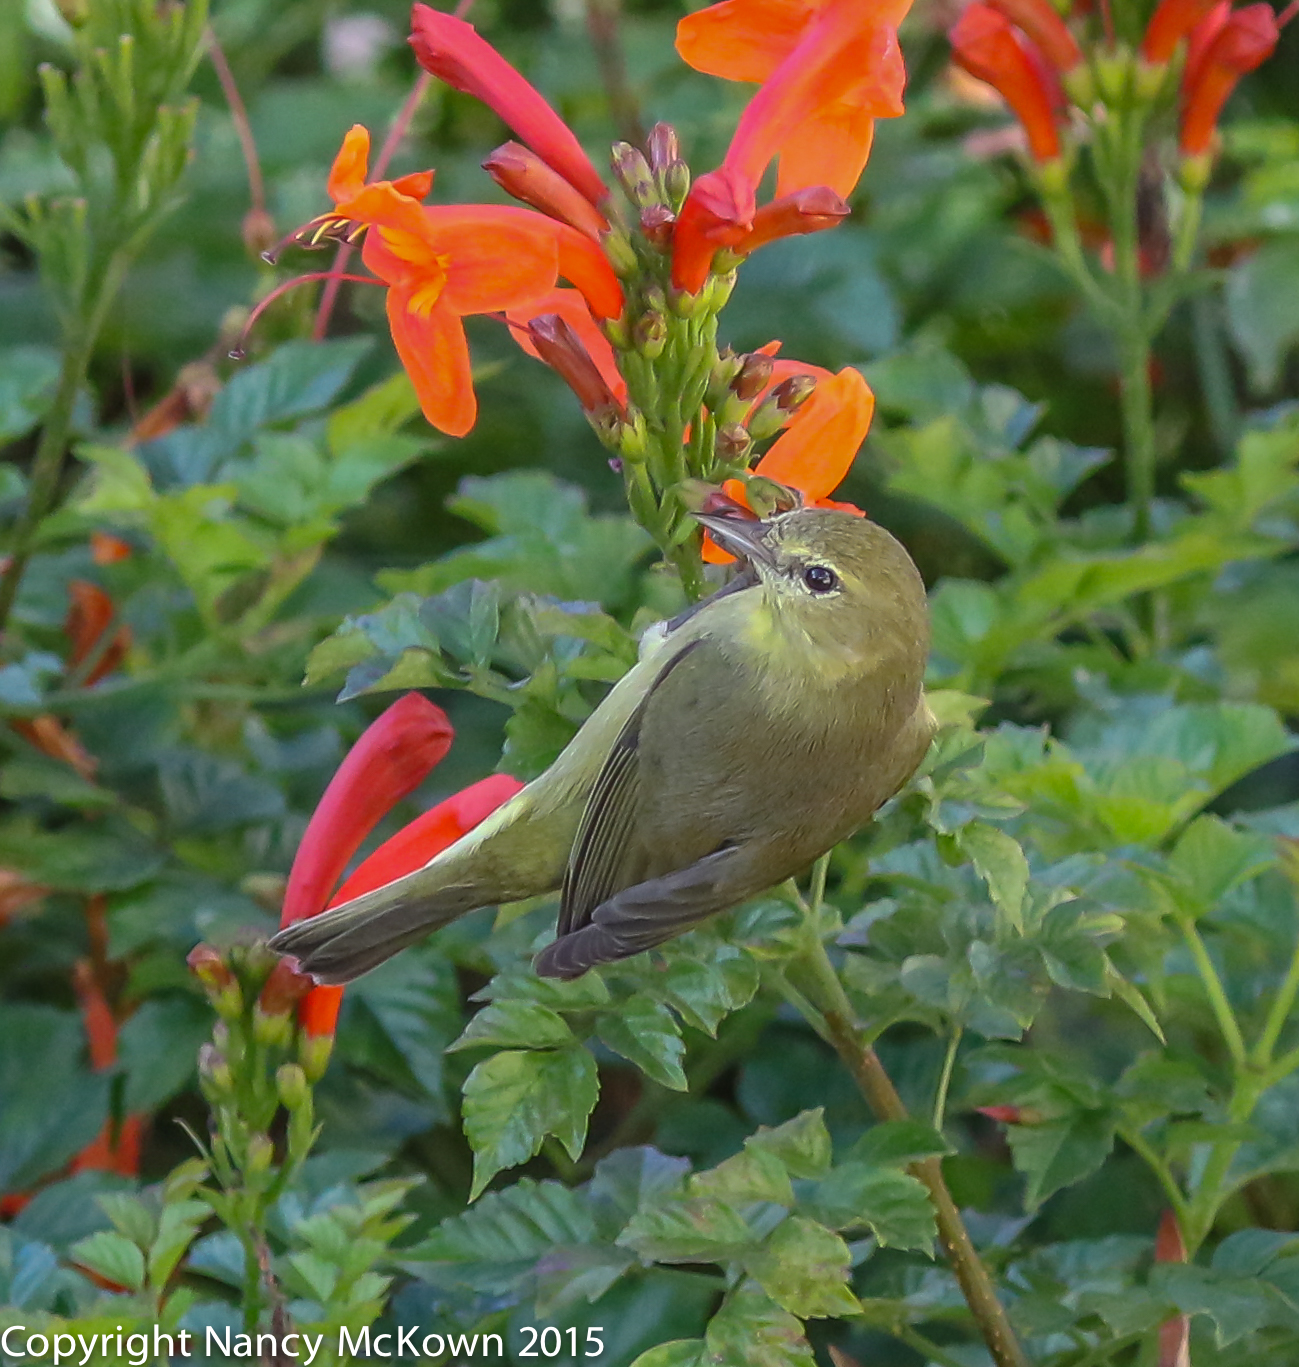
Every day in San Diego was either sunny or mostly sunny. (Quite a welcomed change for this Michigan photographer!) I hoped to find and photograph lots of warblers, but saw only two. A female Orange Crowned Warbler, who visited this orange tube shaped honeysuckle blossom bush multiple times every day in search of insects, and a Yellow Rumped Warbler, ground feeding in the grass near an abandoned building.
Having a warbler who is perfectly will to pose regularly visit a lovely crop of bright flowers with soft green backgrounds was like heaven. NOTE: I also hoped that the more colorful male would make an appearance, but he did not.
I set up the tripod and 7D Mark II with 300mm lens and 1.4 telephoto extender on the condo balcony and hoped to get as many closeup photos as this bird would allow. The warbler was so active that I lost track of time and found myself photographing her between 11:00-3:00 pm. Predictably, the colors in these images were over saturated and highly contrasty; mostly unusable without a major renovation in post processing.
The Impact of Bright Flowers
The splashes of dramatic color, along with the graceful curves and intricate detail of the flowers, all add a lively, energetic and emotional dynamic to the image. The cooler green colors of the leaves create a perfect background.
In Lightroom you can adjust all image colors with one stroke or be more targeted by individually adjusting three properties (Hue, Saturation,Luminance) of 8 different colors (Red, Orange, Yellow, Green, Aqua, Blue, Purple and Magenta). It’s fun to experiment, but I generally find myself preferring the colors and intensities as the camera processed them.
Orange Crowned Warbler ISO1600; f/6; 1/1000 Second
Watching and Waiting for Warblers to Photograph
I am anxiously awaiting the Spring arrival of the warblers in Michigan. So far, I have not seen any, not even the Yellow Rumped Warbler who often arrives in late March. Perhaps while I wait, we should plant more colorful (and deer proof) spring flowers.
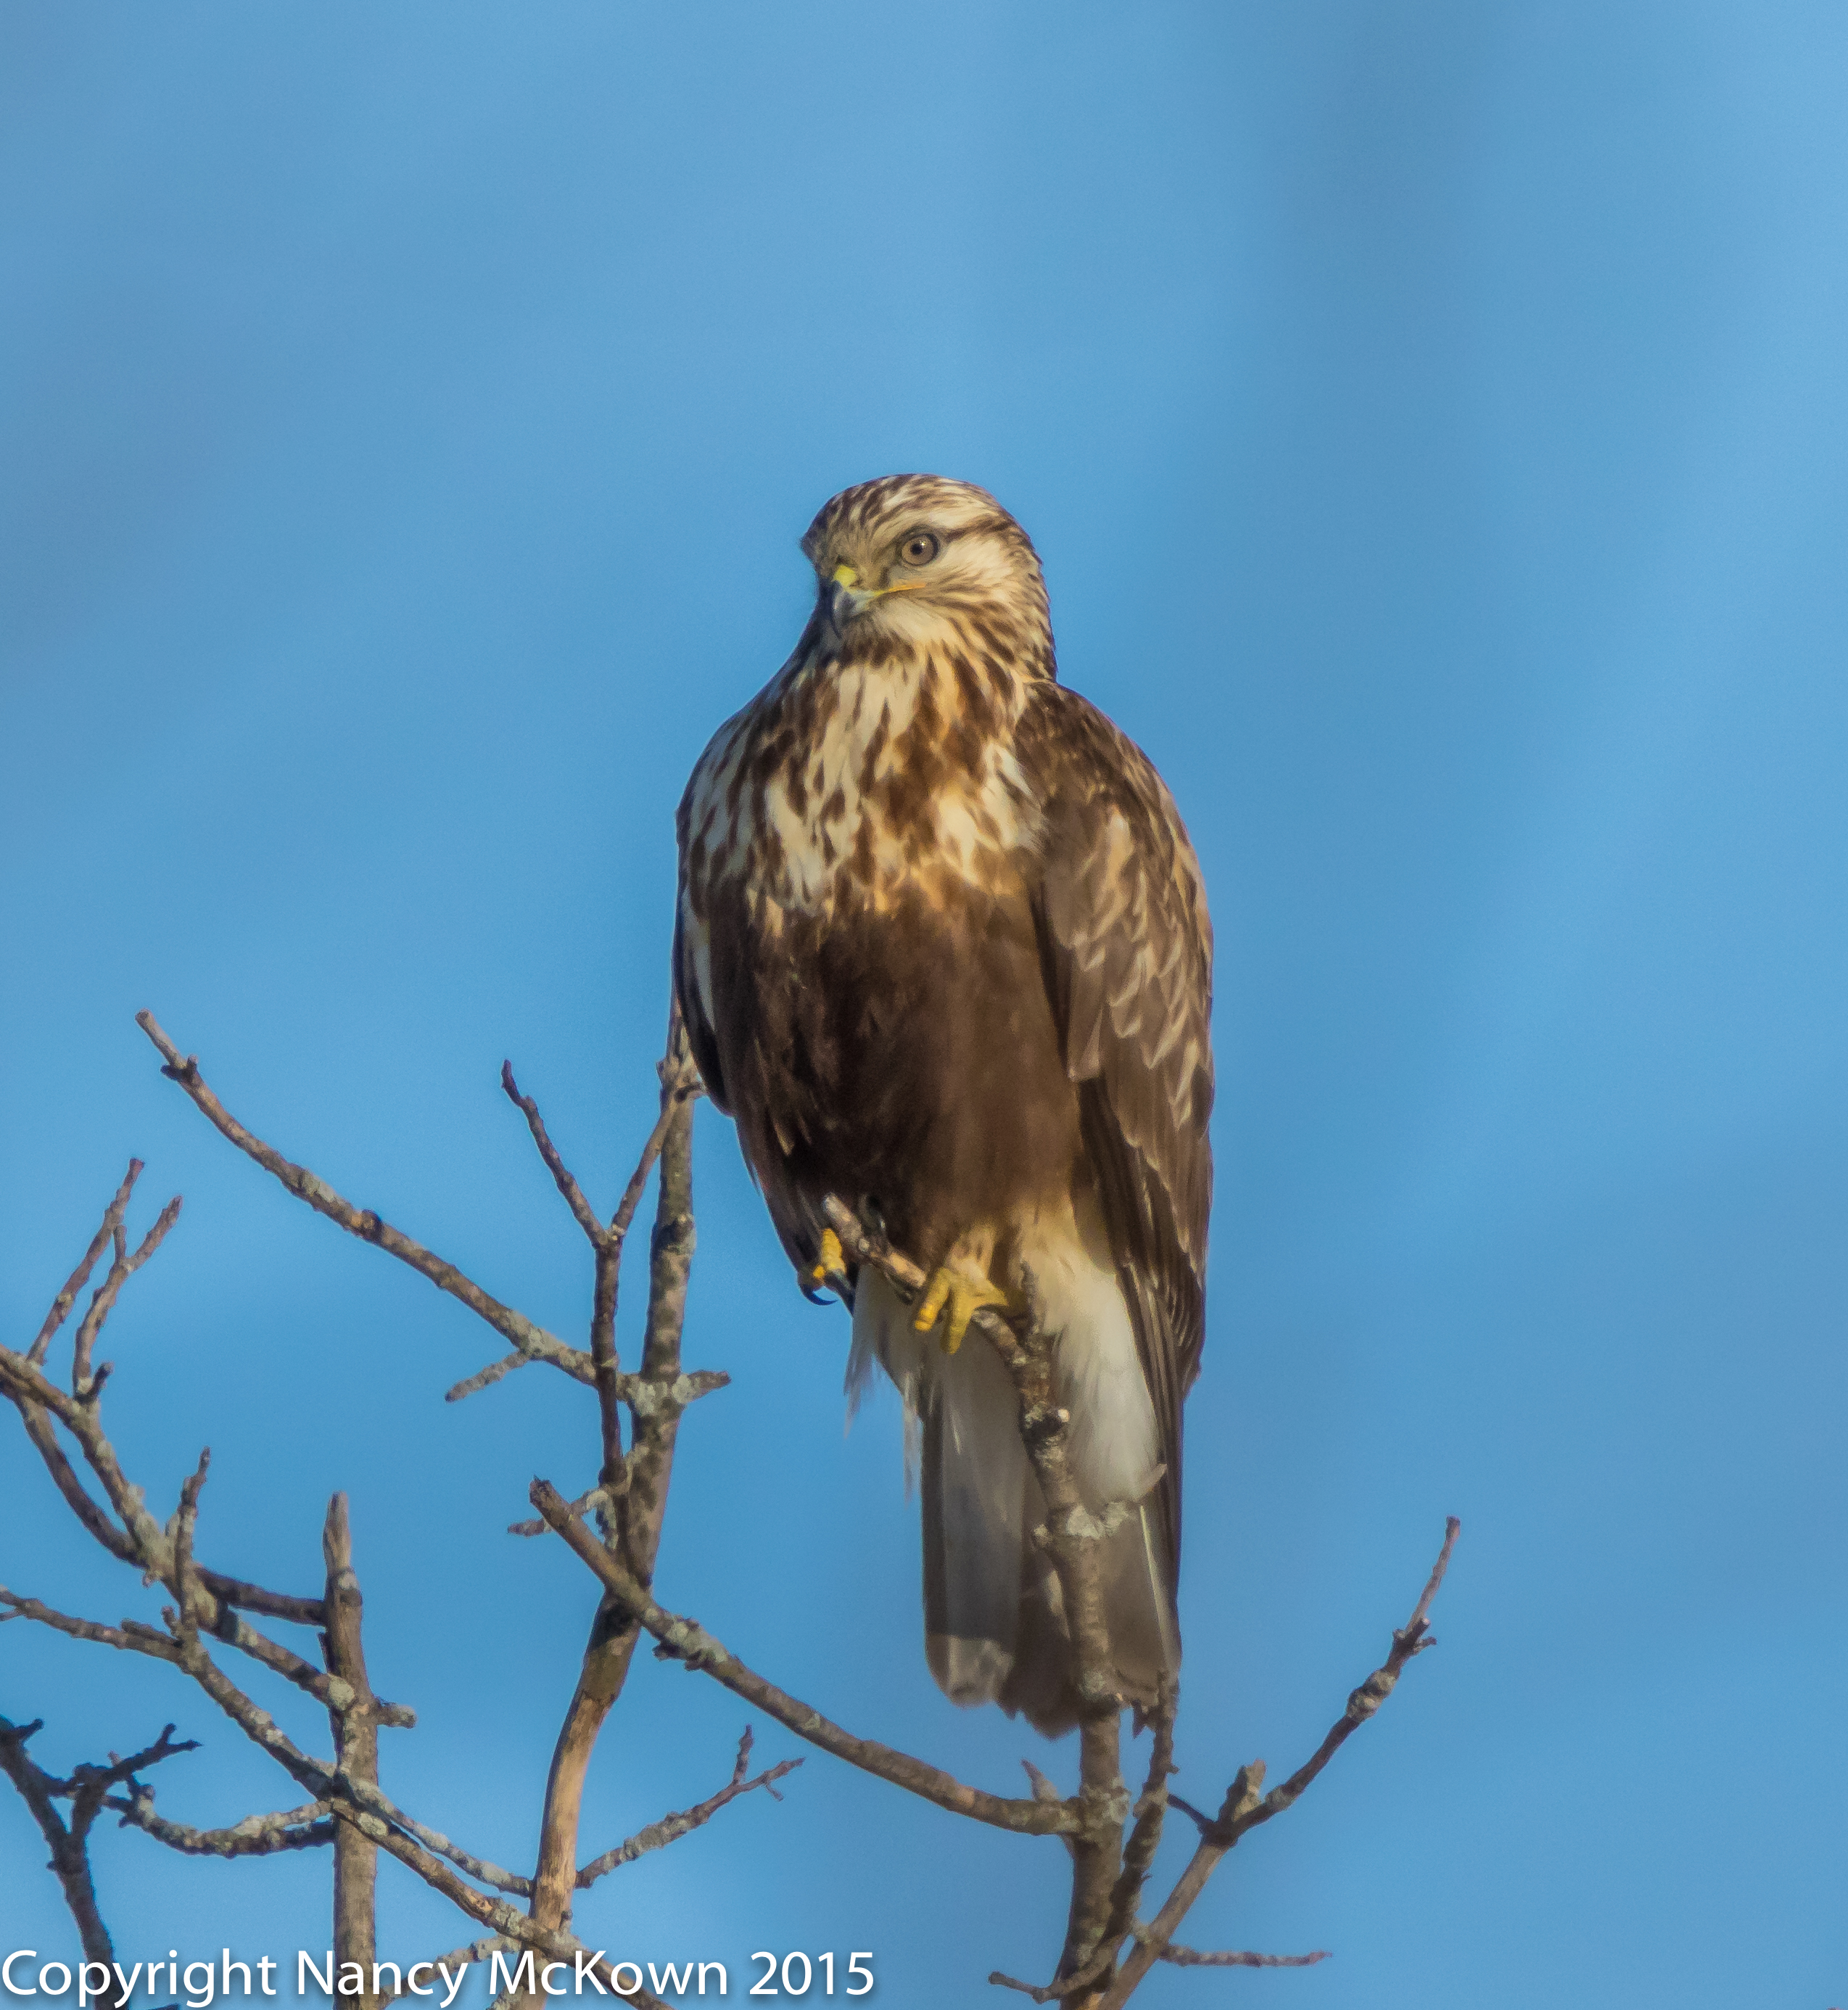
It has been my experience that Rough Legged Hawks are fiercely elusive. It’s very difficult for a photographer to position herself close enough to these birds for a decent shot. I usually find myself looking up through the viewfinder of my full sensor DSLR camera and seeing only far off tail feathers. Having the extra reach afforded when using a DSLR camera with a cropped sensor combined with a long lens and a telephoto extender can be quite an advantage when photographing this raptor.
7D Mark II, 500mm lens and 1.4 Extender
After stalking a pair of Rough Legged Hawks in the Allegan State Game Area and photographing them with the 7D Mark II camera, 500mm lens and 1.4x III telephoto extender, I find myself very pleased with the reach and the image sharpness. The magnification was great enough that very little zooming was needed in post processing.
To better understand how much more focal length is attainable, let’s do the math:
Crop sensor on 7D Mark II with 500mm f/4L lens puts the camera’s magnification at 800 mm (1.6 x 500).
Add to that 500mm lens a Canon 1.4x III telephoto extender and the magnification is now 1120mm (800 x 1.4).
For the first photo, taken in January, 2015, I had the 7D Mark II, 500 mm lens and 1.4 telephoto extender propped on the door window ledge as I drove. The Roughie would perch, take a look at me, then fly away, each time going farther and higher into the distance. I was lucky to photograph him looking back at me – right before he launched. (See photo below)
Rough Legged Hawk. ISO1250; f/9; 1/2000 Second
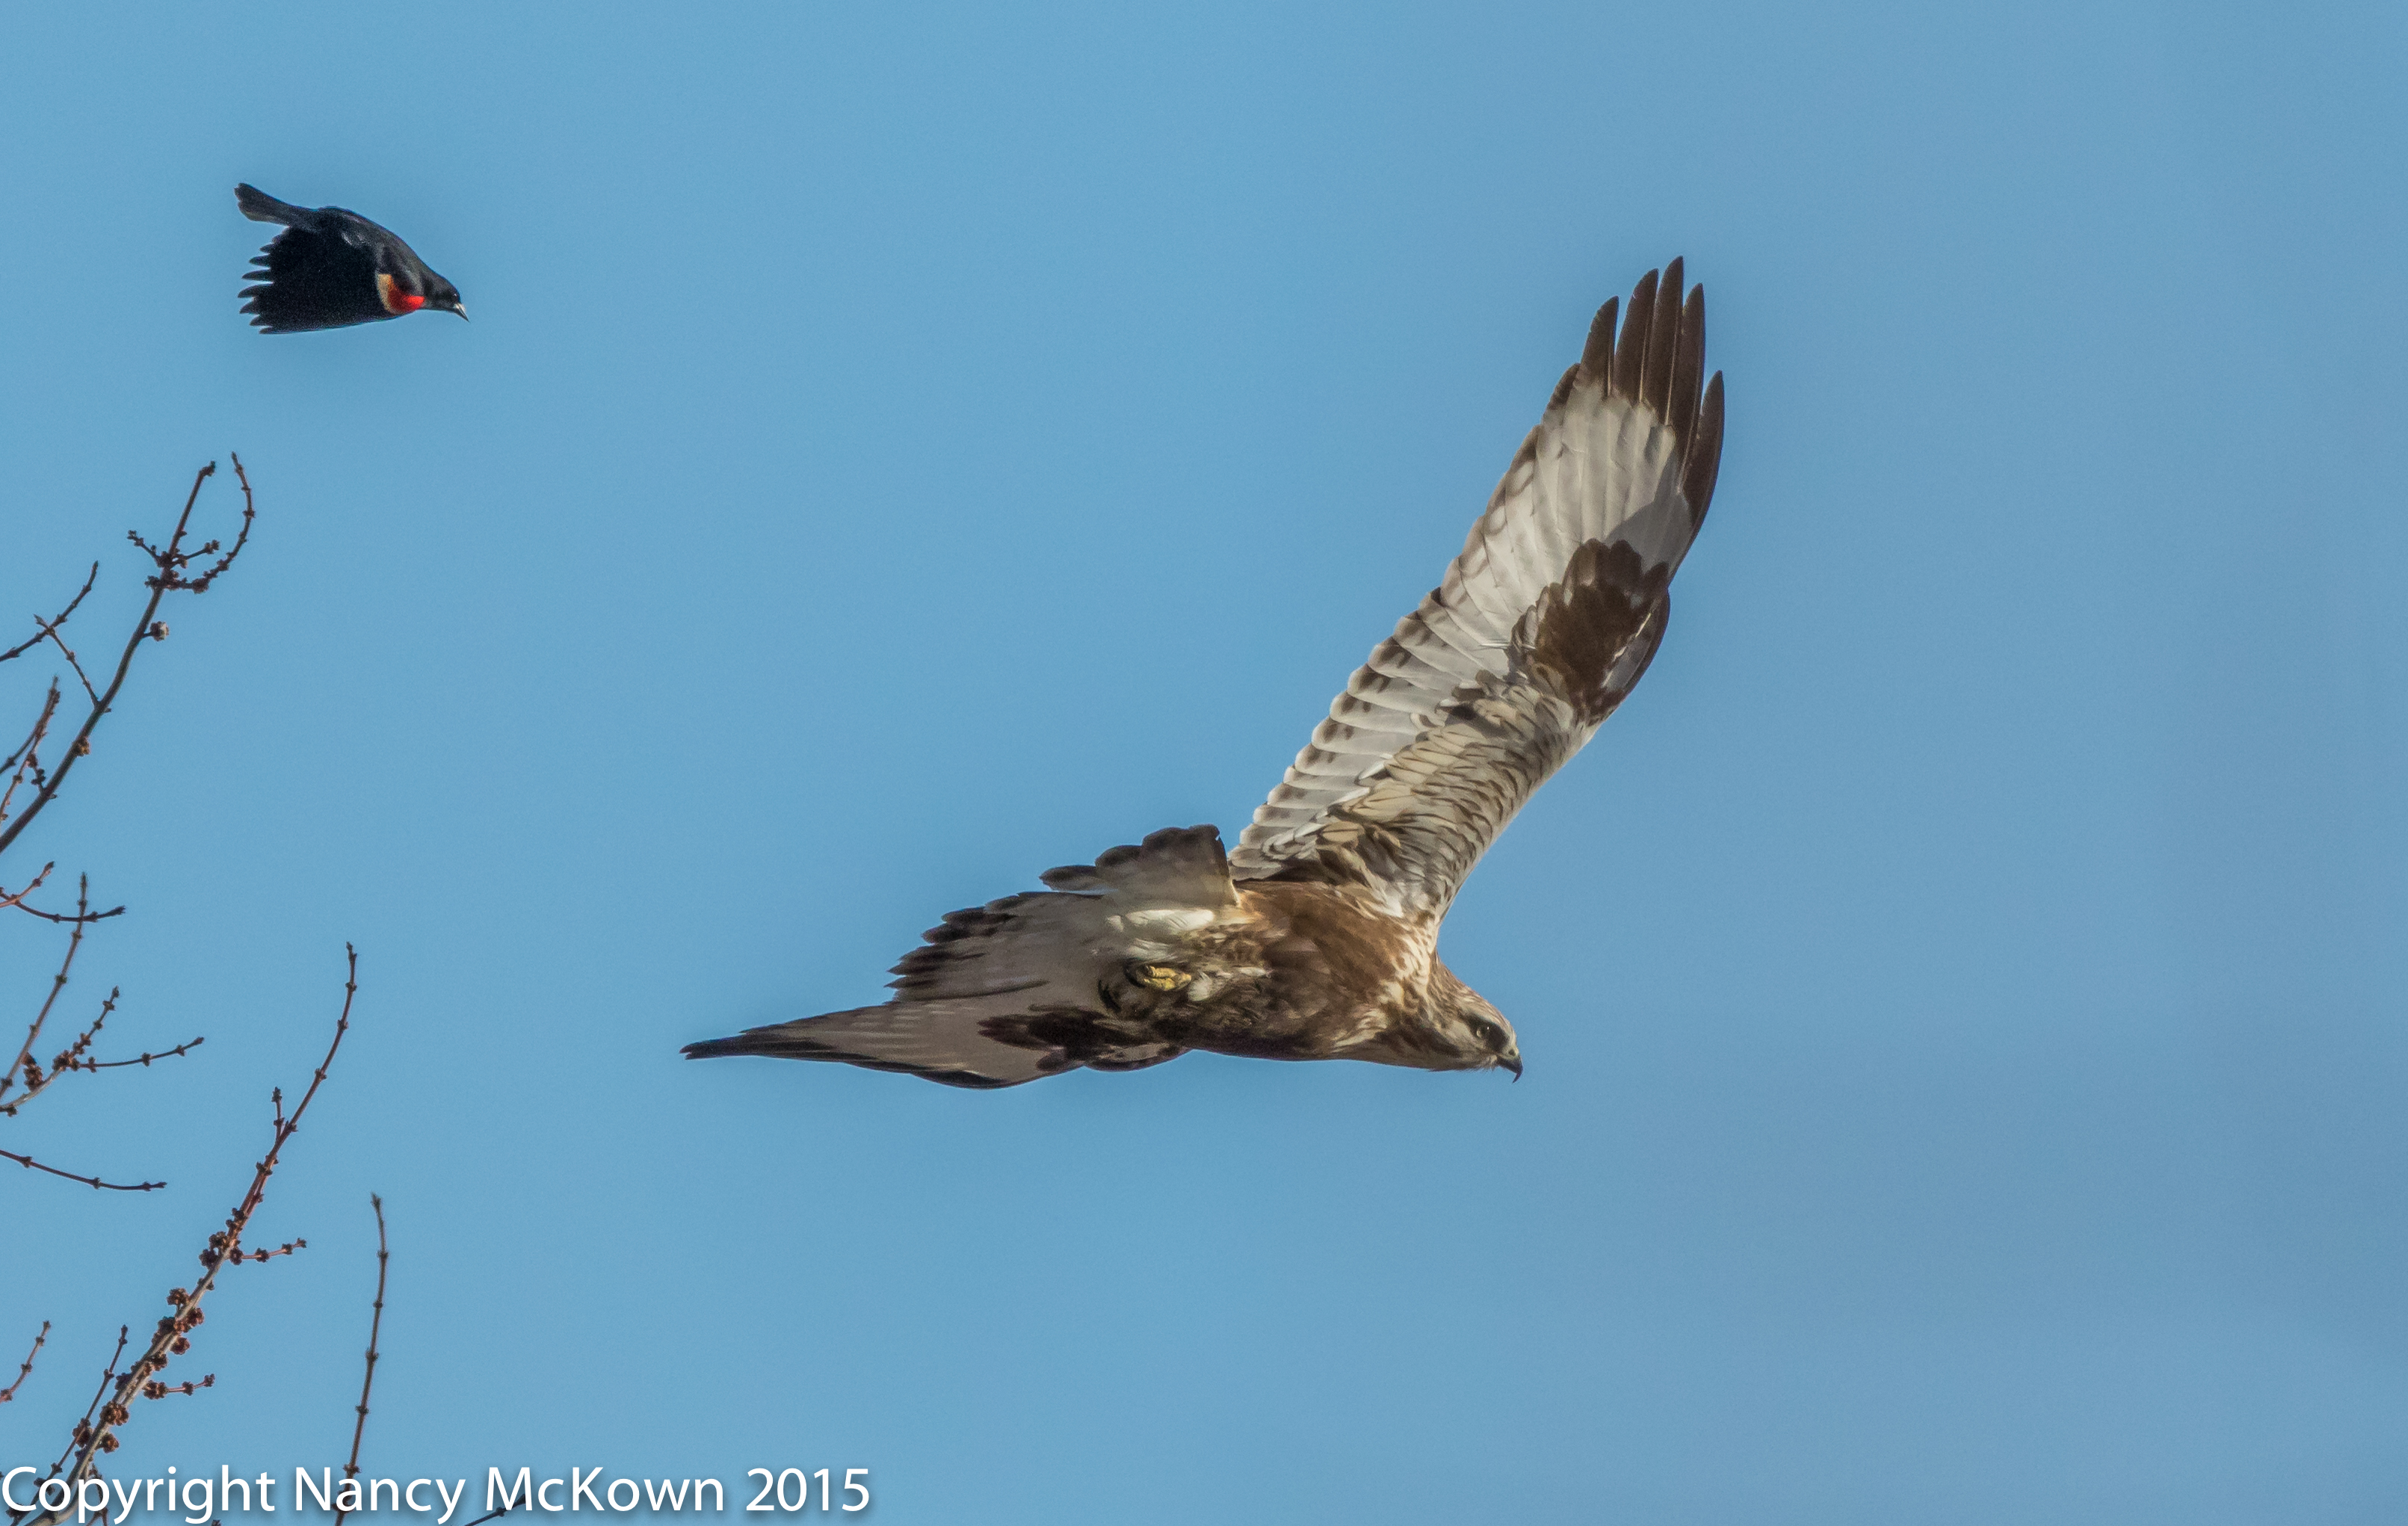
The photo below was also taken with the 7D Mark II, 500mm lens and 1.4 extender, but on a different day. The clarity is good and the focal length was perfect – not too close to crop the edges off those expansive wings while still including the Red Winged Blackbird pursuing the hawk.
Rough Legged Hawk being pursued by a red winged Black Bird. ISO1000; f/9.0; 1/3200 Second
7D Mark II, 500mm lens and 2.0 Extender
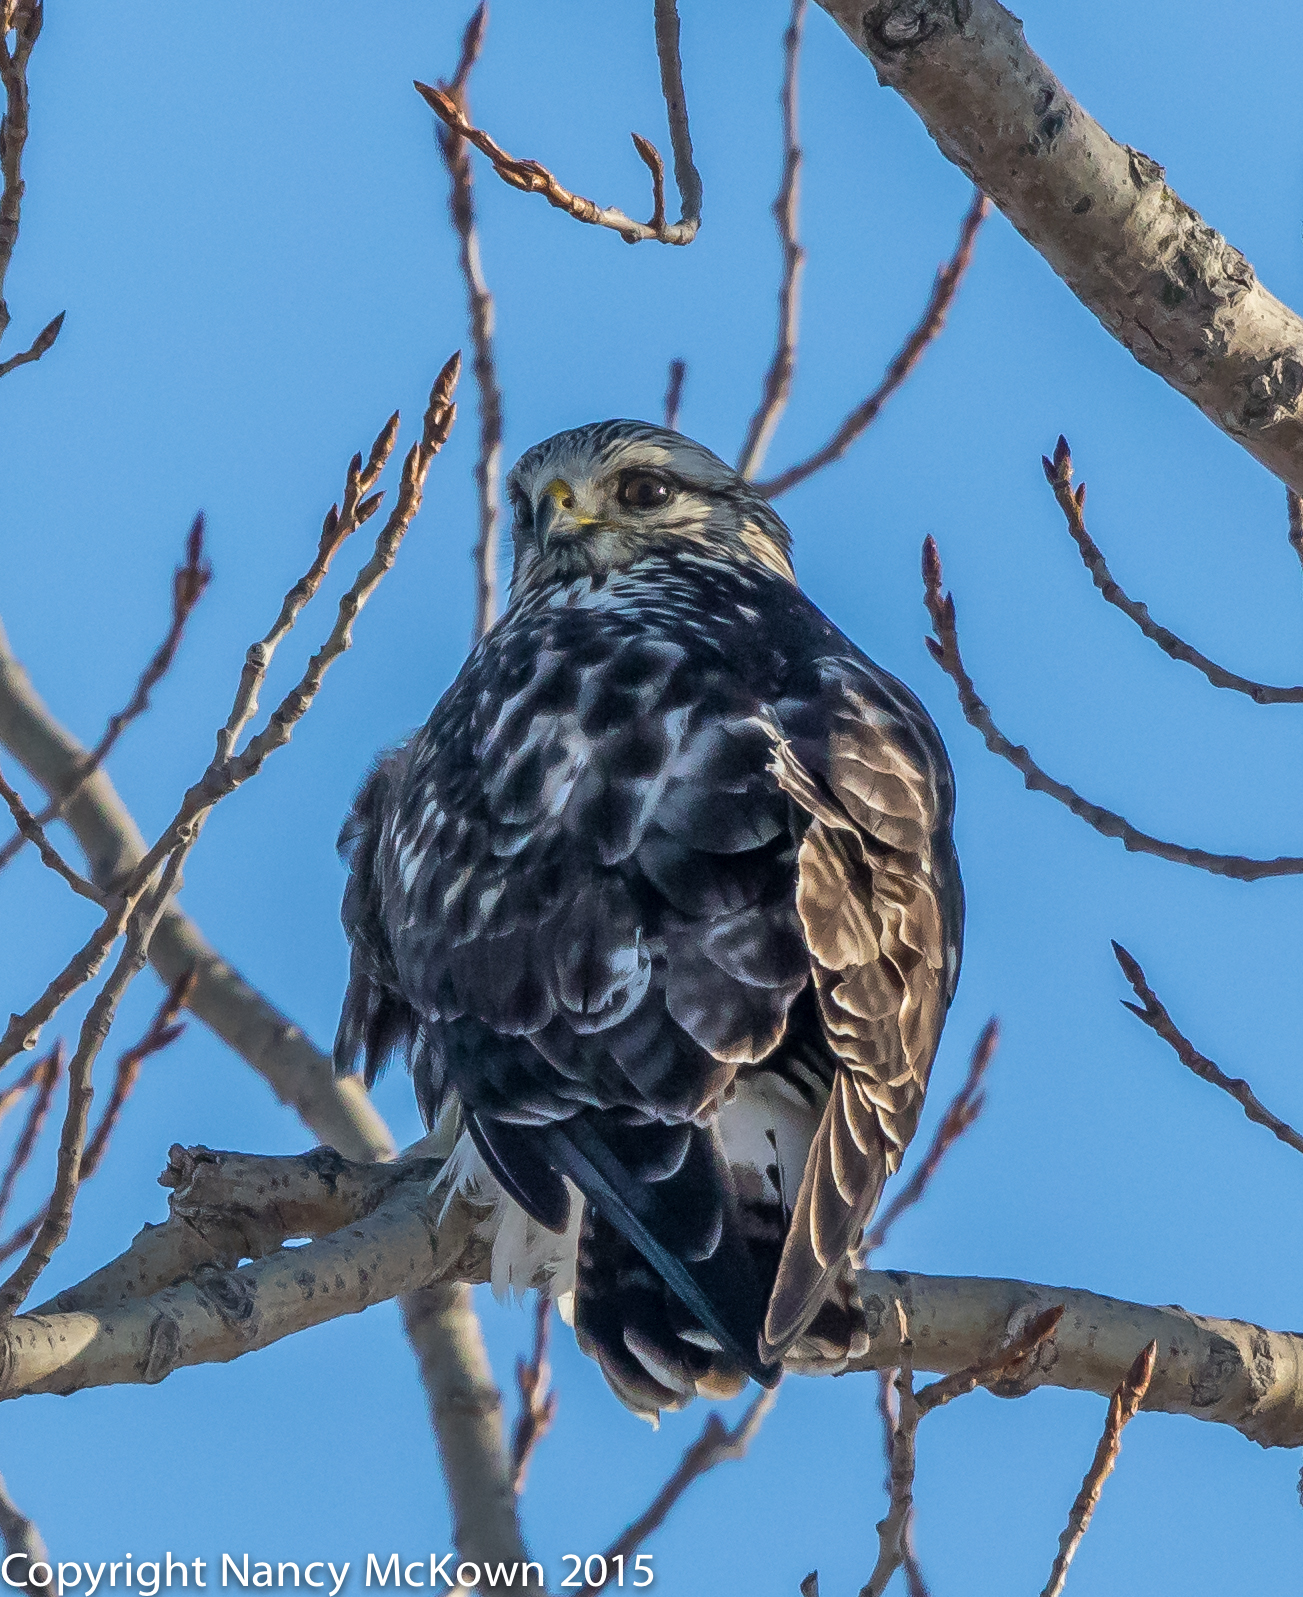
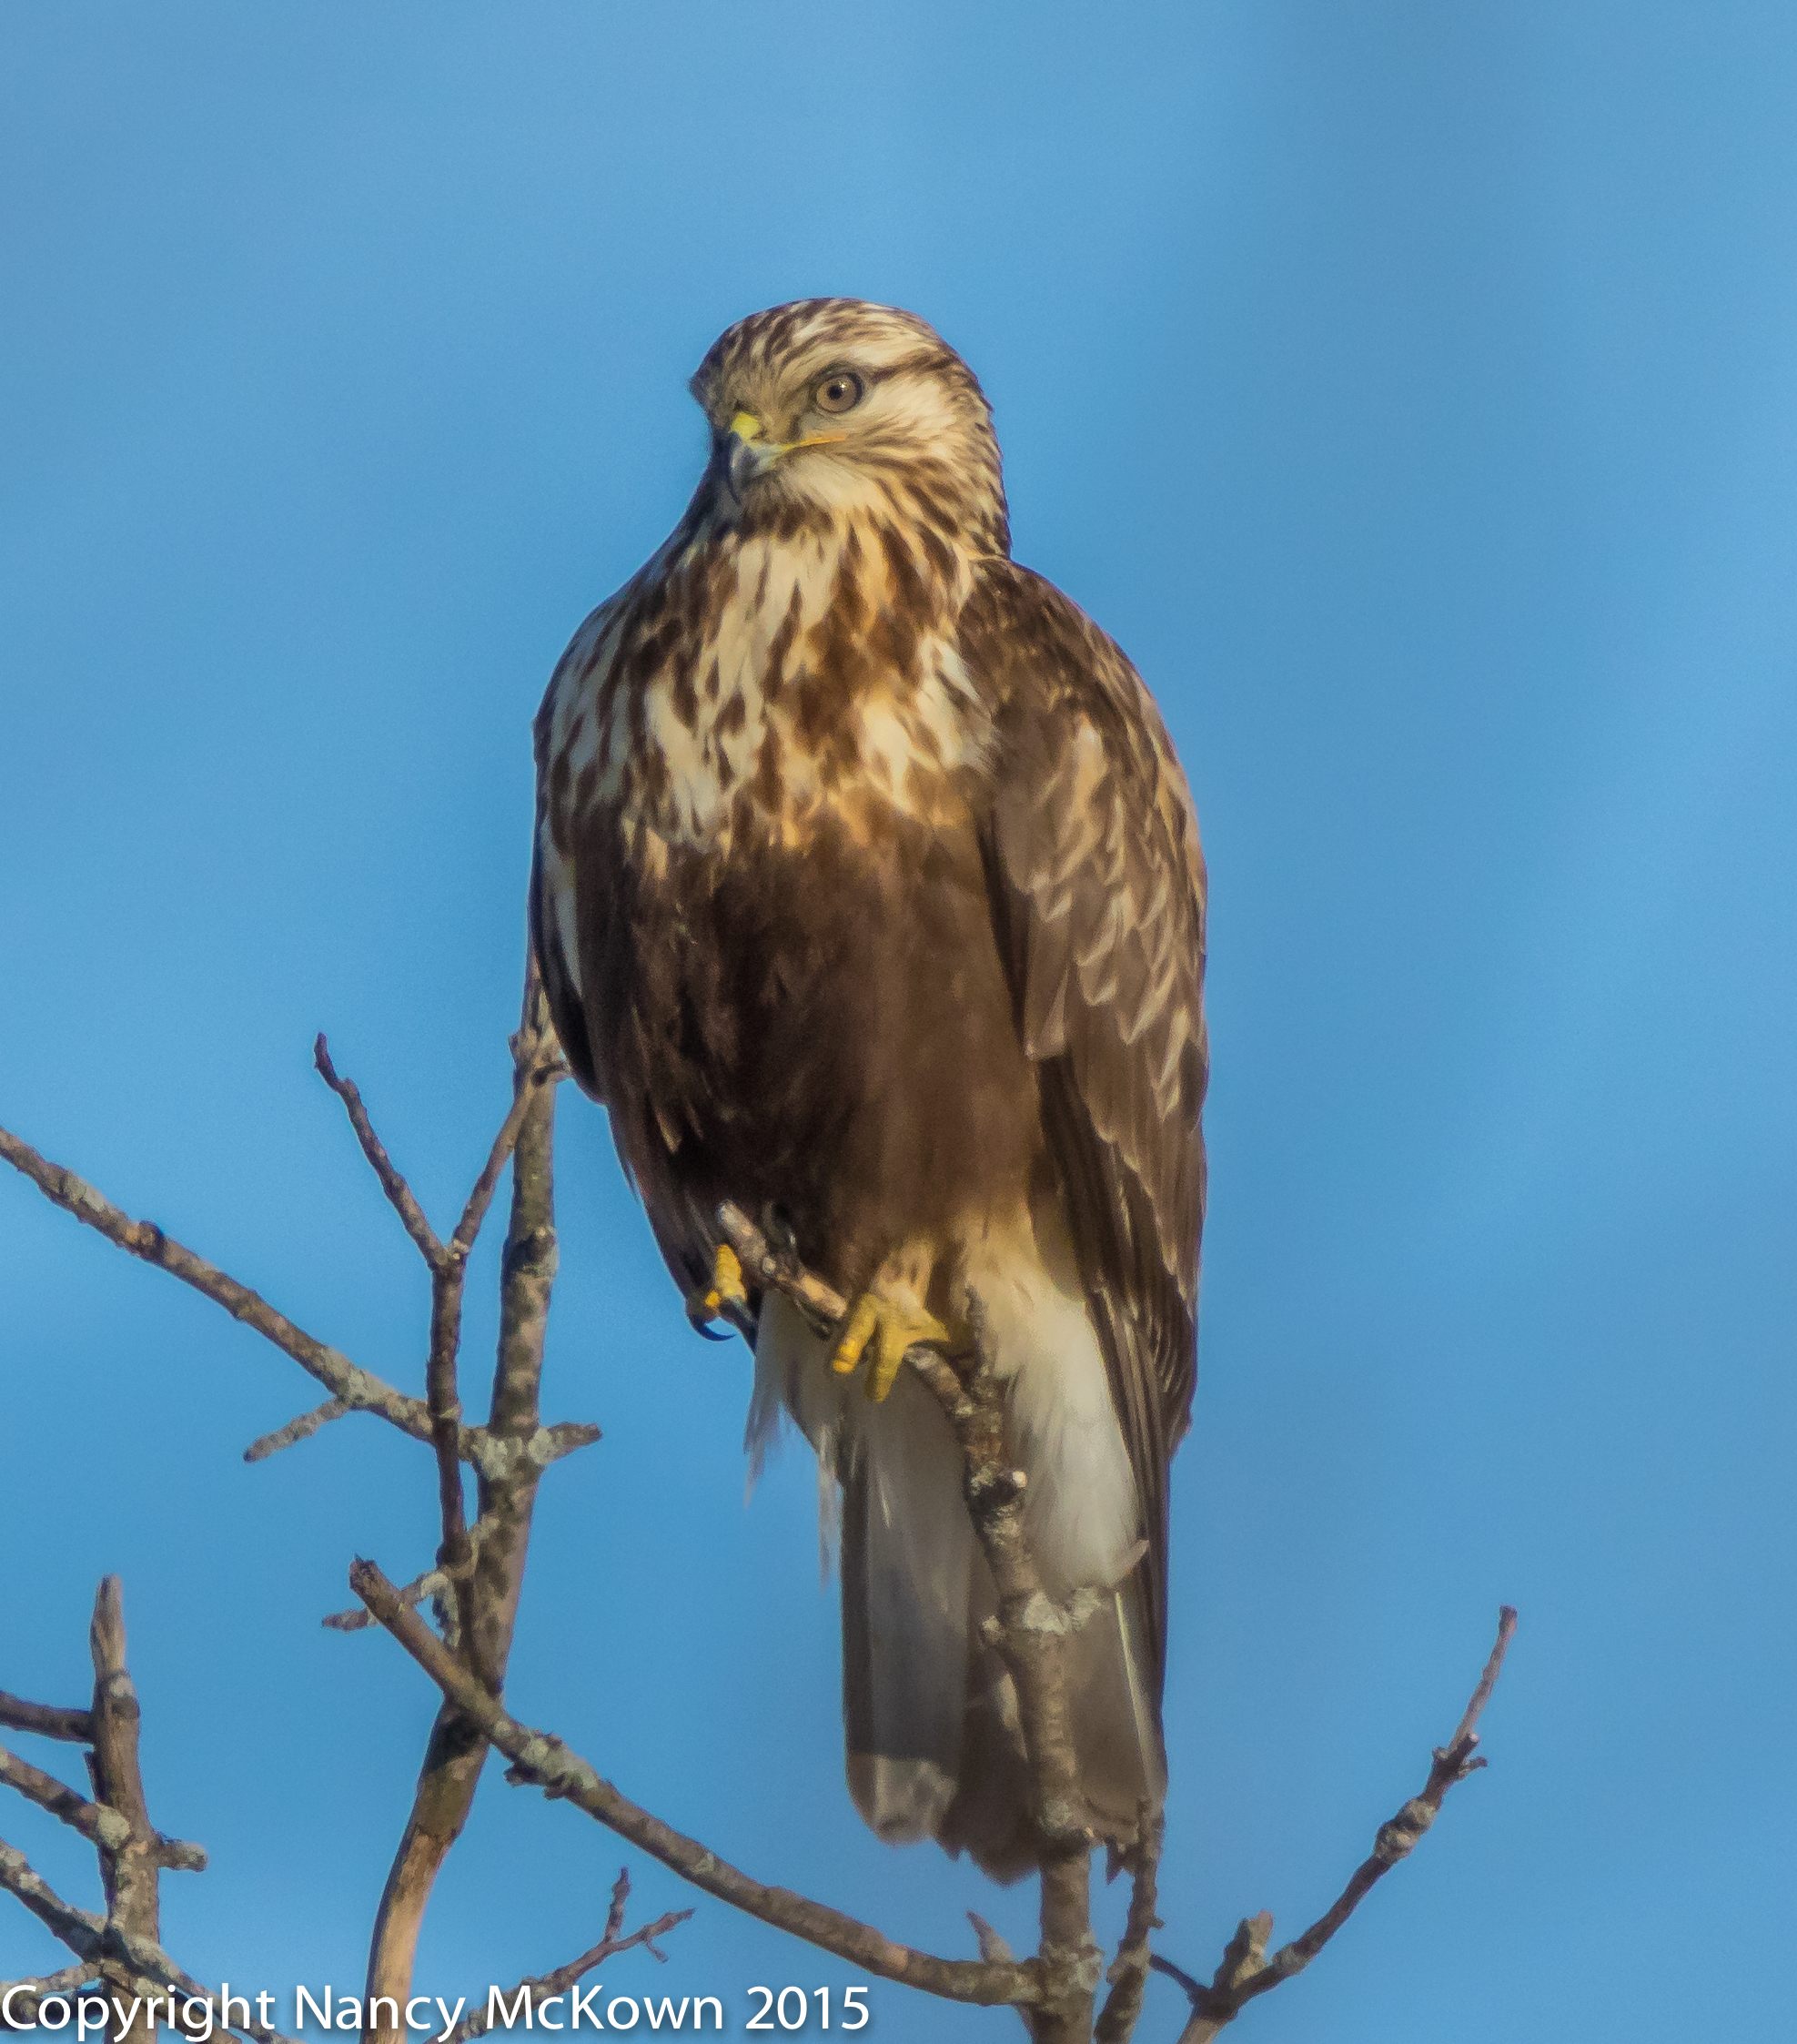
The third photo (shown below) was taken mid March, 2015 with my 7D Mark II, 500mm lens and a 2.0x III telephoto extender.
Crop sensor on 7D Mark II with 500mm lens puts the camera’s magnification at 800 mm (1.6 x 500).
Add to that 500 mm lens a Canon 2.0x III telephoto extender and the magnification is now 1600mm (800 x 2.0).
A 1600mm focal length opens a lot of doors for bird photographers. For this shot, I was sitting in the front passenger side of my car, with the lens resting on the car door, pointing up. The Roughie was quite a distance away, perched at the top of a tree. It wasn’t a straight shot, and I worked to dodge excessive branch clutter between the bird’s perch and my camera lens. Eventually, I had no choice but to quickly and quietly open my car door, stand up (in the icy mud; yuck) and then rest the weight of the lens on the top of the door. I slid the lens back and forth on the door until I found a sightline where the branch clutter did not throw off my auto focus. He watched me for 3 minutes or so – then bolted.
Rough Legged Hawk. Focus is very soft with 2x III extender. ISO 1000; f/9; 1/3200 Second
Impact of 2x Telephoto Extender
In the photo above, the focus seems rather soft compared with the first two photos, especially since the light was very good and he was close enough that very little post processing zooming was needed. In addition, the shutter speed was set very high to offset lens movement. I loved having the extra reach afforded by the 2x telephoto extender on the 7D Mark II DSLR camera, but am not happy with the sharpness it delivers.
Disadvantages of Using Telephoto Extenders
High end telephoto extenders attached to quality lenses are reputed to have excellent optical quality; however:
Telephoto extenders do reduce the image sharpness of a any lens, the 2.x more so than the 1.4 x.
The auto focus on the lens will be noticeably slower when an extender is attached.
In exchange for higher magnification, you sacrifice light: 1 aperture stop for the 1.4x extender and 2 stops for the 2.x extender
Any movement is greatly magnified with long lenses- even more so with extenders attached. Image stabilization does help compensate, but not completely. Tripods are almost a necessity.
Impact of Camera Sensor Size
Theoretically, when comparing Canon’s modern, high quality DSLR camera sensors of different sizes, and using similar lighting and distance parameters and similar megapixel counts, the full frame sensor (because it is twice the size of the cropped sensor and brings in more light) will likely deliver a broader dynamic range and better quality low light resolution (less noise) than the cropped sensor will.
I believe the difference in quality between Canon’s high end full sized sensor and cropped sensor to be pretty small when the subject is well within range of the telephoto lens.
Distance Matters
If the subject is too far away, to the point where you can not mostly fill the frame with the bird and its surroundings and you are forced to zoom in dramatically during post processing, image detail and quality will suffer. Digital images consists of pixels/dots. You enlarge the dots when you zoom in because you are zooming in to a relatively small component of the photo. The more you zoom, the more image degradation. A larger sensor – more pixels and dots -will probably have less image degradation, but not enough to save the photo.
Tack Sharp Images
Experimenting with magnification was fun and a good reminder that, for tack sharp images, there’s no substitution for getting as close as possible to your subject – so close that you don’t need to attach a telephoto extender to your lens nor zoom in during post processing.
Visit this link for more information on the disadvantages of zooming in on a photo.
For more information about photographing Rough Legged Hawks in flight, visit this link.