A Must for Beautiful Bird Photography
Last week, I ordered a Canon EF 1.4x Extender III for my 300mm lens. The 1.4x increases the focal length of a lens by a factor of 1.4x, thereby increasing the focal length from a 300mm to a 420mm on my camera. I ordered it because there have been way too many times that my subjects are just too far away to capture.
One major rule in photography is to get as close as you can. Most birds are not going to cooperate. It’s true that continually showing up and being quiet and persistent goes a long way towards getting a good shot, but you will have more luck seeing the birds in the first place if you are farther away. That means a longer lens or extenders that allow you to get as close as possible to distant and challenging subjects.
Photographing the Great Blue Heron
I was lucky. Around 7:30 am, I saw a Blue Heron fishing near a pond. I parked the car as close as I dared, powered down my window and stared. So far, so good, he noticed my arrival, but wasn’t spooked. I thought the ruckus of me opening my car door and getting out with my camera would scare him away, so I set my camera, with 300mm lens and 1.4 extender, to rest on the unopened car door.
Having a resting area in your car upon which to lean the camera helps a lot with camera shake and tired arms and hands, especially with long lenses. Before I was ready to take photographs, I had a lot more fiddling to do with the focus, shutter speed, ISO, etc, but there simply was not enough time because I saw the heron dunk his head under water. This critical action would be finished in seconds, and I would miss the shots if I didn’t start pressing that shutter button right then.
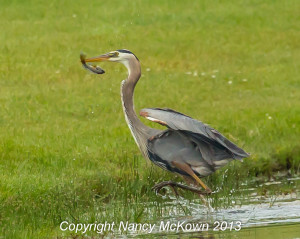
For the first photo, before I was “ready”, the camera was set at shutter speed preferred, at 1/1600 second. That speed simply wasn’t fast enough for the first few critical shots of the Blue Heron dunking his head into the water and pulling up a blue gill. The first 6-8 shots were interesting, but blurred due to the intense action and the relatively slow shutter speed. Good focus was not achieved until I cranked it up to 1/2500/second. I was able to capture a blue gill trapped in the bird’s beak while the bird was making his way out of the water and onto the grass.
Try Different Approaches When Photographing Birds
Success breeds success. Right? I nailed the Blue Heron catching a Blue Gill and I wanted more. So I went out again to shoot the same bird, but differently. Maybe get a little closer- try a different view at the same location, go out a little earlier – try different aperture and/or shutter setting – change how the camera locks focus. Do I dare try to get out of the car?
The Blue Heron is very shy. Rarely will this bird let you successfully approach him, let alone set up photo equipment. My kayaking friends tell me that they have had success getting pretty close by gliding toward the bird on a quiet pond. (Look for a future post about shooting birds in a boat.) But Herons seem less wary of a parked car, radio off, very little movement inside.
Is there a clamp that works to hold your camera and lens steady- and allowing you to pivot the camera while shooting from the inside of a car? Of course there is. $36 bucks. It’s only a clamp, you still have to attach the head unit from your tripod.
Most mornings, I arrived at the pond really early, but the heron did not. It was almost 7:00 am by the time he arrived. Not early early enough for the optimal light affects, but better than the 7:40 am time he arrived at my first shooting.
NOTE: The quality of spring/summer light changes quickly and drastically as the sun rises. With the sun low on the horizon, you can expect more subtle details, lush landscape, more luminous golds, and more drama!
Faster Shutter Speed for Clearer Photographs of the Blue Heron Fishing
The Heron landed at the far end of the pond, so I started shooting, hoping he would walk toward me and fill more of my viewfinder. The fishing heron can stand motionless for long periods of time and then strike lightning fast – so I was determined to shoot most of the time at 1/2500 second (as opposed to 1/1600 second the last shooting) capture the action – aperture at 4.0 The ISO shot up to 1000-2000 with these settings – too high for my taste for a subject so far away, but what can you do – you have to trade the noise to stop action.
(NOTE: This turned out to be too slow for the head dunks.. 1/2500 of a second stopped the action of the splashing water, but not the heron’s head. Next time, I’m cranking the shutter speed even higher).
Coming in Closer for a Better Photograph
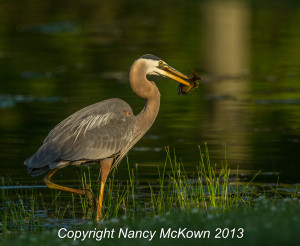
The Heron mostly stalked, slowly and methodically, looking for fish in the pond. I was excited because he was stalking closer to me. I played with the shutter speed and kept shooting, dialing it up and down – down as low as 1/800 second – to try to change the ISO, quality of bokeh, etc. Remember, you want to experiment with the camera settings, otherwise your photos all look the same.
Patience was rewarded with a photograph of a skewered fish on the Heron’s beak.
How to Eat Fish Live and Whole – Lessons from the Great Blue Heron
My husband said that the Blue Heron has to position the blue gill in his mouth so that the fish is head down before swallowing. The spiny dorsal fin would rip up the Heron’s throat if he tried to swallow tail first. Positioning the flopping fish with his beak and tongue took a few minutes, but soon enough the fish – head first, whole and alive,was swallowed while I watched the progress of the neck bump as the fish slid down the inside of the Heron’s long neck.
Changing Camera Settings Quickly While Photographing the Blue Heron
What did I learn? I need practice on changing shutter speed on the fly. My fingers know what to do, but I’m so excited about seeing the bird thru the lens that I don’t think about technical recalculations. Also, maybe the blurriness is a consequence of me heavily depressing the shutter – a remote shutter setup might be helpful here to avoid camera shake – although it takes the finger away from the camera and consequently changing the settings on the fly is not so convenient.
Zooming in to Photograph Wild Birds
It’s not just shutter speed that makes the better photo, but the distance between the bird and the camera. For tack sharp images, there’s no substitution for getting as close as possible to your subject. The farther away your subject, the more you have to zoom (during post processing) in order to see the shot clearly. The more you zoom, the more diluted the photo.
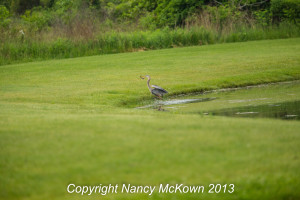
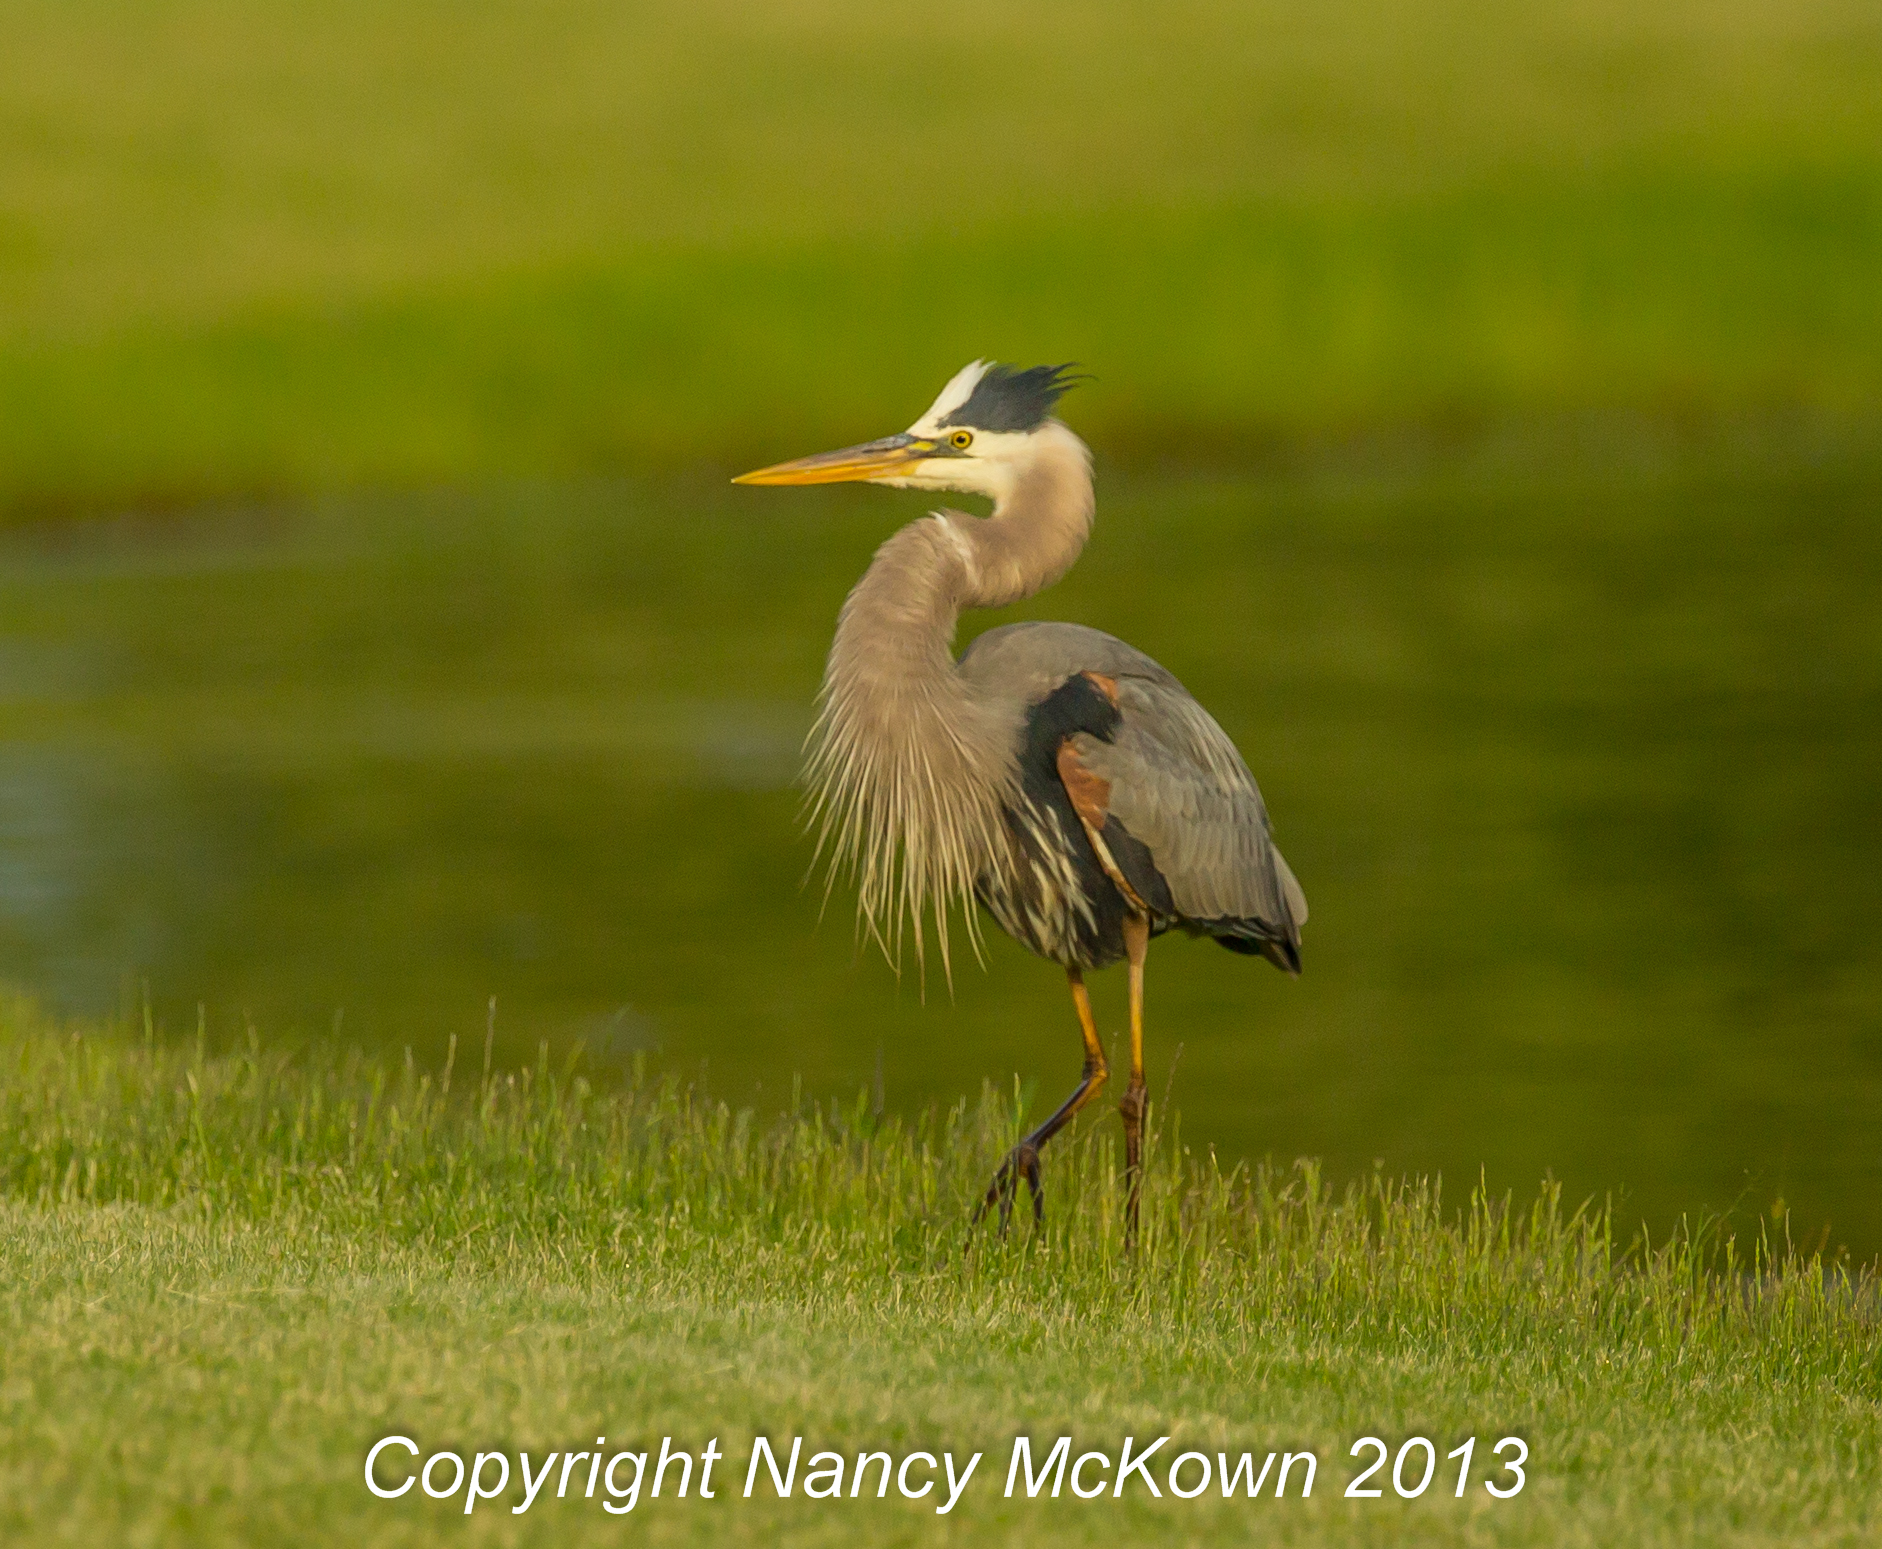
Digital images are made out of pixels/dots. You enlarge the dots when you zoom in because you are zooming in to a relatively small component of the photo. I’ve included the pre-zoomed photos on the bottom of this post so you can see how much farther away the heron was in the first shot compared to the second shot. Photo 1 is certainly usable after zooming in post processing, but I would not print it bigger than 5×7. There is insufficient photo resolution to go any larger. Photo 2 could be enlarged to a 16×20 print, quite a bit larger.
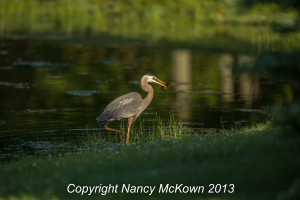
NO Zooming
