


Photographing a Black-Crowned Night Heron
I observed this Black-Crowned Night Heron, squat and thick, stalking huge Koi fish swimming in an outdoor pond. I had been photographing people at a San Diego bayside resort and consequently had my wide angle zoom (Canon 17-40mm f/4.0L) lens attached to the 7D Mark II DSLR camera.
The heron seemed comfortable using the resort’s tropical water features as his own exclusive aquatic habitat. I did not see any fish in the pond that were smaller than the heron–(most were at least 18″ long – approximately 3-4 lbs). Still, he held himself motionless, his red eyes intent on tracking his prey.
Lacking Visual Harmony
The heron seemed oblivious to my presence. I had only my Canon wide angle zoom lens, so I quietly crept toward him as close as I could. The late morning sunlight was overhead and haphazardly filtered by palm trees.
All of the 30+ photos that I took of the heron were disappointing. Insufficient contrasting colors and unattractive shadows made the heron appear to blend with his background rather than be the primary focus of the photo. Overall, the images were visually confusing and unappealing. (See below.)
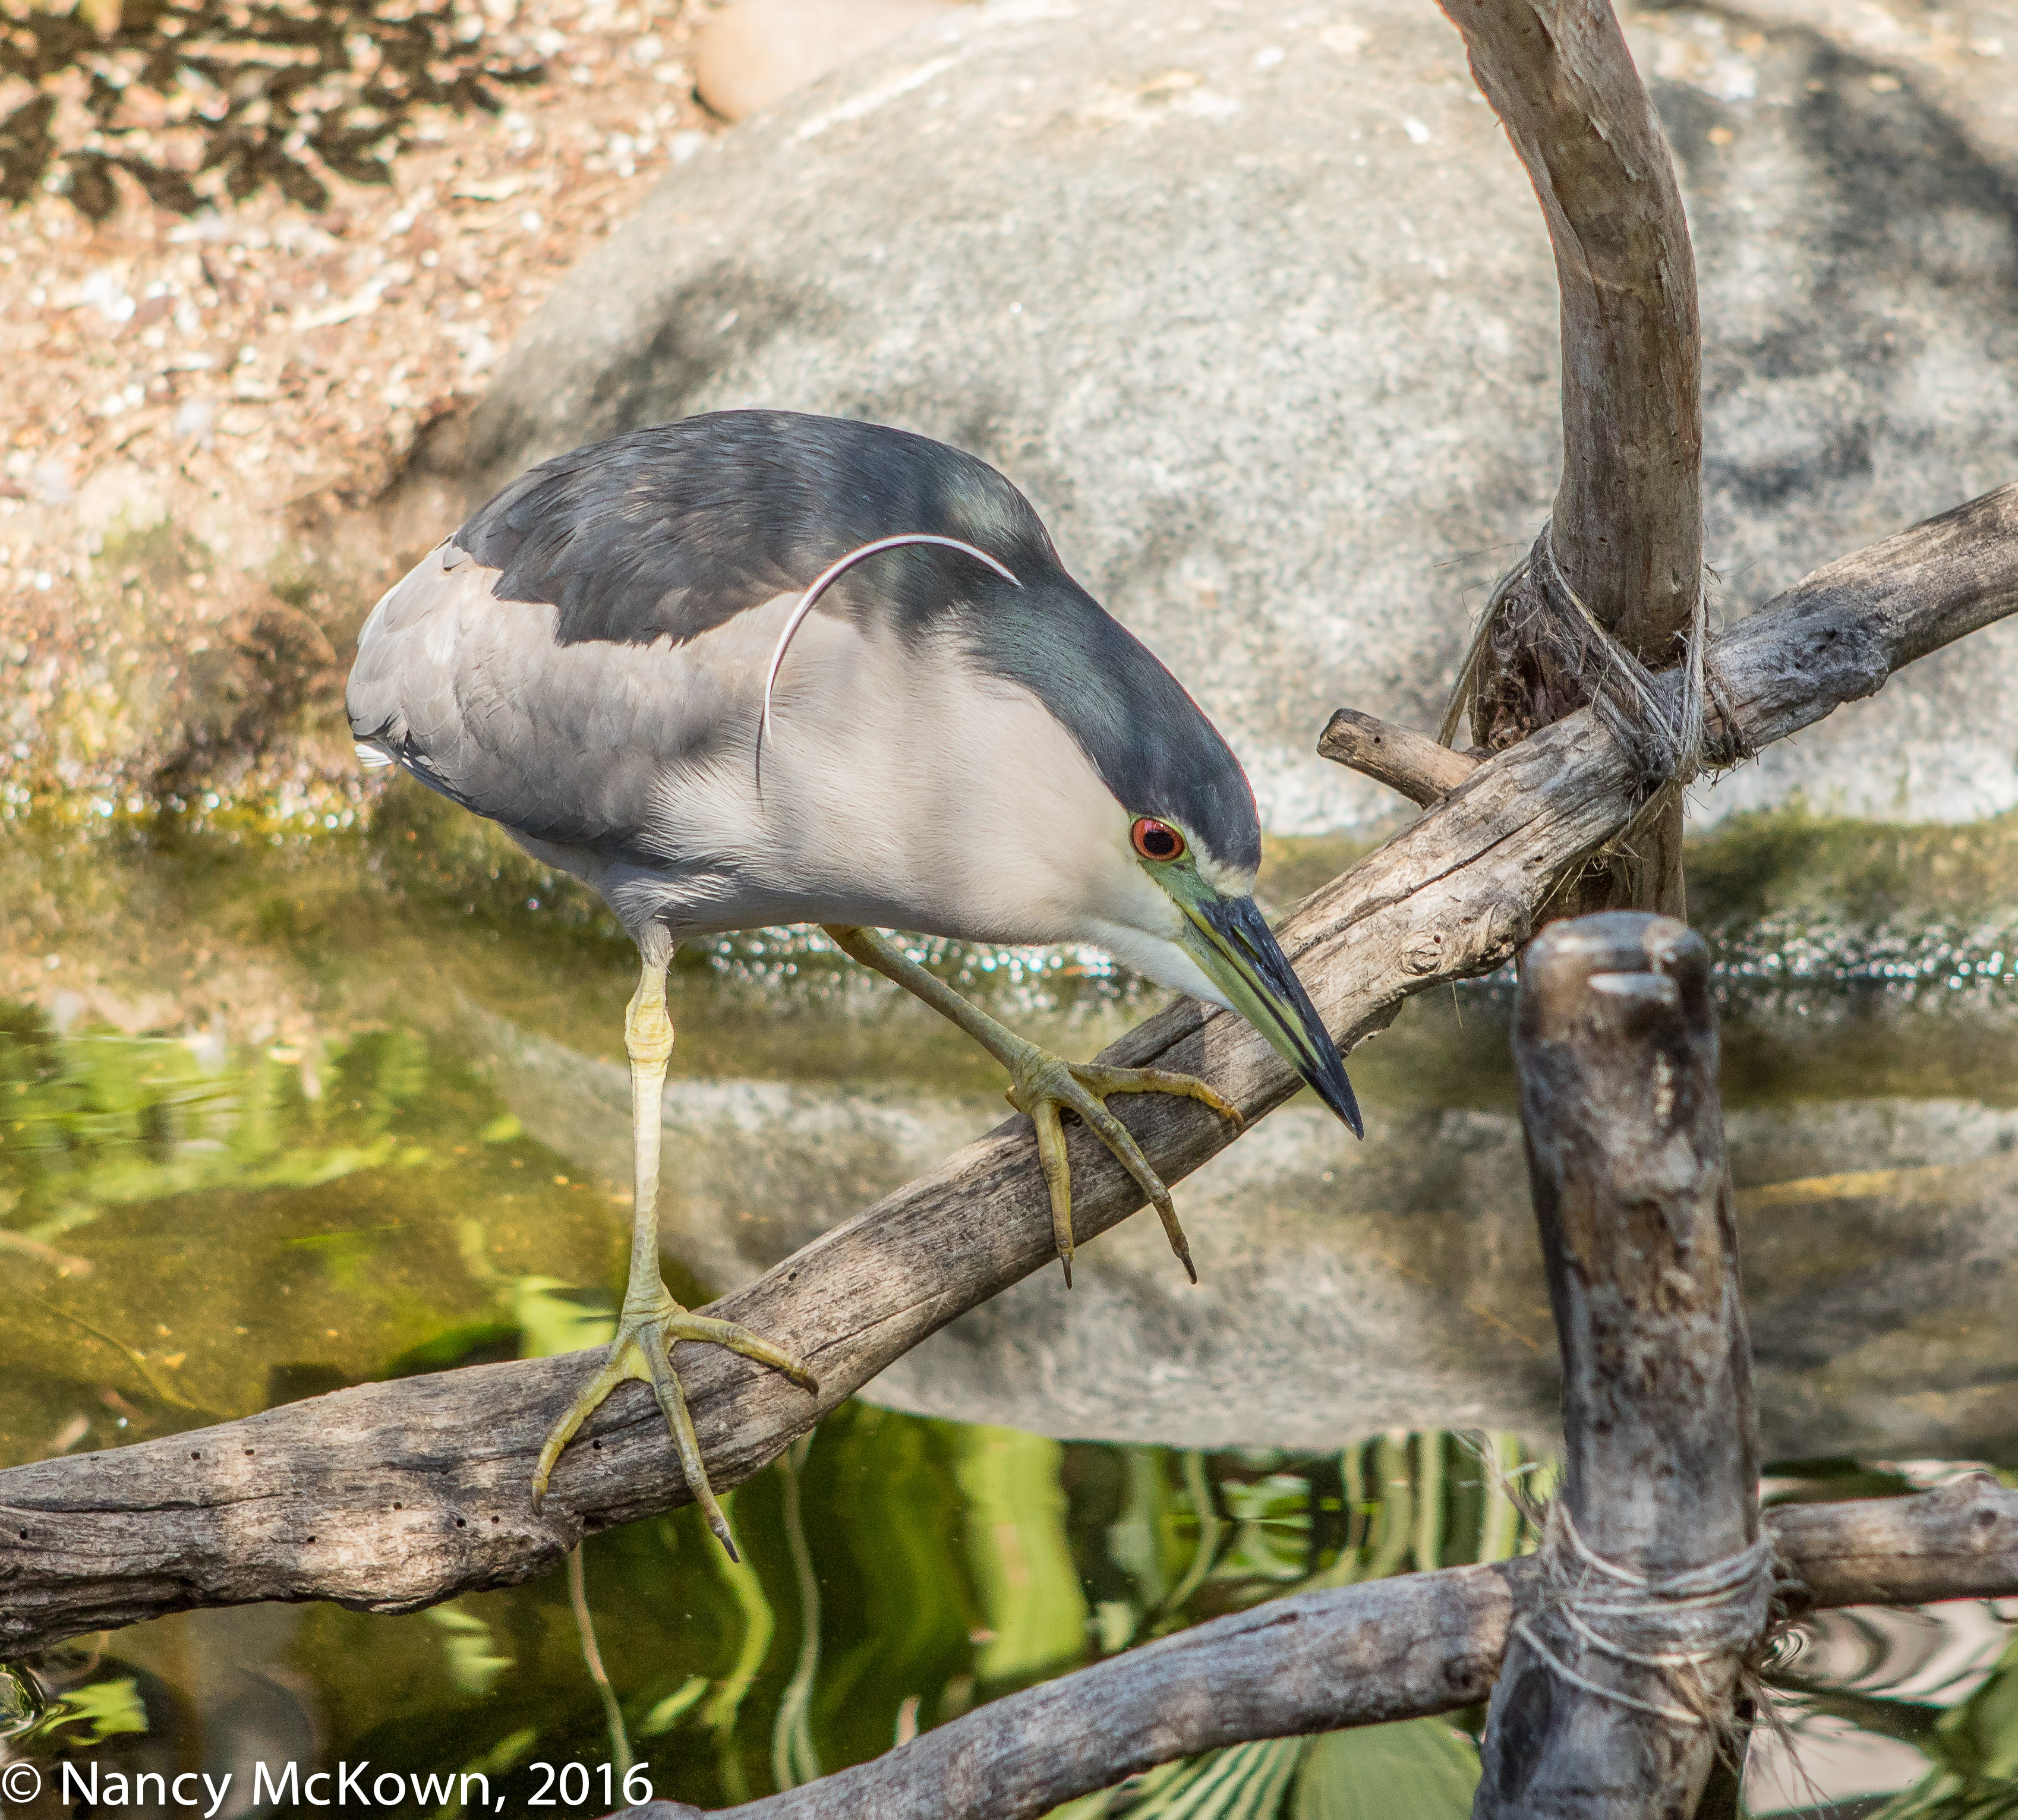
ISO250; f/5; 1/400 Second
The Night Heron was clearly accustomed to humans milling about and was not about to be distracted by me. Despite the poor light, I decided to take advantage of the bird’s close proximity and experiment with a feature I don’t often use: Live View Mode.
Looking Through the Viewfinder
Most photographers know the basics of how a DSLR camera works: 1) Light travels through the lens; 2) The reflection hits a tilted mirror; 3) The light bounces upward through a prism and; 4) The reflected image appears when you look through your viewfinder. When you press the shutter, the mirror flips up, shutting off light to the viewfinder. The sensor records the image and saves it to a disk.
Live View Mode
In Live View mode, instead of using that larger LCD screen to review images after you snap the shutter, you use it to preview streaming images before you take them. Consequently, there is no need to compose your shot by lifting the camera to your eye and peering through the small view finder atop the camera. NOTE: Every modern point-and-shoot mirrorless LCD digital phone camera operates this way.
When operating in Live View Mode, the camera and lens are not lightning fast. Light captured by the lens reaches the sensor and then is continuously streamed back to the LCD screen. You are operating “mirror less” because the mirror automatically locks in the up position and blocks the optical viewfinder. When you are ready, you can capture a copy of the real-time streaming image to your memory card by pressing the shutter. (The quality and resolution of the camera’s LCD screen definitely impact what you see.)
Advantages and Disadvantages of Live View Mode
Advantages and disadvantages of Live View Mode include:
- Live View is very convenient when you can not easily place your eye to look through the viewfinder eye cup. (For instance, when you must point the camera upward to capture a bird perched in a tree top canopy.)
- Live View is not convenient if you rely on the adjustable diopter in the viewfinder to sharpen your poor eyesight.
- In Live View, you can readily observe (in real time) how your exposure settings, white balance, ISO, depth of field, etc will impact your image before you take the photo.
- Since the optical viewfinder is blocked by the raised mirror, stray light can not influence the light meter by entering through that tiny portal. No chance of polygonal shape lens flare on your images.
- Live View makes it easy to keep both eyes open while you shoot….(as opposed to closing one eye when looking through the optical viewfinder). You miss less action this way.
- The Live View function offers multiple focusing options in its menu, one of which detects human faces.
- Most DSLR’s allow you to superimpose a histogram onto the live view image.
- Focusing is slower (the image sensor does the focusing instead of a separate, speedier auto focus sensor) but you can autofocus on any part of the frame, even the edges.
- If you want the camera to focus quicker, you can select the “AF Quick” option, which allows you to use the camera’s faster and more precise auto focus sensor. (AF Quick momentarily shifts the camera out of mirror less mode by lowering the mirror and blanking out the LCD screen.)
- You are able magnify or zoom the video stream to check focus and depth of field.
- Time and tripod are essential for Live View shooting.
- Since the mirror is raised, there’s no mirror slapping. This minimizes the chance of camera movement.
Out of My Comfort Zone
I’m usually eager to experiment with DSLR functions that are new to me, but Live View Mode took me out of my comfort zone. Lifting the camera’s eye cup to my eye is second nature to me and I’m use to an instantaneous responses (focus and shutter) after I frame my shots through the view finder. Live View was sluggish as it hunted for focus. It felt like I was missing too many shots and those that I did record were not tack sharp.
One shocking eye opener: Live View gave me a real time streaming lesson on how very wobbly a camera on a tripod can be when you are tracking and focusing on an moving bird.
I’m done with Live View mode for bird photography. Next time I am asked to photograph larger, more cooperative subjects (like humans), I will give LIVE VIEW mode another shot.