The Quality of Light
I get so excited when a new bird ventures near my camera….to the point where the intensity and directionality of light is forgotten. Afterwards when I look at the images, I wonder why I bothered.
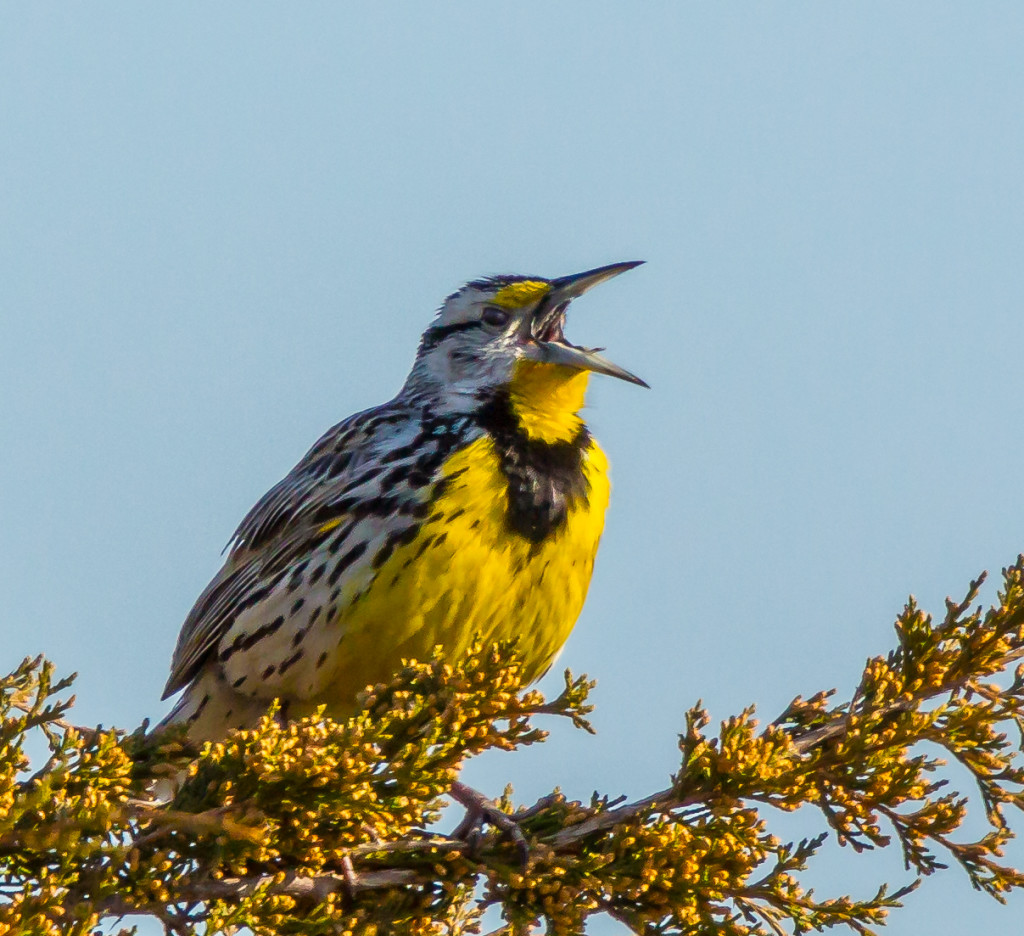
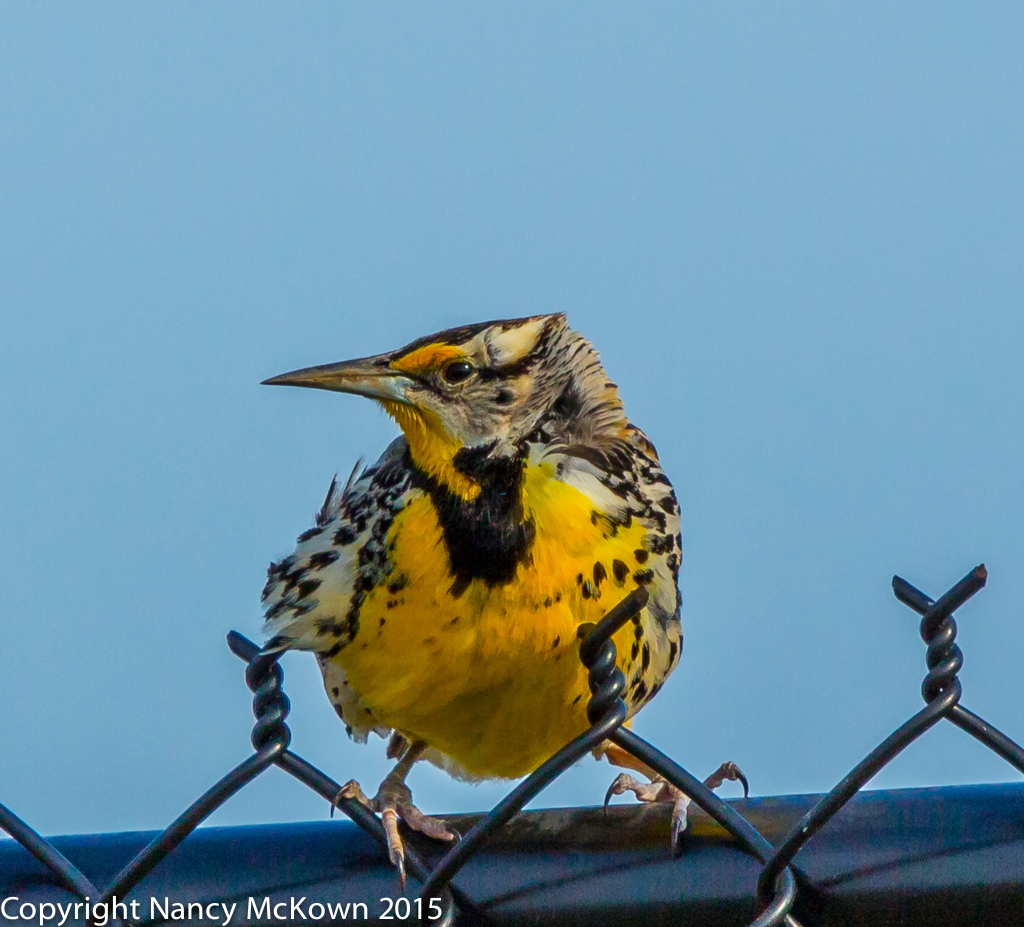
These sub par, late morning photographs of Eastern and Western Meadowlarks serve as a good reminder lesson about the indispensability of complementary light in bird photography.
Eastern Meadowlark in Bright, Overhead Sunlight.
Post Processing Did Little to Minimize the Harsh Shadows.
Light Falling Full Blast
I’ve learned over and over again that when the light is unfiltered and high in the sky, it’s a terrible time to photograph birds. Light falling full blast from overhead results in images with too much contrast, deep and harsh shadows, and blown out color. Post processing magic will do very little to fix these problems.
What Can Be Done?
Here are a few strategies I have used to help minimize the effects of the harsh overhead sun.
1) Light is Transitory
Unlike photographers of people, bird photographers can not simply move birds inside or into the shade where the light is softer and more even. The best solution may be to simply wait until the sun is no longer directly overhead. Bad light is as transitory as good light. While you wait (assuming the bird stays within range of your camera and lens) try to get yourself into a position where the angle of the sun falling on the subject is less harsh.
2) Bring Your Own White Reflector
I use to pack a big round 43″ collapsable white reflector with my equipment to either diffuse the sun and thus soften the impact of the light or try to bounce more light back on the subject to fill in some of those deep shadows. I rarely used it because it was practically impossible to set it up in a quick and stealthy manner, even when I had help. It does work well when there’s time to position it toward what you know to be a popular bird perching platform.
3) Drop-in Filters for Canon Telephoto Lenses
You can’t purchase filters large enough to put on the end of Canon’s big telephoto lenses. Most of Canon’s longer telephoto lenses come equipped (close to the base of the lens) with a drop-in gel filter holder with a clear glass filter installed. You can buy different kinds of Canon drop-in filter holders–for instance, a circular polarizer drop-in with an external control rotation wheel or a drop-in that accepts 52mm screw in filters (like varying degrees of neutral density filters).
These filters tame the light reaching the sensor and thus change the way your lens sees and measures light. It is then easier to manage your exposure parameters. Be sure to read about how different types of photographic filters impact color, glare and reflections before you buy them. Different manufacturers sell varying degrees (densities) of diffusion filters so you can control your filtering based on lighting conditions. The stronger diffusers can make the image look hazy or dreamy. NOTE: Some photographers will not use filters because they believe that inserting them between your subject and camera’s sensor will degrade image quality.
Western Meadowlark, Perched on an Unattractive Chain-link Fence in Heavy Wind and Bright, Overhead Light. I’m Photographing from Below to Help Minimize the Flat Look.
ISO500; f/8; 1/2500 Second
Eastern and Western Meadowlarks
The Eastern Meadowlarks are common in SW Michigan but the Western Meadowlarks are rather hard to find. Both nest in Michigan. The two species look very similar and are most reliably identified by their distinct songs. I had the help of a local birding expert who, after listening to this bird, confirmed that the second photo is indeed a Western Meadowlark. Hopefully, this summer I will have another opportunity to photograph Meadowlarks – this time in more complementary light.


