Photographing House Finches and Thoughts About ETTR

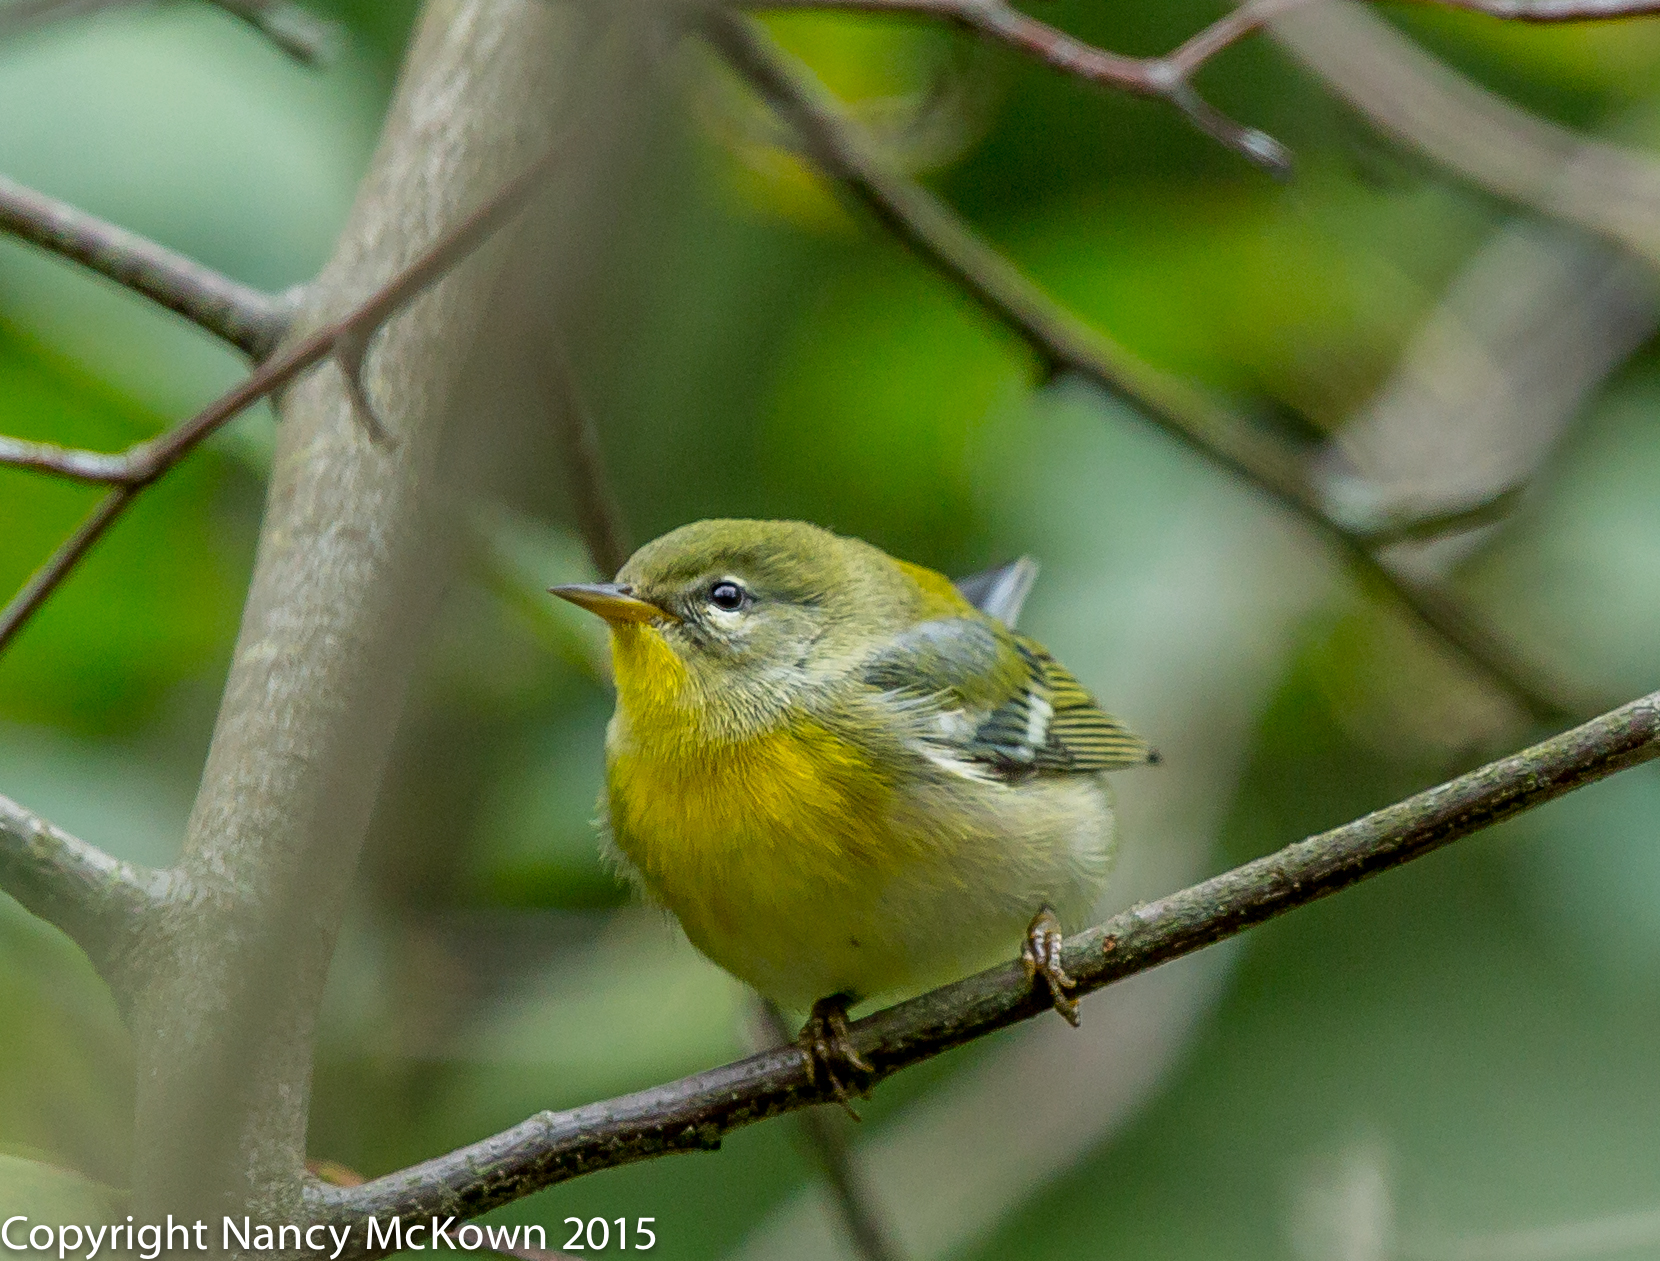
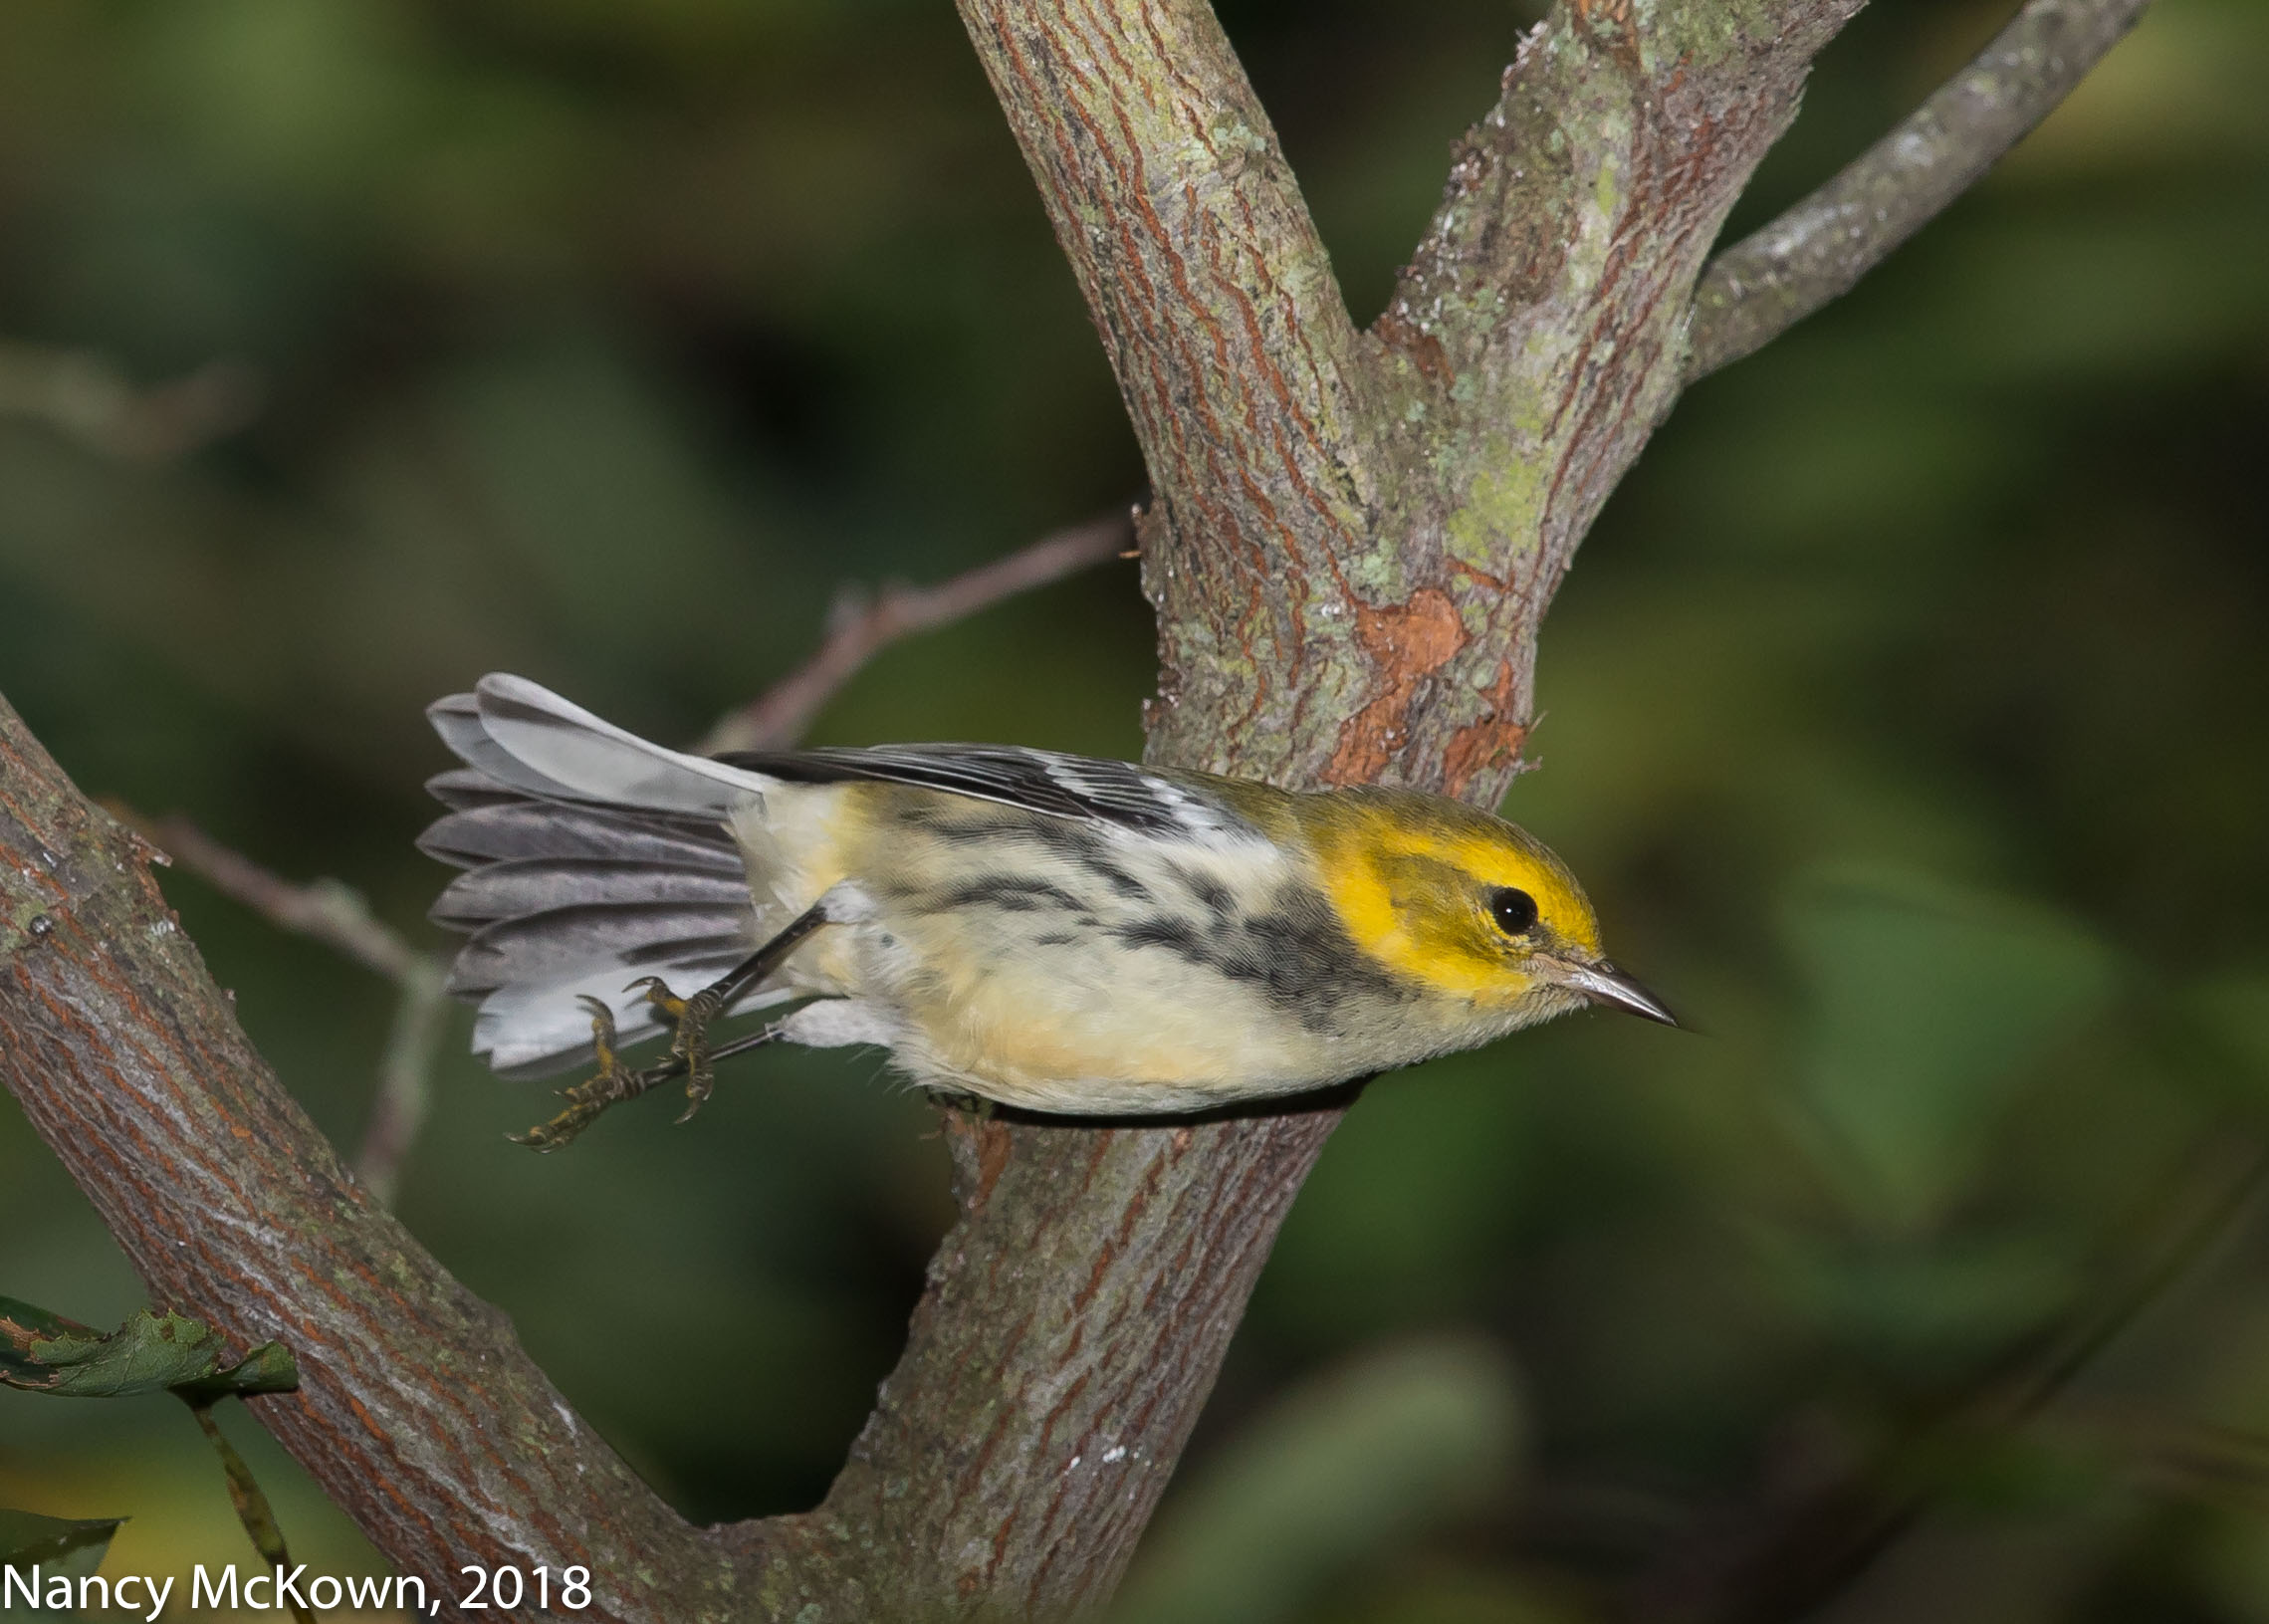
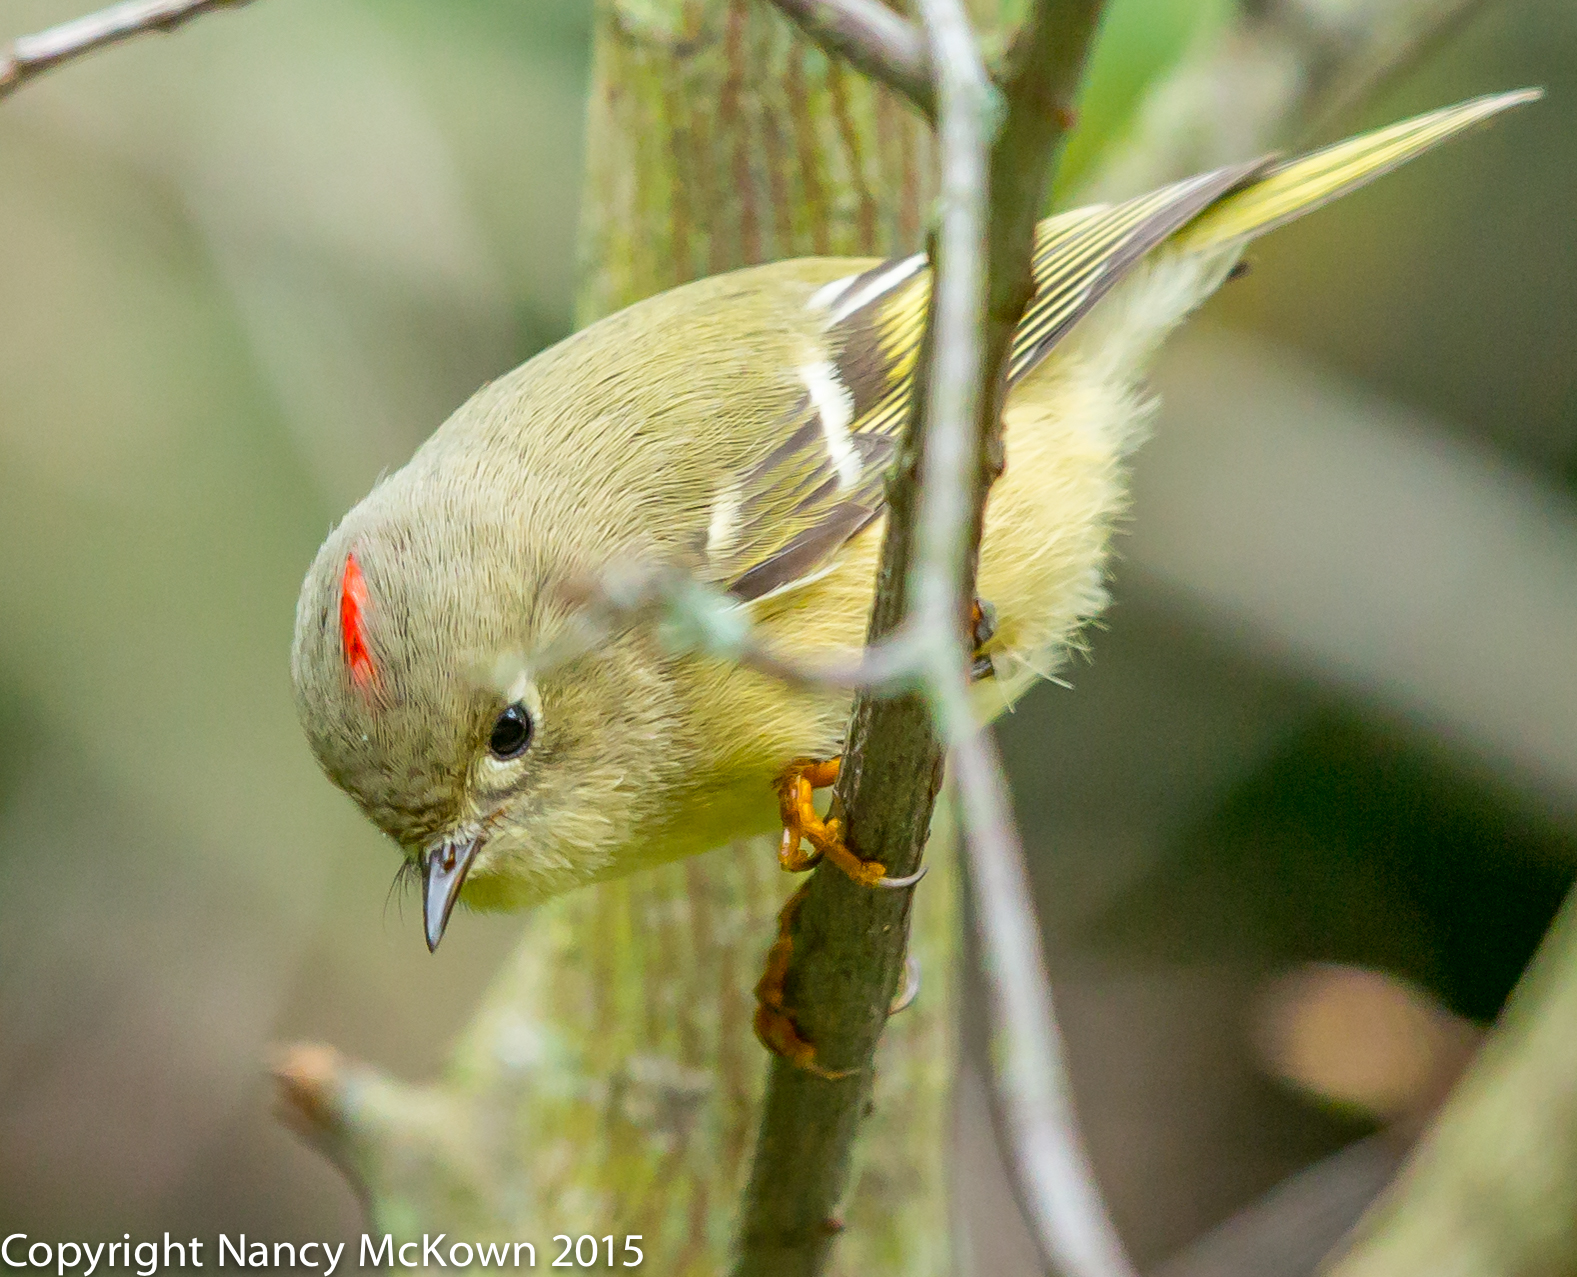
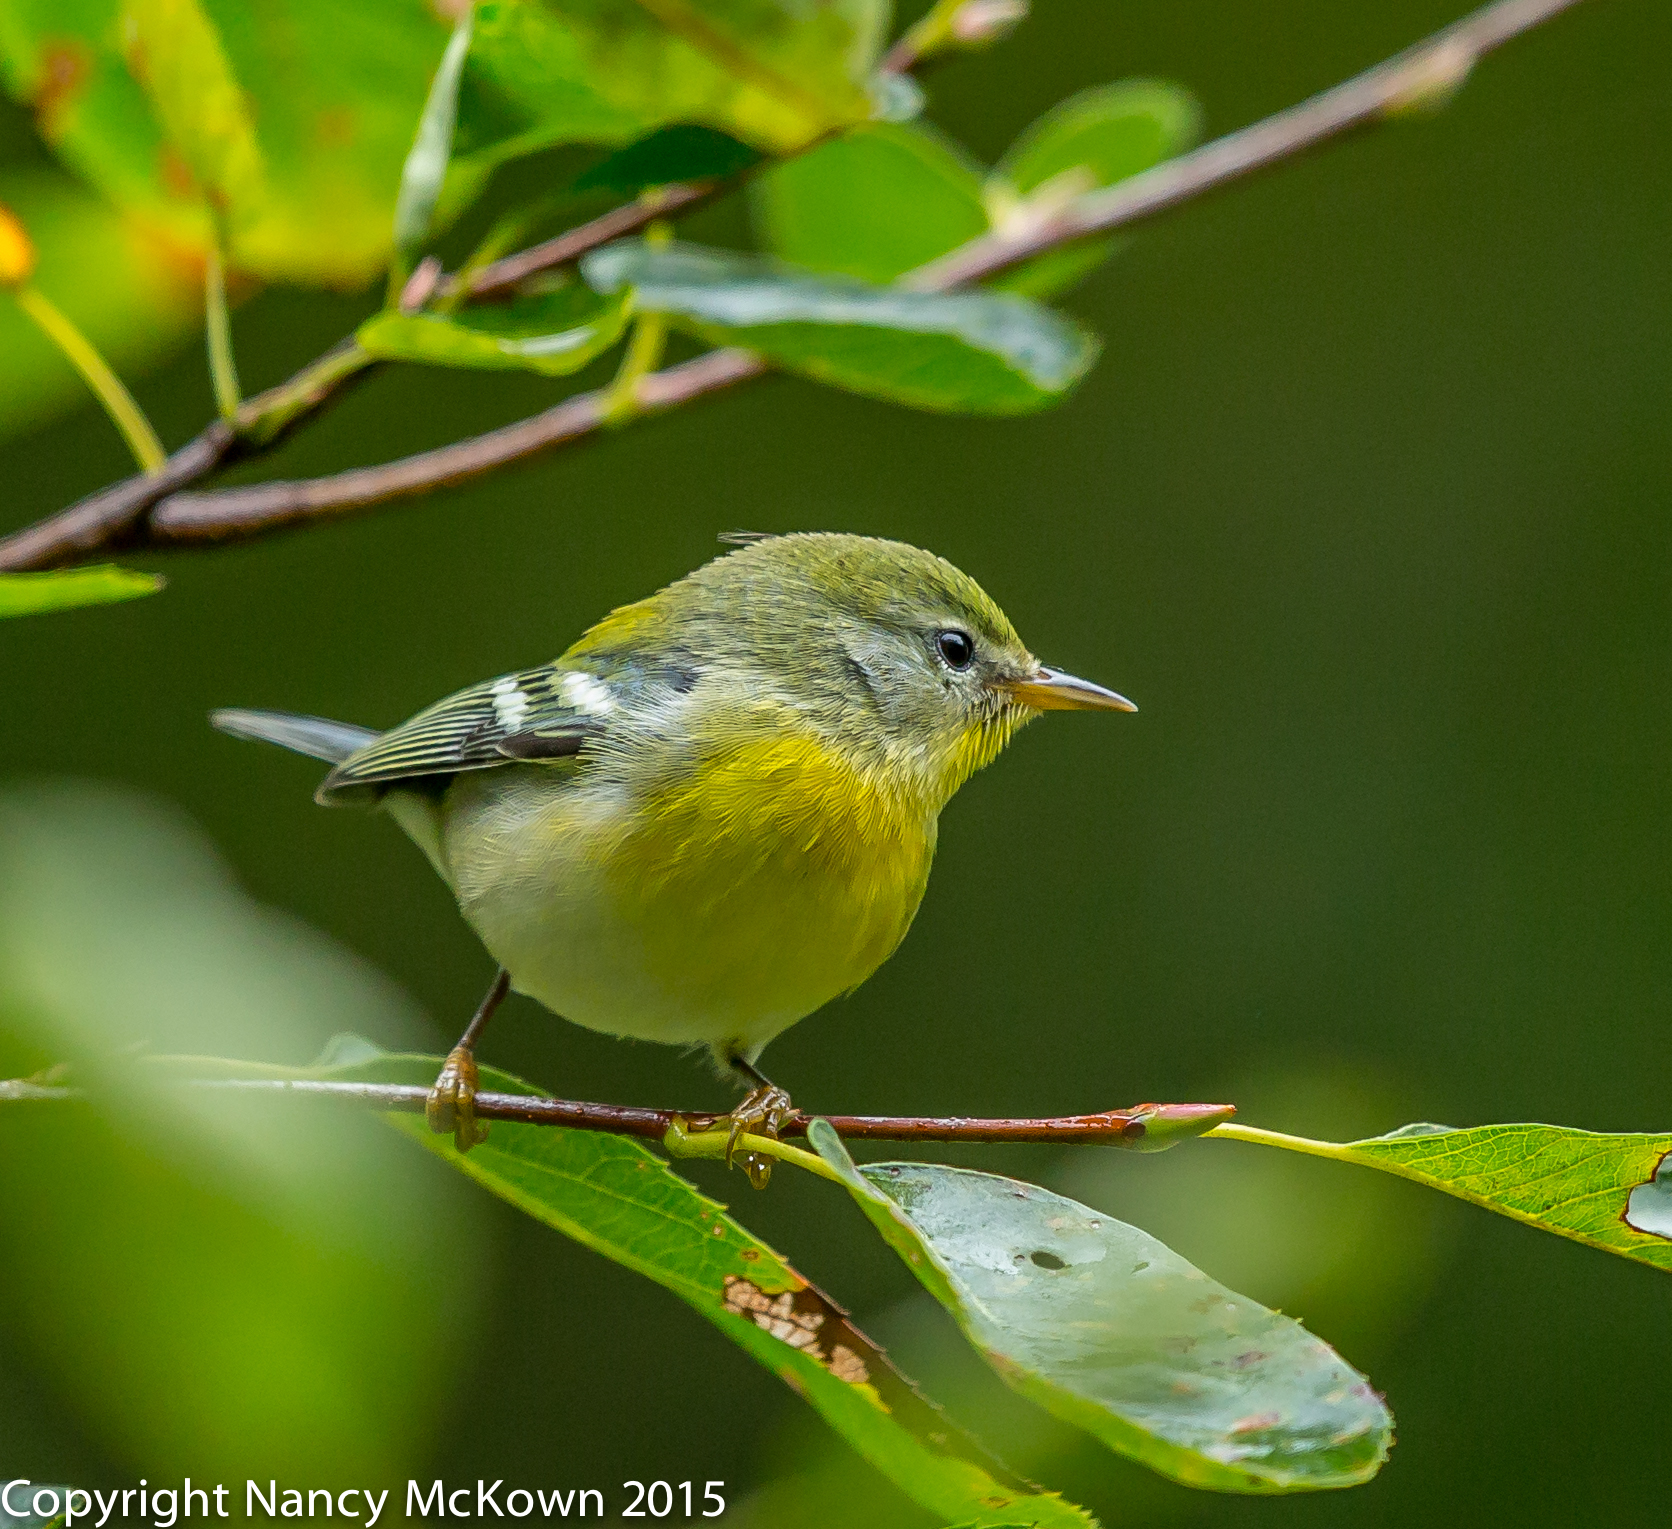
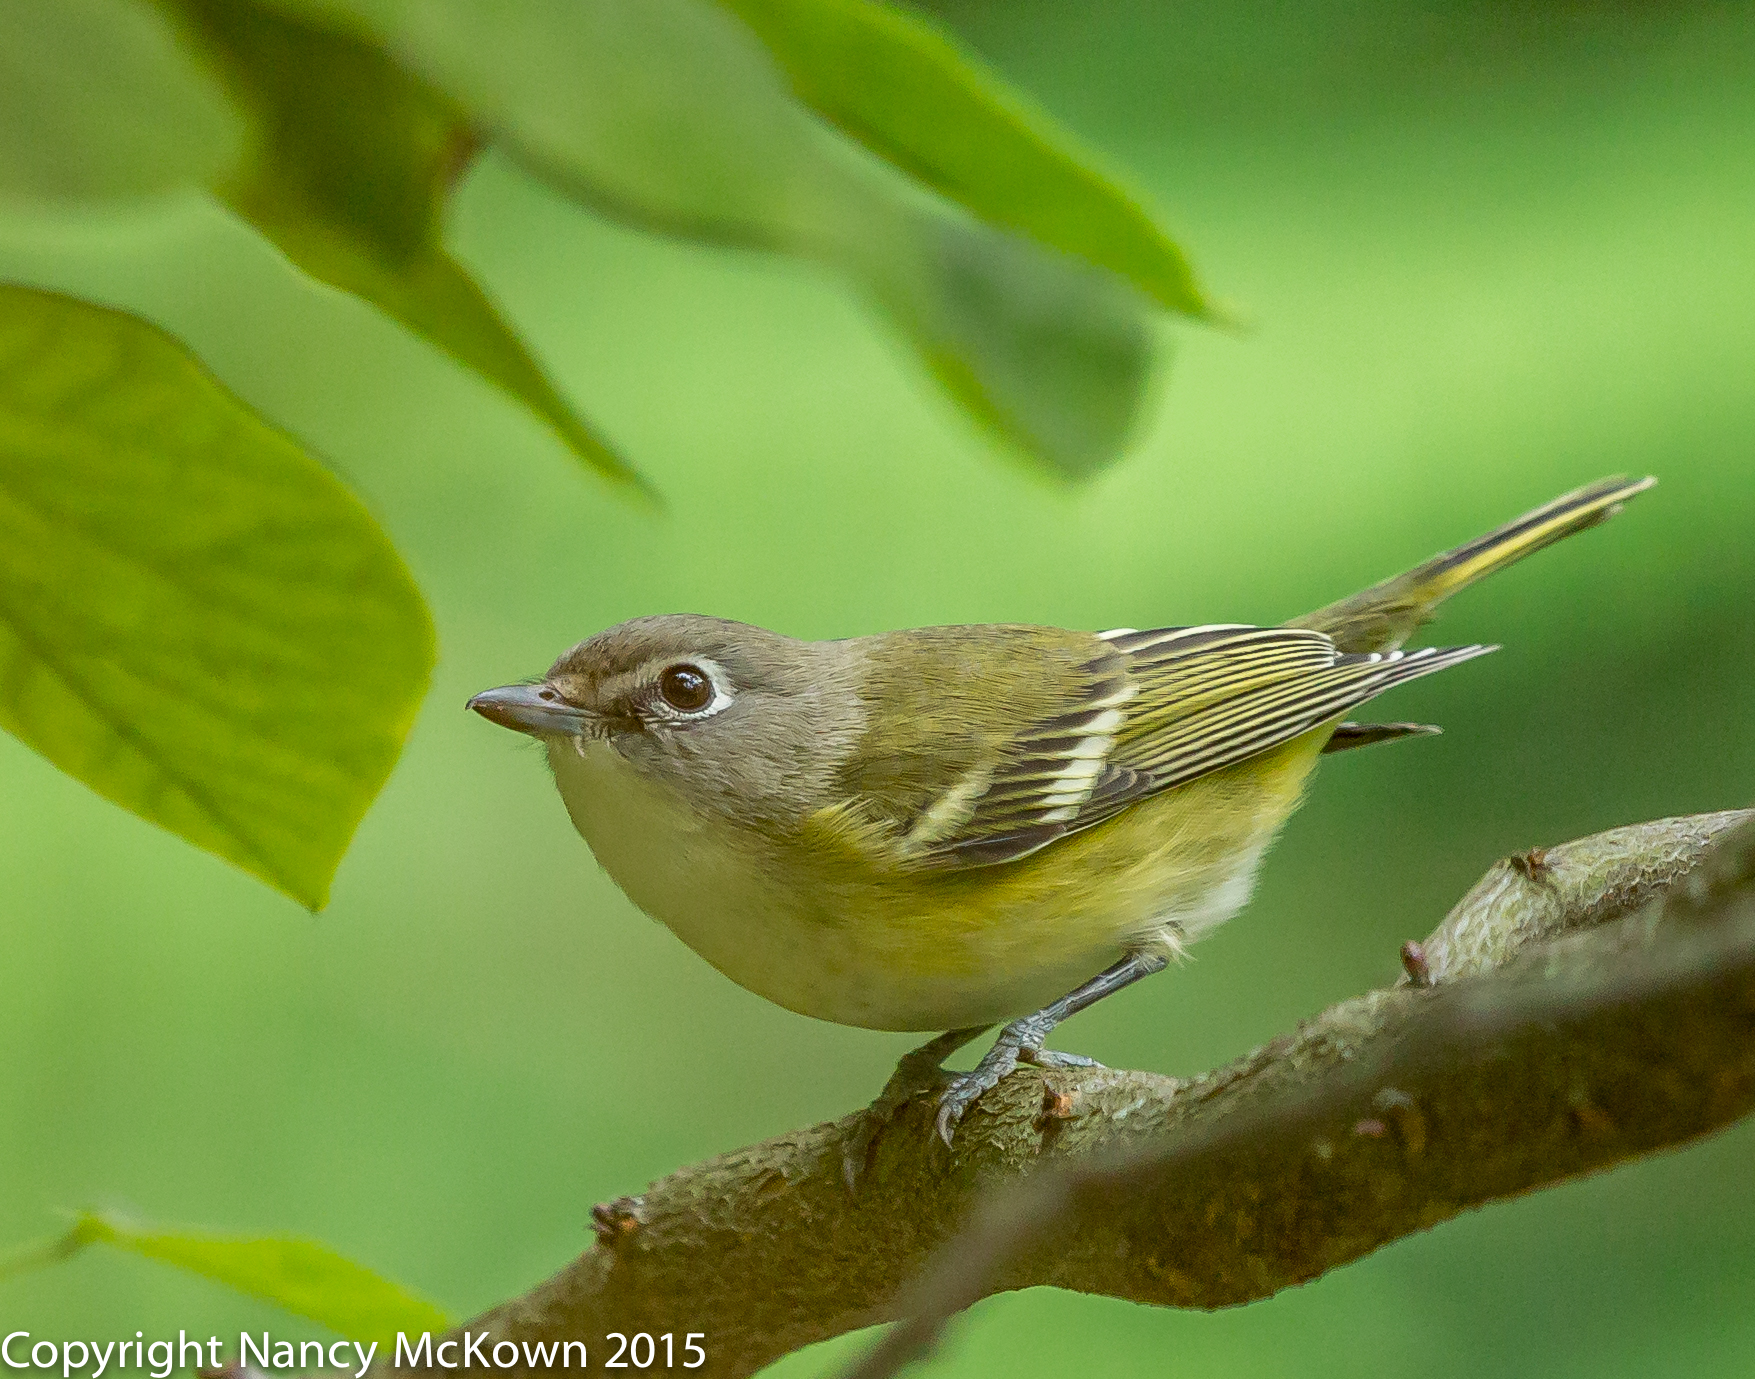
Early Morning Finch Photography

It’s December, and since most of the migrating birds are gone, I tend to search for suitable locations that offer the more common birds cavorting in woods that have minimal (and distracting) scrub vegetation and luminous backgrounds. I was lucky enough to find these House Finches feeding in such a place.

Photo of House Finch
Male House Finch
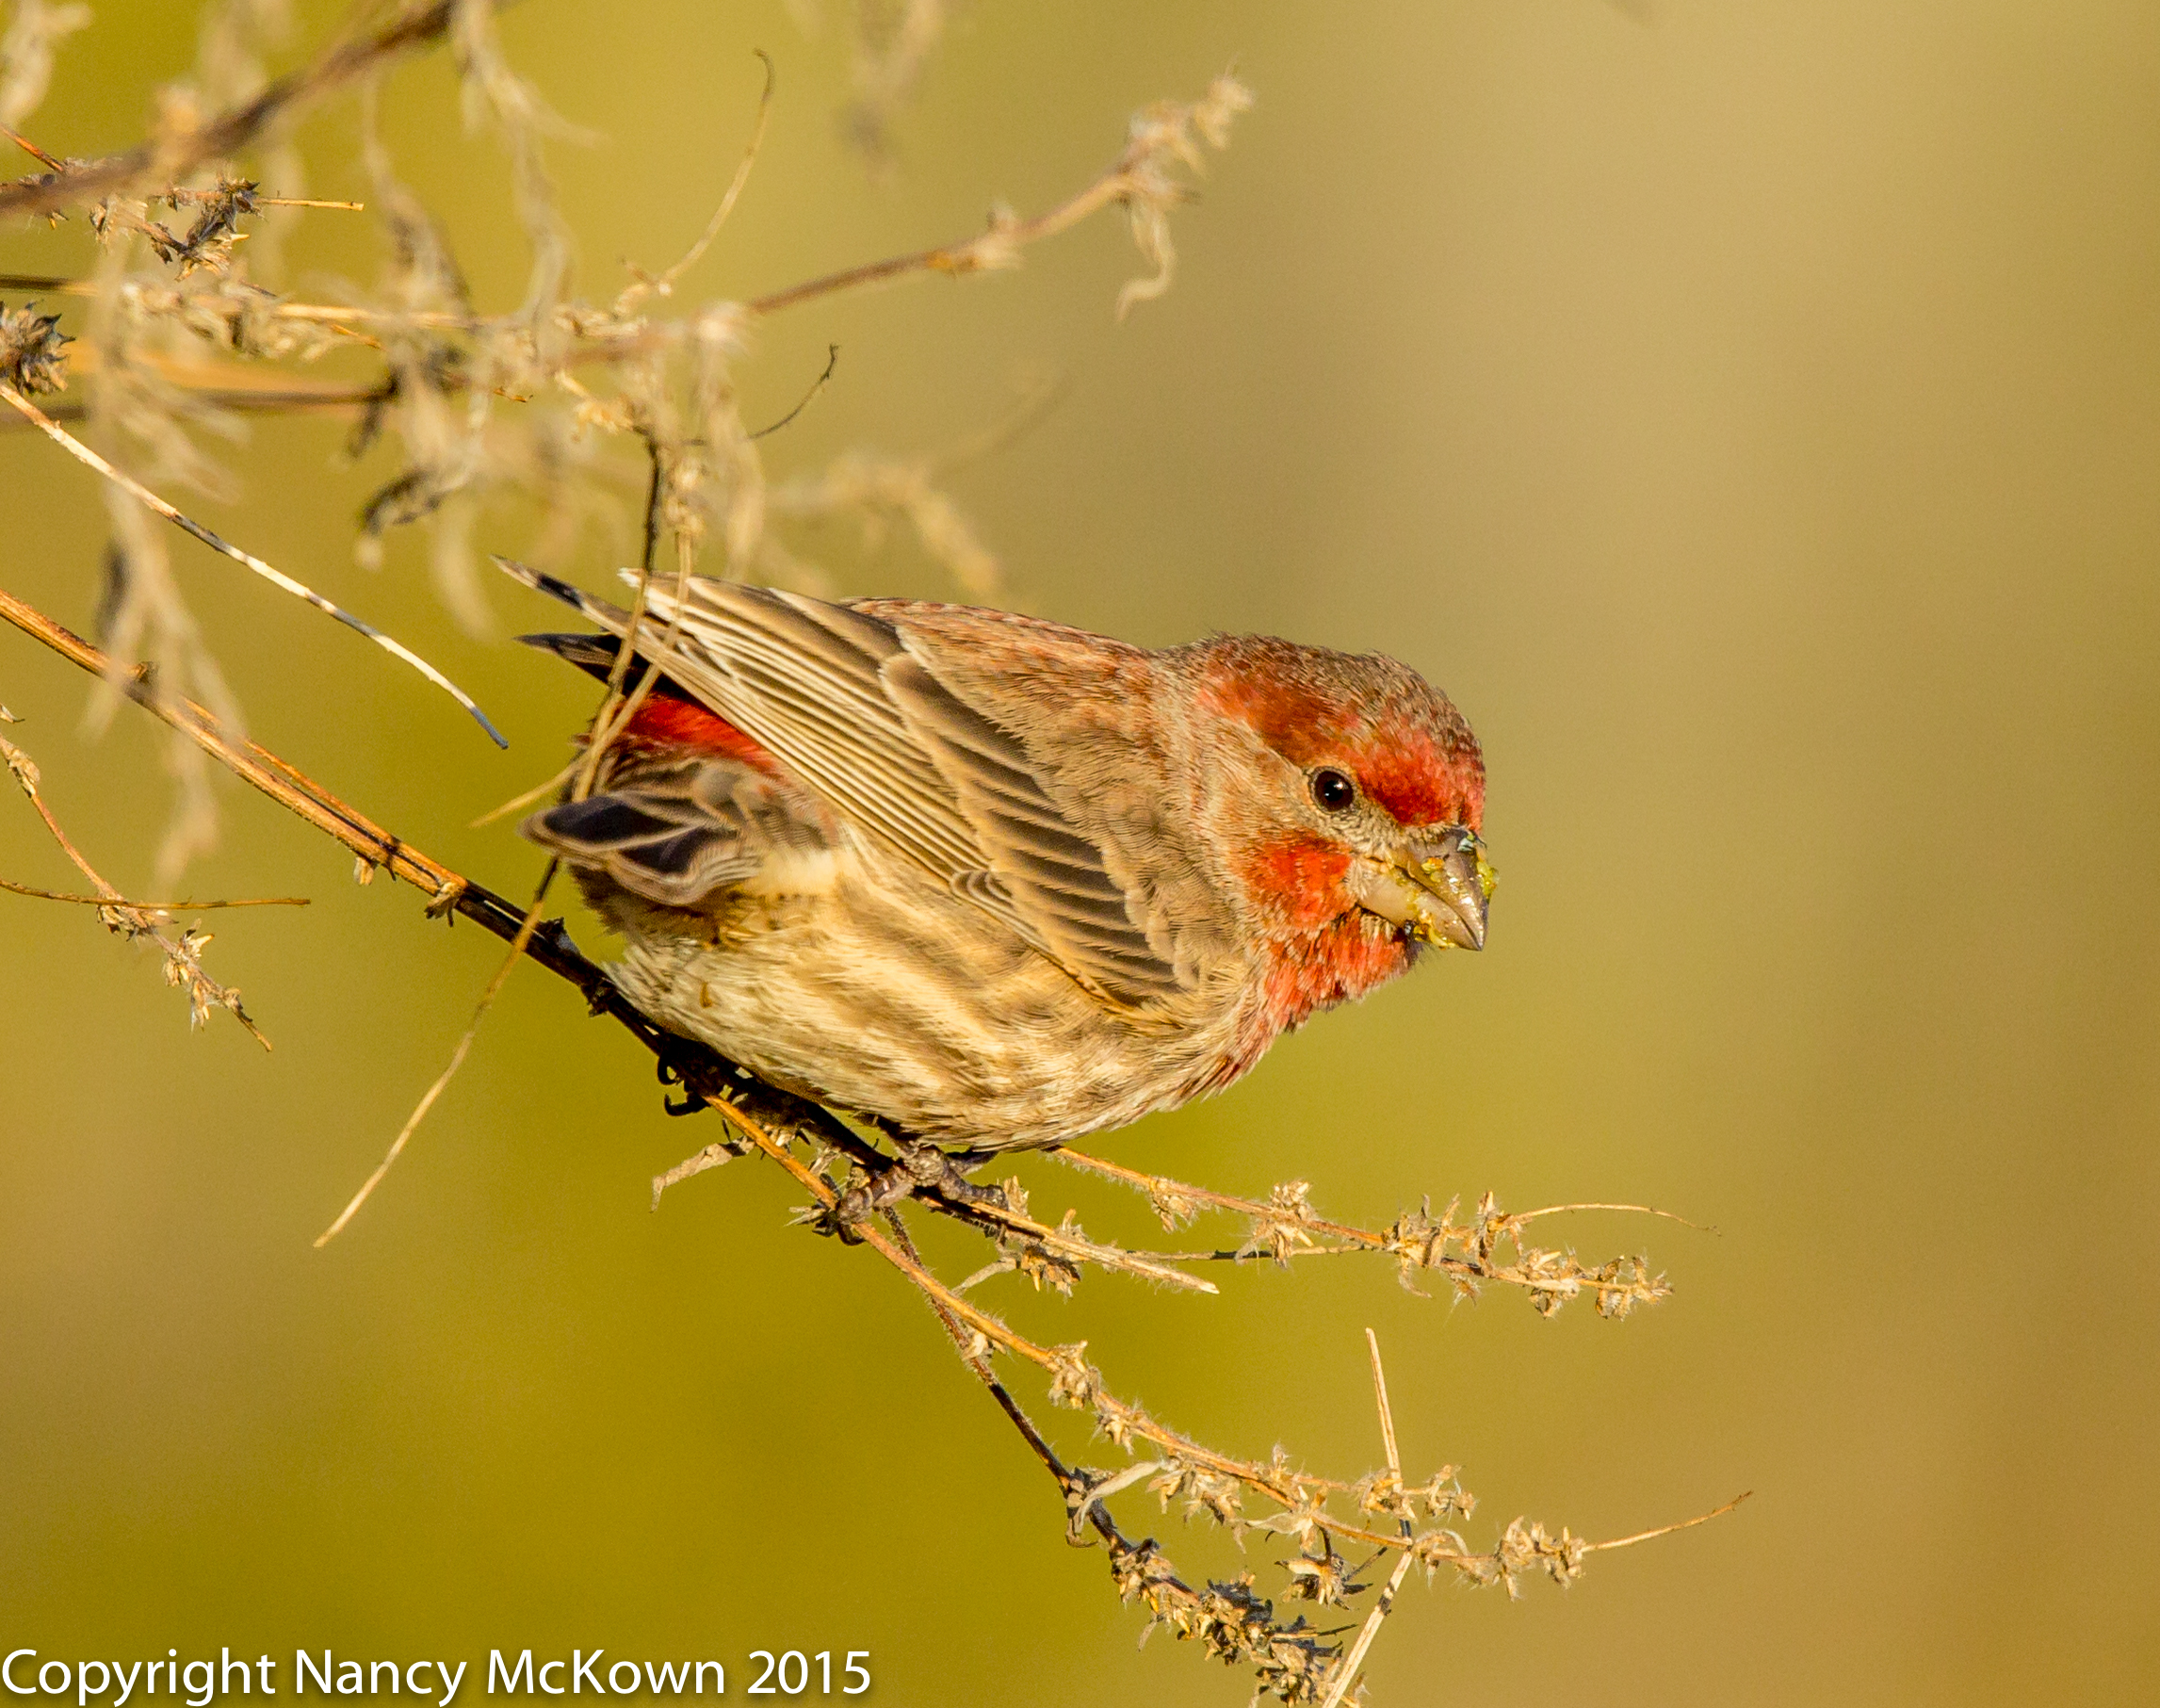
Gorging Himself on Seeds.
ISO800; f/9; 1/1000 Second

The photos of the House Finches included in this post were taken early one bright morning in the Allegan forest. I chose relatively tight apertures and high shutter speeds over low ISOs because the birds were highly active and I was using a 500mm lens known for its very shallow depth of field. I hoped I could get the ISO lower than 400, but was not able to. Overall, I was pleased with the quality of the images.

Exposing To The Right

I’ve been reading a lot about the practice of Exposing To The Right (ETTR).

Wikipedia defines ETTR as: “The technique of increasing the exposure of an image in order to collect the maximum amount of light and thus get the optimum performance out of the digital image sensor.”

You do this by playing with the the shutter and aperture settings so that your histogram shows the image to be overexposed or “to the right”. More light on the camera’s sensor results in less noise in the shadows, richer colors, and greater dynamic range after you dial back the exposure in post processing. This assumes that you are shooting in RAW and don’t overexpose to the point where details are unrecoverable in post processing. It also assumes you are shooting at the camera’s base ISO.

Photo of Male House Finch
Male House Finch
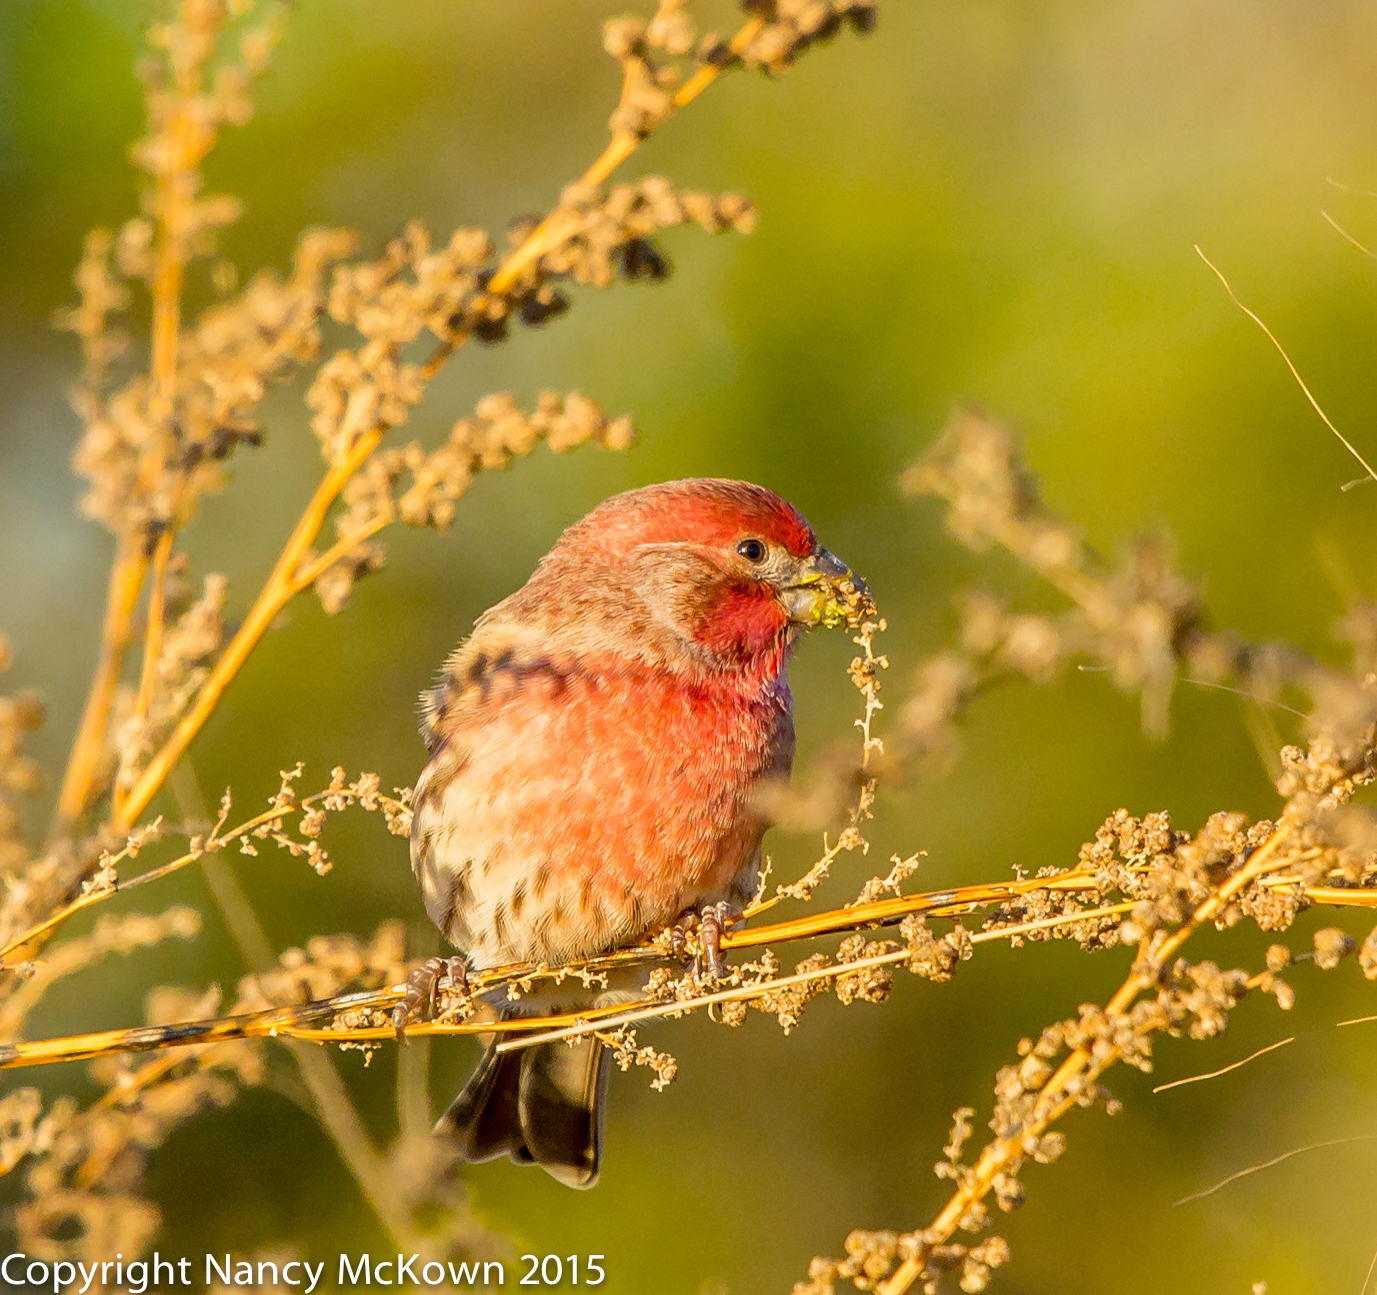
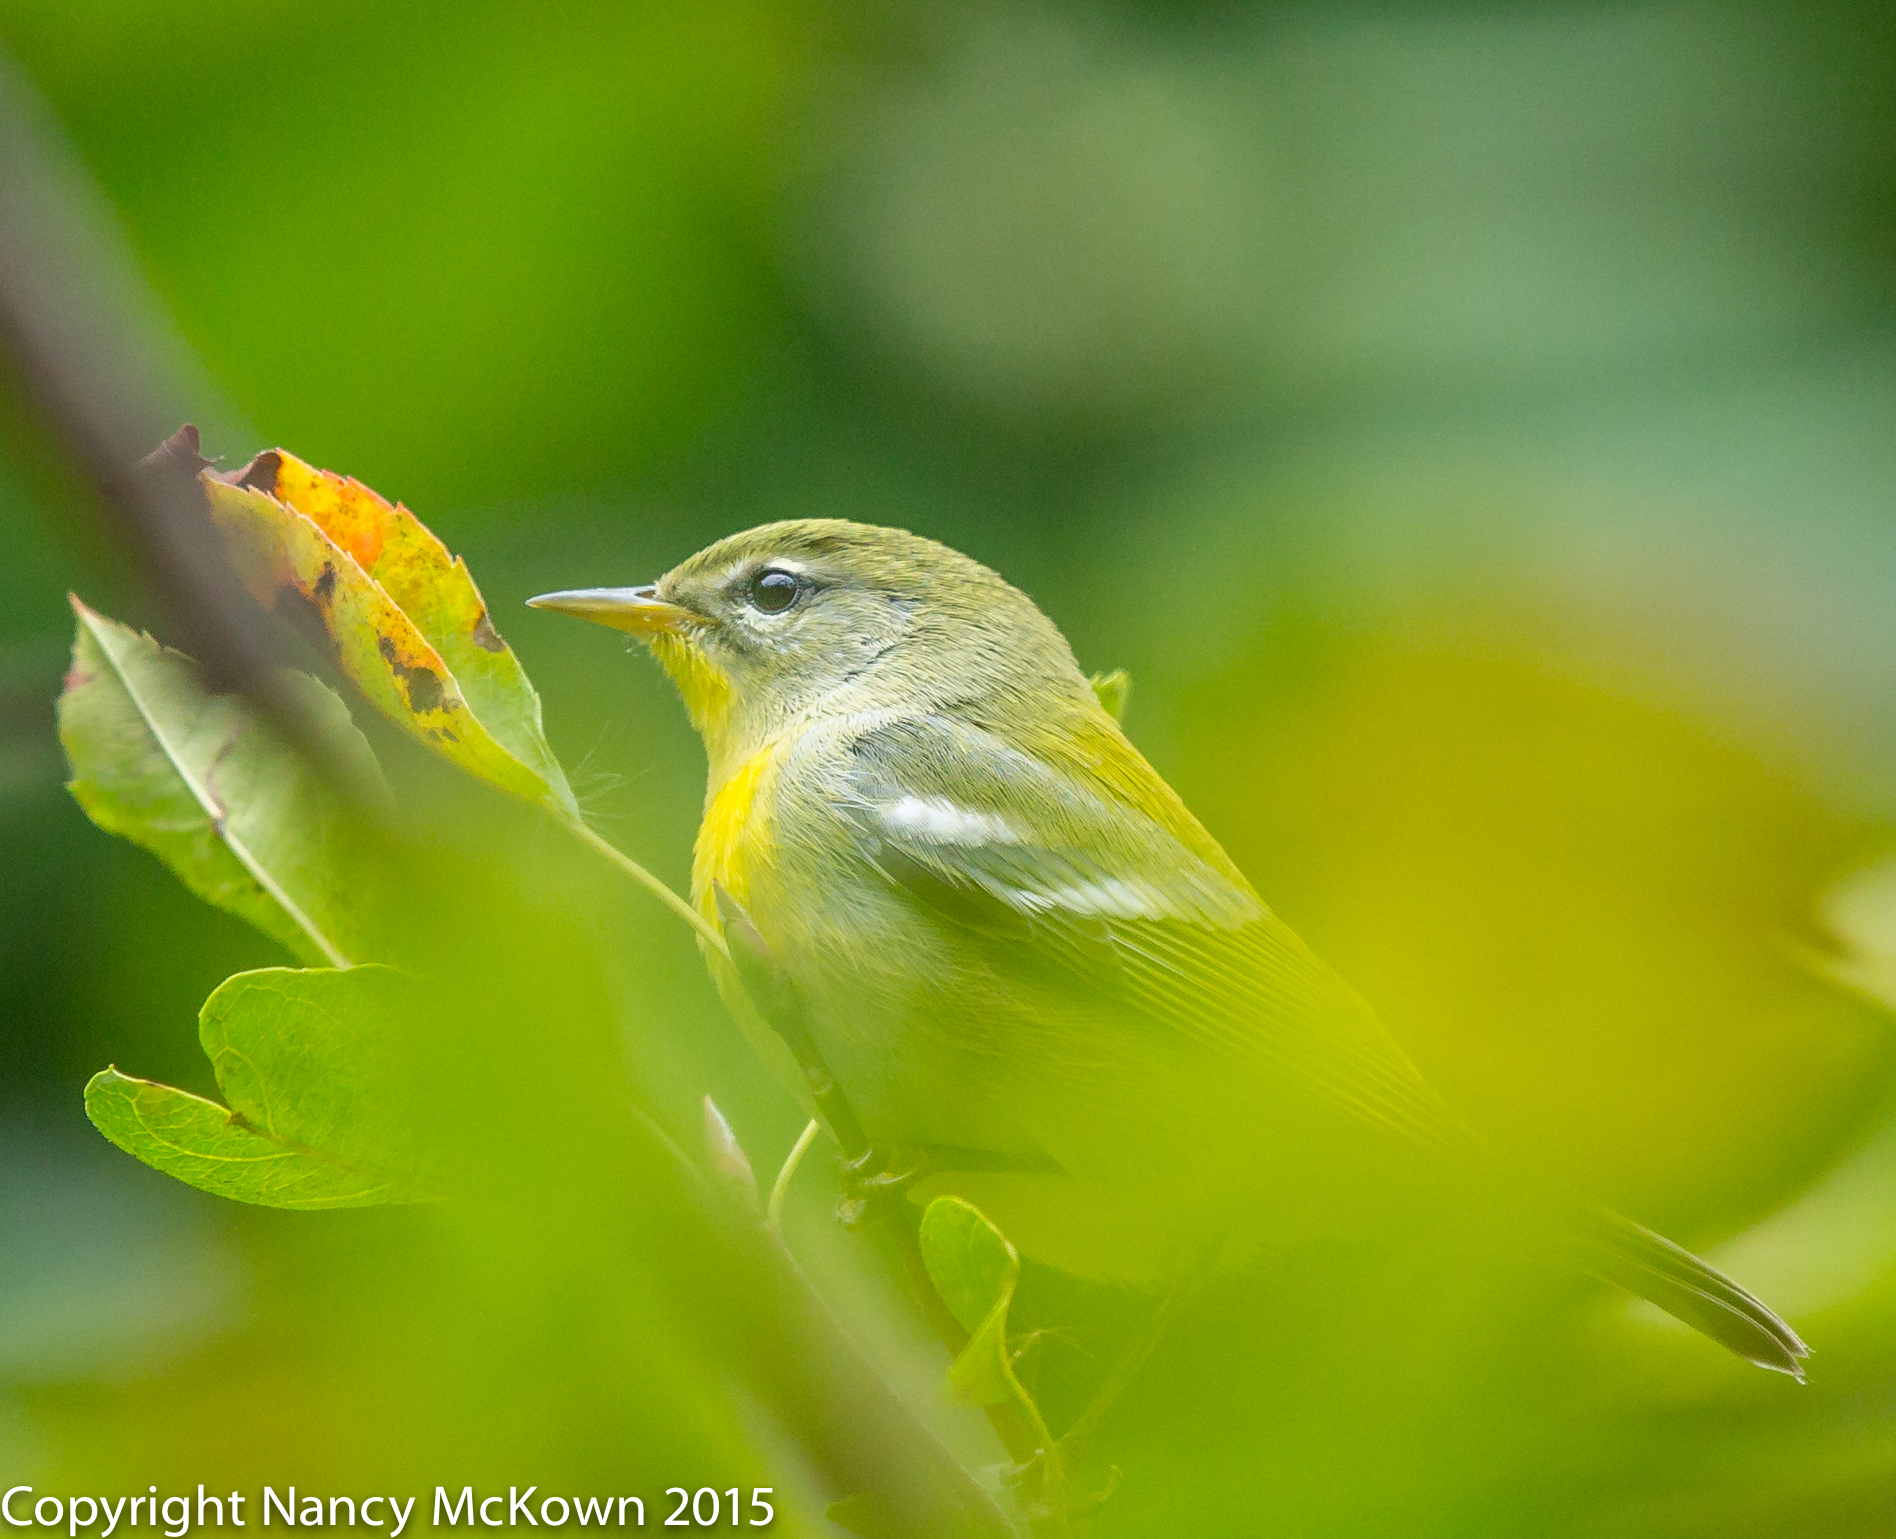
ISO1000; f/8; 1/1000 Second

Going Lower than Base ISO

Base ISO (ISO100) is the recommended optimal performance ISO on Canon cameras -but it’s not the lowest ISO available to photographers. The practice of ETTR takes ISO lower than base in an effort to extract the maximum amount of detail data in the image file. Setting the ISO higher than the camera’s base ISO would be useless because a higher ISO setting would bring in more noise and cancel out the benefits of ETTR. 

Is ETTR Worth the Hassle?

Essential question: Will my bird photography be noticeably better if I set the ISO to base 100, and then lower that base ISO by over-exposing?

It depends. Image quality improvements (and flaws) are mostly invisible unless you VIEW LARGE and/or PRINT LARGE. Ultimately, the practice of exposing to the right is only for those times when you plan to significantly enlarge your images and need that edge in sharpness and clarity.

Real World Bird Photography

Photography is about making choices. I generally choose relatively high shutter speeds and a tight apertures over low ISO settings. In my world, the opportunity to set ISO to base comes very rarely.

For more information on using histograms, please read this post.

Photographing A Brown Thrasher and Utilizing the DOF Button

Photographing Birds Who Linger in the Cold

I photographed this Brown Thrasher near our suet feeders in late November, 2015. He lingers still- mostly hiding out near the edges of the woods. Brown Thrashers are considered to be “short distance, partial migrates”.  In the colder northern states, these birds head south to warmer climates. In the south, Brown Thrashers stay in their nesting grounds year-round.

It’s been fairly warm in SW Michigan so far, with only 6″ or so of snow, but winter will certainly come. It has been my observation that a small percentage of (young and crazy?) birds of almost all migrating species do not migrate. See this post for more information on the perils of migration.

Photo of Brown Thrasher
Brown Thrasher.
ISO 800; f/5; 1/400 Second

Experimenting with Aperture

I took a couple shots of this Brown Thrasher with my 500mm 4.0 L II lens wide open when I first saw him in my yard. He was more interested in the suet cake particles that had dropped to the ground than he was in me, so I decided it was safe to experiment with a tighter aperture.

Optimal Through-the-Lens Light

On modern DSLRs, the camera stops down the lens’ diaphragm (black metal blades inside the lens) to the aperture size specified right when the shutter release is pressed. That means that at all other times, the lens aperture is wide open to the lens’ maximum size, no matter what the aperture is set to. (On my 500 mm lens, 4.0 is the maximum aperture. On my 300mm lens, 2.8 is the maximum aperture.) This is done so that the photographer will have optimal through-the-lens light when composing and focusing.

Previewing Depth of Field

Unfortunately, all this light does little to help gauge depth of field. Consequently, most cameras include a DOF button that will allow the photographer to preview precisely what is in sharp focus and what is not.

Brown Thrasher

Brown Thrasher
ISO1250; f/7.1; 1/640

Experimenting with the DOF Button

When using the DOF button, the more you tighten the aperture, the darker the scene gets in the viewfinder.  I started out by setting the camera’s aperture to f/7.1 – my minimum aperture when the light is strong and unobstructed. Initially, with the DOF button engaged, it was simply too dark for me to see through the viewfinder how much of the scene was in focus. I tried throwing my camouflage sheet over myself and the camera to help my eyes adjust to the darkness. Eventually, after fiddling around with wider apertures, my strained eyes did slowly adapt to the point where I could determine depth of field.

Photo of Brown Thrasher
Brown Thrasher
ISO1250; f/5.6; 1/500 Second

Not for Me

I don’t particularly like using the DOF button. It’s just too time consuming.  Besides, after years of experience in bird photography, I have a good sense of how much depth of field my telephoto lenses will deliver.

Assign DOF Button A Different Function

The DOF preview button is located in a very prominent place at the back of my camera. DOF preview naysayers recommend that photographers assign a different function to the DOF button so that this prime real estate doesn’t go to waste. Canon makes it simple to re-assign buttons to suit your preferences. I’ve changed the DOF button to toggle AI Servo Focus when held down–something I find much more useful.

To read more about Depth of Field, press this link.

To read more about Brown Thrashers, masters of avian acoustics, press this link.

Surprised by a Snow Bunting on the Beach

Looking for Late Avian Migrators

It’s deer hunting season, so I’m searching for alternative birding locations where I won’t hear (and worry about) the cracking sound of rifles firing in the morning. There are plenty of county parks to explore– some wild and unruly, some with groomed hiking trails, clean bright bathrooms and wi-fi enabled resting areas. And then there’s the Lake MI shoreline. Birds can be found in abundance in all of these places.

Most of migrators have either passed through SW Michigan or have just started to arrive here for their winter stay. The list serves I subscribe to boast of sightings of unusual birds forced to seek shelter on the beaches during the recent 50 mph winds.

Photo of Snow Bunting
Snow Bunting.
ISO1600; f/8; 1/800 Second

A Walk on the Beach Without My Camera

My husband and I decided to check out the beach after the recent wind storms. This was one of those few times where I talked myself out of bringing my camera, due to the brisk winds and blowing sands. (Upon reflection, it was an ill-considered decision, given all the reports about blown-in migrating birds.) About 15 minutes into our walk, we spotted a lone mystery bird, whose shape and flight behavior did not match the shorebirds we usually see on the beach. We followed it to where it settled on the rocks. Could it be a Bunting? Immediately knew I needed to go get my camera.

My husband stayed to keep an eye on the bird’s location while I hastily plodded through the sand to the dune stairs – ran up 78 steps – jogged to the house – picked up the 300 mm 2.8 L II lens attached to my 7D Mark II DSLR camera already packed in a light case – ran around looking for my car keys – drove back to the dune stairs – dashed back down the stairs with the camera case on my back, and trudged back through the sand to where my husband and, thankfully, the Snow Bunting were waiting 20 minutes later.

Photo of Snow Bunting
Snow Bunting,
sitting on the rocks
ISO1250; f/7.1; 1/640 Second

Stray Light Hitting the Sensor

This Snow Bunting sheltered himself from the blowing sand by perching on top of limestone rocks put in place to protect the dunes from erosion. He was decked out in his non breeding plumage and looked weary- but wary enough keep me at what he considered to be a secure distance.

Snow Buntings are arctic birds who make their nests in the cracks and crevices of the rocky tundra. According to web resources, it is not uncommon for these birds to winter in Michigan along the lakeshore, as well as in grassy fields.

The Snow Bunting let me photograph him for 10 minutes. The sun was high in the southeastern sky, and I was facing east toward the dunes. I could see that stray light was hitting the sensor and causing unwanted streaks of lens flare on my images. I draped a microfiber dust cloth over the camera’s eyepiece and continued shooting.

I took small steps and eventually got on my knees in an attempt to change the angle of the lens and trajectory of the light on the images.  He was watchful and very patient, but eventually, I must have taken one step too close because he ducked inside the rock crevices and stayed there.

Take the Camera!

This adventure is another reminder that I need to take my camera along whenever I go for a beach walk, or any walk, especially when the light is favorable and conditions are optimal for spotting and photographing new birds. While it may be inconvenient and uncomfortable to lug that equipment whenever I go exploring, that’s what it takes to expand my portfolio and grow as a photographer.

See this post to read about lens flare.

See this post to read more about Snow Buntings.

Photographing Northern Parula Warblers and Thoughts About Aperture Priority

Welcomed New Warblers

A couple of Northern Parula Warblers passed through our yard during fall migration — in mid September and again in early October. These little warblers have a preference for building their homes in Spanish Moss and are not known to nest in SW Michigan. Both Parula visits were quick, and happily, long enough for me to get off a couple shots to confirm ID at Whatbird.com.

Photo of Northern Parula Warbler
Northern Parula Warbler
ISO800; f/5.6; 1/500 Second

Auto Exposure Controls

Birds are constantly on the move, flittering and soaring in and out of the light. Most migrating warblers are around SW Michigan for a very short time, if they come at all. This unpredictability has led me to photograph birds mostly in Manual mode, where I feel I can respond the quickest. I rarely rely on my camera’s P, Tv or Av auto exposure controls.

Aperture Priority

I’ve wondered why so many bird photographers whose work I admire prefer to shoot exclusively in Av mode. In Av, the photographer sets the Aperture and the ISO, (unless Auto ISO is engaged) and the camera automatically sets the fastest shutter speed “allowed” for proper exposure, based on the cameras exposure calculations. (NOTE: The exposure settings the camera chooses appear in the viewfinder.)  

A function that constantly patrols the light and sets exposure instantly is definitely advantageous, especially during those times when you can predict strong light and relatively unperturbed birds.

Functions to Enhance the Utility of Av Mode

User intervention tools are available on modern DSLR cameras that help make auto exposure settings more practical and precise in delivering consistent exposure. If the photographer is uneasy about the uneven light and the constantly changing automated readings while in Av mode, she can always tweak the auto exposure system by:

  • Engaging Exposure Compensation (+/-). EC allows you to quickly adjust exposure by darkening or brightening the image. In Av mode, the camera will then respond by re-adjusting the shutter speed (or perhaps cranking up the ISO if Auto ISO is engaged) to get the shutter speed up to an acceptable level. (NOTE: See this link to learn more about EC. Remember, EC is NOT active in Manual mode).
  • Pressing the “AE Lock-Hold” to temporarily put a hold on the Av. The camera’s AE Lock-Hold button tells the camera to retain whatever light readings auto exposure took immediately before pressing the AE lock and hold them until you press that button again. This is especially useful if you want to recompose a shot and not worry about the Av mode changing exposure because it is reading different light values when you recompose. AE Lock-Hold is only available in P, Tv or Av modes.
  • Setting the Metering Mode. The camera’s auto exposure readings will be based, in part, on the metering mode you have set- Evaluative, Partial, Spot, or Center Weighted. Selecting an appropriate metering mode for the scene will go along way in helping auto exposure to correctly set exposure.

Concerns About Using Av Mode

  • After using EC, I have to remember to set EC back to “0” so Av doesn’t keep compensating exposure 2 or 3 or 4 stops during my next set of shots.
  • If I’m making exposure adjustments to auto exposure by using EC and AE Lock Hold, the convenience of Av mode is somewhat diminished. Setting Manual exposure on-the-fly is as convenient for me as fiddling with the various tools to over ride initial Av auto exposure readings.
  • I have learned over the years that that my long lenses have very shallow depths of field…. to the point where I feel the need to close down the aperture on my 500 mm lens to f/8 or more. In low light, that tight aperture setting would give the camera’s auto exposure mechanism only a few options –options that may include setting a shutter speed that is just too slow for bird activity. If the shutter speed gets slow enough, even built-in image stabilization and a steady tripod would not prevent blurred images.

Whatever it Takes to Nail Exposure

Of course, whenever a challenge is posed when photographing birds, it doesn’t matter what exposure mode you’re in…. you’ve got to think fast to nail exposure. Clearly, some excellent nature photographers feel they have an edge when using the camera’s Av mode. That’s all that matters.

Photo of Northern Parula Warbler
Northern Parula Warbler.
Spot Focusing helped me lock focus
on this warbler’s head
and blur the Leaves
in forefront and background.
ISO1000; f/5.6; 1/500 Second

Press this link to read more about Manual Mode.

Photographing the Wilson’s Warbler and Thoughts About Image Size and Quality


Photo of Wilson's Warbler
Wilson’s Warbler, with That Tar Black Crown.
ISO1250; f/4; 1/400 Second

The male Wilson’s Warbler is no doubt one of the easiest warblers to ID. It’s hard to miss that black swash atop the forehead of this little wood warbler, made all the more stunning against his coal black eyes and bright yellow face. We don’t see them in SW Michigan except during migration cycles. One or two show up in our yard each year, usually traveling in mixed flocks of other small transients.

Camera Settings for Image Size and Quality

I photographed this male Wilson’s Warbler in RAW, full blast-(22M-resolution and 5760×3840- width and height pixel dimensions).  When I first started in bird photography, it was not uncommon for me to lower the image size/quality settings on my camera for “people” shoots, and then forget to switch it back when I went out to photograph birds. One time, after a particularly bountiful bird shoot, I discovered that my camera was set on the Canon “S3 JPEG” setting – which means 0.3M resolution with 720×480 width and height pixel dimensions.  It took me a while to figure out why detail was sparce and why I could not zoom-in closer to some far off birds in post processing. That day I went from proud and hopeful exhilaration to crushing defeat.

Image Quality Set to the Max

It’s impossible to predict how close the birds will come to the camera, and since most of them are tiny, it’s best to be as prepared as possible for distance shots. One of those preps involves setting the image size and quality to the maximum. (22.3MP raw image on my 5D Mark III and 20.2 MP on my 7D Mark II.) I like having that edge to zoom-in when needed and still maintain some quality. This setting does add a lot of time to my post processing workflow and backup routines because the file sizes are so large. I’m willing to put up with all the extra file management, just in case I need it.

Shooting Double Images With One Click

If you don’t worry about storage space limitations and management hassles, most advanced DSLR cameras allow you to shoot double images with one press of the shutter.  The RAW + JPEG setting allows the photographer to take one RAW format image (in an assortment of sizes) and one JPEG format image, also in an assortment of sizes. The size setting for the JPEG images will control both the resolution (as displayed in the pixel dimensions–720×480) and the compression quality. On the Canon DSLR camera menus, higher quality JPEG images are noted by the smooth quarter circle – medium quality is indicated by a quarter circle with “stair steps”. The JPEG compression algorithm will discard more data when you choose medium quality…. and produce a smaller file.

Photo of Wilson's Warbler
Close up of the head and face
of the Wilson’s Warbler,
Showing That Tar Black Crown.
ISO1250; f/4; 1/400 Second

Two-Slot Separate Storage

For those DSLR cameras that are equipped with two-slot storage (one CF slot and one SD slot), the photographer can specify the card on which to save JPEG files and the card on which to save RAW files. This is very handy for those times when you wish to share the JPEG copies more immediately, and still retain the RAW copies for later post processing. The dual storage solution is convenient when traveling, especially when the computers available to you for image review can not read RAW format without widgets and downloads.

NOTE:  Whenever you engage both disk storage options, the camera’s disk recording and saving slows down considerably, especially during bursting.

Comfortable with Shooting RAW Only

When I’m close to home, I almost never set the camera to shoot double images. Too much time and effort are needed to manage (sift through, sort, delete, backup) one copy of my photos in post processing, let alone two. When I need a JPEG, it’s a simple process to generate a JPEG file from the RAW file and then export it. 

To read more about Bursting, visit this blog posting.

Photographing the Golden Crowned Kinglet and A Quick Exposure Check

An Uncommon Visitor…the Golden Crowned Kinglet

This is the first identifiable image of a Golden Crowned Kinglet that I have ever photographed. Vary rarely, I see this tiny songbird with a flashy yellow/gold patch on his crown, flitting in and out of the camera’s view, but never long enough to actually get a recognizable shot. Golden Crowned Kinglets behave like Ruby Crowned Kinglets – quick, fluttery and constantly on the move. They rarely sit still long enough (even when eating insects) to give the lens time to lock focus. I felt very lucky to get such a close-up shot.

Photo of Gold Crowned Kinglet
An Uncommon Visitor
The Gold Crowned Kinglet
ISO1000; f/5; 1/400 Second

The Potency of Light

After many years of photographing birds, I know quite a lot about the different lighting scenarios in my yard…. how the intensity and color of light transforms with the seasons and the time of day.  I also know how quickly the potency of light can change during a photo shoot and ruin exposure.

A Quick Exposure Check – the Meter Bar

Modern DSLR cameras are equipped with sophisticated multi-point TTL (through the lens) light meters designed to collect and measure the light coming through the lens. One way photographers can quickly check the exposure reading is by glancing at the meter bar (a bar with regular intervals marked) in the viewfinder. If the needle indicator is in or near the 0 position, at the midpoint of display, then the correct exposure is set. If the needle is leaning to the right, the image will likely be overexposed. If it’s leaning to the left, it will be underexposed. (NOTE: On most DSLR cameras, the meter bar can be set to appear in the viewfinder on a horizontal or vertical display.)

This meter bar is designed to be informational only. It will not change the exposure parameters set in Manual mode by the photographer.

Metering Mode Impacts Meter Bar

Exposure readings that you see on the meter bar in your viewfinder are based on the metering mode you set. The metering mode tells the camera how to read the light. Canon cameras have 4 metering modes: Evaluative, Partial, Center Weighted Average, and Spot Metering.  See this post for more information on metering modes.

A Through-the-Brain Light Meter

A few professional photographers who I follow claim that they use their own eyes as sensors to read the light. They do not rely on battery powered meters which may trick them into faulty exposures during their shoots. They prefer to rely on their imagination and years of serious study and experience to evaluate the intensity and color qualities of light and then set exposure accordingly.  Pretty cool.

Photographing Black Throated Green Warblers and Understanding the “Blinkies”

Photo of Black Throated Green Warbler
Black Throated Green Warbler
Not Much of a Black Throat- Possibly a Female.
A More Balanced Light in the Background.
ISO1600; f/4.5; 1/640 Second

Overpowering Background Light

I photographed this Black Throated Green Warbler in late afternoon on a bright day when the bird was perched high in the Serviceberry tree. My lens was pointing up, and I could see the bright patchy sky in the background was confusing the sensor. (See photo below.) The highlight alerts confirmed that these backlights were overexposing the images, rendering certain areas with little or no detail. These colorful warblers don’t come around that often, so I had to quickly adjust exposure to let in less light— but not to the point where the bird registered as too dark. I also had time to switch the metering mode from Evaluative to Partial Metering, which helped the sensor better read the important areas of the image.

Photo of Black Throated Green Warbler
Black Throated Green Warbler.
Exposure Adjusted While Shooting and in Post
Processing to Offset Bright Background.
ISO2500; f/5; 1/500 Second.

Highlight Alerts

A Highlight Alert is basically a quick check of overly bright areas (overexposure) on the image. If you have turned on this option on your DSLR, you will see blinking alerts on your review screen after you’ve taken the photo. If the alert is not in an obvious or important portion of the image, the patch of overexposure does not matter. Ignore the blink and stick with the initial exposure readings. If the blinkies cover large areas of the photo, it’s probably best to quickly adjust your exposure settings. If there’s time and opportunity, move to a different location and reshoot.

As happens so often in bird photography, you may be in a situation where you have no choice but to move quickly and precisely and consequently, you have no time or opportunity to check highlights and reshoot. After all, ignoring the highlight alerts may not be a problem, assuming you shoot in RAW and make exposure adjustments in post processing.

Photo of Black Throated Green Warbler
Black Throated Green Warbler.
He Hopped down to a Lower Branch, so I was
able to tilt my lens away from the bright background.
ISO2500; f/5; 1/500 Second.

The Thrill Can Be Distracting

The more time I spend behind the camera, the more adept I am at recognizing when harsh background light will cause a problem with the sensor correctly gauging exposure. Nevertheless, I keep the highlight alerts on my camera turned on because the excitement of photographing a new bird can distract me to the point where I’m not paying attention to conditions that can mess up exposure readings.

The best way to check overall exposure while in the field is by checking and correctly reading the histogram. See this post for more information.


Black Throated Green Warbler
With Flash.  Photographed in Fall, 2018 
ISO400; f/7.1; 1/200 Second


Photographing the Ruby Crowned Kinglet – Up Close

More Light- Fewer Leaves

The sun filtering through the trees was bright… no doubt because the canopy of deciduous  trees above my house is full of holes left from fallen leaves. The migrating birds can not hide as well on the branches closest to my house, but a few tired and hungry ones still come to rest and replenish.

Photo of Ruby Crowned Kinglet
Ruby Crowned Kinglet
ISO1250; f/5.6; 1/500 Second

The Photographer as Wallflower

On windy days, it’s interesting to watch and wait for migrating birds to descend (seemingly out of nowhere) upon the trees nearest to my library windows. Whenever a cluster of clamorous titmice or chickadees come together to hop about on the Serviceberry or Redbud, I crouch behind my camera and wait for the vagrants to join the frenzy and alight on the same tree. Most of the time one or two come to see what all the fuss is about. (Safety in numbers?) Then, quiet as a wallflower, I point my long lens at the partygoers and join in on the fun.

Up-Close Detail with Telephoto Lenses

You don’t need a dedicated macro lens to capture fine detail in your images. Telephoto lenses allow you to magnify the details while not invading the comfort zone of your bird subjects. My Canon 500mm II f/4 L lens has a remarkably close minimum focusing distance  (12.4′ or 145.7″). Combine that with the narrow field of view that comes with amplification and you’ve got superior image quality.

Too Close for AutoFocus

This Ruby Crowned Kinglet came in so close to the camera that autofocus was not quite capable of achieving focus. Assuming the kinglet would stay close, I had to make a quick choice…. either physically pick up the camera and tripod and back it up a couple inches or turn on Manual focus and hope that the minimal focusing distance would decrease just a touch and allow me to manually nail focus. The light and contrast on the scene were very good and would allow auto focus to work optimally. I went with picking up the tripod and moving back – and then letting the autofocus do its job.

Photo of Ruby Crowned Kinglet
Ruby Crowned Kinglet.
A Closeup View of His Ruby Crown.
ISO1500; f/5, 1/500 Second

Does Manual Focus Decrease Minimal Focusing Distance?

There are lots of sites on the web touting the advantages of using manual focus over auto focus. One such benefit is giving the photographer a slight close-focusing edge by reducing the len’s minimal focusing distance. Later I did a quick (and unscientific) experiment to determine if switching to manual focus would reduce the minimal focusing distance of the Canon 500 L f/4 II lens. I fixed the lens on a bird perch spot right on the edge of where I knew auto focus could not achieve focus because it was a 1/2 inch or so too close to the lens. With the lens locked in place on the tripod, I turned off autofocus and tried to manually achieve focus on that spot. No luck. Manual focus didn’t seem to give me any advantage in the shorter distance category.

Just as well. I depend on fast auto focusing technology almost every day.

To read more about fast focusing technology, press this link.

To read more about close-up photography with telephoto lenses, press this link.


Photographing Magnolia Warblers and Thoughts About Camouflaging Your Telephoto Lens

Camouflage the Camera and Lens

Lately I have been researching online, trying to learn more about the art of stealth. I wish to camouflage my lenses with water resistant neoprene, similar to the stuff that wraps my bird blind and lens pouches.

Photo of Magnolia Warbler
Magnolia Warbler
Cautiously Taking a Look at the
Photographer and Camera.
ISO800; f/4.5; 1/400 Second

For the longest time, I convinced myself that I did not need to cover these bright white Canon telephoto monsters- that the birds just ignored them and did not need to feel more comfortable to perch a little closer. That’s just not the case.

Why Blend?

In bird photography, you must avail yourself to every advantage to keep the birds coming in close to the camera. Over the years, more and more migrating birds have been stopping off in our yard to rest and replenish. I have posted dozens of photos of these transients on my website and my flickr albums. I’m betting that if I make an effort to camouflage my equipment, more birds will come.

Photo of Magnolia Warbler
Magnolia Warbler
ISO1250; f/5; 1/500 Second

Options To Better Blend

First of all, why doesn’t Canon offer a painted-on camouflage lens option when they sell their professional photography equipment?  It’s true that third party vendors do market simple, pre-made lens wraps (for ridiculously big bucks) specifically designed for each brand and size of telephoto lens.  I just can’t bring myself to pay $100+ dollars for that stuff.

Since Canon will not step up, here are a few options for a photographer and her equipment to blend better into the birds’ natural environment:

  • Break the bank and buy a pre-made, form fitting, no adhesive, sleeve like and waterproof Neoprene lens covers. Lenscoat.com has options to protectively cover all your camera equipment (for $100+). Their website looks like a good place to start.
  • Conceal everything by throwing a green/brown cotton scrim net (with military pattern) over yourself, the camera and long lens. (Sort of like Harry Potter’s Cloak of Invisibility.) Lots of different sizes are available. The 42″ by 78″ costs $12.00 and is available at Amazon. This netting covers head to toe and is the most likely solution to conceal movement of the camera and photographer.
  • Make your own. One particularly ingenious photographer has designed his own home made, cloth camouflage jackets for his lenses. He has shared step-by-step directions at his website at this link.
  • Investigate Camouflage Gaffers Tape: 2 in. x 60 ft. in woodland forest green for $20 at Amazon. This will adhere vigorously to any lens. The manufacturer claims that Gaffers tape will leave no sticky residue when removed.

Working on The Art of Stealth

Billions of diverse species of birds migrate in the Spring and Fall, and we are very close to a major migration corridor along the shores of Lake Michigan. I am convinced that there are many more bird species near our yard that I can not see, birds that are not so approachable; birds who can no doubt see me with their keen eyesight and observation skills and consequently steer clear of the camera. To be a more effective photographer, I’ve got to do more to hide myself and the camera.

To read more about photographing Magnolia Warblers using manual focus, visit this blog posting.

To view the migrating birds that came through our yard last year, visit this post and this post.


Photographing a Blue Headed Vireo and Thoughts About Fast Lenses

Exposure Tradeoffs

We all know the low light exposure conundrum. The more you open up the aperture, in any lens, but most especially in long telephoto lenses, the more shallow (to the point of being razor thin) your depth of field becomes. With bird photography, that means (depending on the pose) that much of the bird’s little body is simply NOT in focus.

When I’m out in the State Game Area in the early morning, there’s usually lots of glorious sunshine allowing me to tighten up the aperture to 8.0 or smaller. Here at home, light filters down on a sunny day to accommodate a comfortable aperture of f/5 (with low shutter speed –assuming there’s no wind– and relatively high ISOs). But when it’s cloudy and rainy, the aperture on my 500 mm f/4L II IS lens  is mostly wide open. I could swap out lenses and use my 300 mm lens (2.8 L wide open), but then I sacrifice amplification. I’d much rather have high noise in an image that does not need cropping/zooming in post processing.

Photo of Blue Headed Vireo
Headshot of Blue Headed Vireo.
Beak and Eyes are in Focus, But not Much Else.
ISO1000; f/4; 1/500 second.

What’s a “Fast” Lens?

Lenses on which the aperture opens wide and thus allows more light on the focal plane are referred to as “fast” lenses. The more that aperture can open to let in more light, the “faster” the lens. The more light transmitting through the lens, the more flexibility with exposure parameters the photographer has.

NOTE: In aperture speak, when you “stop down”, you are letting in less light…. making the aperture smaller (by moving to a larger number)– and consequently, getting a deeper depth of field. Remember: The f/ represents the size of the hole allowing light into the lens. The smaller the f number, the larger the aperture.

Shallow Depth of Field

When I was photographing this Blue Headed Vireo, I had the 500mm lens wide open to f/4. See photo above. The head and eyes of the vireo are sharp because those bird parts were within the in-focus DOF arena. Those bird parts that were too close or too far away from the sensor are blurred because at f/4 there are only a few millimeters on which to lock focus.

To get an idea of how thin your depth of field can be at wide open apertures, see this DOF calculator. And, of course, if you want this information readily available in the field, there are DOF calculator apps available for iPhones and Droids.

Entire Subject Parallel to the Sensor

In the photo below, shot at f/5, most of the bird’s body is parallel to the sensor, and consequently, overall sharpness is good.

Photo of Blue Headed Vireo
Blue Headed Vireo.
Another Day, A Little Brighter.
Aperture Stopped Down, Just a Touch.
ISO2000; f/5; 1/400 Second

A Good Telephoto Lens

High end prime (fixed) lenses are usually “faster” than zoom lenses. Faster lenses are usually larger, heavier (I usually prefer a tripod with fast 300mm+ lenses) and much more expensive because of the sophisticated optics and highly responsive autofocus and metering technology incorporated into these lenses. A good telephoto lens will always be distinguished by its largest aperture setting. On a cloudy day, that means a lot.

To read more about image sharpness, please press this link.