Category Archives: Dickcissel

Photo of Young Yellow Warbler

Photographing Birds That Have Flown the Nest – Part II

A Most Dangerous Time for Birds

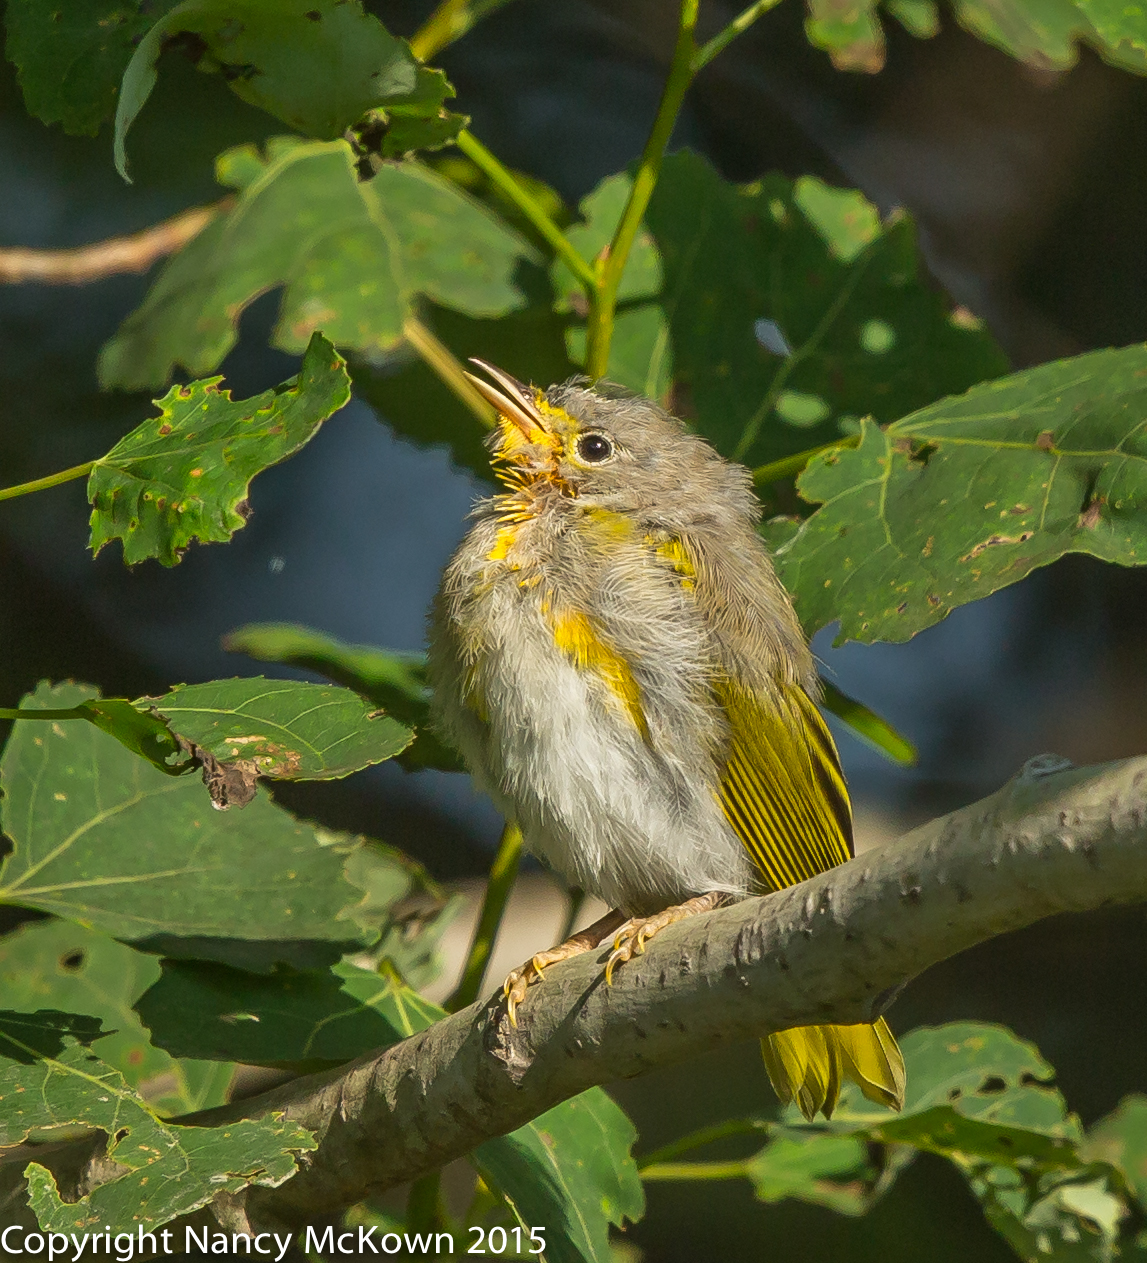
The birds in our Certified Wildlife Habitat® are mostly “Temperate Altricial Birds”. They are helpless, naked, and dependent after hatching…..not unlike human newborns. When these fledglings finally do leave the nest, they stay hidden in the brush as best they can, peck at an insect once in a while, remain motionless when threatened, and depend on the parent to stuff food in their faces. Soon enough, the parents have to stop feeding them in order to direct resources to the new nestlings or to migration readiness. The fledglings must then survive on their own.
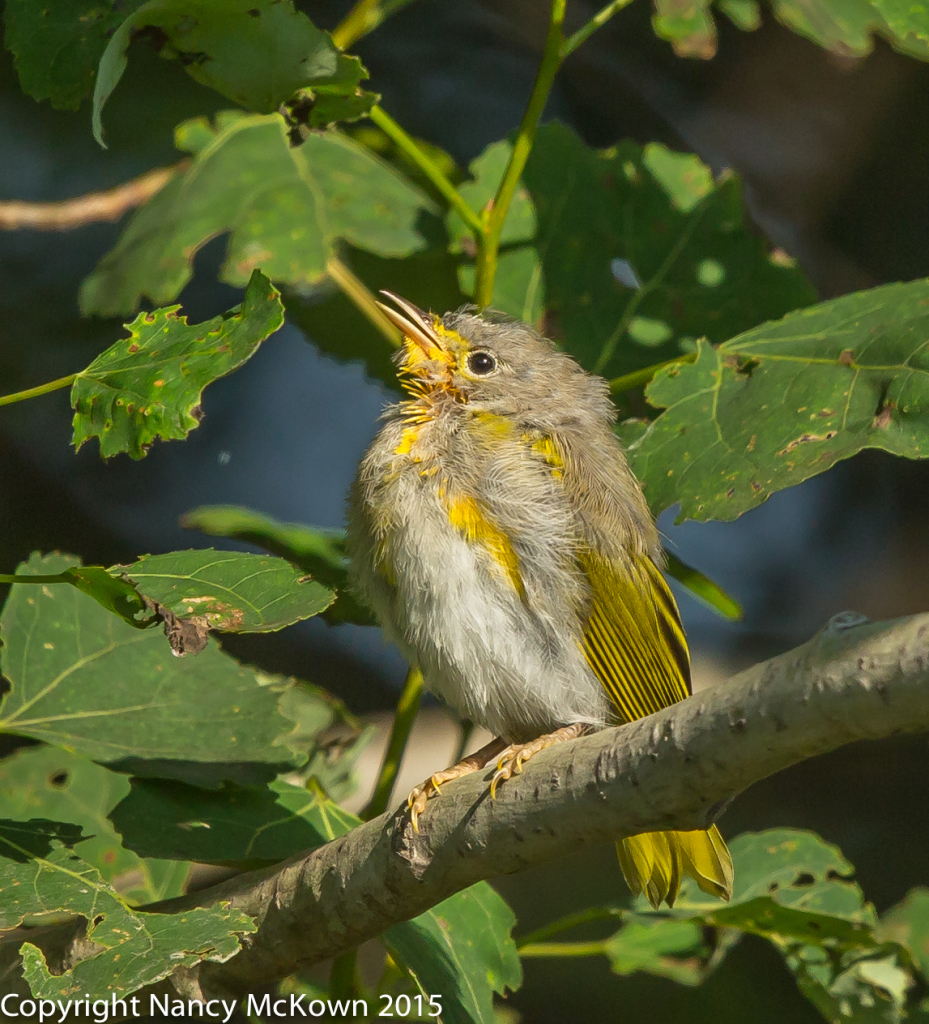
Photo of Young Yellow Warbler
Fledging Yellow Warbler,
looking very new.
ISO800; f/8; 1/1000 Second

NOTE: Altricial means requiring nourishment. Altricial birds are very different than “precocial” baby chicks; those who hatch from their protein rich eggs in a more developed fledgling state. Precocial baby chicks are mobile almost immediately, feed on their own and are not waited on in the nest. Quite a different set of responsibilities for the parents.
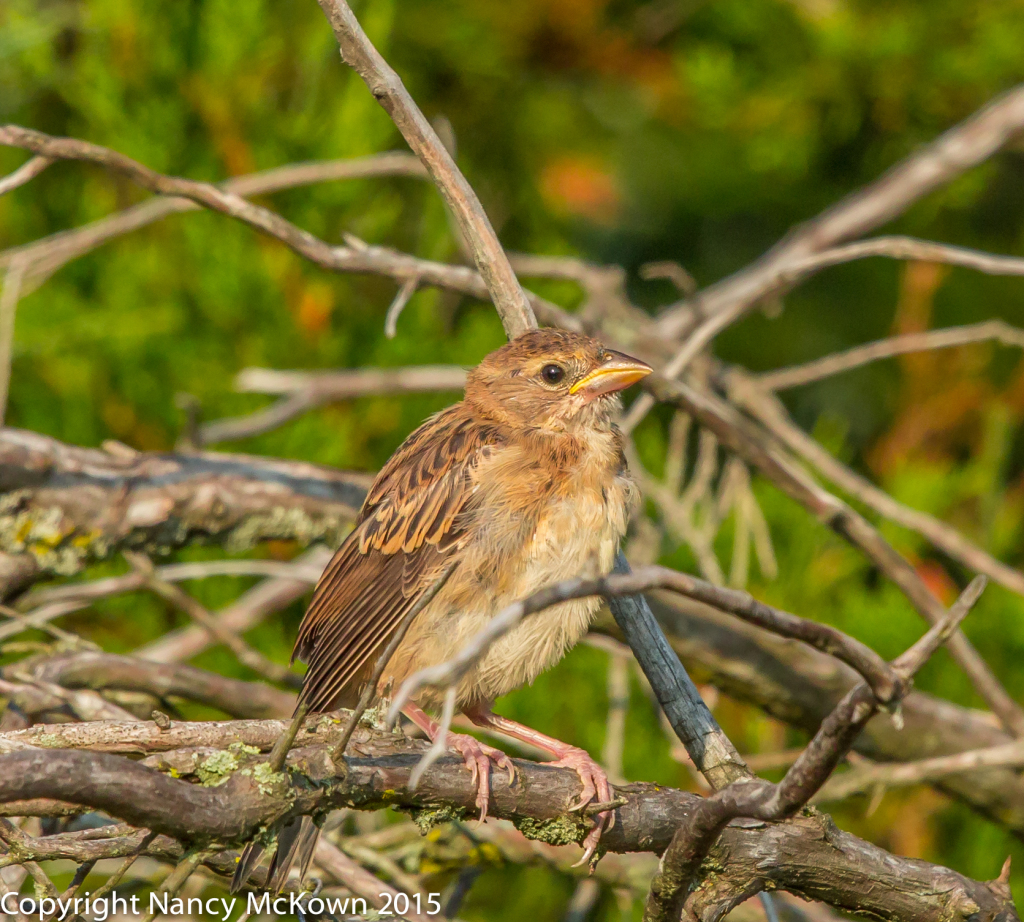
Photo of Fledging Dickcissel
Fledging Dickcissel, looking rather
vulnerable and watching for a parent.
This Little Bird is Perched Out in the Open,
Making Him an Easy Target for Predators.
ISO1250; f/11; 1/1000 Second
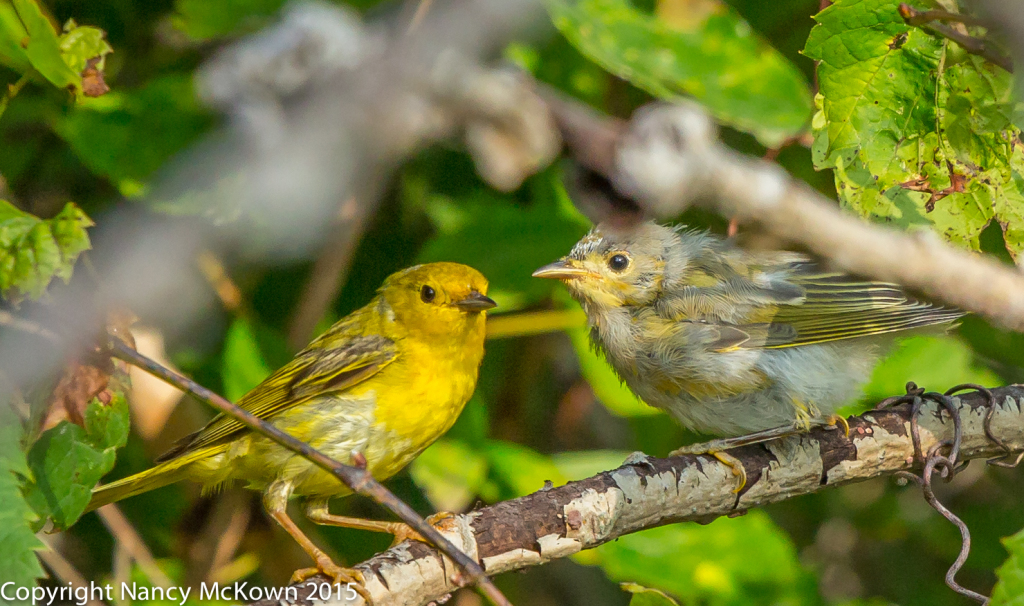
Photo of Parent and Young Yellow Warbling
Yellow Warblers, Parent and
Fledging. Sometimes the Only Way to ID a Young Fledging
is to get lucky and photograph it with a parent.
ISO1600; f/8; 1/1000 second

Achieving Self Sufficiency

Fledglings face what is probably the most dangerous part of their lives. They are too big to remain inconspicuous in the nest. Their survival depends on the number of predators nearby, the weather, rate of growth and overall strength, and how competent they are at learning to forage for food and hide from danger.

It’s fascinating to watch and photograph these young birds as they beg for food and work to strengthen their flight feathers. Some of these photos show chicks that look extremely vulnerable, while others show fledglings that are clearly on their way to self sufficiency.

Young birds have to mature fast.  Migration is just around the corner.
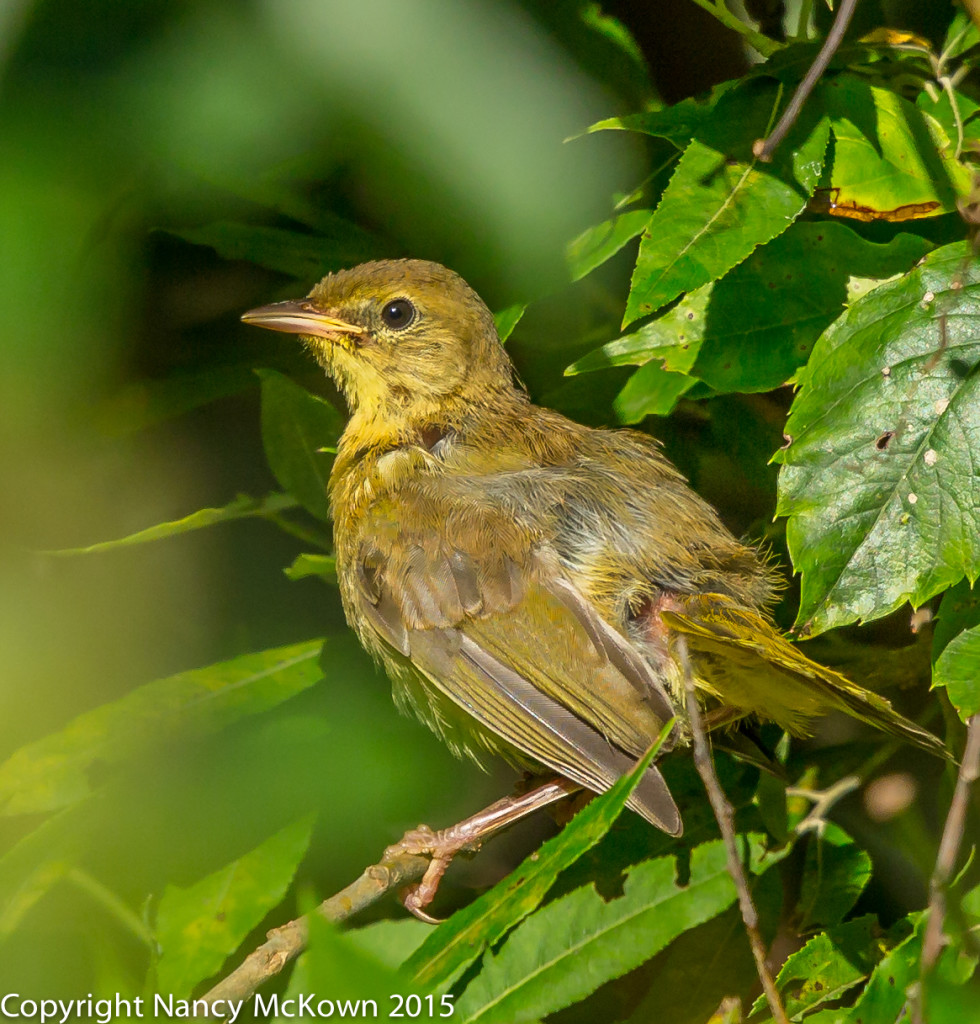
Photo of Common Yellowthroat
Juvenile Common Yellowthroat
Warbler.
ISO1000; f/8; 1/1250 Second
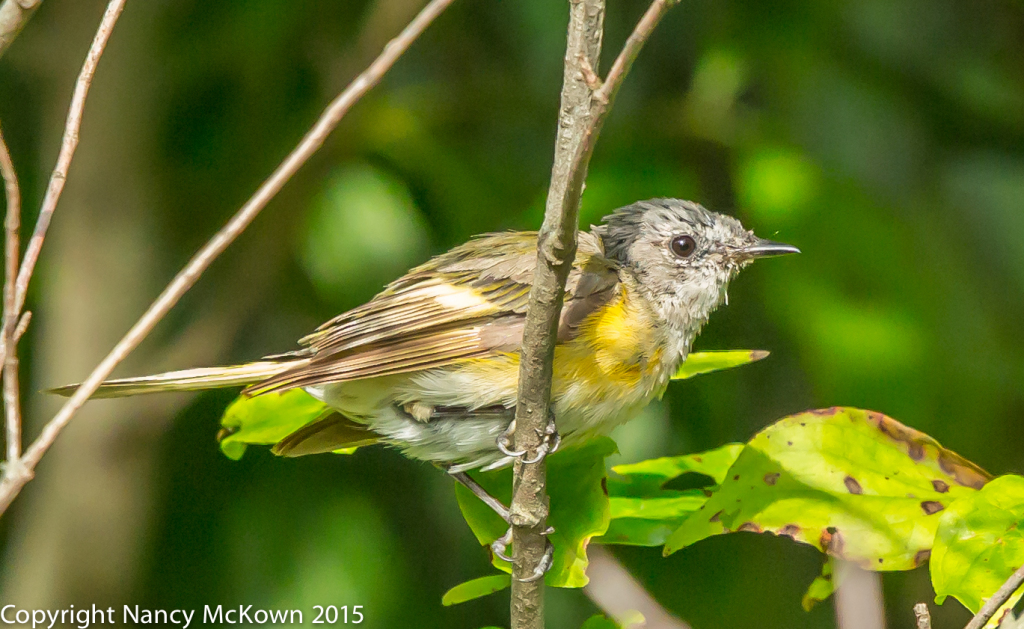
Photo of Fledging Female American Redstart Warbler
Fledging Female American Redstart.
ISO2500; f/8; 1/1250 Second

Young Birds are So Cute and Fluffy, But…..

For the birds’ safety, it’s prudent to keep your distance when photographing young birds. I do not search out or photograph birds still in the nest. When photographing birds that have flown the nest, I generally use my longest lens and stay hidden in my car or behind a blind. Young birds are rarely alone, and I don’t want to frighten them or their caretakers away.

As you can see from the photos, I found most of these fledglings hidden within dense foliage. I stayed in my car, rested the camera on the door window and maneuvered my long lens as best I could to get past the greenery and lock focus on the birds.

The Experts at Whatbird.com

It may be easy (and amusing) to recognize that a bird is young by its looks and behavior, but it is often difficult for me to identify the species of a young fledgling, especially if it’s a warbler. Young birds can look very different than the adults of the species. It helps if I look around to see if I can spot a caregiver and protector- and then photograph and ID that bird. I upload the photos to WhatBird.com for definitive ID before posting.

An excellent article on Fledging survival can be found at this link.
 

Photographing A Dickcissel and Field Sparrow – and Fun with Nik Plugins

Making Adjustments in Lightroom

Post Processing is a necessity for today’s digital photographer. I use Lightroom by Adobe. The fun part of bird photography is watching the birds in their natural environment and then sizing up the light, equipment and scenery to most effectively capture what I hope will be beautiful images. I don’t spend a lot of time with post processing chores. Usually, I just apply one or two global adjustments.

More Precise Post Processing Tools

At times, however, I recognize that more precise adjustments are needed to portions of my photos. For instance, some images just need a little light on one side of a bird’s face and breast, or just a tweak of sharpening around the outline of the bird’s head, while leaving the background blur alone. I was pleasantly surprised to learn how easy and effective it is to apply partial and subtle improvements to my images with specialized post processing tools.

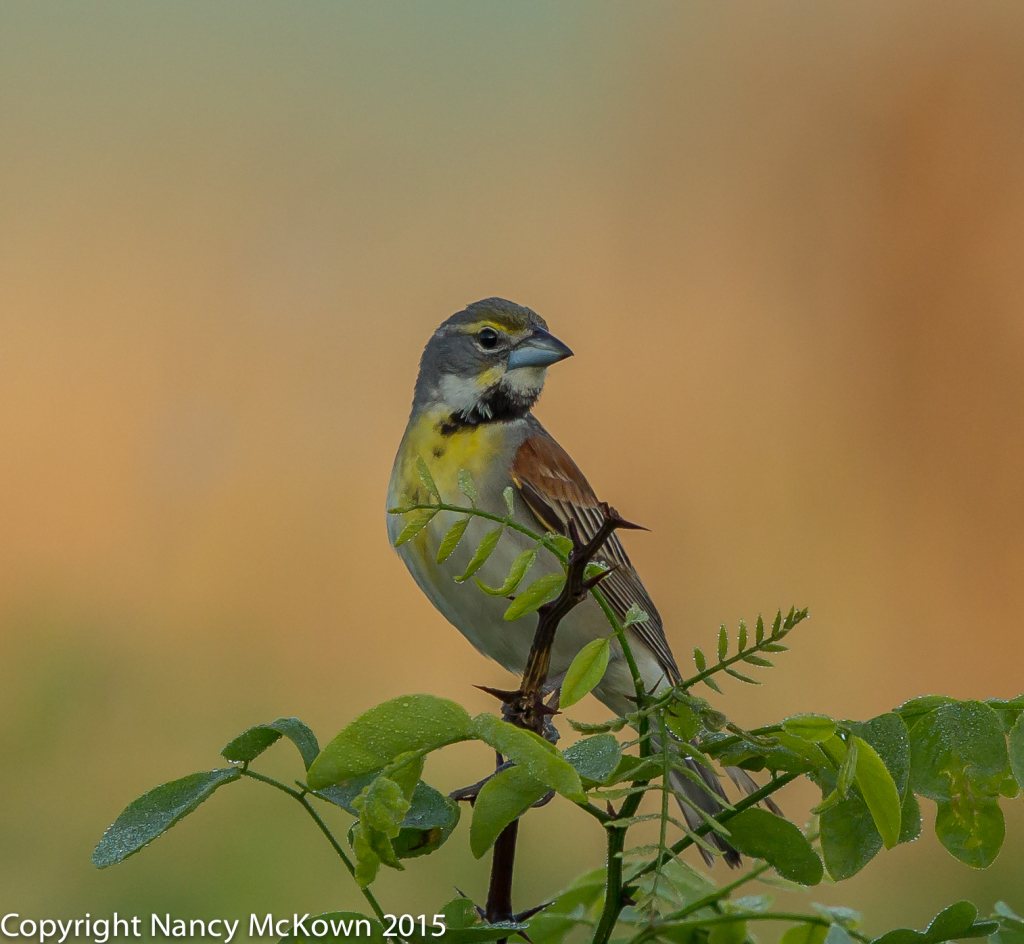
Photo of Dickcissel
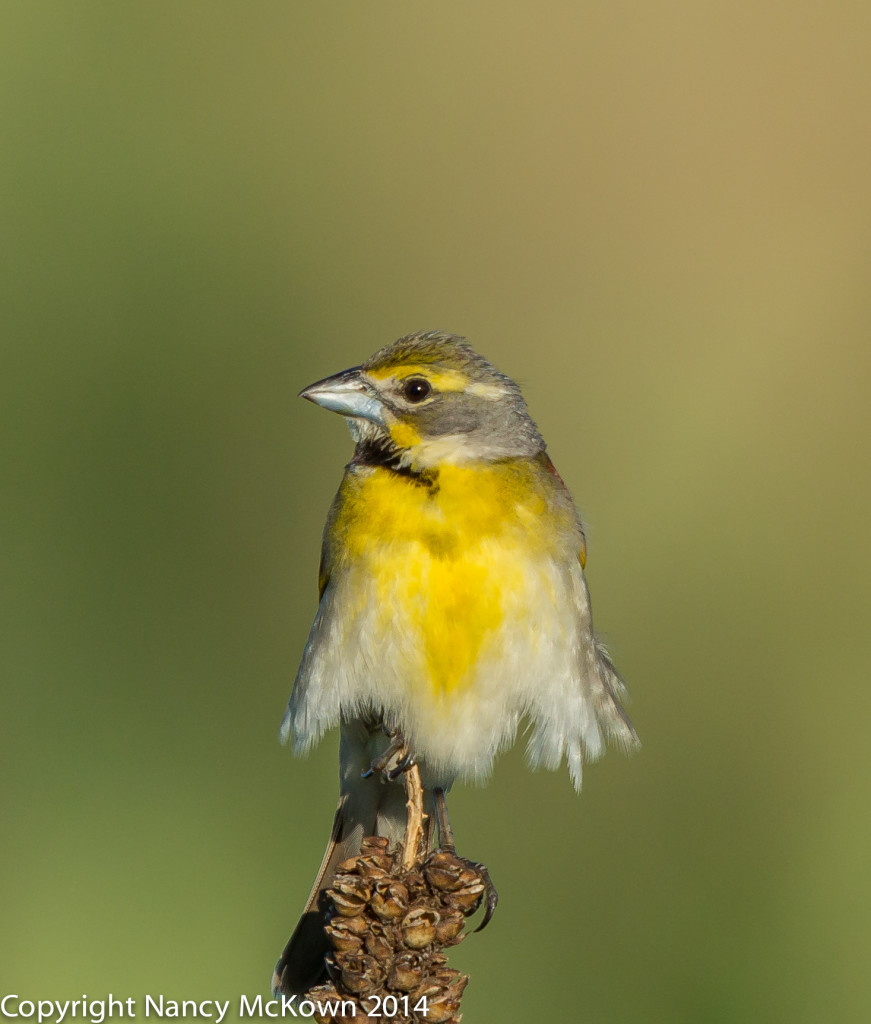
Male Dickcissel
Blurred Golden Grasses in the background
gave me the perfect opportunity
to use Nik to fiddle with the background color.
ISO800; f/8; 1/1000 Second

For the Artistically Inclined Photographer

A quick search on the web brings up several post processing toolchests that work with Lightroom and Photoshop. According to the reviews, these work well if you wish to selectively add a little drama through intensifying certain colors, or if you wish to fix one little thing so it draws the eye more (or less), or you want to massively change all aspects of an image to your liking.

I downloaded the 15 day free trial (no credit card required) of Nik Software, mainly because it came highly recommended by a friend. My favorite tool was Vivenza 2. You can purchase the package from Google for $150. It’s a good deal.

Warning: Artistic inclination is a must.

Nik Software, by Google

It was fun to play and it didn’t take long to figure out the functionality of the seven plug-ins included with NIK software.  These include:

  • Simulate the retro film emulsion look with Analog Effects Pro 2,
  • Selectively sharpen portions of the image with Sharpener Pro 3;
  • Selectively reduce noise to portions of the image with Define 2;
  • Selectively adjust color (and add borders) with Color Efex,
  • Selectively adjust brightness, contrast and white balance with Viveza 2
  • Be creative with black and white with Silver Efex Pro.
  • Process HDR images with HDR Efex Pro.
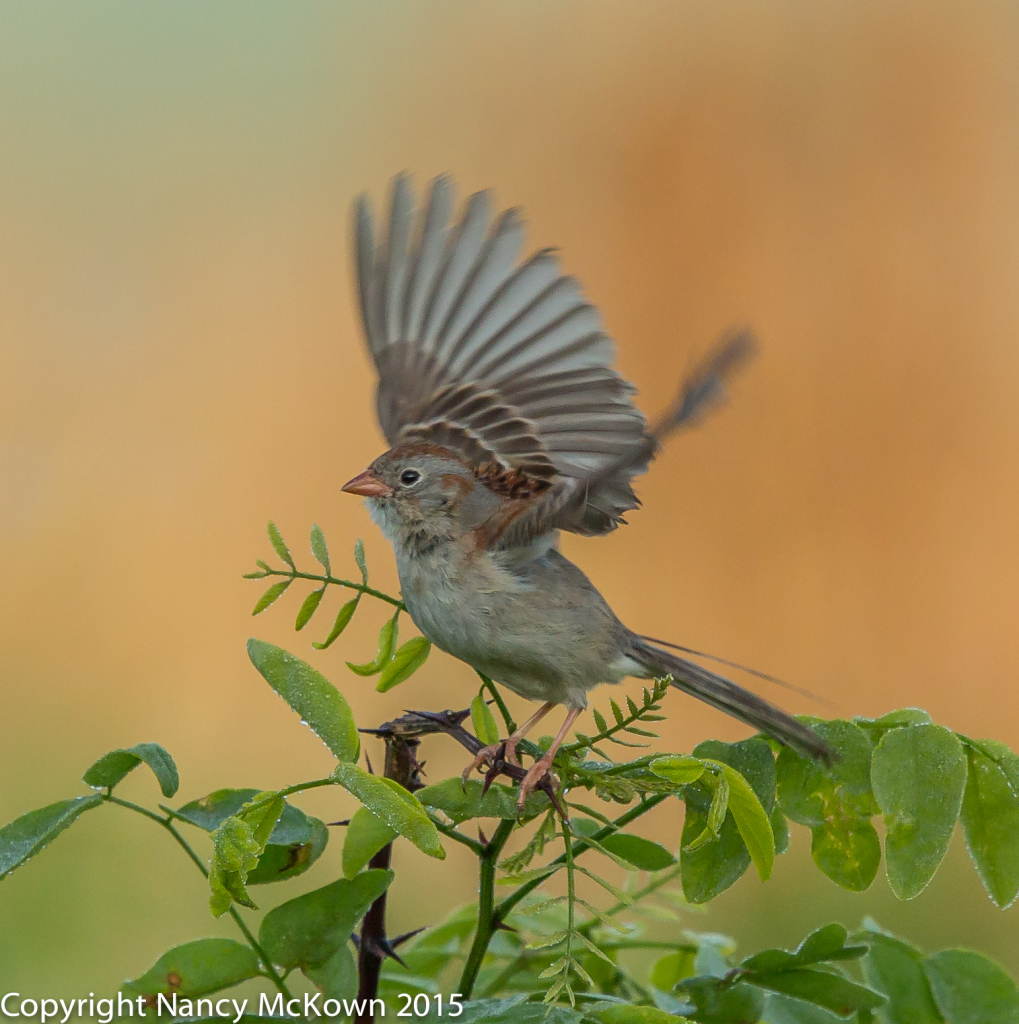
Photo of Field Sparrow
Field Sparrow
Coming in for a Landing
I sharpened the sparrows head and beak.
ISO800; f/8; 1/1000 Second

Shine Light into Dark Corners

Certainly it’s easier and more gratifying to get everything in the image perfect right when you snap the shutter. That doesn’t happen very often in bird photography. Lightroom does have the functionality to allow the user to tweak portions of an image by setting up “masks”, but I find that to be a tedious process resulting in unimpressive results. It’s so much easier to download a set of plugins that offers user-friendly options and good results. You can remove all or part of the adjustments if you don’t like them.

An excellent description and review of the Nik Software package by William Beem, is available at this link.

NOTE: 

NOTE: As of May, 2017, Google will not update the Nik software suite. Specifically, “We have no plans to update the Collection or add new features over time.” 

To read another blog posting on Dickcissels, press this link.

To read another blog posting on Field Sparrows, press this link

Photo of Dickcissel

Photographing Dickcissels and Auditory Bird ID

Photographing Dickcissels

The first time I looked through my lens and saw a bird with a large beak, yellow stripe cutting through the eyes and black patch stamped onto its bright yellow breast, I thought I had found a miniature meadowlark. This individual was easy to photograph because he was out in the open, flitting about on the grasses and occasionally landing on mullein flower stalks. As I continued to take photos, the bird rotated on his perch and his back side plumage came into view. From this angle, the bird began to look like a common sparrow. I was flummoxed and could not visually ID this bird out in the field.

Had I been a more practiced listener of bird song, I would have been able to ID the dickcissel because within his song is the pronunciation of his name.…..“dick-dick-cissel”

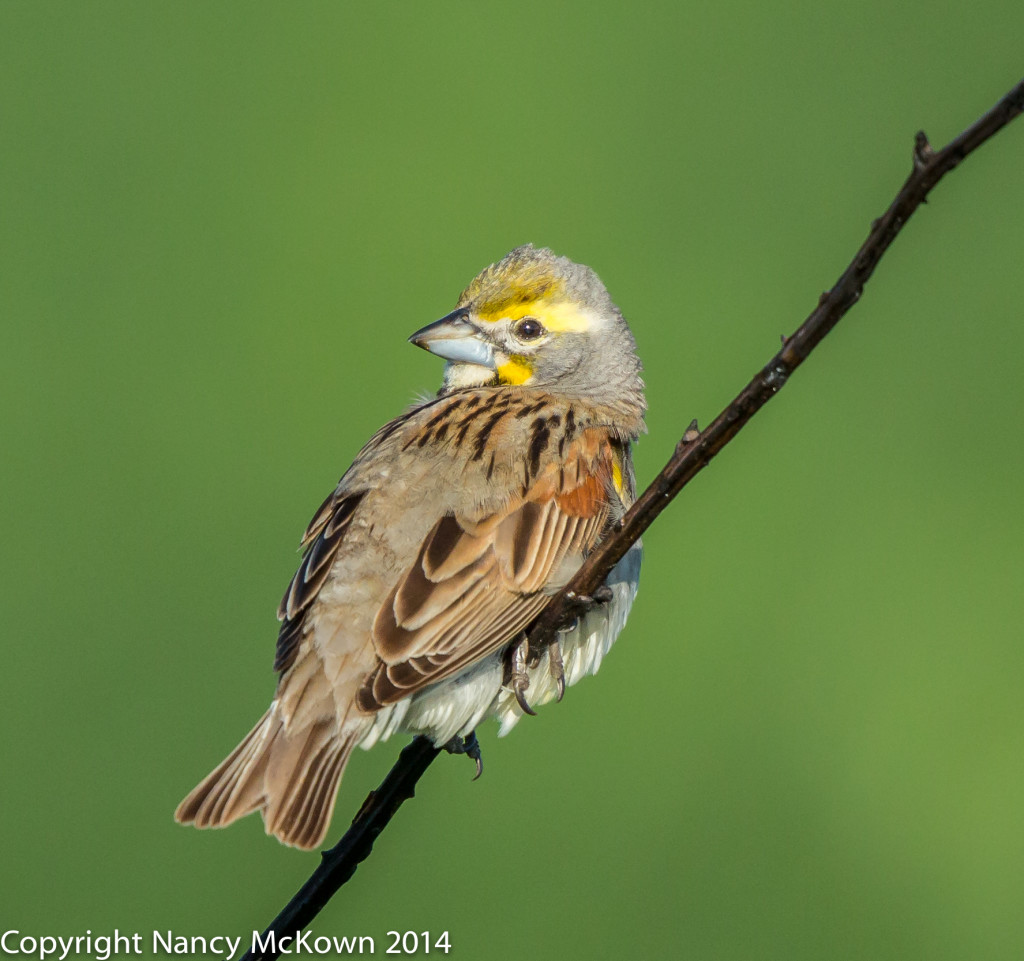
Photo of Dickcissel
Photograph of Dickcissel Perched on a Branch.
ISO 1250; f/8; 1/2500 Second

Auditory ID of Birds

Often, bird photographers don’t locate birds through their binoculars or the camera lens. They find them very successfully by listening and then tracking bird song. Auditory ID is a very useful skill for birders and photographers.

Many of the birders I know are not only excellent at visual ID, but can also tell what and where a bird is just by listening to its calls and songs. Watching these auditory blood hounds in action is fascinating. The best of them pick up and then isolate some far off bird tune carried in the wind, turn their heads toward the sound, dissect the rhythm, tone, pitch and repetition qualities, and come up with an auditory ID. They can do this even if there are dozens of different bird songs in the air. And remember, it’s not just a matter of matching and memorizing one distinct song for each species. There is tremendous variation in birdsong- just like the sizes, shapes, colors and patterns of the birds themselves. Many birds have 2, 3 or more distinctive songs. Some birds mimic other birds as well as sing their own distinct songs. Birdsong from the same species of bird can differ from region to region. These auditory bloodhounds are able to discern different dialects of the same song.

Impressive detective skills indeed.

Photo of Male Dickcissel
Dickcissel
ISO 500; f/9; 1/1250 Second
Photo of Male Dickcissel
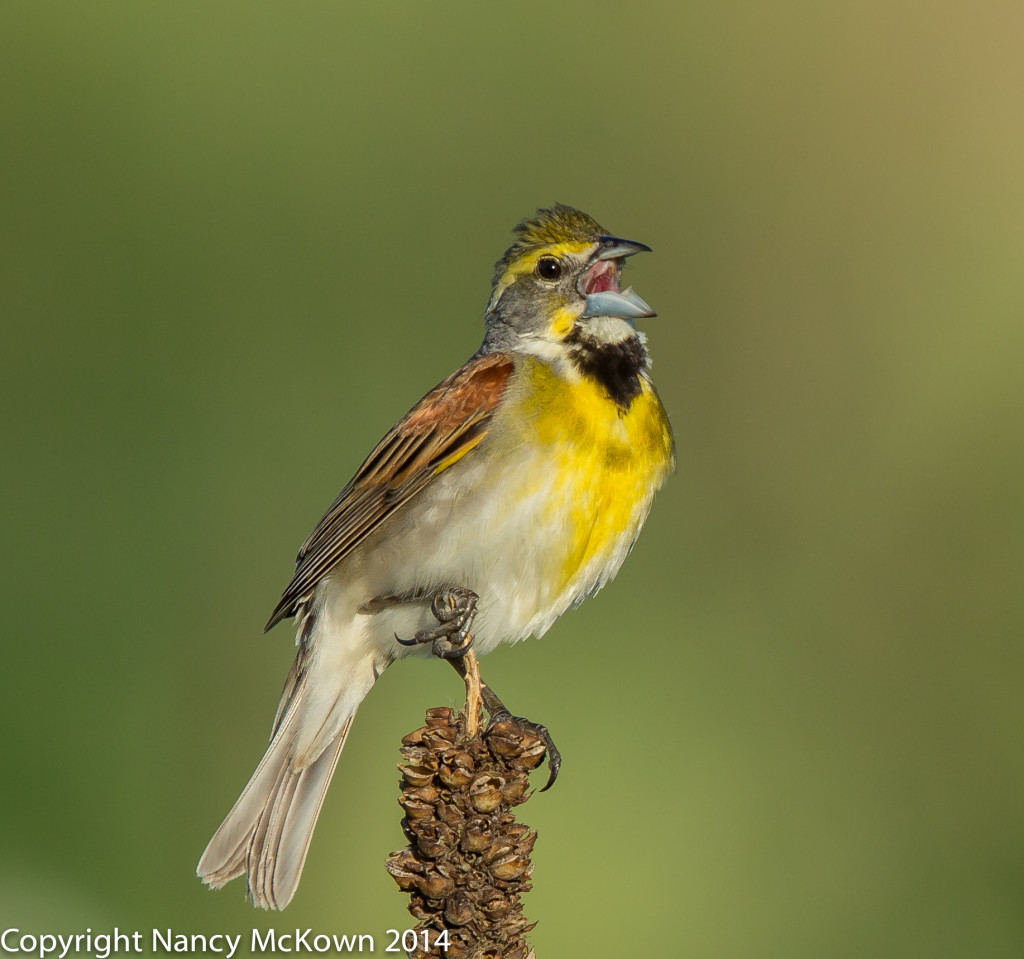
Dickcissel Singing His Heart Out on a Mullein Flower Stalk.
The dickcissel is the perfect bird with which to start bird ID auditory training because
within his song is the pronunciation of his name…..“dick-dick-cissel”.
ISO 320; f/9; 1/800 Second
Female Dickcissel
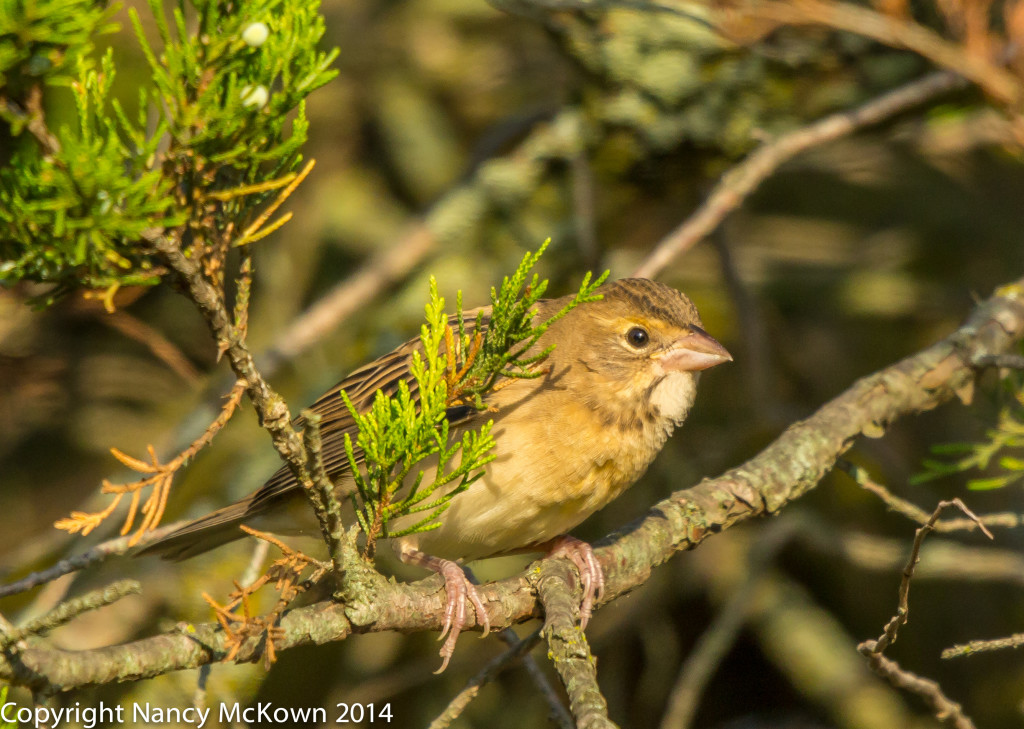
Female or Juvenile Dickcissel-mostly Hiding in the Bush
ISO 1600; f/8; 1/1000 Second

Auditory Bloodhound Training

Birdsong is much more than music to our ears. Auditory ID is a very reliable way for photographers to find birds in the wild. The primary advantage is that your ears can hear the sounds all around you, no matter what direction you are facing. A sight ID means that your eyes have to be looking at the right place at the right time.

  • If you are interesting in learning to ID a bird by its songs, calls and whistles, a good resource is “5 Tips for Beginners” and can be found at this link.
  • If you love birdsong, and are interested in how and why the birds sing, Donald Kroodsma’s, The Singing Life of Birds: The Art and Science of Listening to Birdsong is a wonderful resource (Book plus CD).
  • For more information about dickcissel migration patterns, see this map from ebird.