Photographing the Yellow Rumped Warbler
In my yard and in most of the Eastern US, it’s the hardy white throated Yellow Rumped Warbler of the Myrtle subspecies who lingers in the cold long after other species of warblers have gone south. Feasting on bay berries to survive, it’s not uncommon to see them here in November and December.
In the western U.S., the yellow throated Yellow Rumped Warbler of the Audubon subspecies thrives. Both have the trademark “butter butt” – a bright yellow patch of feathers above the tail. NOTE: I hope to photograph this western variety on my next trip to California. Update: My first day in San Diego and the Yellow Rumped Audubon subspecies showed up in front of my camera. See last photo below.
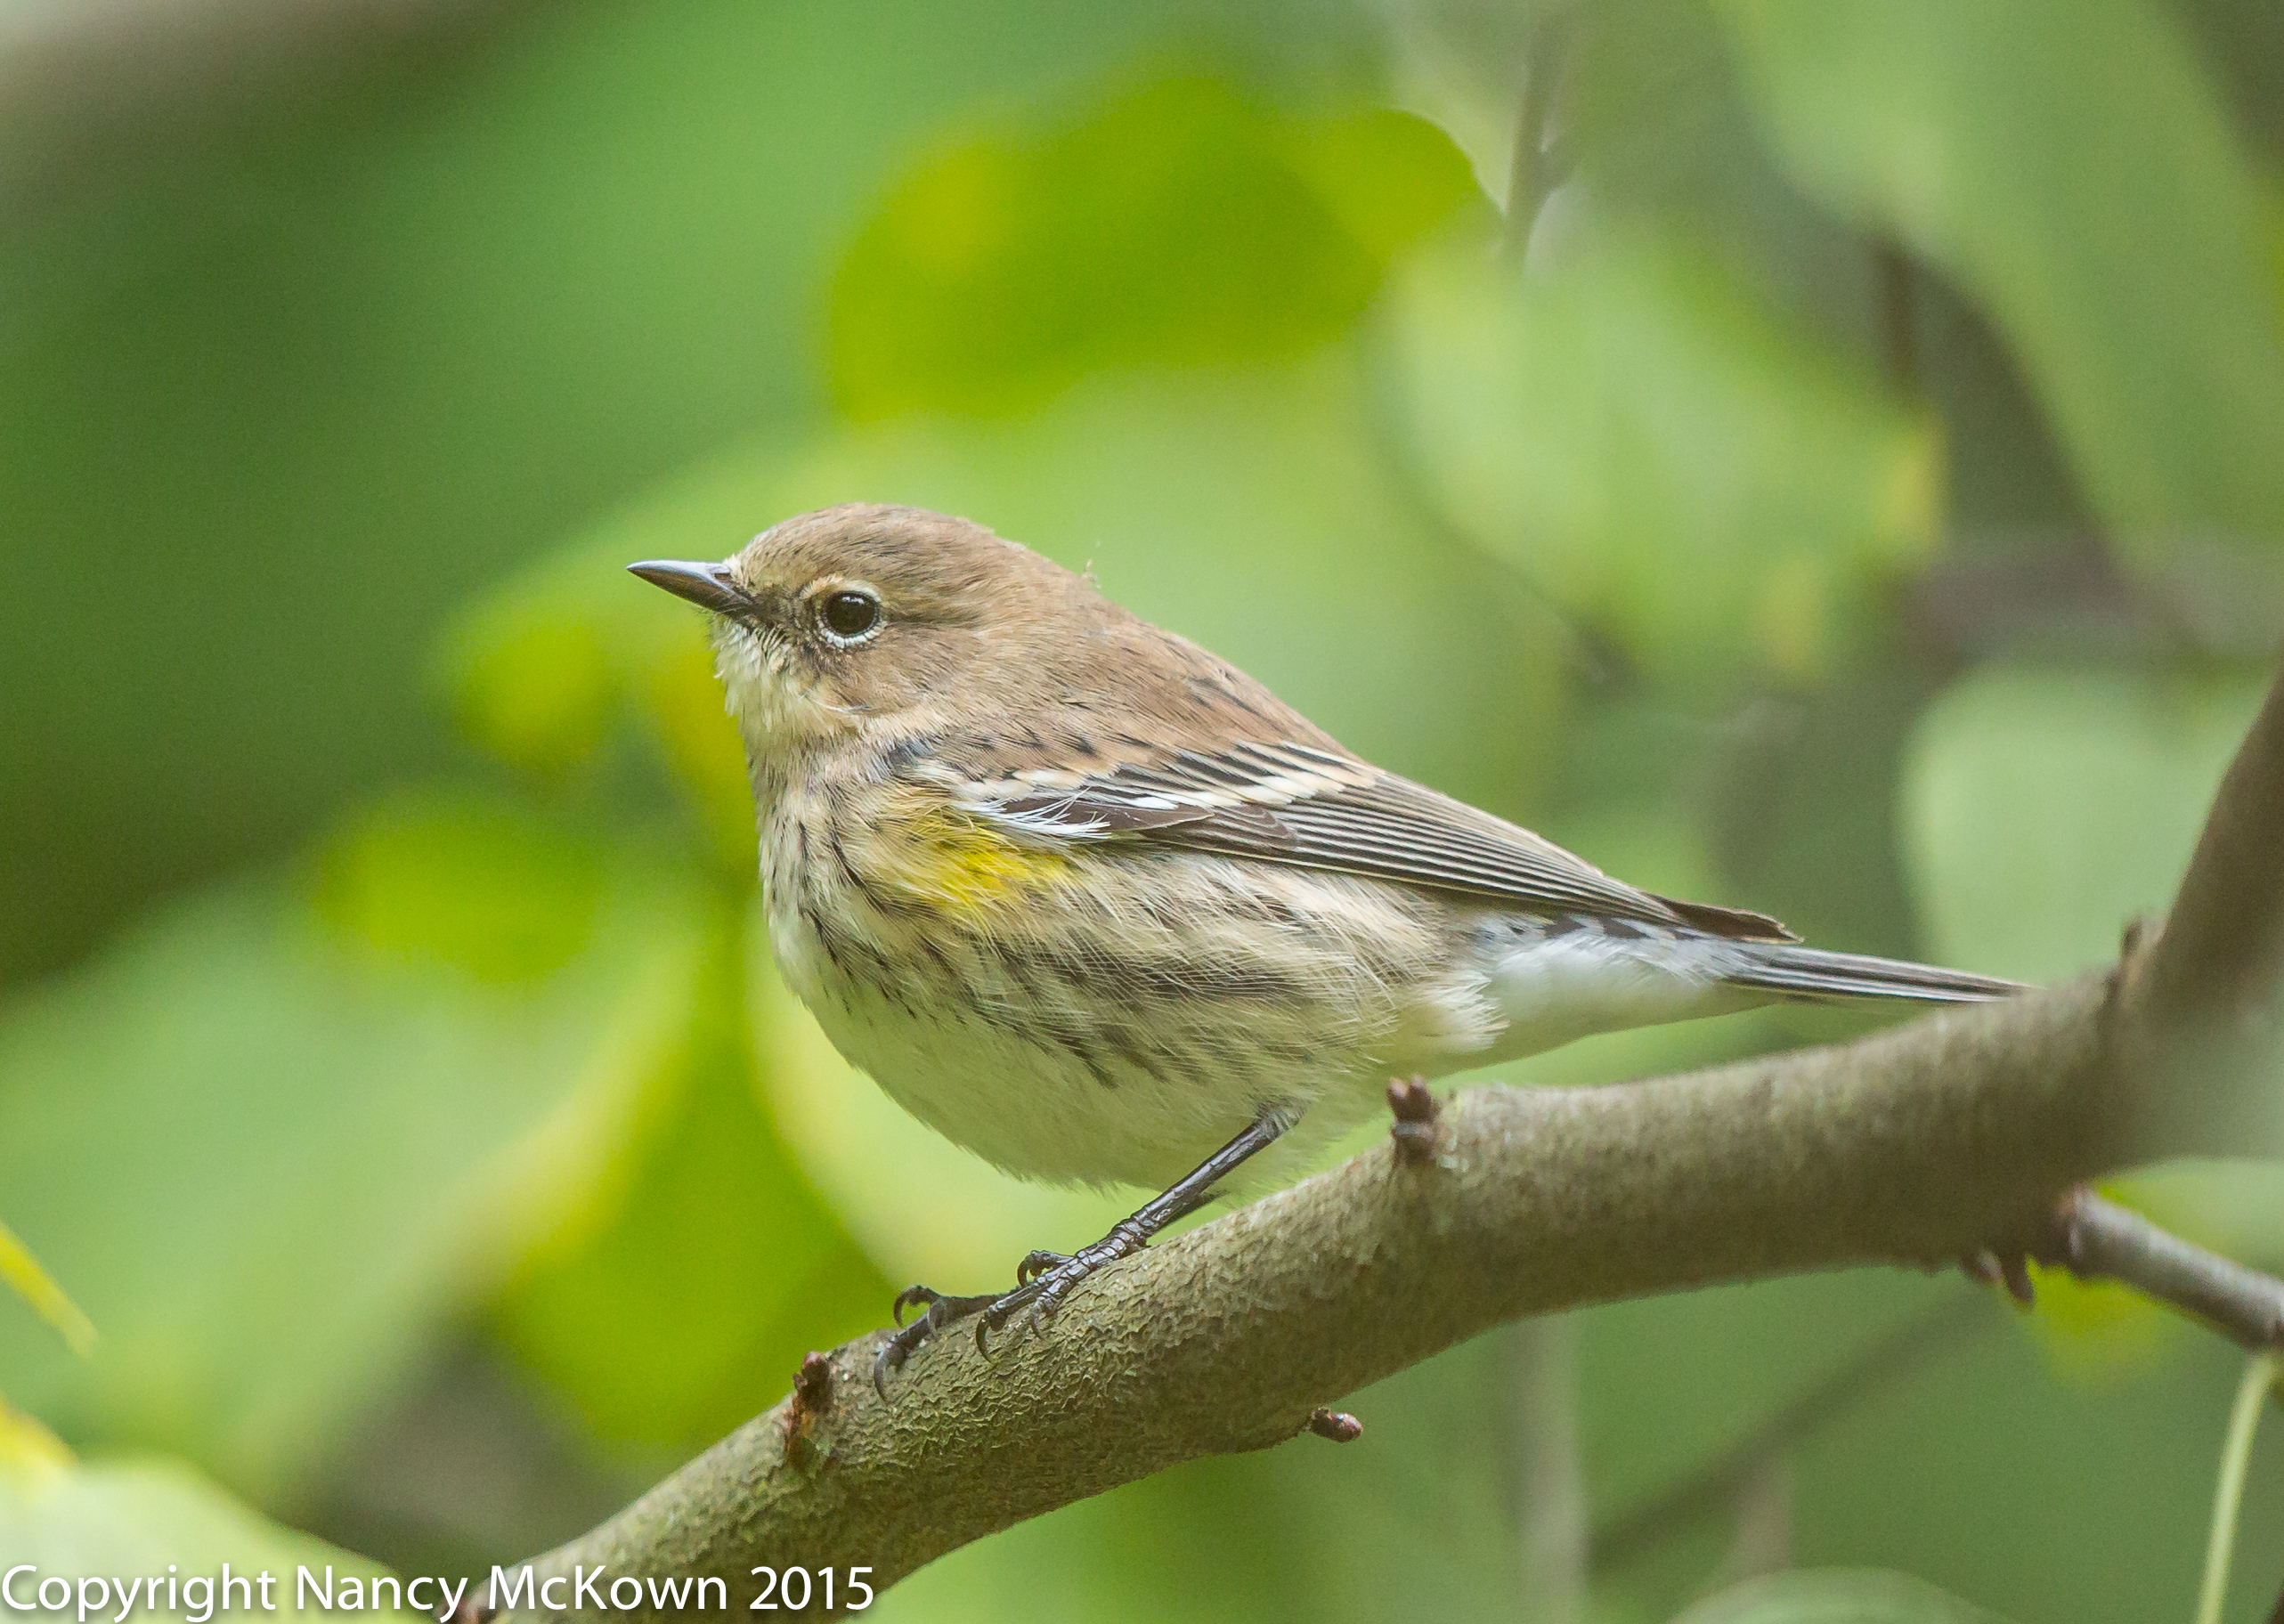
Yellow Rumped Warbler from
the Myrtle Subspecies.
ISO1600; f/5; 1/500 Second
Finding the Right Perch
In my yard we have a few optimal bird perching spots with lush and colorful backgrounds that receive a good amount of the morning light. They are ideal little niches with no unsightly and chaotic debris to interfere with the len’s ability to lock focus. Most importantly, I know warblers perch there.

ISO1600; f/5; 1/500 Second
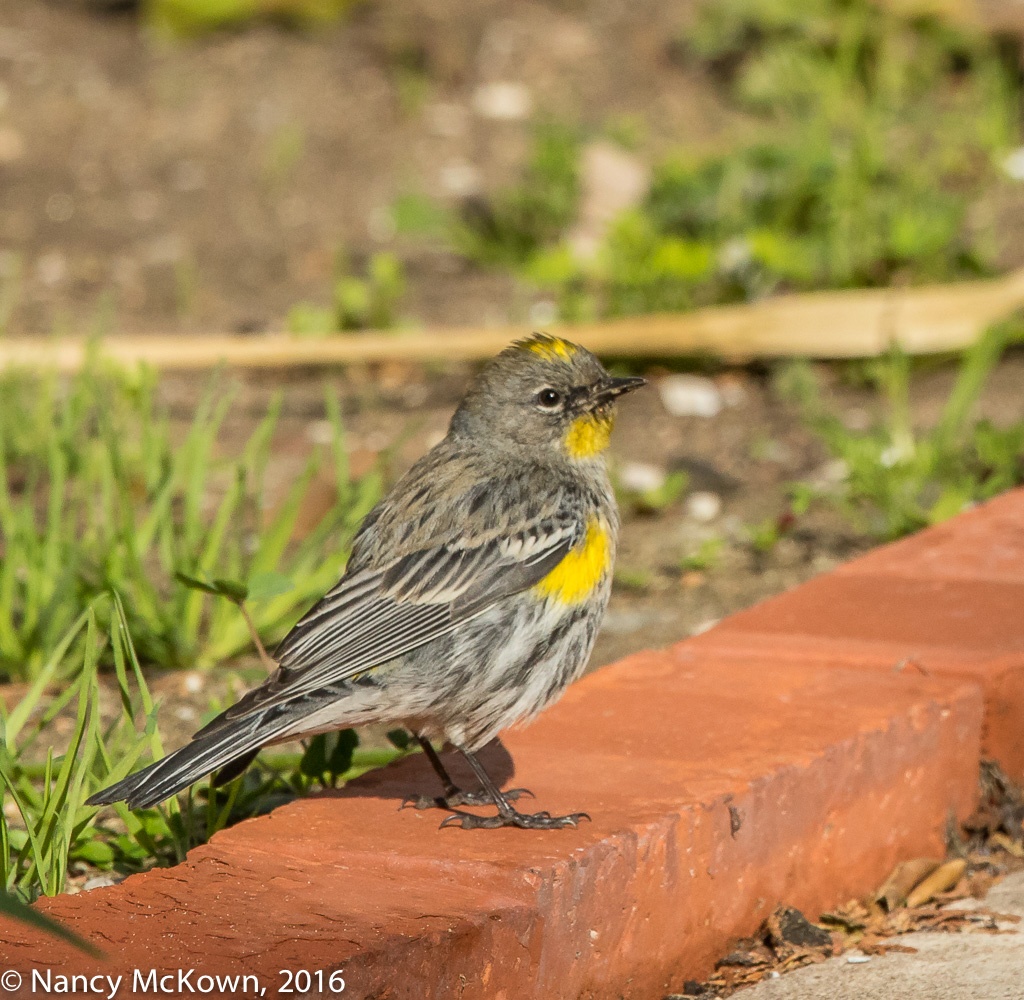
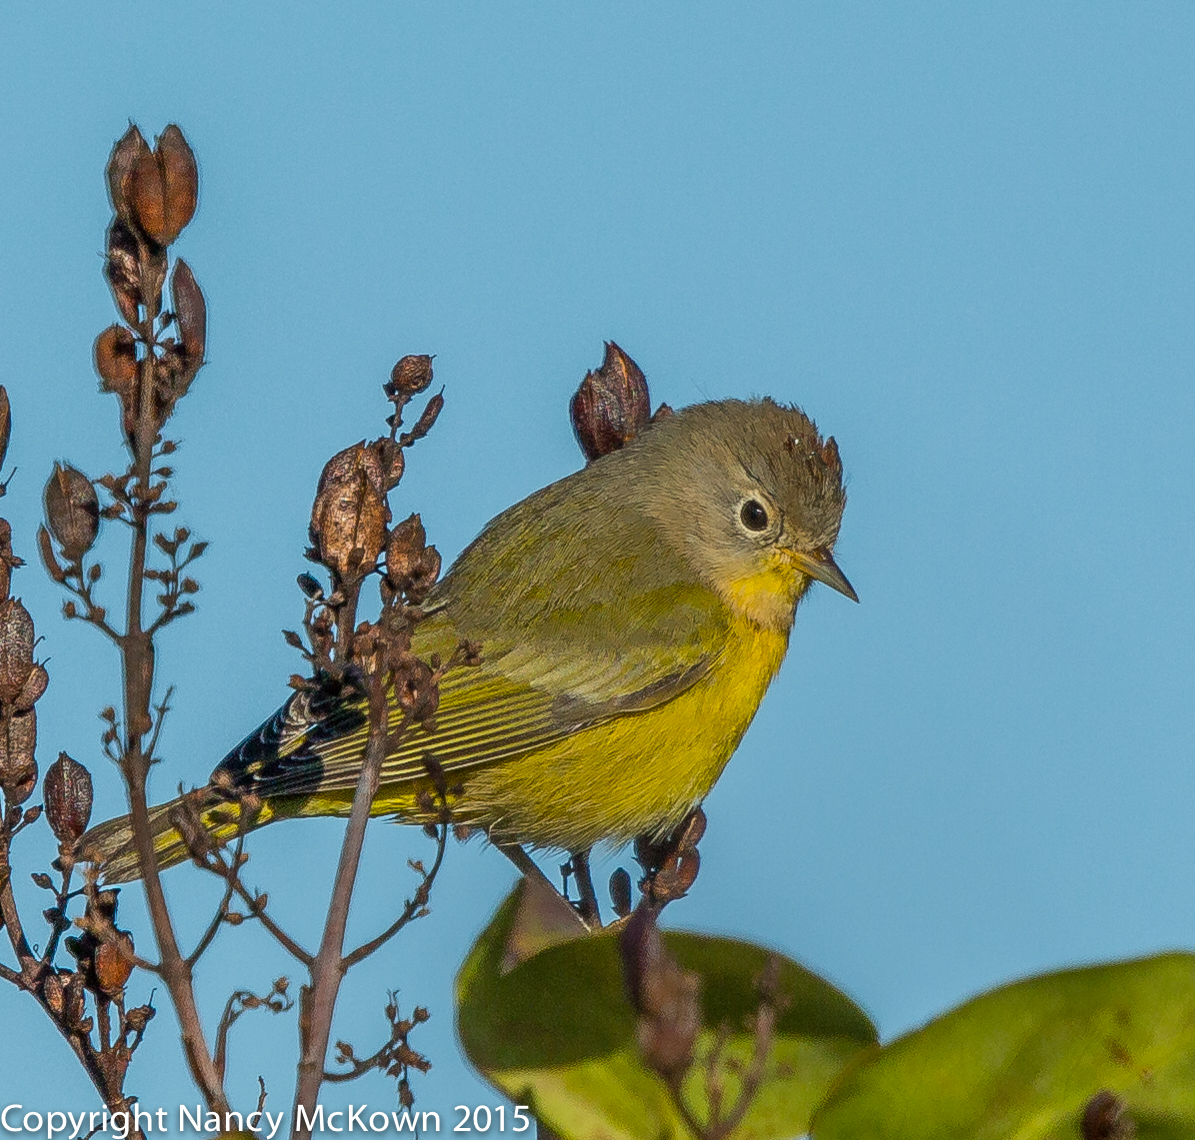
Common in the West.
ISO640; f/8; 1/2000 Second
The Focus Preset Function of the Lens
These perching spots offer an opportune time to practice a function on my telephoto lens that is never urgently needed but fun to play with. It’s called FOCUS PRESET. I don’t use this function much because it’s unnecessary for the most part… modern auto focus lenses are so fast to focus. But, since I paid a whole lot of money for my 300mm and 500mm L II lenses, I think I might as well better understand the precision electronic data-transfer controls that make them so expensive.
Focus Preset allows the photographer to save a predetermined distance to the len’s memory and then automatically recall it.
To Set Focus Preset:
1) Turn the focus preset switch to On or On with Sound. (NOTE: The On w Sound setting simply means that you will hear a beep to confirm that focus preset is initiated. On w/o sound = no beep.)
2) Using auto or manual focus, focus the lens on the spot that you want the lens to memorize.
3) Press the SET button
Your desired distance is now saved, and will be saved in the lens until you turn the focus preset switch to the “off” position.
To Engage Focus Preset
The auto focus function on your lens works as it normally does until you recall the Focus Preset.
Just give a little twist (either to the right or left) on the thin serrated metal focus preset ring (located right in front of the manual focus ring on the lens) to instantaneously recall the lens to focus on the spot previously saved to memory.
Kind of fun once you get the hang of it.
Subspecies or Hybrid
NOTE: In my many bird photography adventures, I have photographed several subspecies, but I have never photographed a bird that would be considered a hybrid. A subspecies is a variety of the same species….a population (usually geographically isolated) that has a slightly different appearance than others of its own species. A hybrid is born when two different and closely related species successfully breed..
An excellent article about hybridized warblers can be found at this link.
To see photos of Palm Warbler Subspecies, press this link.