Monthly Archives: October 2013

Photo of Immature White Crowned Sparrow

Uncommonly Beautiful Sparrows and The Wonders of Digital Photography

A Trip Down Memory Lane

Go back to using film? Are You Kidding Me?!

I’ve owned an assortment of film based, single lens reflex film cameras; Pentax, Minolta, Nikon, and Canon. I don’t miss those days or those cameras at all.

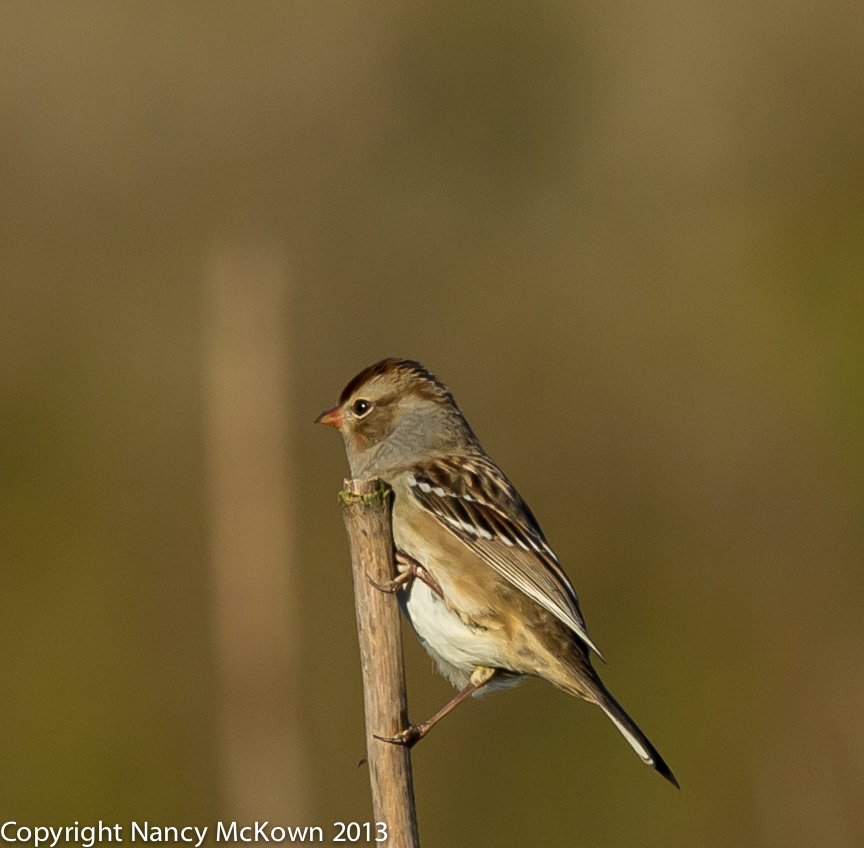
The photographs of the white crowned sparrows and song sparrows below are good examples of wild bird images I simply could NOT have captured using film photography. These digital images represent the speed, convenience and quality that is possible with today’s digital sensors. Instant gratification, without the waste (of time, money, opportunity).
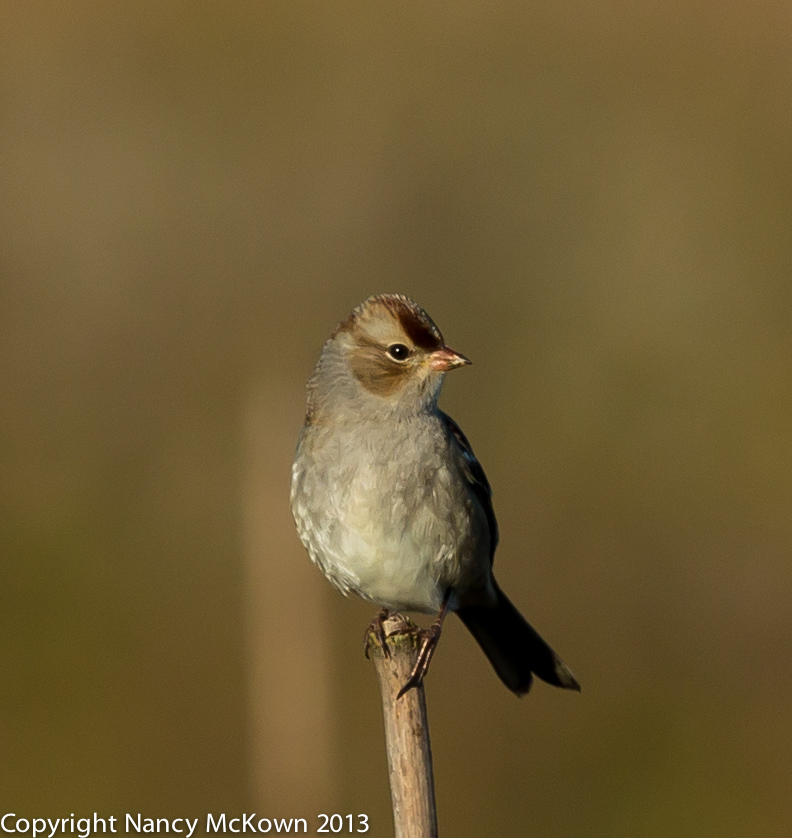
Photograph of an Immature White Crowned Sparrow
An Immature White Crowned Sparrow.
ISO 400; f/7.1; 1/1250 Second

The Old Days of Film Photography

Here are just a few things I remember about the bad old days of film photography.

  1. Much of the time, it took so long for the quality labs to receive and then develop the images and ship them back to me, that I forgot what I photographed.
  2. If I photographed something I thought was exciting, when I finally did see the developed image, I was usually disappointed. With film photography, it was not possible in one setting to check the image, make adjustments and re-shoot.
  3. I remember choosing and purchasing a film for its light sensitivity (ISO), and making sure that I manually set the correct ISO on the camera, and then wasting half of the roll because the light changed and I needed to put in another roll of film with a different light sensitivity. It was either that, or carry around 2 or 3 SLR cameras loaded with different speed film.
  4. I remember choosing between print and slide film, and wishing I had chosen whatever I did not have in the camera.
  5. I remember threading the film very carefully and then snapping the back shut and manually cranking the roll of film forward, hoping the threading didn’t jam and waste the shots and the film.
  6. I remember that I had no viable plan for long term organization, storage and backup. I now have a bunch of  faded and curled nature photos in some corner of my basement, some loose, some in albums. All forgotten.
  7. I was just thrilled when I bought a film camera that advanced the film automatically once it was loaded and automatically set the ISO. That was considered progress back then.
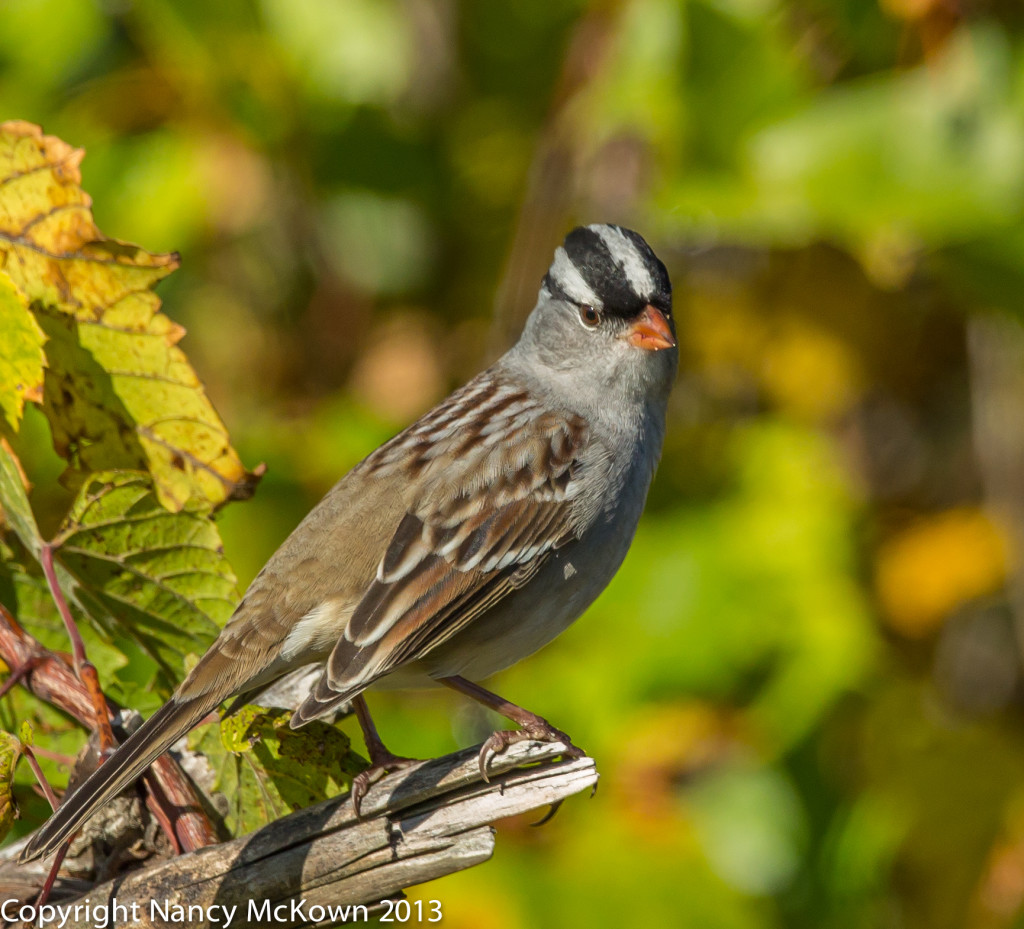
Photo of Mature White Crowned Sparrow
Mature White Crowned Sparrow
ISO 640; f/7.1; 1/1600 Second

What’s Post Processing?

Unless you had access to a darkroom, there was no user post processing with film, only what the lab developed and sent back. For all practical purposes, you had no creative control after you rolled up the film and removed it from your camera. After a while, the developing wait time was not as long because the automatic processing machines took over in the Walmarts and the Targets, and your film was developed while you waited. In most cases, you sacrificed quality for a quick return of your images.

Note to Self

What a complainer I am!  Think what nature photographers had to deal with 100 years ago…. 150 years ago. OMG.

That acknowledged, I must continue.

Film Cameras Still Available

You can find those old film SLR cameras on ebay- $20-$30. I have an old Pentax film SLR sitting in my closet.

When digital cameras first came out, they could not compete because film images were so much better, especially when using the medium or large format cameras. But digital image quality has improved drastically (and is still improving) with digital sensor and software advances.

The Advantages of Film Photography

It is true that film does produce a different “look”, although modern post processing software can create that same look. Some photographers prefer using film over digital – and now pay a premium to buy and develop film. These devoted souls may want the quality that film can provide for wall size prints, and they may enjoy the nostalgic feel of a film camera.

Digital Photography is Truly Revolutionary

I will never go back to film cameras.  Never Never Never.

The resources that can be brought to bear using digital photography are truly revolutionary, for all levels and all ages of photographers, for all matter of uses. Most work fast and in very low light. As with most things, the image quality depends, in part, on how much you pay for your DSLR and lenses.

Simply put, film photography can not compete with the fast, easy, and free advantages that come with using digital cameras. Carrying a digital camera phone is second nature to almost everyone these days. Capturing memories is easy and convenient and the results can be instantly shared, organized, stored and backed up on the web. Digital photography makes blogging possible. And, if you want a hard copy, beautiful photo books worthy of coffee table display can be put together in minutes.

Finally, there is so much less waste and pollution from harmful and toxic chemicals because you don’t need to process the photos to view them.

Common Yet Amazing

The widespread accessibility and use of quality digital photography are as common and as amazing as these sparrows. (song sparrows below and white crowned sparrows above).
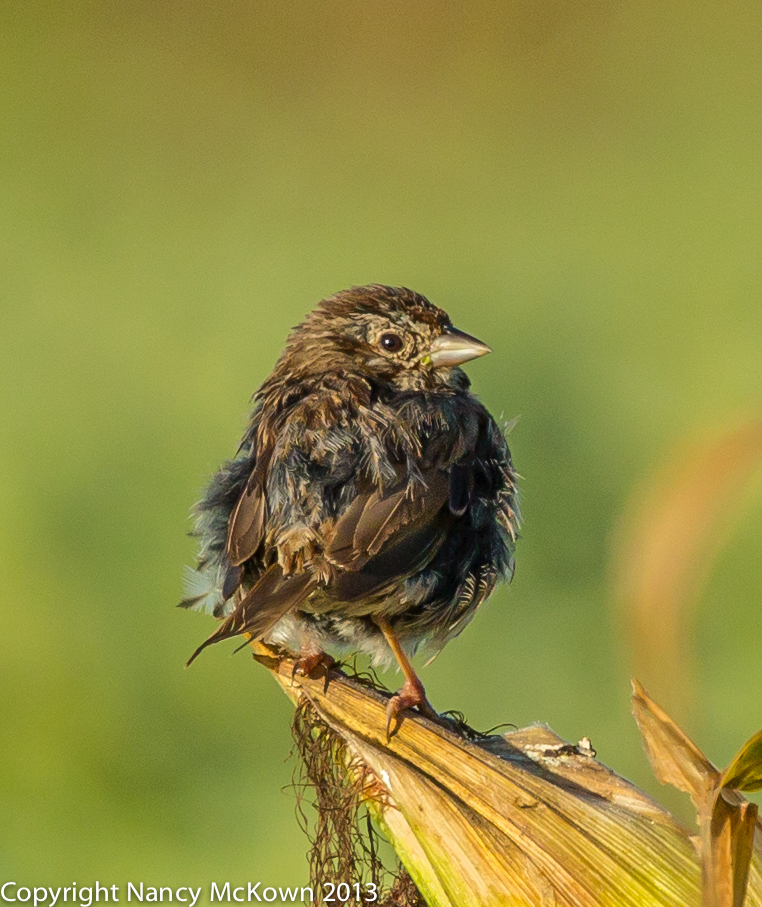
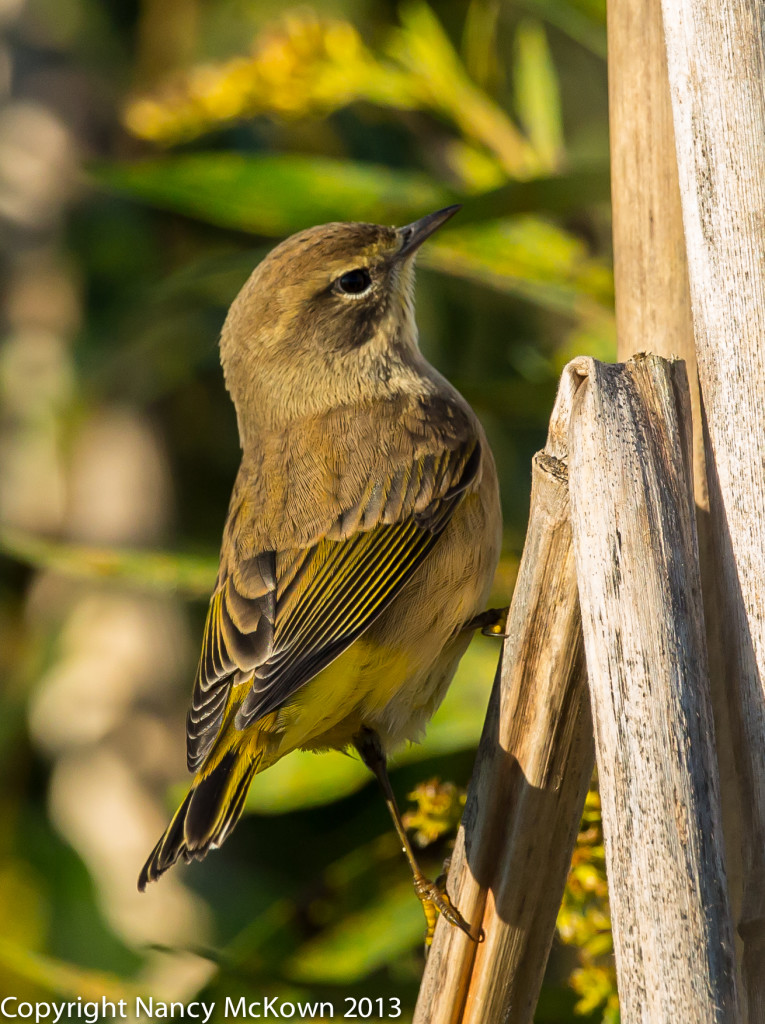
Young Song Sparrow Photographed on Top of a Corn Stalk
ISO 640 f/6.3; 1/2000 second.
It was a cold morning at the west end of the Allegan Forest (38 degrees) when I photographed this little Song Sparrow. I love the poofed up feathers – his effort to keep warm.
Photograph of Common Song Sparrow
Wet Song Sparrow Enduring a Very Cold Morning
ISO 400; f/6.3; 1/1250 Second

What’s to Come in Digital Photography?

I’d like my camera and long lenses to be lighter and smaller please.

Perhaps this request is not so far away.  See  this link.  It will take you to an article in “Photography Life” by photographer and writer, Nasim Mansurov‘s.  Nasim’s writing is relevant to this week’s blog posting in a couple ways.

  1. He is interested in exploring film photography, so he may have some powerful arguments about the pros of film photography, and
  2. He has done his research and is well informed about what the future might bring regarding digital imagery.

“Photography Life” is an excellent resource for photographers. I highly recommend it.
Peregrine Falcon

My Personal “Hot-Spot” To Photograph Raptors

Special Birding Hotspot

Bird Photographers are always looking up and around for locations upon which birds frequently perch – preferably locations that give the photographer a clear shot of a handsomely posed bird.

There are lots of “Birding Hotspot” recommendations on the web that list the best bird watching/bird photography destinations. I’ve been to a few of these, and they are very fruitful. However, I think every photographer needs to search out one special birding spot that’s close to home, not crowded with people, and guarantees a variety of visiting birds during the Spring and Fall migration seasons.

A Perch On The Dunes of Lake Michigan

One such hot spot for me is a large, long dead tree, standing strong in the dunes overlooking Lake Michigan. This tree is rather stark looking, with no leaf cover, so it’s perfect for raptors to perch upon while hunting for mammals, fish, and other birds.

I’m designating this dead tree as my hot spot for photographing raptors.

I’m lucky enough to have my neighbor’s permission to setup my equipment on her family’s beautiful deck. This deck is built into the dune, and puts me at eye level with the top most branches of the dead tree. Also, this tree is situated so I can get a fairly close shot if I happen to be on the road in my car with my camera.

So far, I have been lucky enough to photograph two raptors perched on this tree that I could not initially identify and have never photographed before.

Whatbird.com – A Valuable Bird Identification Resource

The expert birders at the WhatBird.com website (under the “Help Me Identify A Bird” tab) came to the rescue. NOTE: If you haven’t already, take a look at this informative site. In addition to being a valuable resource for bird photographers, it’s a great place to learn bird identification skills.

My two newbie raptors, perched on that long dead tree, turned out to be a Cooper’s Hawk and a Peregrine Falcon. Both of these raptors regularly hunt other birds.

Cooper’s Hawk

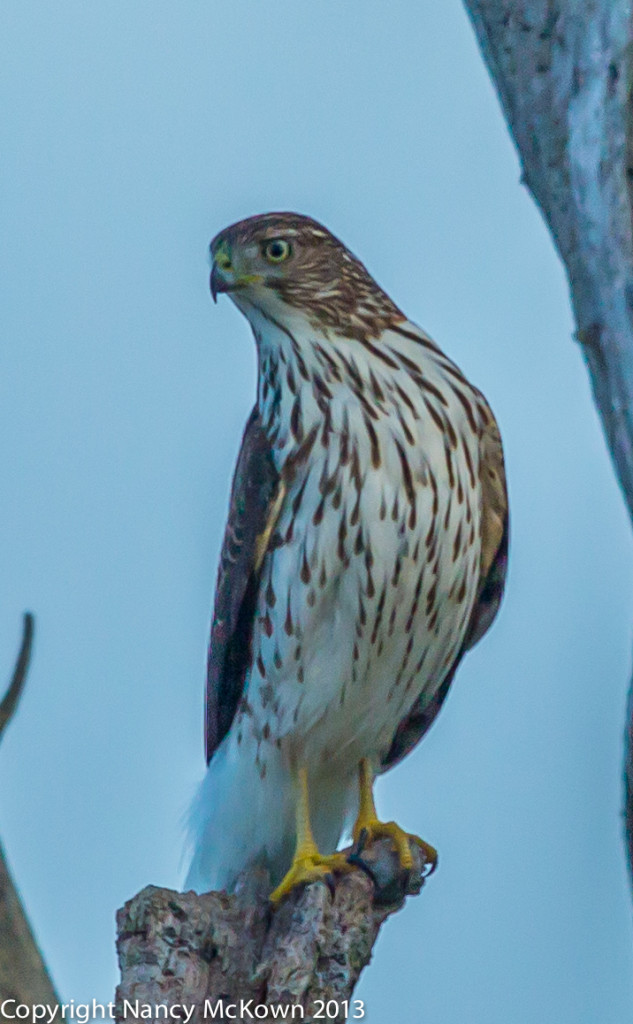
The Cooper’s Hawk (about the size of a crow) is an “accipiter” hawk. According to the experts, accipiter hawks have the kind of wings and tails that allow them to easily maneuver in tight spots, like wooded areas. These small hawks are also known to hunt smaller birds at bird feeders.

Photograph of a Cooper's Hawk
Cooper’s Hawk, Perched on a Dead Tree Overlooking Lake Michigan
ISO 1000; 1/3200 second; f/6.3

This Cooper’s Hawk perched on the tree for less than a minute. I pressed the shutter once and he was gone. His arrival wasn’t a surprise because he was heralded in by a mob of loud crows. This particular juvenile Cooper’s hawk was being insufferably scolded, harassed and pecked by the crows. I don’t think it was my camera and me that caused him to fly off so soon.

Peregrine Falcon

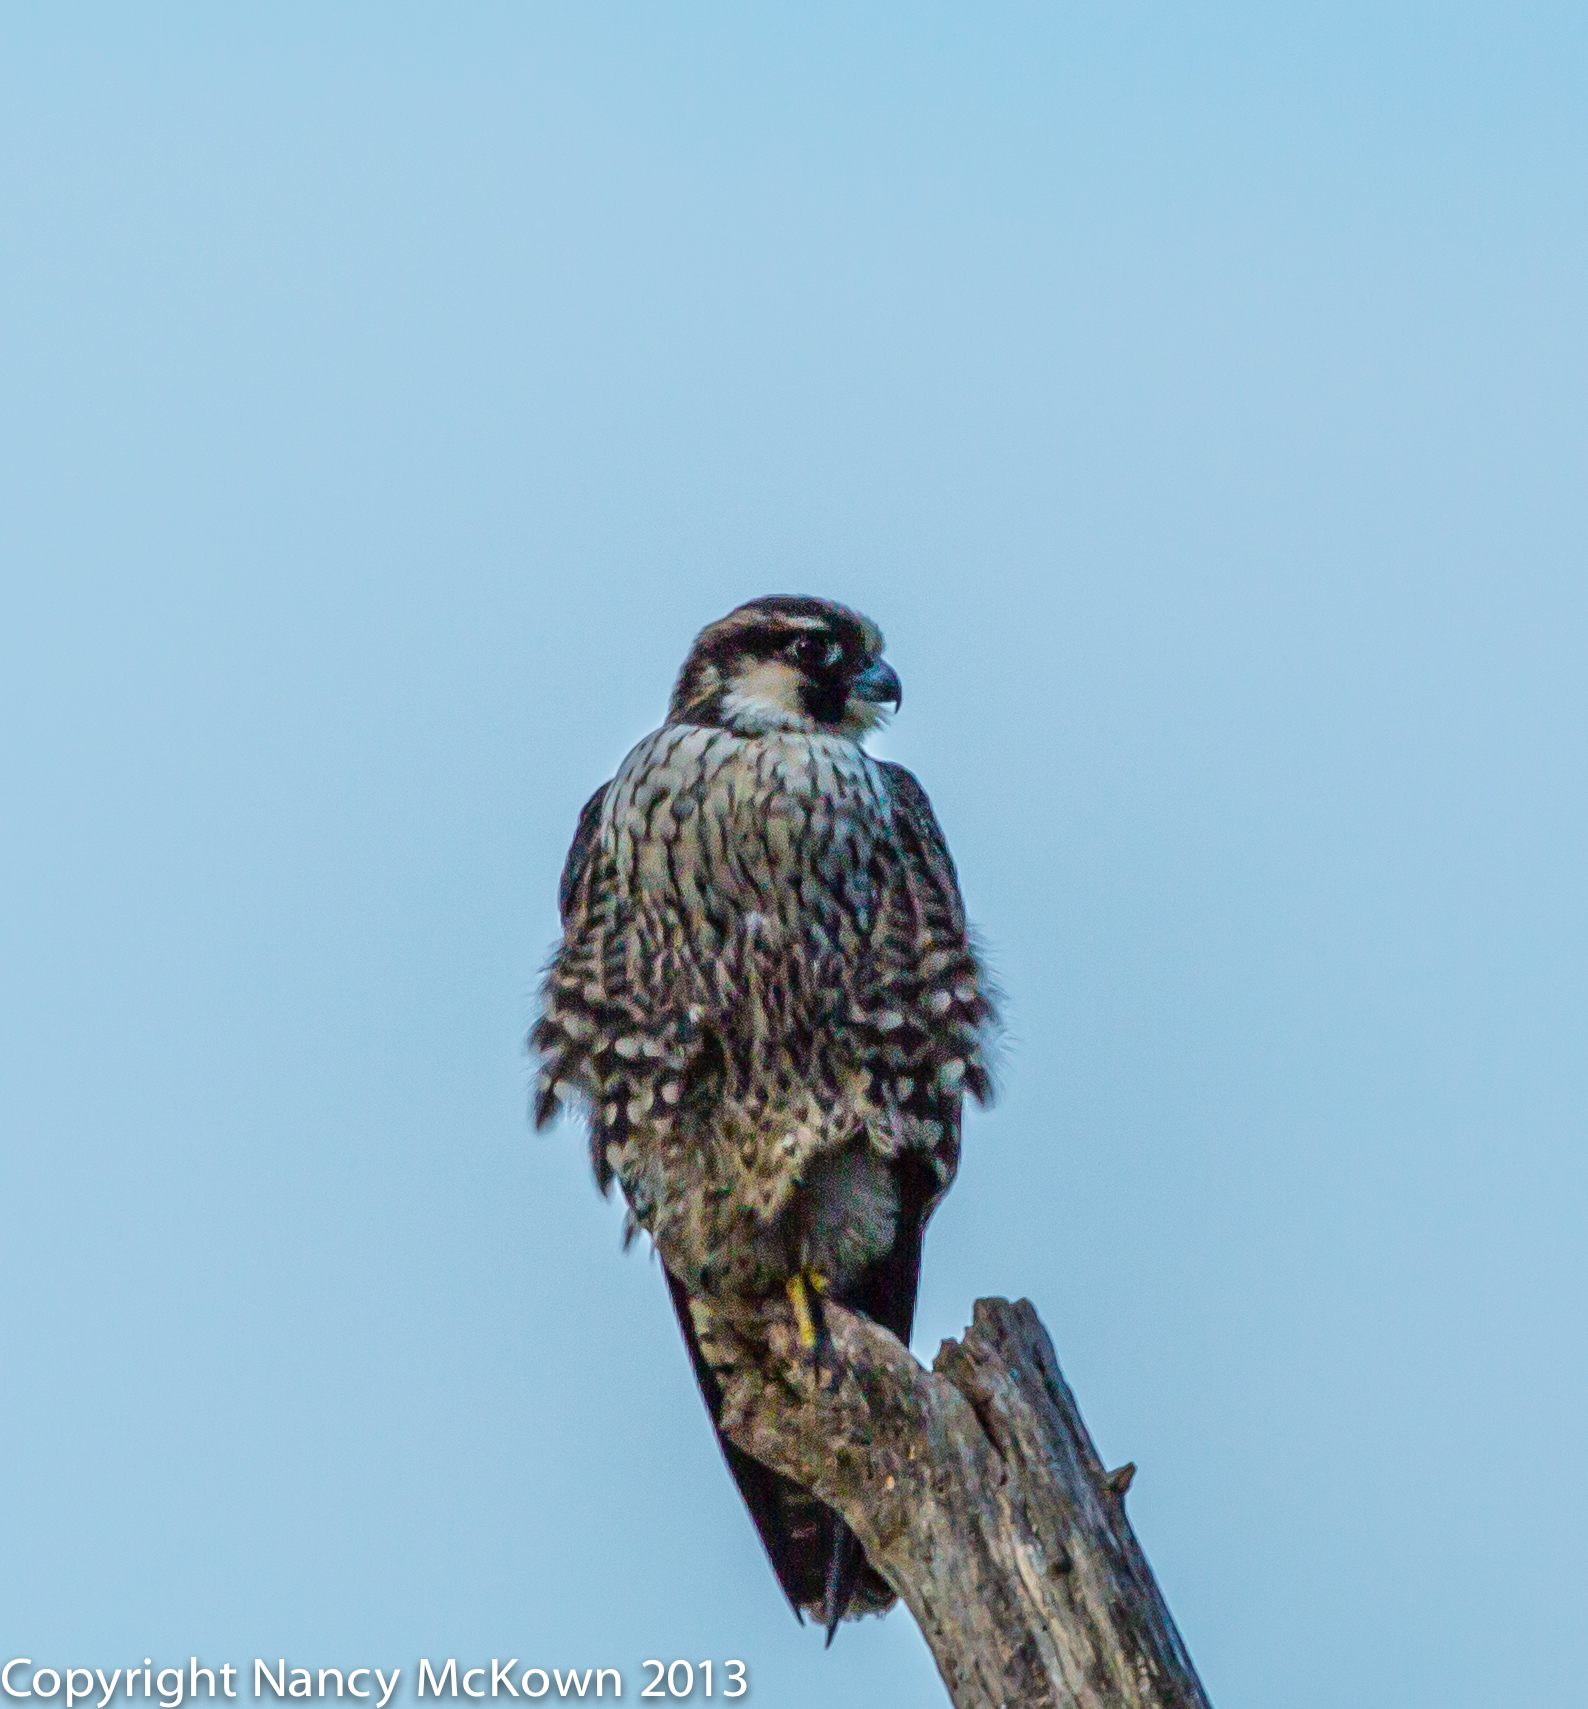
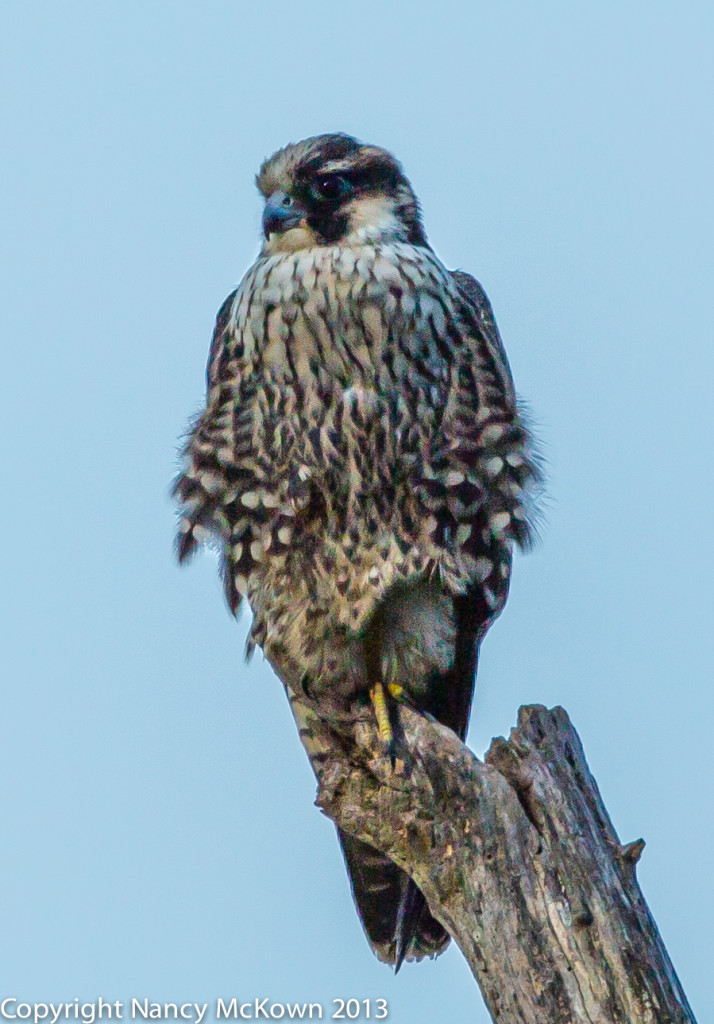
The second surprise visitor to my hotspot was a Peregrine Falcon. I was driving down Lakeshore Drive when I notice her on my hotspot. I stopped the car and shot this image from my car window.  Peregrines are about the same size as Cooper’s Hawks  – anywhere from 15″-20″ long, head to tail.

Photograph of Peregrine Falcon
Adult Peregrine Falcon Perched on a Dead Tree Overlooking Lake Michigan
ISO 250; 1/2500 Second; f/5.6

Peregrine Means Wanderer

In an effort to help restore the population of this raptor, peregrine falcons have been “transplanted” in a lot of different cities. They perch on tall buildings, nest on the building’s ledges and feed on doves, blackbirds, jays, pigeons and starlings.

This Peregrine was most likely migrating south along the Lake Michigan shoreline.  Crows were also mobbing this much faster, more powerful, mid-air hunter of other birds. Sadly, the peregrine falcon did not stick around for me to get more than one or two shots.

Mobbing Crows

Crows are known for their intelligence and curiosity. Makes me wonder why they harass raptors that specialize in eating other birds. Certainly makes it more exciting. I’m hoping that the crows haven’t also designated this dead tree on the dune as their raptor hotspot.


Photo of Nashville Warbler

Photographing Two Warblers Using Manual Mode

Manual Mode

Lots of photographers never venture outside the automatic modes provided by their cameras. There’s comfort in using them. Whether using full auto, program mode, auto ISO, aperture or shutter preferred, some photographers like the convenience of letting the camera do the thinking.

Setting the camera to manual mode means that the photographer must set more than one exposure setting. Manual mode is generally listed with the “creative” settings. In manual mode, the photographer decides what aperture and shutter (and sometimes ISO) to set.

The Creative Settings on a DSLR

Shutter preferred and aperture preferred settings on a DSLR make life easier because they allow the photographer to pick just one setting that is most important for the scene, and let the camera automatically set the rest of the exposure settings. Less stressful, right?

But there’s a price to be paid for the convenience of letting your camera’s computer make those exposure choices. The sharpness of your image may disappoint – either because the camera’s choice of aperture set the DOF too shallow or the camera’s choice of shutter speed did not freeze the action quite enough.

Two or More Exposure Choices

I can’t set my camera to my preferred aperture AND preferred shutter settings unless I set the camera to (M) manual mode. NOTE:  The camera is still somewhat creatively automated because the ISO is set to  “Auto”. I have an internal camera setting for auto ISO that will restrict the ISO from rising above 1000.

Photo of Nashville Warbler
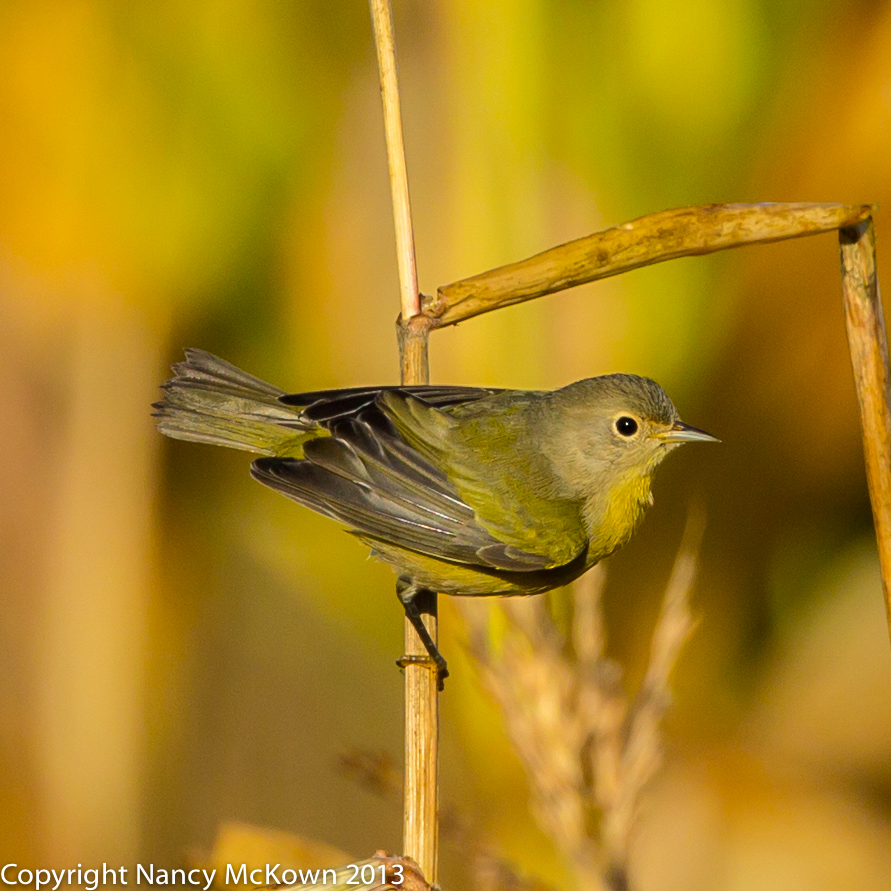
Nashville Warbler in a Corn Field. Camera Set to M Mode
ISO 400; f/7.1; 1/1600 second

Photographing Beautiful Warblers

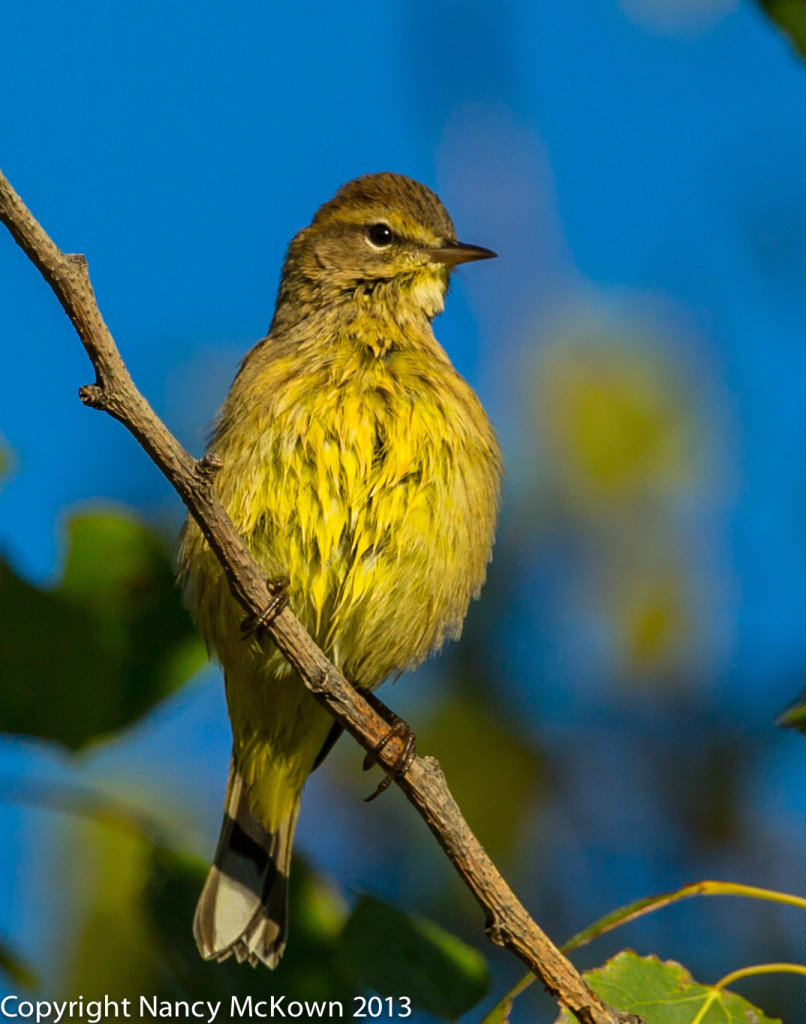
I shot both the Nashville Warbler (above) and the Palm Warbler (below) using the M-manual setting. This choice allowed me to set both the shutter and the aperture separately. The camera was set to auto ISO. In order to get tack sharp images and avoid noise, I kept a close watch on the ISO setting, making sure it did not go above 500.

Both images were shot with a relatively fast shutter – fast, that is, for a perching bird. I’ve noticed that when I set the camera to shutter preferred mode, the camera rarely sets the aperture smaller than f/6.3. However, I like the f/7.1 aperture setting better for these bird shots because it gives my subject a wider DOF. A wider depth of field helps make sure the whole bird – head to tail feathers – is in-focus. In these shots, f/7.1 still maintained a pleasing blurred background and low ISO.

Photo of a Palm Warbler - Eastern Yellow SSP
Palm Warbler – Eastern Yellow Subspecies. Camera Set to Manual Mode
ISO 320; f/7.1; 1/1000 Second
According to the Bird ID Experts at WhatBird.com, This Palm Warbler is Somewhat of a Rarity Around Southwest Michigan. They Recommended That I Submit An Observation Form to E-Bird.com, Which I Did.


The Advantages of Manual Mode When Photographing Birds

Experimenting with the M mode will help you better understand aperture, shutter and ISO, the basics of managing exposure. It will also help you better understand the “logic” the camera uses when making decisions in the shutter preferred and aperture preferred modes.

You may be surprised at how much versatility you have when you set your DSLR to manual mode.

Photo of Palm Warbler
Palm Warbler
ISO 1250; f/7.1; 1/1600 second
Camera Set to Manual Mode

Automation vs More Control

There’s nothing wrong with bird photographers using automated controls on their cameras. Those settings come in handy when the action is moving fast. Modern cameras have sophisticated algorithms that do a great job of automating exposure for quick and easy shooting. And the photos look great!

But the more you photograph birds, the more discriminating you will become, and the more control you will crave. You’ll learn more about the juggling act that is correct exposure. You’ll use M mode more because manual exposure balancing won’t be so threatening.

So, once in a while, get out of the comfort zone of the more restrictive creative modes. Carve yourself a new comfort zone in the world of manual mode.

Photograph of Male and Female Wood Duck

Photographing Wood Ducks In Low Light

ISO Matters in Bird Photography

The ISO on a digital camera refers to a light sensitivity setting. Low ISO means that there is plenty of ambient light for exposure.

DSLR cameras can be set to automatically adjust the sensitivity of the camera’s sensor (Auto ISO). If more light is needed for proper exposure (based on the shutter and aperture settings and how much light is getting through), then the camera will crank up the sensitivity of its sensor. The advantage of a high ISO setting is that photos can be taken in low light. However, the higher the camera sets the light sensitivity (ISO), the more appearance of noise (or grainy texture) the image has.

Clarity Sacrificed When Using High ISO

The appearance of grain is not an asset in wild bird photos.

I like the clarity of bird photos shot at a low ISO. Therefore, I try to shoot in rather strong, natural light to keep that ISO sensitivity low, below ISO 500 if possible. This is just a guideline. Alot of the time, given the ambient light, getting the ISO that low is simply not possible. So I have to decide whether to pass up the shot or take it at a high ISO setting.

Factors That Will Minimize Noise

The higher that ISO creeps up, the more grain that will surface on the image, and the more photo clarity is compromised. Most high end DSLR cameras allow you to pre-set a maximum ISO -let’s say 1000- above which the camera ISO setting does not cross. Of course, in low light situations, the shutter or aperture has to be adjusted to compensate.

There are a couple ways to minimize noise. Neither will give you tack sharp images, but they help.

  1. (Expensive Option) Buy a camera with a full size DSLR sensor that is engineered to produce less digital “noise” in low light situations.
  2. Use post processing software that helps reduce the impact of noise to a more acceptable level. (Examples are Lightroom, Noise Ninja).

Focus a Priority Over ISO

If you decide that the shot is worthwhile, despite the low light, then sharp focus has to be a primary concern. If you set the shutter too low to lower the ISO, your images will be out of focus. Long lenses exacerbate the focusing challenge.

Remember that in post processing, out-of-focus images are much harder to deal with than images with excessive noise.

Light Balancing Act

It comes down to a balancing act. If you don’t have enough light when photographing birds, you will have to anticipate some level of noise and accept the lack of detail and clarity after you take the images through post processing.

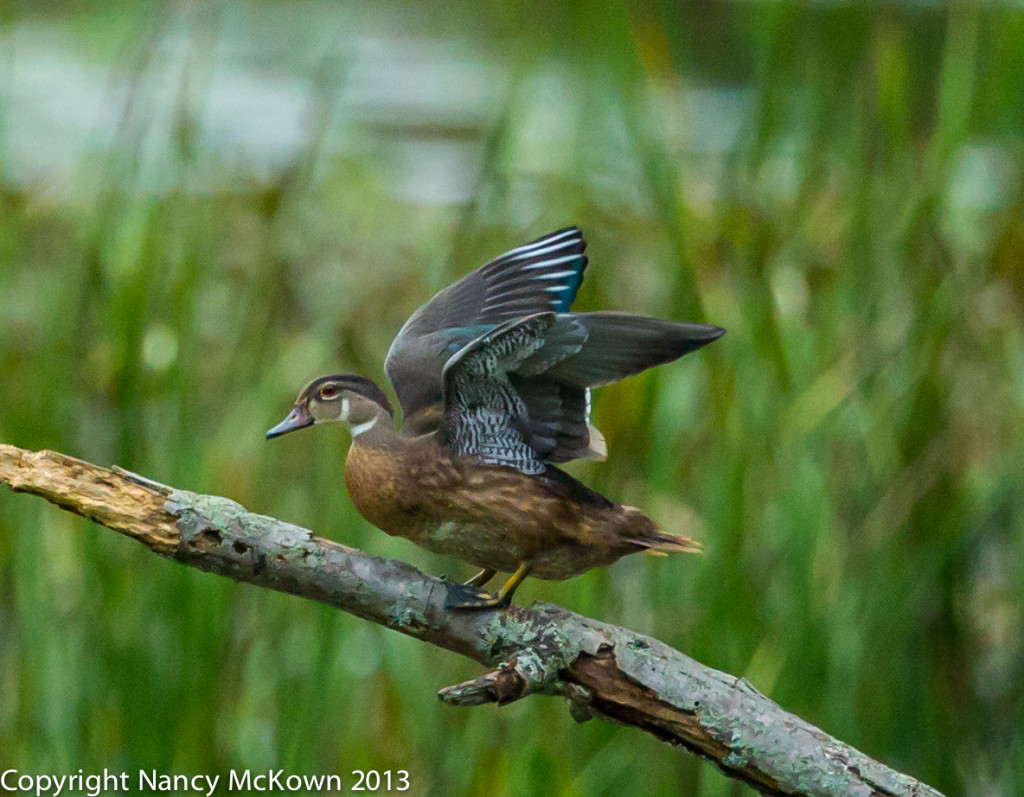
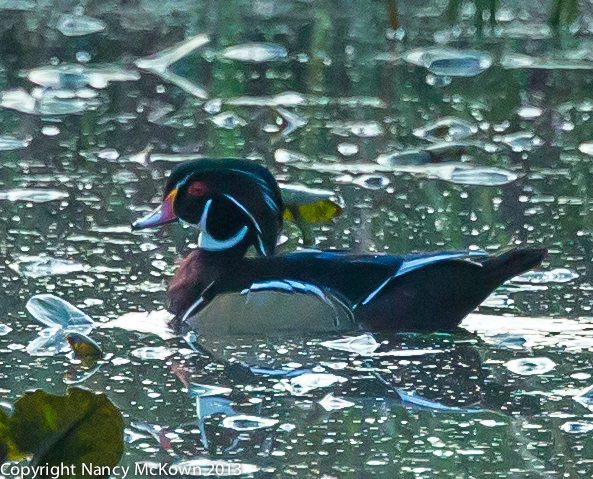
Photo of Male Wood Duck in Eclipse Plumage
Male Wood Duck In Eclipse Plumage in Low Light
ISO 4000; 1/1250 second; f/5.6

Photographing Wood Ducks

I found a fun little park near my home. The creek was dammed up to create a marsh with lots of  shady hidey holes for waterbirds. Beyond the marsh and all through the park are tall, thick trees, creating an abundance of shade. Not alot of sunlight gets through these trees. If I arrive at dawn, the sun is behind the trees. If I arrive a few hours before sunset, the sun is behind the trees. Even the overhead sun does not penetrate the trees over the marsh.

These wood ducks stayed at the far end of the marsh, under cover as much as possible. The parking lot is quite a distance from the water, so I got out of the car and set up my tripod as close to the shore as the ducks would let me approach. Ultimately though, the ducks were too far away for my 300 mm with 2x extender. NOTE: Distance also takes its toll on image quality.

Juggling Aperture and Shutter to Bring Down the ISO

To get these wood duck photos, I kept adjusting my aperture and shutter, hoping I could lower the ISO. The light was such that, to maintain good focus, even with the tripod, I had to shoot with an ISO of between 4000-6000.

Very noticeable noise. I brought the images into post processing to try to tone down the look of the grain. It did look better. The noise is less conspicuous, but clarity, texture and definition are sacrificed.

Photograph of Male Wood Duck in Full Plumage
Photo of Male Wood Duck with Full Plumage Taken in Low Light
ISO 5000; 1/2000 Second; f/6.3
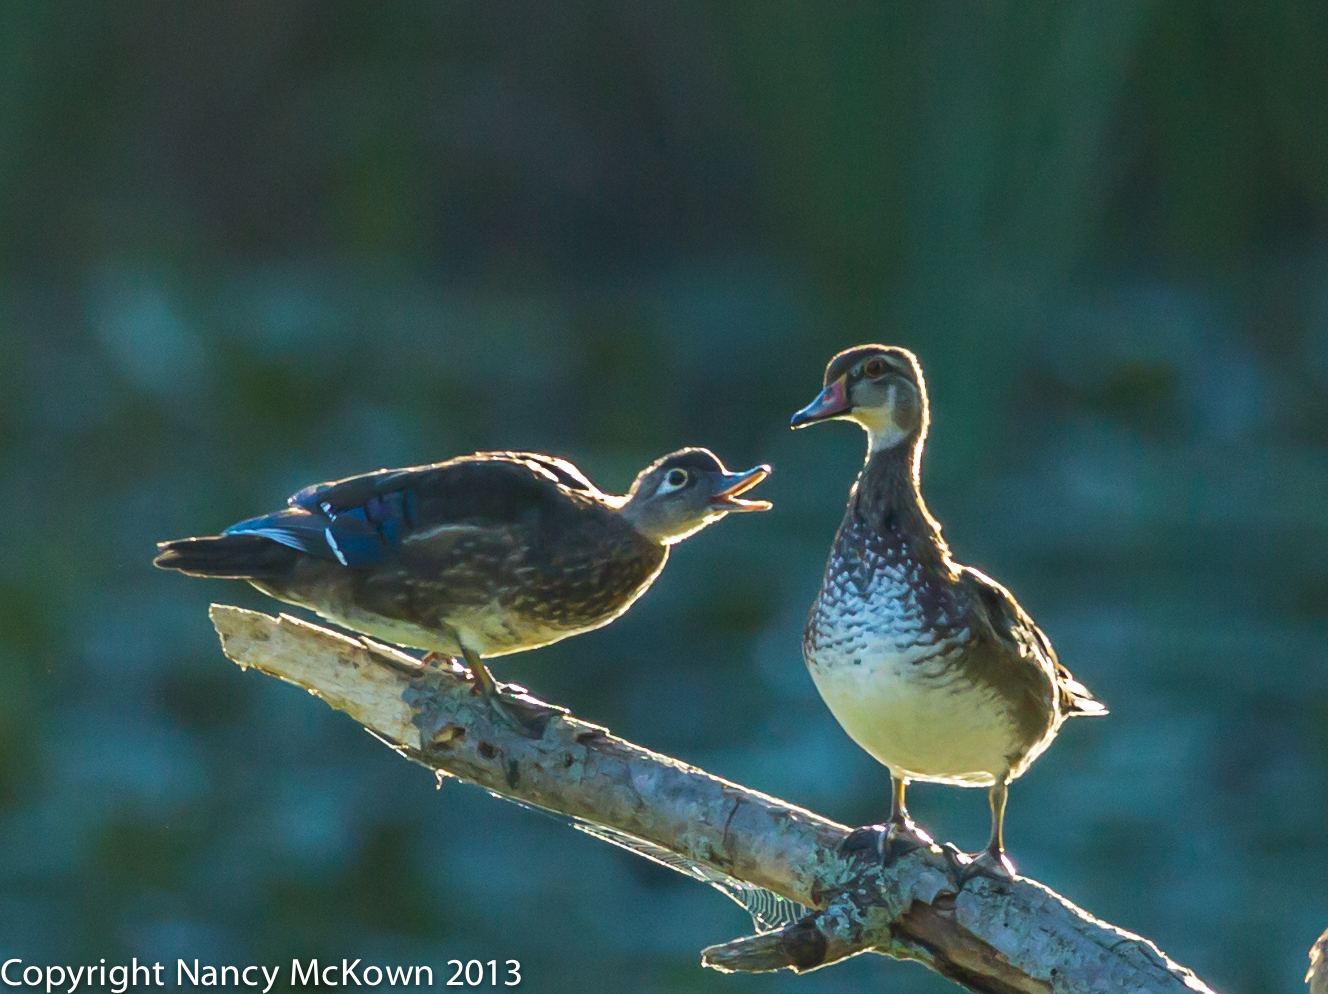
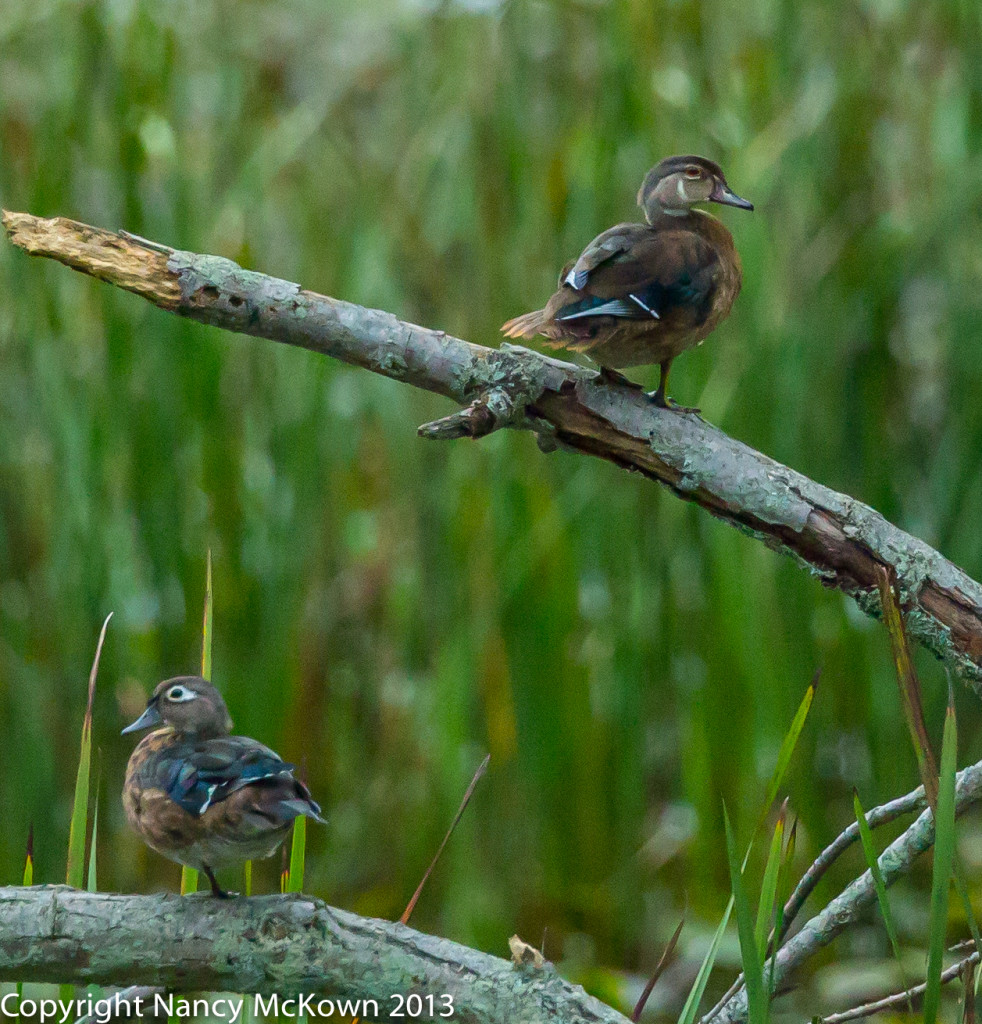
Photograph of Male and Female WoodDucks
A Pair of WoodDucks- Female Wood Duck is on the Lower Branch. Taken in Low Light
ISO 4000; 1/1250 second; f/5.6.

Keep Trying To Minimize Noise

I like the photos, but I would never enlarge them or frame them. I like the colors, the blurred background, and they appear to me as artful and well framed. The photos are clearly focused, but the amount of noise makes details hazy.

Taken as a whole, they look fine. But I will keep trying to capture images of wood ducks in more favorable (stronger) light.


Photo of Savannah Sparrow

Photographing Savannah Sparrows – Understanding Focus

Different Degrees of Sharpness

I’ve often wondered why some of my bird photos are less sharp than others. Generally, I prefer the tack sharp, ultra clear photos, but I don’t always get them.

A photo that is in-focus does not mean that it is tack sharp. And soft focusing does not mean that the photo is out-of-focus. Out-of-focus means that all the lines are blurred to some degree. In-focus means that the various shapes in the focus area are sharp to some degree.

There are so many reasons why your images may not achieve their highest degree of sharpness. I included a list (at the bottom of this post) of all the reasons I could think of. No doubt there are more.

Ultimate Control is An Illusion

Since there are so many variables, it seems that it would be an impossible task for a bird photographer to consistently achieve tack sharp photos all of the time. That kind of control, for someone working in the great outdoors, is an illusion.

Be As Discriminating As You Can

I strive for image sharpness in every outdoor photograph I take. I also try to position my camera (the where/when/how) so that my photos are artful and well framed. Like any art form, what looks good and what looks sharp are both subjective.

So, be as discriminating as you can with your work and trust your eye and your perspective. Put sharp focus high on your list, but understand what you are up against. Get a better understanding of the  limitations of your equipment and the limitations of photographing wild birds. The constraints you will encounter with equipment and nature are minimal compared to the stunning images you will capture.

Savannah Sparrows

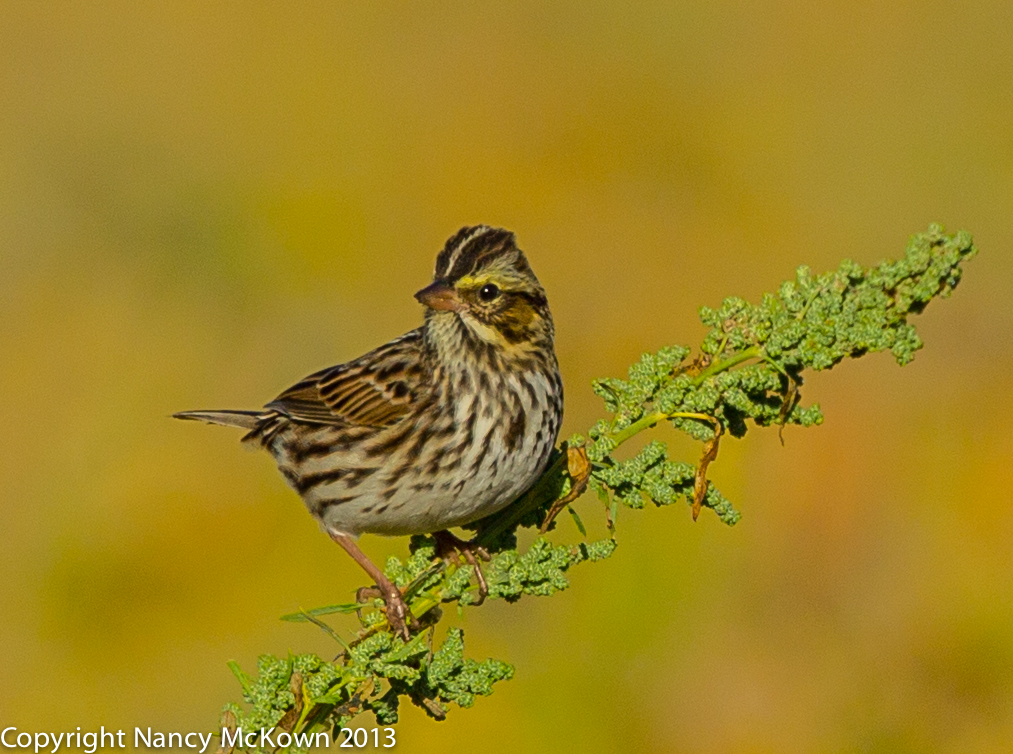
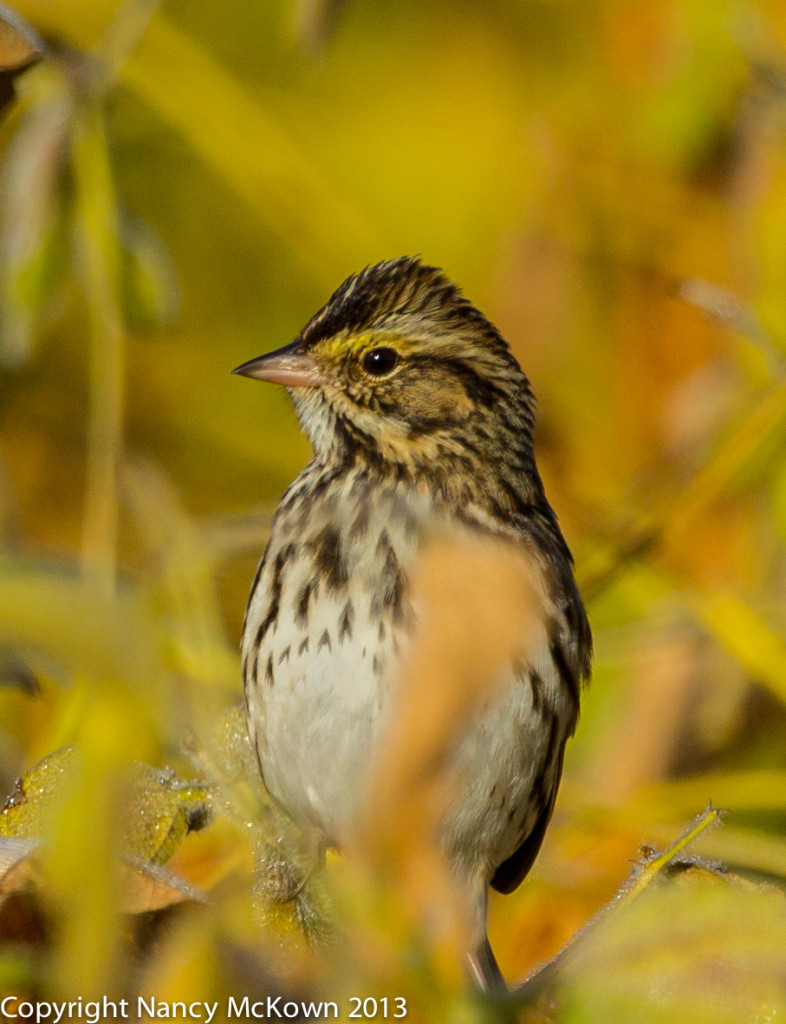
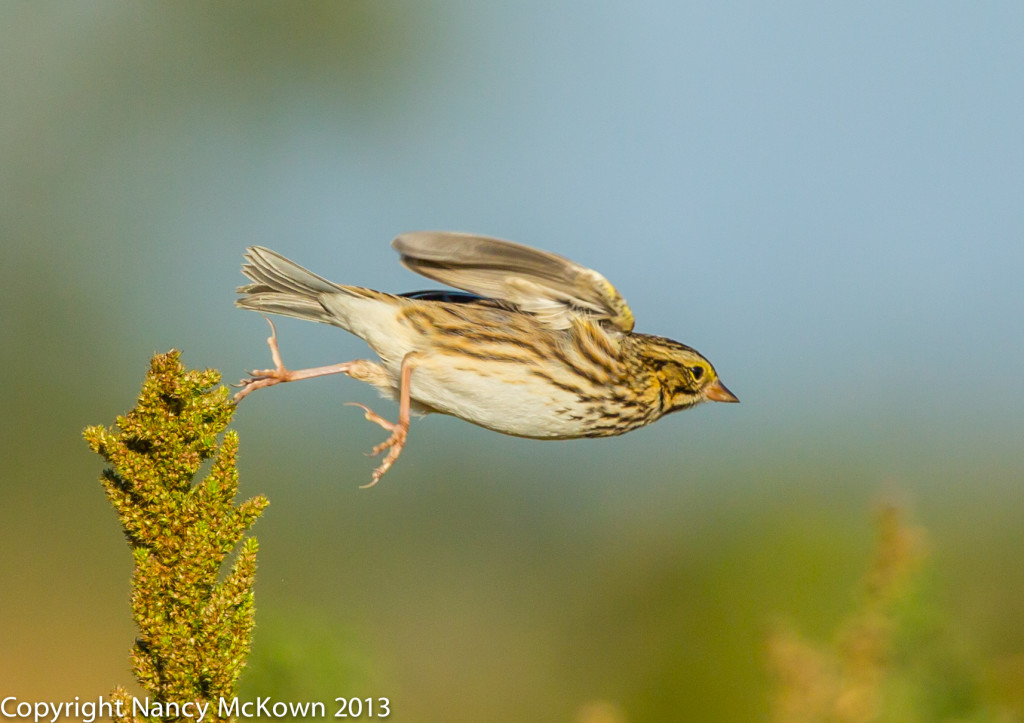
I was driving on the backroads of the Allegan Forest when I came across these savannah sparrows. Different settings, different light, different action, different levels of sharpness.

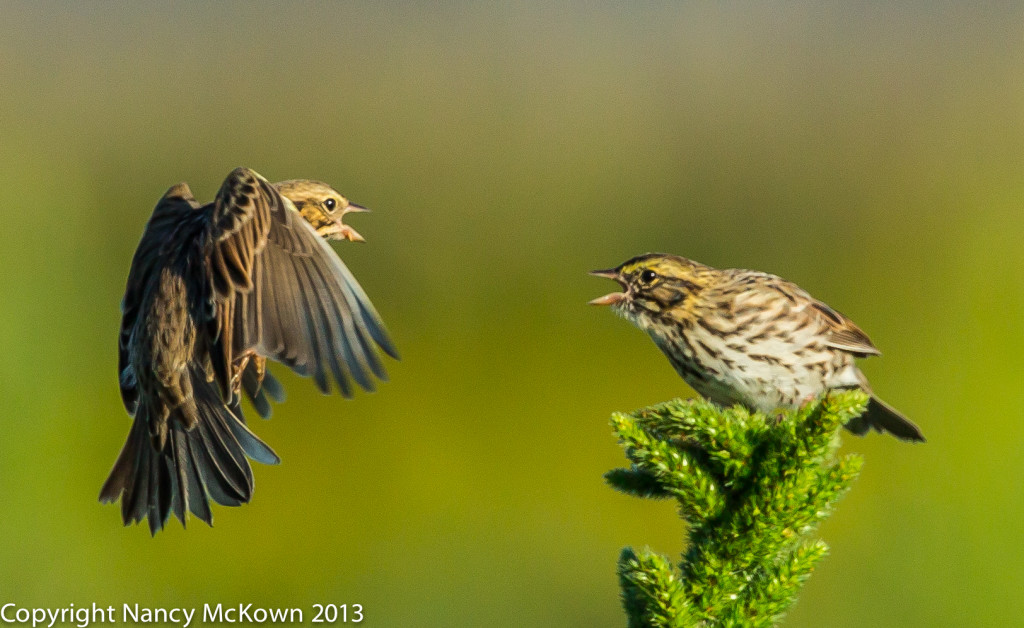
Photo of Beautiful Song Birds Squabbling- Savannah Sparrows
Savannah Sparrows – Beautiful Song Birds Squabbling
ISO 800; 1/2500 second; f/6.3
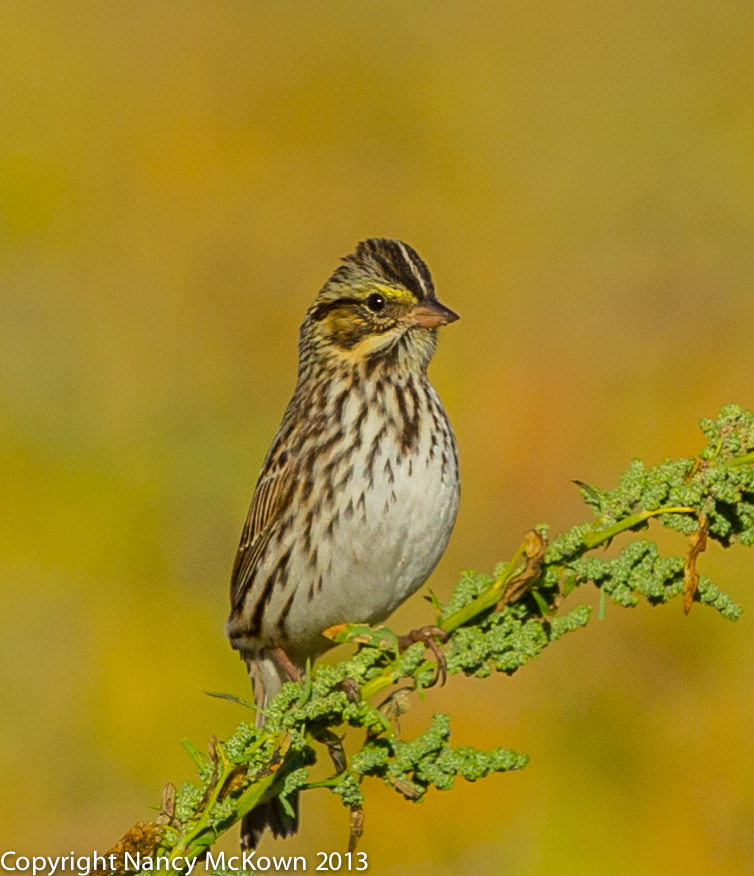
Photo of Savannah Sparrow
Savannah Sparrow
ISO 320; f/7.1; 1/1600 Second
Photo of Savannah Sparrow
Savannah Sparrow
ISO 320; f/7.1; 1/1600 Second
Photograph of Savannah Sparrow
Savannah Sparrow Stepping Off His Perch. More DOF Gives Clarity -Fast Shutter Captures Flight
ISO 500; f/7.1; 1/2000 Second

Issues That May Impact Image Sharpness.

  1. Is your shutter speed set high enough for your moving subject?
  2. Did you use a tripod and/or cable release? Or did you hand hold the camera?
  3. Is the amount of light optimal so that your ISO is as low as possible? Noise impacts clarity.
  4. Where’s the light coming from?
  5. What aperture setting is being used- wide open apertures cause DOF issues and softer images?
  6. How big is your subject?
  7. How close to your subject are you able to get?
  8. What type/quality of lens are you using?
  9. How far away is the background from your subject?
  10. What focus mode is set?
  11. What focus priority is set?
  12. Are in-camera “filters” set – so the camera automatically applies “fixes” that may affect focus?
  13. Does the camera/lens have a built in stabilizer?
  14. Did you use manual focus?
  15. Is the camera’s digital sensor high quality?
  16. Has the image been magnified and consequently looks less focused?
  17. Does you subject contrast strongly with its surroundings?
  18. And a few more things that stand in the way of tack sharp photos that can not be attributed to the camera, the photographer or the bird:  a) The pollen from the trees, weeds, grasses and  b) the dust, smoke and other particles that are floating in the air. These particles make everything your lens sees hazy and less clear.  Good News! Haze and Pollen are much reduced in the cold months…. so photos are clearer.
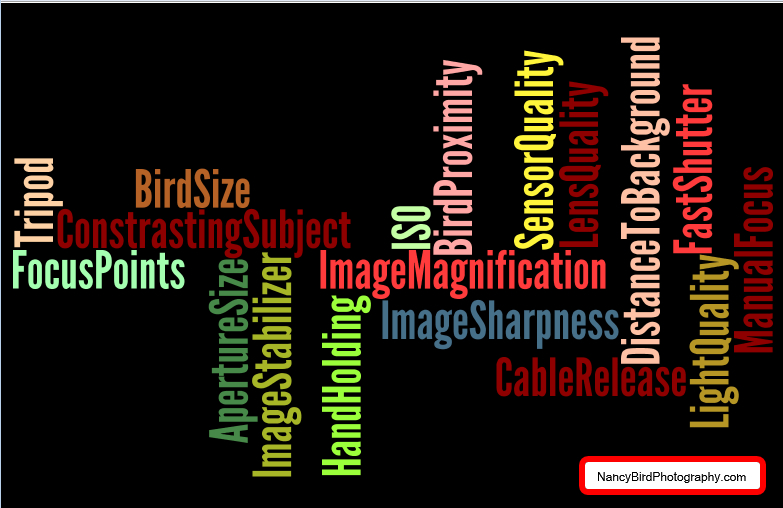
Wordle Depicting The Issues That Impact Tack Sharp Photos
Want Tack Sharp Photos? So Many Things to Consider