Manual Mode
Lots of photographers never venture outside the automatic modes provided by their cameras. There’s comfort in using them. Whether using full auto, program mode, auto ISO, aperture or shutter preferred, some photographers like the convenience of letting the camera do the thinking.
Setting the camera to manual mode means that the photographer must set more than one exposure setting. Manual mode is generally listed with the “creative” settings. In manual mode, the photographer decides what aperture and shutter (and sometimes ISO) to set.
The Creative Settings on a DSLR
Shutter preferred and aperture preferred settings on a DSLR make life easier because they allow the photographer to pick just one setting that is most important for the scene, and let the camera automatically set the rest of the exposure settings. Less stressful, right?
But there’s a price to be paid for the convenience of letting your camera’s computer make those exposure choices. The sharpness of your image may disappoint – either because the camera’s choice of aperture set the DOF too shallow or the camera’s choice of shutter speed did not freeze the action quite enough.
Two or More Exposure Choices
I can’t set my camera to my preferred aperture AND preferred shutter settings unless I set the camera to (M) manual mode. NOTE: The camera is still somewhat creatively automated because the ISO is set to “Auto”. I have an internal camera setting for auto ISO that will restrict the ISO from rising above 1000.

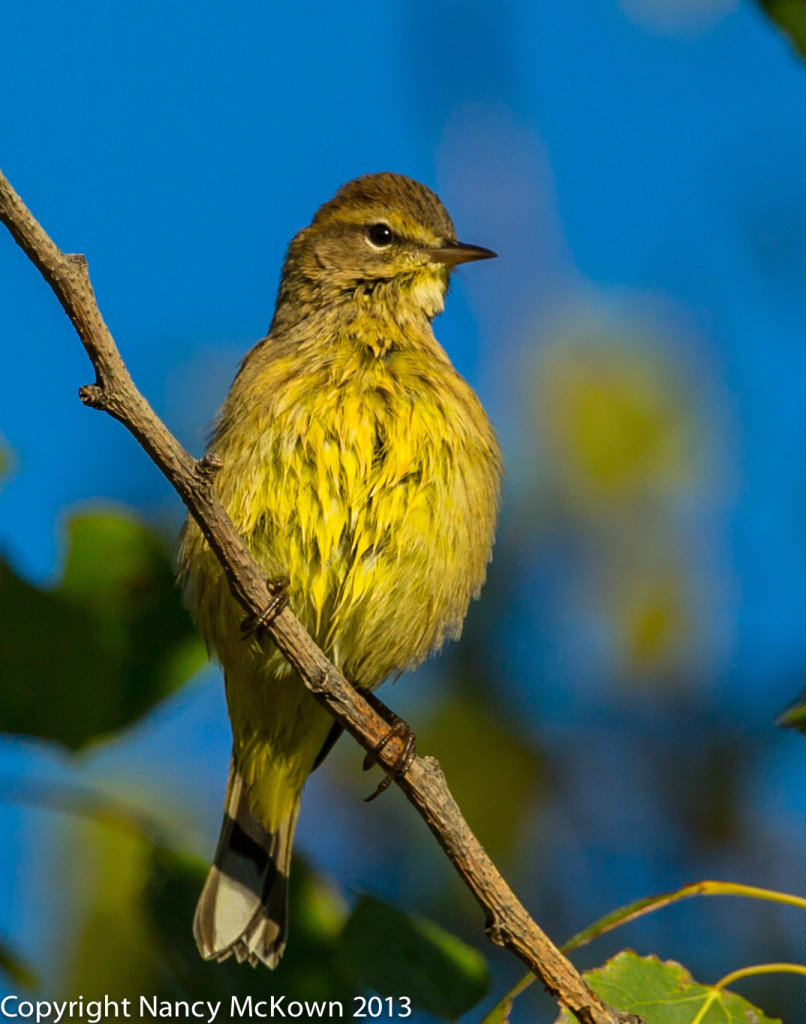
ISO 400; f/7.1; 1/1600 second
Photographing Beautiful Warblers
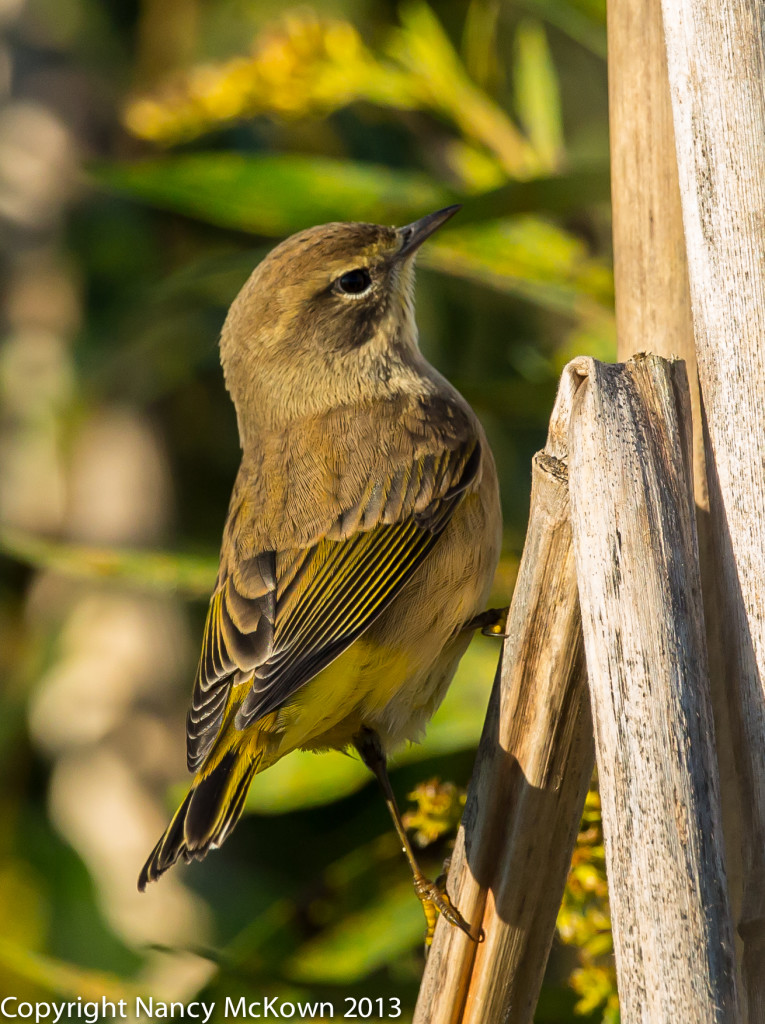
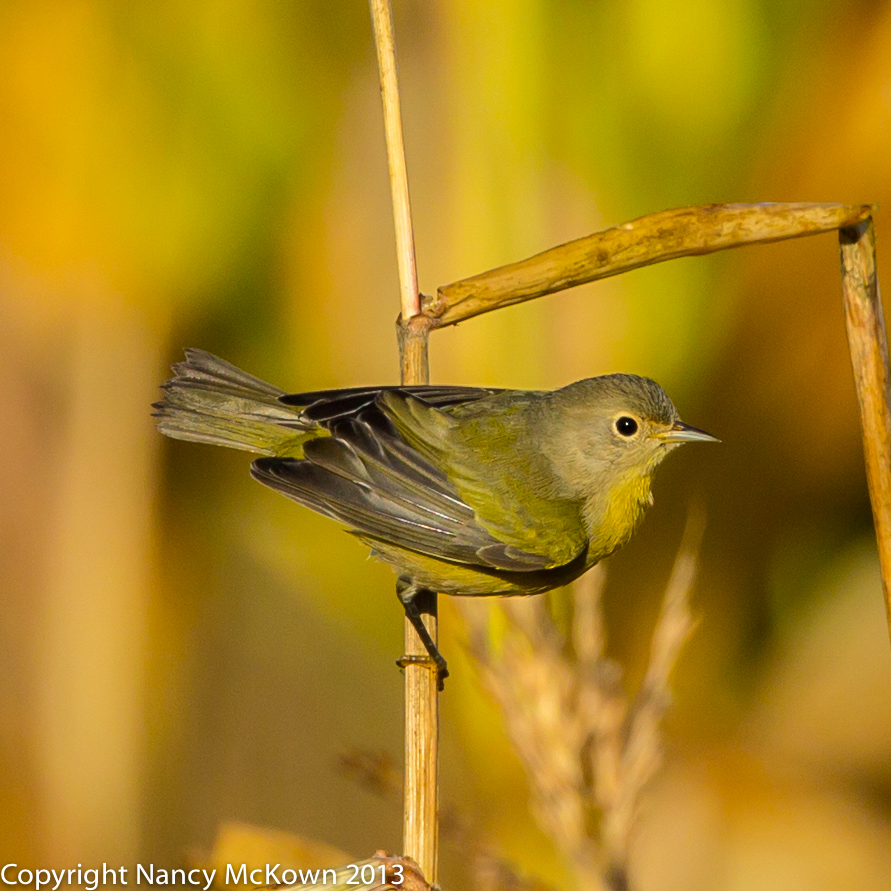
I shot both the Nashville Warbler (above) and the Palm Warbler (below) using the M-manual setting. This choice allowed me to set both the shutter and the aperture separately. The camera was set to auto ISO. In order to get tack sharp images and avoid noise, I kept a close watch on the ISO setting, making sure it did not go above 500.
Both images were shot with a relatively fast shutter – fast, that is, for a perching bird. I’ve noticed that when I set the camera to shutter preferred mode, the camera rarely sets the aperture smaller than f/6.3. However, I like the f/7.1 aperture setting better for these bird shots because it gives my subject a wider DOF. A wider depth of field helps make sure the whole bird – head to tail feathers – is in-focus. In these shots, f/7.1 still maintained a pleasing blurred background and low ISO.

ISO 320; f/7.1; 1/1000 Second
According to the Bird ID Experts at WhatBird.com, This Palm Warbler is Somewhat of a Rarity Around Southwest Michigan. They Recommended That I Submit An Observation Form to E-Bird.com, Which I Did.
The Advantages of Manual Mode When Photographing Birds
Experimenting with the M mode will help you better understand aperture, shutter and ISO, the basics of managing exposure. It will also help you better understand the “logic” the camera uses when making decisions in the shutter preferred and aperture preferred modes.
You may be surprised at how much versatility you have when you set your DSLR to manual mode.

ISO 1250; f/7.1; 1/1600 second
Camera Set to Manual Mode
Automation vs More Control
There’s nothing wrong with bird photographers using automated controls on their cameras. Those settings come in handy when the action is moving fast. Modern cameras have sophisticated algorithms that do a great job of automating exposure for quick and easy shooting. And the photos look great!
But the more you photograph birds, the more discriminating you will become, and the more control you will crave. You’ll learn more about the juggling act that is correct exposure. You’ll use M mode more because manual exposure balancing won’t be so threatening.
So, once in a while, get out of the comfort zone of the more restrictive creative modes. Carve yourself a new comfort zone in the world of manual mode.


