ISO1250; f/4; 1/400 Second
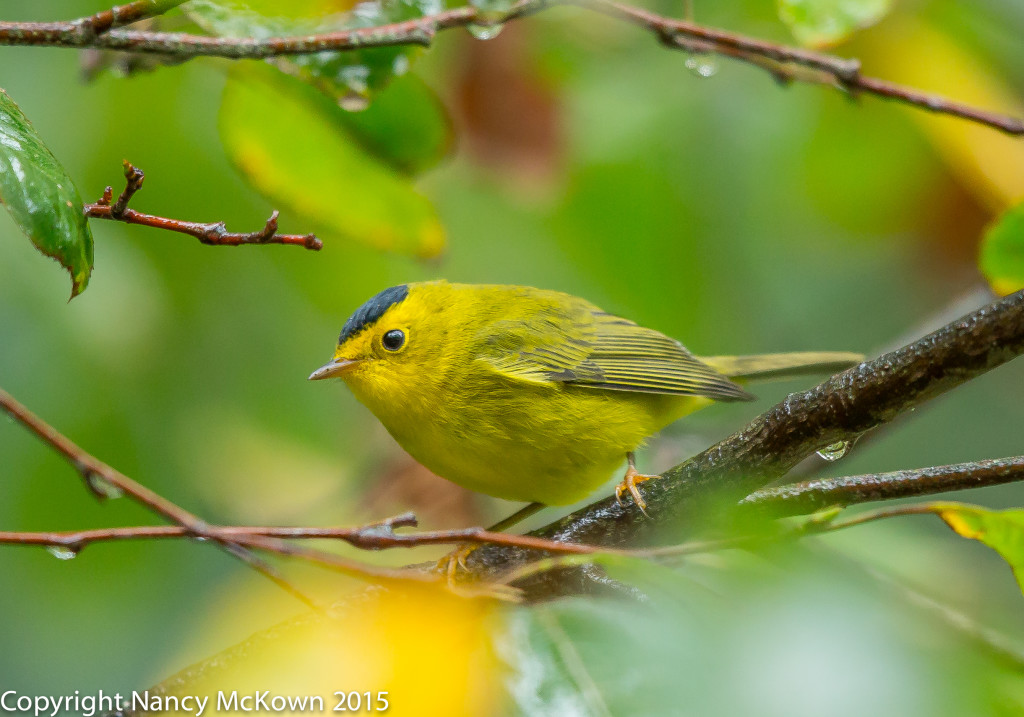
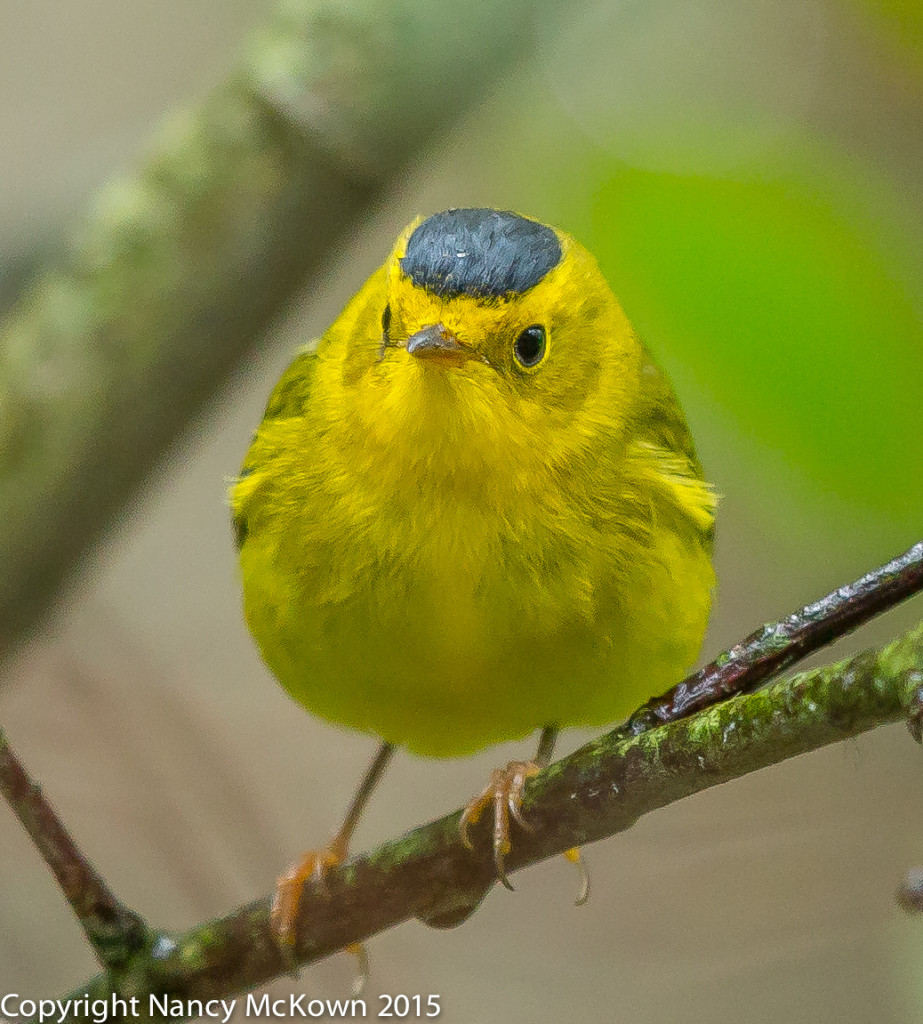
The male Wilson’s Warbler is no doubt one of the easiest warblers to ID. It’s hard to miss that black swash atop the forehead of this little wood warbler, made all the more stunning against his coal black eyes and bright yellow face. We don’t see them in SW Michigan except during migration cycles. One or two show up in our yard each year, usually traveling in mixed flocks of other small transients.
Camera Settings for Image Size and Quality
I photographed this male Wilson’s Warbler in RAW, full blast-(22M-resolution and 5760×3840- width and height pixel dimensions). When I first started in bird photography, it was not uncommon for me to lower the image size/quality settings on my camera for “people” shoots, and then forget to switch it back when I went out to photograph birds. One time, after a particularly bountiful bird shoot, I discovered that my camera was set on the Canon “S3 JPEG” setting – which means 0.3M resolution with 720×480 width and height pixel dimensions. It took me a while to figure out why detail was sparce and why I could not zoom-in closer to some far off birds in post processing. That day I went from proud and hopeful exhilaration to crushing defeat.
Image Quality Set to the Max
It’s impossible to predict how close the birds will come to the camera, and since most of them are tiny, it’s best to be as prepared as possible for distance shots. One of those preps involves setting the image size and quality to the maximum. (22.3MP raw image on my 5D Mark III and 20.2 MP on my 7D Mark II.) I like having that edge to zoom-in when needed and still maintain some quality. This setting does add a lot of time to my post processing workflow and backup routines because the file sizes are so large. I’m willing to put up with all the extra file management, just in case I need it.
Shooting Double Images With One Click
If you don’t worry about storage space limitations and management hassles, most advanced DSLR cameras allow you to shoot double images with one press of the shutter. The RAW + JPEG setting allows the photographer to take one RAW format image (in an assortment of sizes) and one JPEG format image, also in an assortment of sizes. The size setting for the JPEG images will control both the resolution (as displayed in the pixel dimensions–720×480) and the compression quality. On the Canon DSLR camera menus, higher quality JPEG images are noted by the smooth quarter circle – medium quality is indicated by a quarter circle with “stair steps”. The JPEG compression algorithm will discard more data when you choose medium quality…. and produce a smaller file.

of the Wilson’s Warbler,
Showing That Tar Black Crown.
ISO1250; f/4; 1/400 Second
Two-Slot Separate Storage
For those DSLR cameras that are equipped with two-slot storage (one CF slot and one SD slot), the photographer can specify the card on which to save JPEG files and the card on which to save RAW files. This is very handy for those times when you wish to share the JPEG copies more immediately, and still retain the RAW copies for later post processing. The dual storage solution is convenient when traveling, especially when the computers available to you for image review can not read RAW format without widgets and downloads.
NOTE: Whenever you engage both disk storage options, the camera’s disk recording and saving slows down considerably, especially during bursting.
Comfortable with Shooting RAW Only
When I’m close to home, I almost never set the camera to shoot double images. Too much time and effort are needed to manage (sift through, sort, delete, backup) one copy of my photos in post processing, let alone two. When I need a JPEG, it’s a simple process to generate a JPEG file from the RAW file and then export it.
To read more about Bursting, visit this blog posting.


