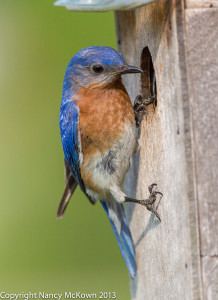
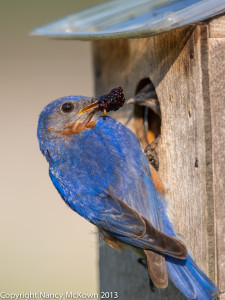
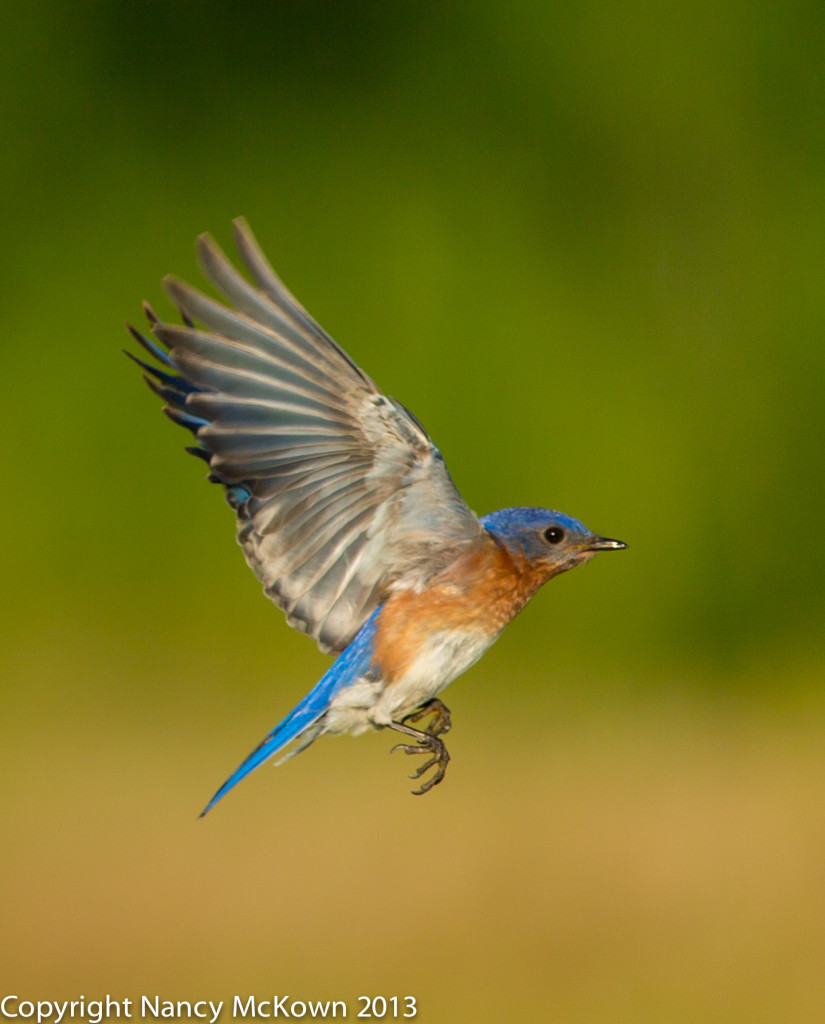
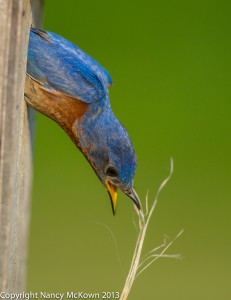
Early Morning Blue Bird Photography
When I wake up early on a summer’s morning, bird song is all around. I always assumed that birds started their busy days at the crack of dawn,worked all day, and settled down for the night shortly after sunset.
Of course,I wanted to capture the soft, golden glow of early morning light in my photos, so I too got up before the crack of dawn and was on location with my camera, ready to photograph these early risers. Well, eastern blue birds do NOT get up at dawn or anywhere close to dawn. I was out there at least 3 mornings before 6:00 am, but it was just me and the mosquitos. The blue birds came around at a more civilized hour. 8:00 am and sometimes later.
Invaluable Assistance for This Photographer

First of all, I would not be photographing these blue birds at all if it wasn’t for Marv. Marv put up the blue bird house in a blue bird acceptable location, discouraged the attempts of other birds to nest there and attached cups of dried mealworms and water to help them along.
Soon enough, because of Marv’s diligence, there were 2 adult bluebirds and 5 eggs (4 of which hatched) residing in the bird house. NOTE: The birdhouse had a side door through which we occasionally peeked to see the progress of the babies.
Multiple Photography Sessions to Photograph Eastern Blue Birds
My goal was to photograph the blue birds every few days, to the point where the babies were able to leave the nest. It’s a short window of approximately 16-22 days from hatching time to independence.
At least 3 of those sessions were in the morning. Since blue birds do not rise early, I was unable to take advantage of the drama that comes with light low on the horizon. By 8:00 am there were distinct shadows on the birdhouse, by 9:00 am, harsh shadows were visible.
Too Close for Comfort to Blue Birds
I attached my blue tooth shutter remote and backed away as far as the blue tooth signal would allow. I brought a stool and sat down with remote in hand around 20 feet from the birdhouse. The blue birds did come, but every 30-40 minutes or so. They didn’t seem to mind the camera, but they were very suspicious of me on my stool out there in the open.
The blue birds were not as wary of Marv’s presence, so I assumed it was just a matter of time before they got use to me. They did not.

Birds seem to be less suspicious of cars. Since those fledglings clearly needed to be fed more than once or twice every half hour, I decided to park my car as close as I needed to for the bluetooth signal to work and sit in the car with the remote. This worked much better. The birds came every 5-10 minutes with fruit and big insects in their beaks to feed their brood.
Vary the Camera Settings during a BlueBird Photo Shoot
I believe it’s best to vary the settings on the camera’s focus, shutter, aperture, and camera location during a shoot. That means getting out of the car as often as you can to make the adjustments.
I like the variety that comes with experimenting with the settings, distance and angle of the camera to the subjects. If you set the camera up and just leave it, without taking some time to check the results in the display, you may end up at the end of your session with a bunch of out of focus shots.

Camera Placement for Blue Bird Photography
I set up my tripod, with the camera and 300mm lens as close as I could with that lens. As usual, my back was to the sun. Even tho I have spot light metering on my camera, I always avoid facing the camera toward harsh sunlight, unless there’s a source of shade over my subject.
Shade allows much more flexibility when setting up a scene to photograph. If it’s there, always take advantage of it.
Focus and Shutter
The camera is set to focus mostly on the spot, in this case, the entrance to the bird house. Since I wanted action shots, and the camera was situated so that my subject took up approx 1/3 of the viewfinder, I did not use spot focus. I widened the area of focus and set it for Al Servo to let the camera make some of the focusing decisions.
I set the camera to shutter preferred mode and varied it from 1/1000/second to 1/3500/second, using the higher shutters speeds to capture the in flight comings and goings of the blue birds.
Photographing Birds with the Continuous Shooting Setting
I set the camera for continuous shooting instead of single shot shooting. This setting allows the camera to get off 2-4 shots with one press of the remote. You have to be prudent with continuous shooting. Eventually, the camera has to stop shooting so it can save the images to the compact disk. This takes time, especially if you are shooting in RAW format. You may miss some shots while the camera is saving your previous shots.
If the action is non stop, and you want to work that continuous shutter, remember to set the camera for JPG setting instead of RAW. The JPG file size is much smaller, and takes less time to record on to the disk.

Female Blue Bird
After the evening of my 3rd shoot, Marv reported that he found a female blue bird dead in the parking lot, reason unknown. I hoped it wasn’t the female to this nest, but it soon became evident that it was. I wondered if the male would give up, unable to handle the double duty, and abandon the nest. Instead, he stepped up to the task. Marv started leaving more dried meal worms in the cup. I left the nest alone for 5 days and when I returned, I put more distance between the camera and the bird house.

Get in and Get Out to Minimize Disturbing the BlueBirds
Occasionally the male blue bird would dive-bomb me during my camera/tripod initial setup. NOTE: He never dive-bombed Marv. He swooped in pretty low, clearly aiming at me and not the camera. He did not bother me when I got out of the car to make camera adjustments.
Knowing that this single parent was doing double duty, I made sure that my setup was mostly finished before I packed the trunk. It was just a matter of pull out and place at location.
I learned alot about blue birds, and once again have an urge to compare the behaviors of this single parent blue bird to humans. But I won’t.


