


Where the Hawks Are
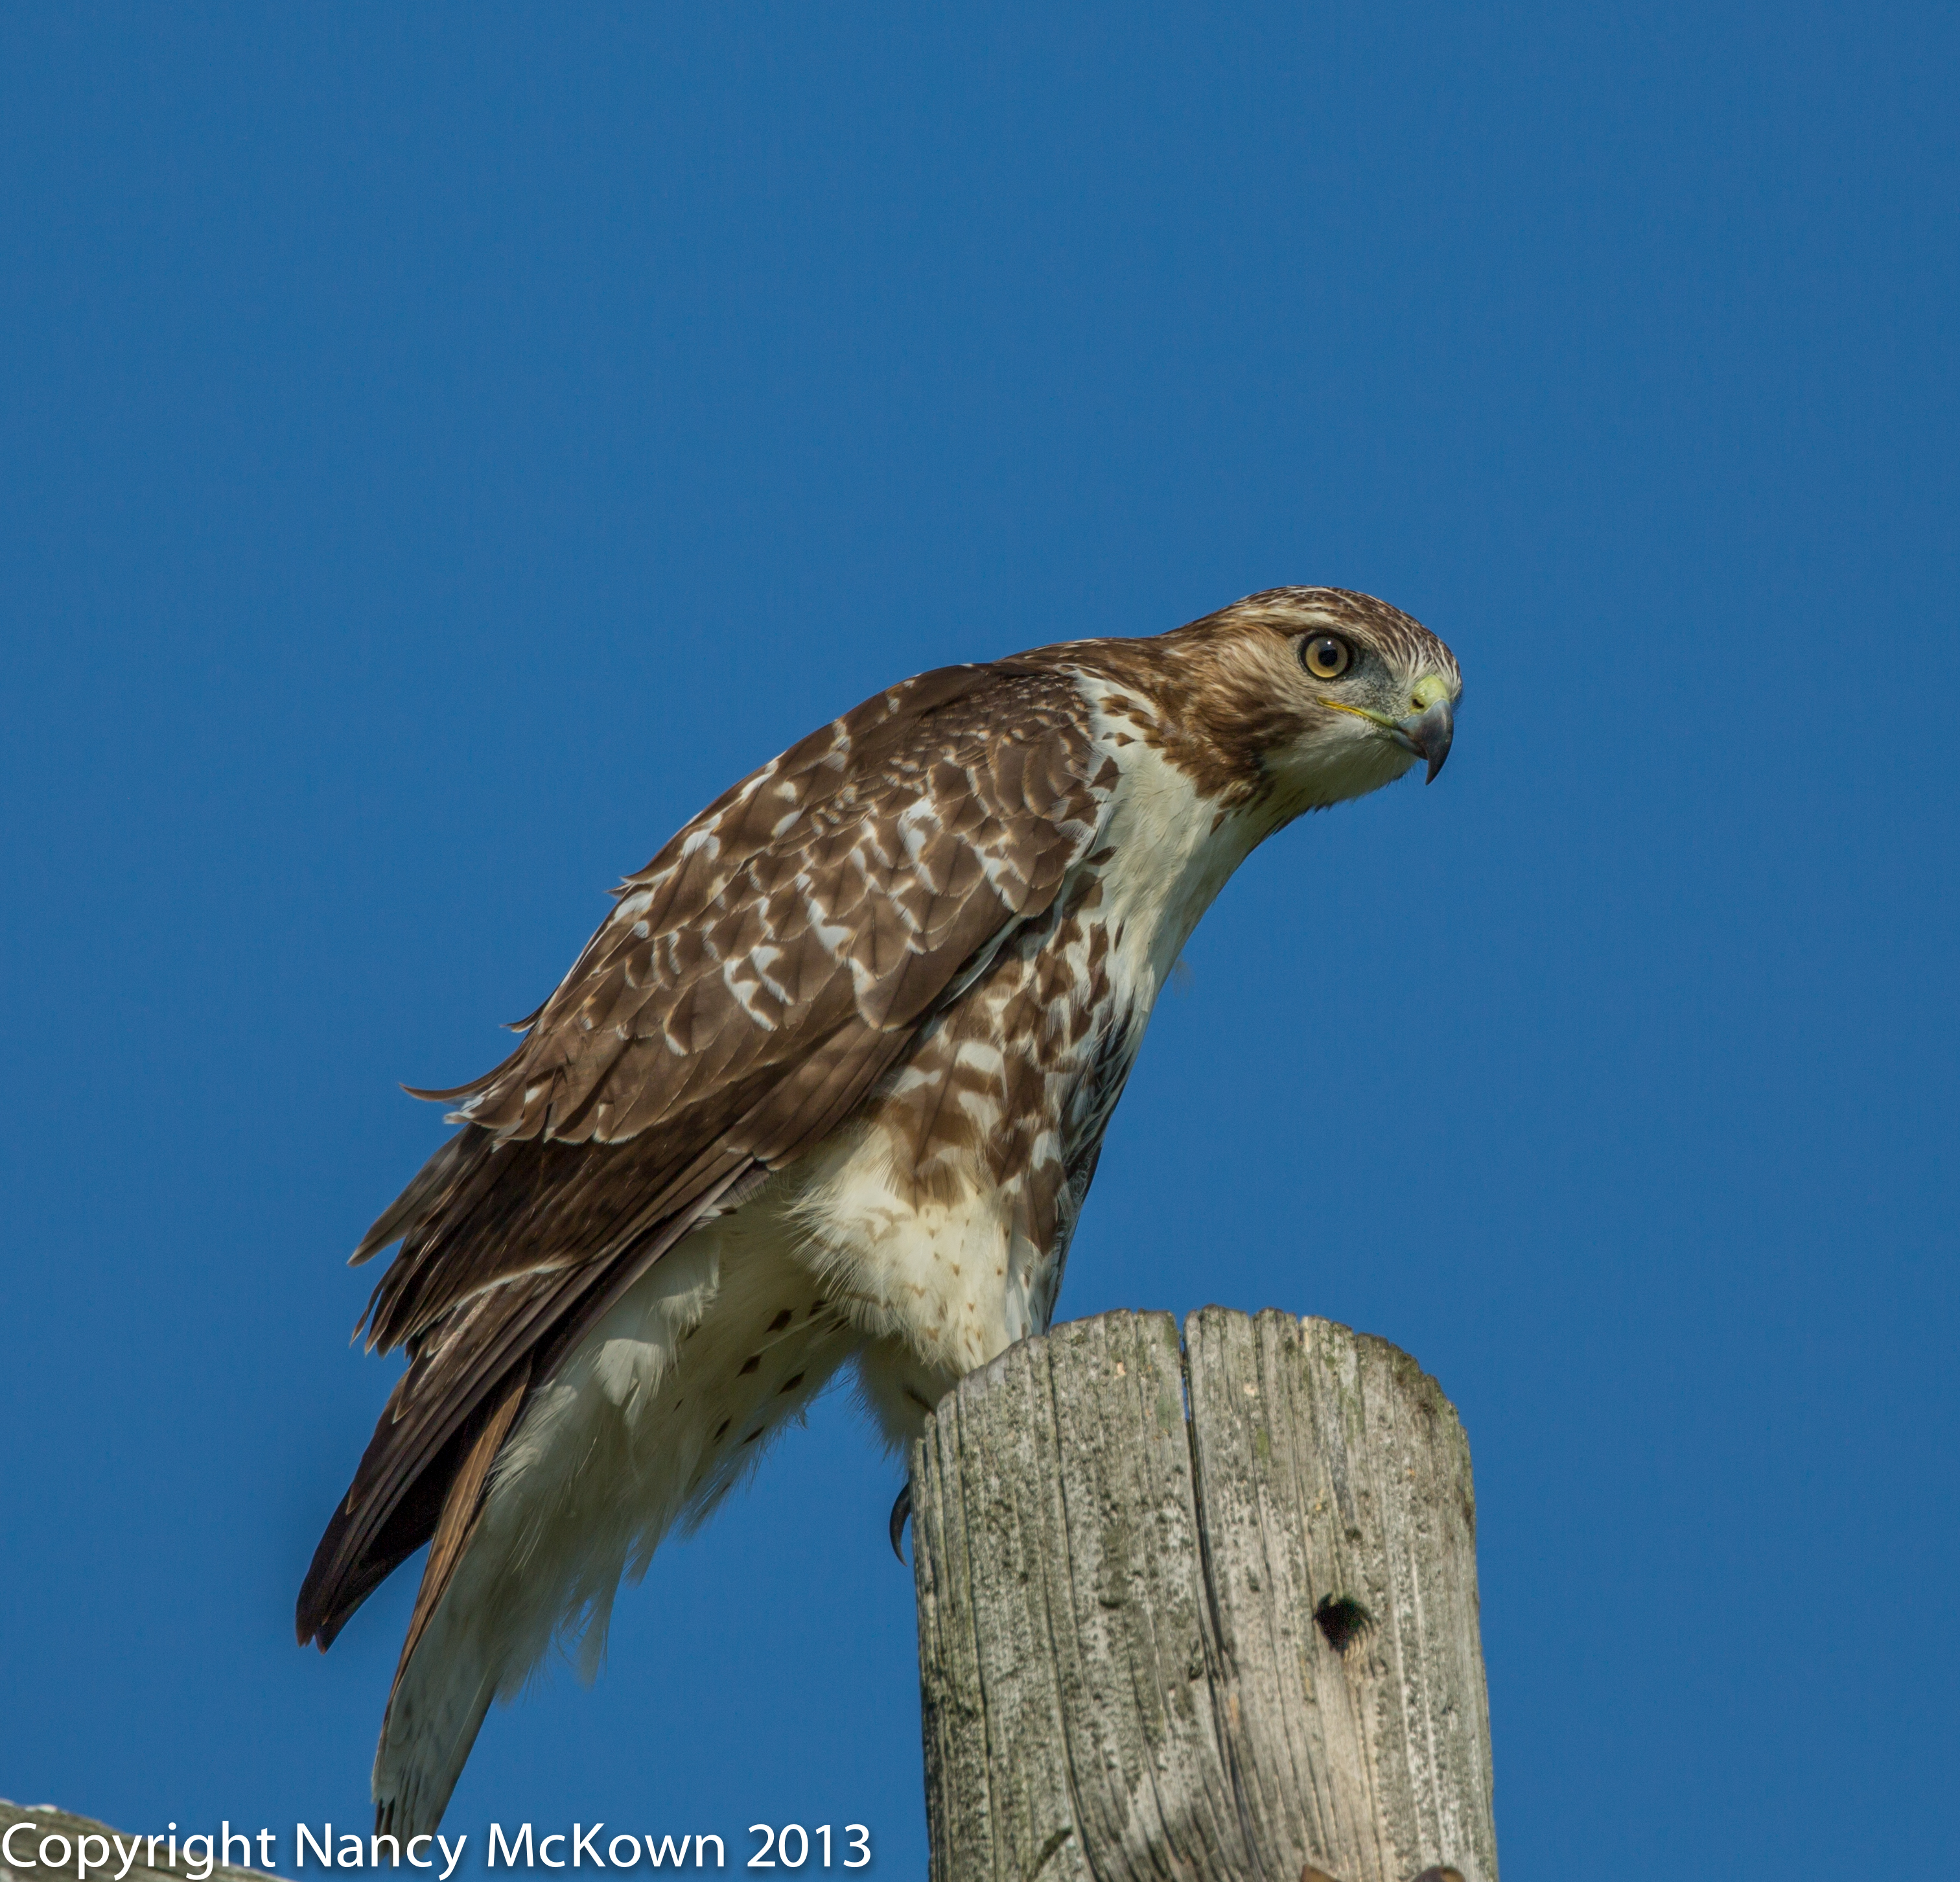
It seems I’m always looking up, hoping to spot birds. Going down the road one morning, I spotted a red tailed hawk at the top of a utility pole, scanning the cut corn field looking for a meal. I knew the sun was too high and too bright to get a well exposed photo. Worst of all, the hawk was east of the highway, at my 2:00, so my lens was facing the sun. We pulled off the highway anyway.
From the passenger seat, I propped the camera (with the 300mm lens and 2x extender attached) on the window ledge, aimed, and took some test shots. I looked at the histogram and could see that the light wasn’t bad enough to send the graph clipping over the right side.
So what do you do if the sky in the background is brighter than your subject in the foreground? Here are 3 suggestions to address this problem:
1) Attach a Graduated ND filter. The photographer adjusts the filter on the lens so that the dark part is at the top (to reduce the amount of the light from the sky).
2) Adjust the Ambient Light Exposure Compensation. (See post about histograms and exposure compensation called “Photographing Sandpipers on the Beach”.)
3) Make the adjustments when you get back home with your post processing software.
I decided that this time, I would solve the uneven lighting problems in post processing.
Post Processing Software to the Rescue
The camera display confirmed that the photographs from this light and this angle would be full of unattractive shadows and highlights. These photos would definitely not be keepers; unless I was willing to spend a little time adjusting the exposure, light and shadows in my post processing software.

RAW and JPG Formats
There are generally two choices a photographer has to record digital files on the memory card; RAW and JPG.
RAW files are not processed or compressed by the camera’s computer. Consequently RAW files retain much more information that can be manipulated (when you get back home) by post processing software.
JPG files are processed and compressed by the camera’s computer. A JPG file will therefore provide fewer details that the post processing software can manipulate.
Because RAW files are not processed, the digital files are much larger than the processed JPG files. This is a consideration when choosing between JPG and RAW formats because RAW files take up much more space on your camera’s memory card. And, since it’s a much bigger file, it will take the camera more time to save the data to the memory card.
Photograph in RAW Format If You Want Maximum Post Processing Control
I always shoot birds with the camera set to RAW format. It’s a big advantage to start from scratch, with all the data, when the lighting is subpar and post processing is needed. Many cameras allow the user to save both the RAW file and JPG file for each photograph. I would not recommend this setting because your camera is recording double the number of files on your memory card. It is, however, a good way to see the difference between how the same image looks in RAW and JPG.
NOTE: Since RAW files are so big, it is critical to start out every shoot with plenty of high capacity memory cards- at least 16 GB and usually 32 and 64 GB.

Post Processing Software
There are lots of free post processing software programs to choose from, and your camera may have come with its own software for this purpose. The free stuff does a good job, but the fixes they provide are limited, mainly because the problems they address tend to be “one size fits all”.
The first photo is shown as it came out of the camera, with no post processing adjustments. It is simply unusable in this state. The second photo is the same photo, but the highlights and shadows, details and exposure are adjusted in Lightroom 4.
Many more basic post processing options are available in Lightroom; like crop/rotate, adjust color/exposure, sharpening, noise reduction, etc. It’s also a great tool for organizing, sharing and backing up your files. The software is easy to learn. And, if you do need help to learn Lightroom, (or any post processing tool) there are plenty of targeted resources on the web.
Don’t Pass Up The Photograph Because of Uneven Light
Light will be one of the biggest challenges you will face when photographing birds. With the right post processing software, you won’t have to pass up a shot because the light is not optimal.
Cool hawk. I like the before and after images. I’m impressed.